
Oh, the smell! There is honestly nothing like pulling a fresh loaf of homemade bread out of the oven. If you stop what you’re doing right now and just imagine that warm, slightly yeasty, deeply comforting aroma filling your kitchen—that’s the goal here! I know sometimes making Italian bread seems like something only artisan bakers can tackle, but I promise you, that’s just not true.
I built Julia Meal because I believe great food should be accessible to everyone, even when it comes to baking something as wonderful as a perfectly crusty loaf. This recipe is my go-to, dead-simple, beginner-friendly guide to achieving that amazing bakery-style crust and that soft, airy interior you dream about for dipping in olive oil. Trust me, after you make this once, the store-bought stuff just won’t cut it anymore. Find out more about why we focus on simple quality in the kitchen over here: A Little Bit About Us.
- Why This Easy Crusty Homemade Italian Bread Recipe Works (Soft Inside Crusty Outside Bread)
- Gathering Your Ingredients for Homemade Italian Bread Recipe
- Step-by-Step Instructions for Your Italian Bread
- Tips for Success When Baking Italian Bread at Home
- Serving Suggestions for Your Fresh Baked Bread Aromas
- Storage and Reheating Instructions for Chewy Italian Loaf
- Frequently Asked Questions About This Italian Bread Recipe
- Estimated Nutritional Data for Italian Bread
- Share Your Homemade Italian Bread Creations
Why This Easy Crusty Homemade Italian Bread Recipe Works (Soft Inside Crusty Outside Bread)
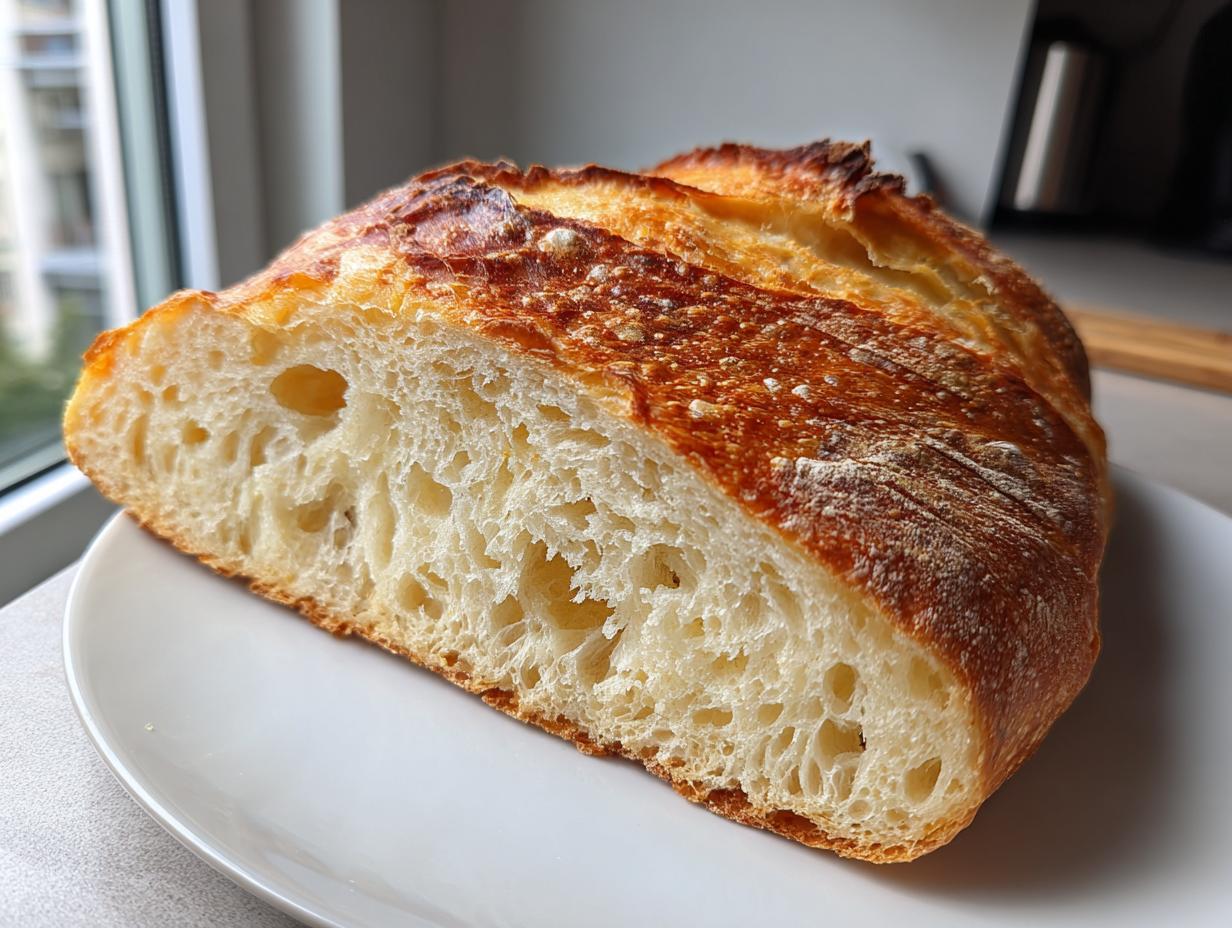
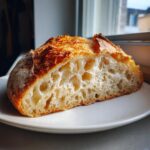
When I set out to create the perfect weeknight bread, I had a clear picture: I wanted that beautiful, crackly, almost shattering crust you get at a real Italian bakery, but I needed the inside to stay wonderfully soft and chewy. This recipe nails that balance every single time. It’s designed specifically to deliver that amazing Soft Inside Crusty Outside Bread texture without any fuss.
Here’s why this approach makes for fantastic Easy Crusty Bread Baking at home:
- It uses just a few staple ingredients you probably already have on hand.
- The simple kneading technique builds just enough gluten for that classic chew, without wearing you out.
- We use steam during baking—the secret weapon!
Achieving the Bakery Style Italian Loaf Texture
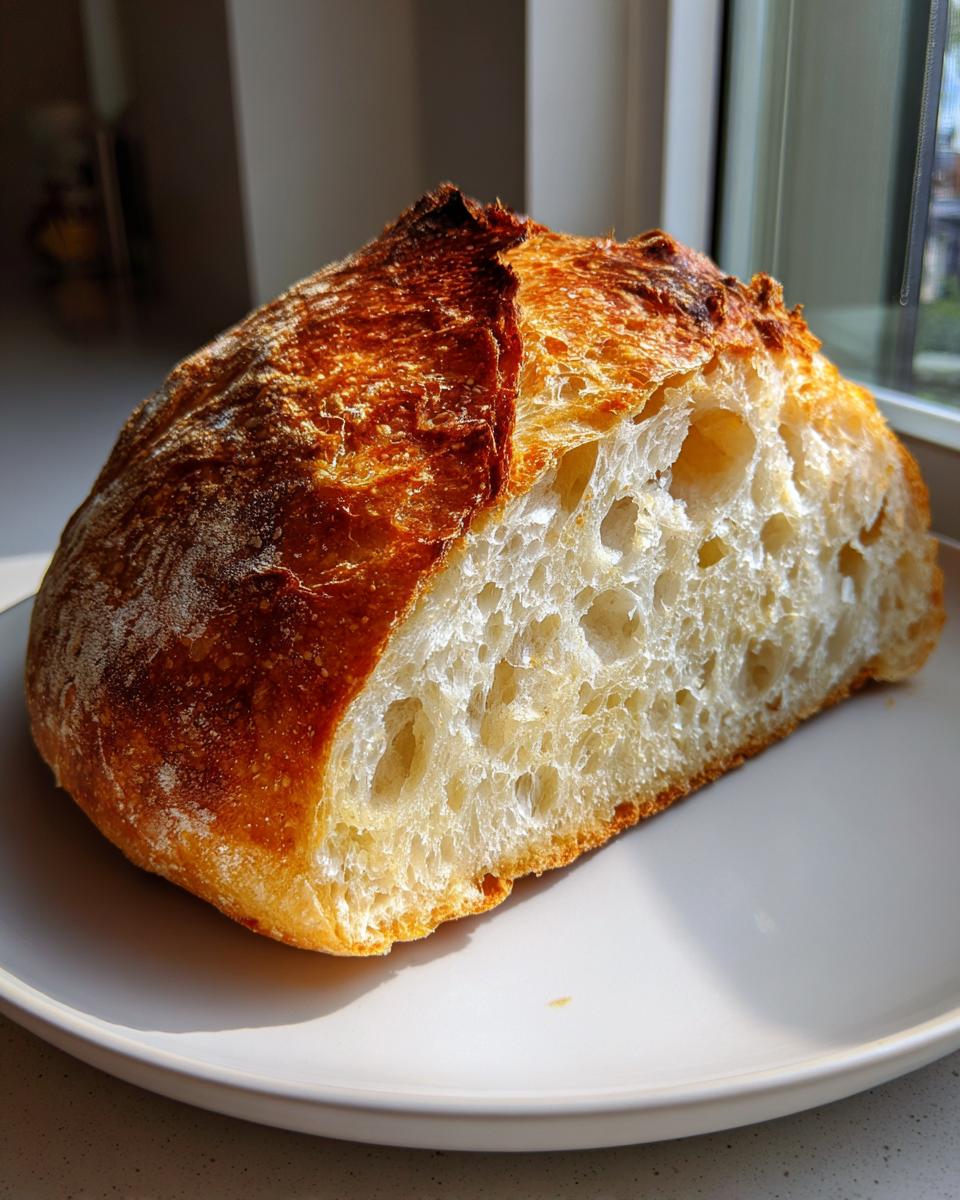
That signature crunch you love in artisanal loaves? It comes down to steam, friends! When the dough hits a steamy oven environment initially, it keeps the surface moist for longer. This allows the loaf to expand fully before the crust sets up hard and crisp. That initial blast of moisture is what locks in that gorgeous, deep golden-brown crust texture we’re aiming for.
Simple Ingredients for Classic Italian Bread
Forget specialty flours or weird additives. This is where we celebrate the basics! This recipe relies on all-purpose flour, yeast, water, sugar, and salt. That’s it! This simplicity is what makes it a perfect entry point for anyone just starting their Beginner Bread Making journey. We prove that quality doesn’t have to mean complicated when making delicious Classic Italian Baking.
Gathering Your Ingredients for Homemade Italian Bread Recipe
Okay, gathering the supplies is the fun part, right? It feels like you’re getting ready for a science experiment, but way more delicious. The best news is that for this Homemade Italian Bread Recipe, you don’t need to run out and buy anything fancy. Everything here is totally basic—the kind of stuff you likely already have tucked away in your pantry begging for a purpose!
Here’s exactly what you need for one beautiful loaf:
- 3 1/2 cups all-purpose flour
- 1 1/2 teaspoons salt
- 1 teaspoon granulated sugar
- 2 1/4 teaspoons active dry yeast (that’s one standard packet)
- 1 1/2 cups warm water (you have to watch this!)
- 2 tablespoons olive oil, plus more for greasing
Ingredient Notes and Substitutions
Let’s talk about that water temperature first! This is critical for activating your yeast. You want it warm, but not hot enough to kill the little guys—aim for 105°F to 115°F. If it feels too hot for your finger, it is! Also, I used all-purpose flour here because it keeps things nice and soft, but if you really want that seriously robust, Chewy Italian Loaf texture, you can substitute half the amount with bread flour. It just gives the gluten a little extra backbone, which is delicious!
Step-by-Step Instructions for Your Italian Bread
Now for the fun part—turning that ingredient mountain into actual, edible, gorgeous Italian bread! I organized this so you can see exactly what needs your attention and when you can step away and let the dough do the work, which I highly recommend! Don’t worry if things look messy at first; that’s just part of the process of making something wonderful with your hands.
Activating Yeast and Mixing the Italian Bread Dough
First things first, we wake up that yeast! Grab your warm water—remember, 105°F to 115°F—add the sugar, and sprinkle the yeast right on top. Give it a gentle stir and just walk away for about five to ten minutes. If you come back and see foam, like a little creamy cap has formed, congratulations, your yeast is alive and ready to party! Now, stir in your olive oil and salt, and then dump in half of your flour. Mix that until it just comes together before you start adding the rest of the flour gradually. Stop mixing when you have what I call a ‘shaggy dough’—it looks a little unkempt, but it’s ready for kneading.
Kneading and First Rise for the Perfect Italian Bread
Time to get those hands dirty! Turn the dough out onto a lightly floured surface. This is where we build structure for that great texture. You need to knead this dough for a solid 8 to 10 minutes. Seriously, set a timer! You aren’t done until it feels smooth and springy under your hands. Once you’ve achieved that elastic feel, find a spot in your kitchen that’s nice and cozy, lightly oil a big bowl, tuck the dough inside, and cover it up. Let it chill out—and I mean *really* chill—for about 1 to 1.5 hours. It needs to completely double in size for the best flavor and rise quality.

Shaping and Second Proofing of the Loaf
When the dough has doubled, give it a gentle punch down to release the air—don’t be shy! Now, gently shape it into a nice, long oval. Think rustic loaf, not perfect torpedo! Place that shaped dough onto your prepared baking sheet or into your loaf pan. Cover it loosely again. This second rise, or ‘proofing,’ is faster but very important for the texture. Give it another 30 to 45 minutes to puff up nicely. If you have any questions during this stage, feel free to reach out to us here: We’re happy to help!
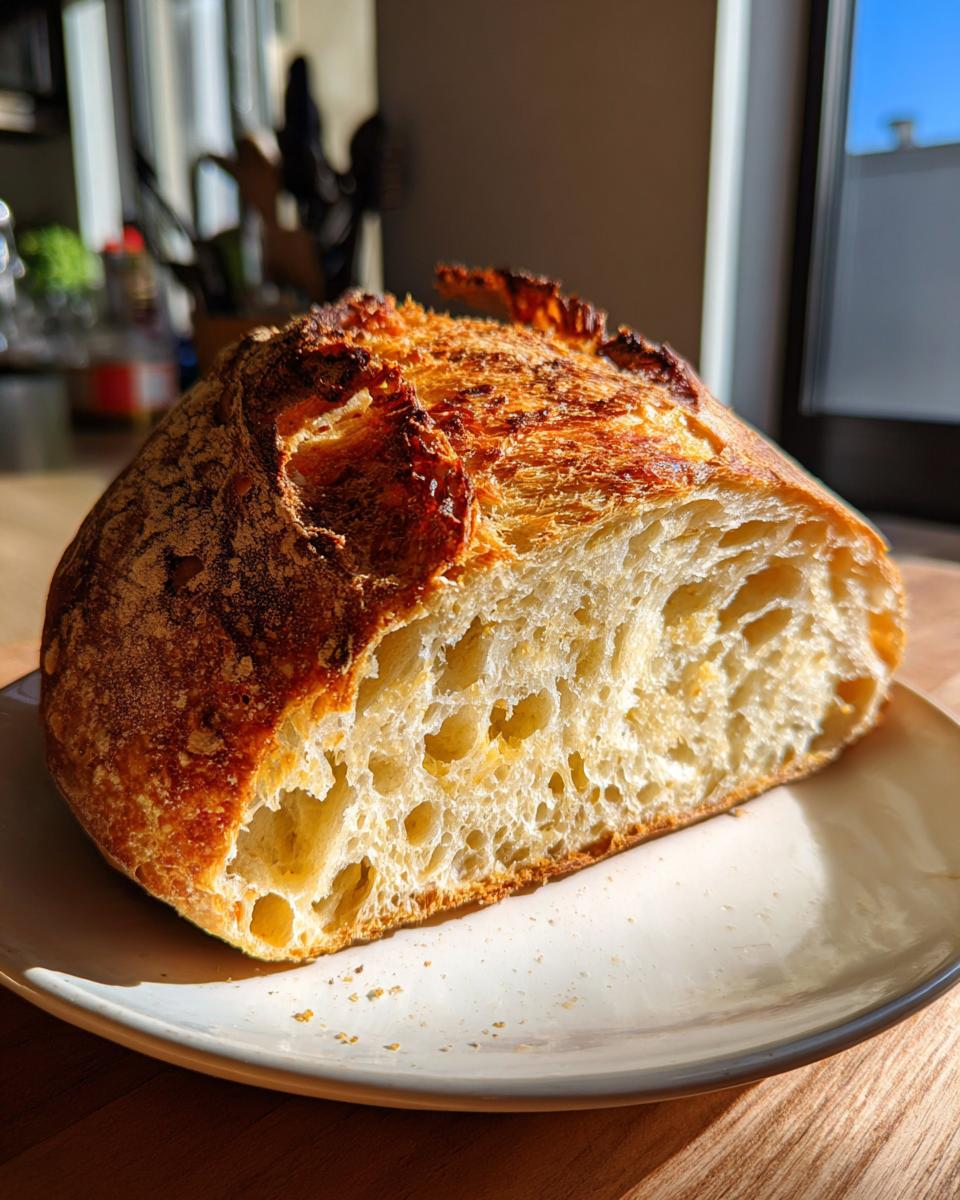
Baking for a Golden Brown Crust Bread
Okay, final push! Crank that oven up high to 400°F (200°C). Here’s the trick for that bakery look: put a shallow pan on the bottom rack while it preheats. Right before the bread goes in, brush the top lightly with water—this encourages the shine. If you feel bold, use a sharp knife to slash the top a few times; this helps control exactly where the bread expands. Once it’s in, pour about half a cup of hot water into that preheated shallow pan to create some steam. Bake this beauty for 30 to 35 minutes until it’s that deep, inviting Golden Brown Crust Bread color and sounds hollow when you tap the bottom. That’s perfection!
Tips for Success When Baking Italian Bread at Home
Baking your own Italian bread is seriously rewarding, but you want it perfect, right? Achieving that true Artisan Bread at Home feel just takes knowing one or two little secrets. I learned quickly that small tweaks make huge differences in the final crunch factor. This isn’t rocket science, but precision matters!
Most of the time, people ask me about achieving that crusty exterior versus that lovely soft interior. It all comes down to moisture control when you bake. Don’t worry; I’ve got the easy fixes here so you get exactly the loaf you are hoping for.
Controlling Crust Crispness in Your Italian Bread
So, do you want it crackly or soft? It’s your call! If you want that wonderfully crunchy, bakery-style finish—the kind that echoes when you tap it—you *must* use the steam trick we talked about earlier. Spraying the oven walls or using that shallow pan of hot water traps moisture in the oven initially. This steaming environment keeps the surface of your Italian bread dough pliable so it can expand to its fullest potential before setting hard.
Now, if you’re making this specifically for little ones or you just prefer a softer edge all around—maybe for simple sandwiches—just skip spraying the oven walls completely! Without that initial blast of steam, the crust will set up a bit sooner and stay softer, while the inside remains perfectly chewy. Want more tips on getting that perfect crust? This article breaks down some great ideas: Crusty Italian Bread: Bake Perfect Crust Every Time!
Serving Suggestions for Your Fresh Baked Bread Aromas
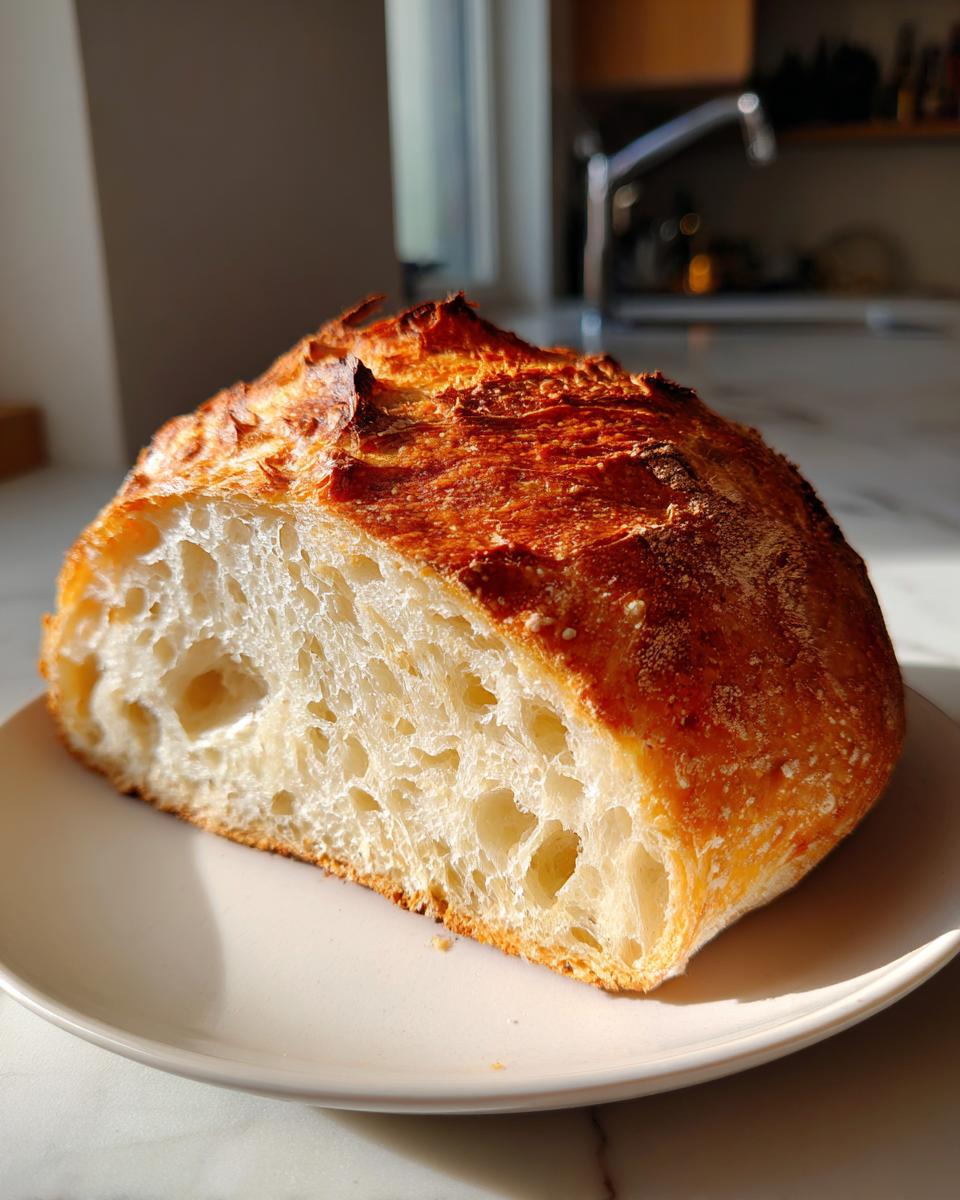
Honestly, my favorite part of baking this Italian bread is the moment it comes out and I can’t wait any longer! Once it cools slightly, the absolute best way to enjoy it is straight-up dipping. You might think you know good bread and olive oil, but trust me, this texture is built for soaking up flavor. These are some of the best Dipping Bread Recipes around!
But don’t just save it for dipping! This golden loaf is the perfect upgrade for any meal. It’s the ultimate Dinner Side Bread Recipes—perfect for wiping up every last bit of spaghetti sauce. I also love slicing it thick, maybe toasting it just a touch, and piling on some sharp provolone and prosciutto for a quick sandwich. That’s how Julian (the founder here!) prefers it—thick slices piled high for lunch the next day. Seriously, don’t let any crumbs go to waste!
Storage and Reheating Instructions for Chewy Italian Loaf
We know you probably plan on eating this whole loaf in one sitting because, let’s be real, it’s irresistible! But if you do manage to have leftovers of this wonderfully Chewy Italian Loaf, storage is simple.
For day two or three, wrap that bread tightly either in a clean tea towel or a paper bag sealed inside a plastic bag. Keep it stored at room temperature—never in the fridge, that just makes it stale faster! If the crust loses a little snap, don’t panic. Just fire up your oven to 350°F for about five minutes. That quick blast of dry heat works like magic to bring back that fresh-from-the-oven crunch to the exterior!
Frequently Asked Questions About This Italian Bread Recipe
I always get tons of questions when people try this loaf for the first time. Baking bread can feel intimidating, but once you know the why behind the what, it gets so much easier! Here are the things folks ask me most often about achieving this fantastic Homemade Italian Bread Recipe.
Can I make this Italian bread recipe without kneading?
That’s a great question, especially if you are looking for a true no-knead bread! For this specific recipe, I absolutely recommend kneading it for those full 8 to 10 minutes. That time is what develops the structure needed for our signature chewiness, which is key to a good Chewy Italian Loaf against that crisp crust. While some recipes skip the work, our method ensures you get that perfect texture promised in this Quick Italian Bread Tutorial. Don’t skip the massage; it’s worth it!
How long does it take to make this Quick Italian Bread Tutorial?
I call it ‘quick’ compared to sourdough or other long-fermented loaves, but you do need patience! The good news is that most of that time is hands-off rising time. If you look at the recipe details, the total time is about two hours and five minutes. That includes about 20 minutes of active prep and 1 hour and 45 minutes of rising time total. For fresh, bakery-quality bread, that’s pretty speedy, right? You are definitely achieving Easy Crusty Bread Baking in just a couple of hours!
If you want to dive into another baker’s perspective on fast bread, check out this great resource they have on making crusty loaves quickly: Easy Homemade Crusty Italian Bread Recipe. And remember, if you ever have concerns about the steps, you can always read our policy to see how we handle information!
Estimated Nutritional Data for Italian Bread
Okay, I’m not a nutritionist, so please take this section with a huge grain of salt—literally! This nutritional breakdown is just an estimate based on the ingredients listed, divided by the recipe yielding one standard loaf. If you slice your loaf thinly, the numbers per serving will obviously be much smaller.
For one estimated slice of this Italian bread, here’s what you’re generally looking at:
- Calories: About 160
- Total Fat: Around 2 grams
- Carbohydrates: Roughly 31 grams
- Protein: Approximately 5 grams
This is for a standard slice size, and remember, this bread is baked with love using simple pantry staples, so it’s fantastic alongside a big bowl of tomato sauce!
Share Your Homemade Italian Bread Creations
I truly hope you loved bringing this beautiful loaf of Italian bread into your kitchen! Honestly, hearing from you—seeing the photos of your perfectly golden crusts against your dinner tables—keeps the fire going for me here in the kitchen. This whole project, everything we do at Julia Meal, is about creating that connection over food, and you are now part of that family!
If you made this recipe and you’re walking around with that irresistible, fresh baked bread aroma still lingering in the air, please do me a huge favor: leave a rating below! Five stars if you enjoyed that crunchy crust and soft center as much as I do. And if you snapped a picture of your loaf ready for dipping or sandwich making, tag us on social media! We absolutely adore seeing your successes. If you want some inspiration for what to do with your leftover slices, check out this guide on achieving a crispy crust: Homemade Italian Bread with Crispy Crust | Step-by-Step Tutorial. Happy baking, and I can’t wait to see what you create next!
PrintEasy Crusty Homemade Italian Bread
Bake bakery-style Italian bread at home with this simple recipe. You get a golden, crunchy crust and a soft, chewy interior using basic pantry ingredients.
- Prep Time: 20 min
- Cook Time: 35 min
- Total Time: 2 hours 5 minutes
- Yield: 1 large loaf 1x
- Category: Bread
- Method: Baking
- Cuisine: Italian
- Diet: Vegetarian
Ingredients
- 3 1/2 cups all-purpose flour
- 1 1/2 teaspoons salt
- 1 teaspoon granulated sugar
- 2 1/4 teaspoons active dry yeast (1 packet)
- 1 1/2 cups warm water (about 105-115°F)
- 2 tablespoons olive oil, plus more for greasing
Instructions
- In a large bowl, mix the warm water, sugar, and yeast. Let this mixture sit for 5 to 10 minutes until it becomes foamy.
- Add the olive oil, salt, and half of the flour to the yeast mixture. Mix until just combined.
- Gradually add the remaining flour until a shaggy dough forms.
- Turn the dough out onto a lightly floured surface. Knead for 8 to 10 minutes until the dough is smooth and elastic.
- Lightly grease a large bowl with olive oil. Place the dough in the bowl, turning it once to coat. Cover the bowl with plastic wrap or a clean towel.
- Let the dough rise in a warm place for 1 to 1.5 hours, or until it has doubled in size. This is your first rise.
- Gently punch down the risen dough. Shape it into a long, oval loaf.
- Place the shaped loaf on a baking sheet lined with parchment paper or in a prepared loaf pan. Cover loosely.
- Let the dough rise again for 30 to 45 minutes, or until it looks puffy. This is your second rise.
- Preheat your oven to 400°F (200°C). Place a shallow pan on the bottom rack to create steam.
- Before baking, lightly brush the top of the loaf with water. Score the top of the loaf with a sharp knife if desired.
- Bake for 30 to 35 minutes, or until the crust is deep golden brown and the internal temperature reaches 200°F. For extra crust, spray the oven walls with water 3 times during the first 10 minutes of baking.
- Remove the bread from the oven and let it cool completely on a wire rack before slicing.
Notes
- For a crispier crust, place a baking stone or inverted baking sheet in the oven while preheating.
- If you want a softer crust, skip spraying the oven walls with water during baking.
- This bread is excellent for dipping in olive oil or serving with pasta dishes.
Nutrition
- Serving Size: 1 slice
- Calories: 160
- Sugar: 0.5
- Sodium: 280
- Fat: 2
- Saturated Fat: 0.3
- Unsaturated Fat: 1.7
- Trans Fat: 0
- Carbohydrates: 31
- Fiber: 1.5
- Protein: 5
- Cholesterol: 0