
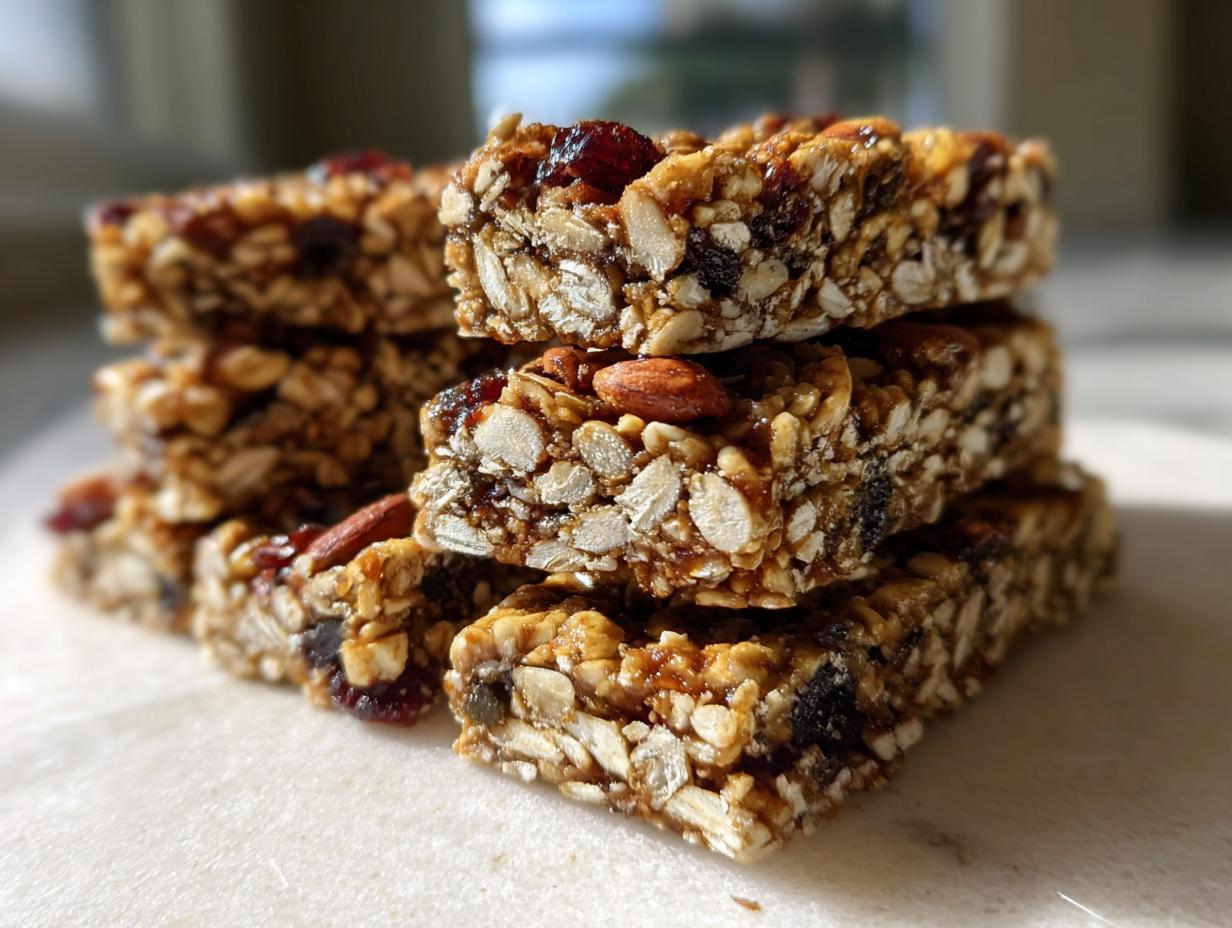
Are you tired of glancing at those plastic-wrapped granola bars in the grocery aisle, wondering just how many artificial things you’re actually consuming? I hear you. When I first started Julia Meal, I wanted to take the guess-work out of snacking. That’s why I developed this absolutely foolproof recipe for homemade granola bars.
Forget baking, forget complicated binders—these are chewy, naturally sweetened, and come together in about fifteen minutes of active time. As I learned from my grandmother, the best food is honest food, and these are honest bars. They are packed with wholesome goodness and are so easy, I’ve tested them dozens of times while running in and out of the kitchen. Trust me, once you try these, you won’t look back. Plus, they’re perfect for prepping ahead, which you can see more about in my guide to easy lunch meal prep.
- Why These Are the Best Homemade Granola Bars You Will Make
- Gathering Ingredients for Your Homemade Granola Bars
- Step-by-Step Guide to No Bake Bars Recipe Success
- Tips for Perfect Kid Friendly Granola Bars
- Storing Your Make Ahead Snacks: Homemade Granola Bars
- Variations: Creating Customizable Snack Bars
- Frequently Asked Questions About Homemade Granola Bars
- Nutritional Snapshot of These Wholesome Breakfast Bars
- Share Your Favorite Homemade Granola Bars Creations
Why These Are the Best Homemade Granola Bars You Will Make
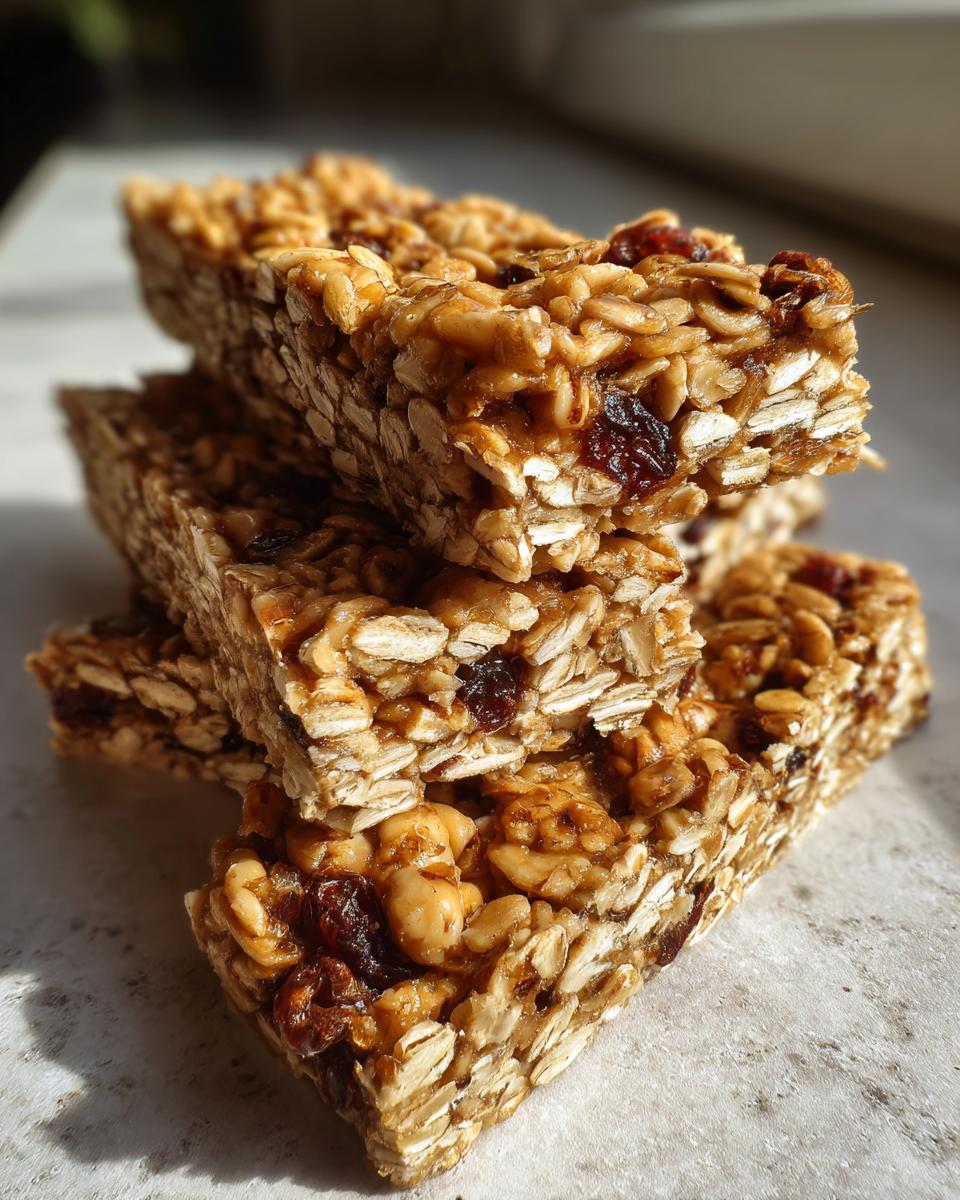
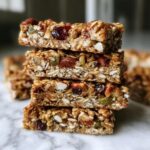
Honestly, these win every time because they skip the oven entirely. No bake means we preserve the texture we are aiming for, and that texture is pure chewiness. They are incredibly versatile, making them the best healthy snack bars for busy schedules.
- They rely completely on natural sweeteners for binding and flavor—no weird syrups here!
- Perfectly soft and bendable, making them ideal for packing in lunchboxes.
- They offer a fantastic source of slow-releasing energy, making them great quick energy bars.
Achieving the Perfect Chewy Granola Bar Recipe Texture
When you don’t bake them, the oats stay soft, which is the secret to chewiness. We use a precise ratio of rich nut butter and liquid sweetener. This warm binder coats every oat evenly, setting up into that dense, satisfying chew when chilled. It just can’t be replicated by baking!
Gathering Ingredients for Your Homemade Granola Bars
When you’re aiming for the best experience, you can’t skimp on your ingredients, but luckily, this list is short and sweet. These aren’t complicated bars by any means! We need good structure, which comes from the oats, and a quality binder to hold everything together. For your reference, I’ve detailed the exact ratios below. Remember, these simple foundations allow you to create amazing healthy breakfast ideas later!
- Two cups of standard rolled oats—no quick oats, please!
- One cup of your favorite mix-ins like seeds, nuts, or dried fruit.
- A lovely half-cup of rich, creamy nut butter—peanut or almond works brilliantly.
- A half-cup of liquid binder: honey or maple syrup are your best friends here.
- Just a dash of vanilla extract and a tiny pinch of salt to wake everything up.
Ingredient Notes and Customization Options
This is where the fun really starts! If you need a gluten free granola bars option, just make sure your rolled oats are certified GF. That’s the only change you need for the base recipe. We keep things simple here, but you can easily turn this into one of those coveted 5 ingredient bars if you omit that tiny bit of salt and the vanilla—honestly, it’s hardly noticeable!
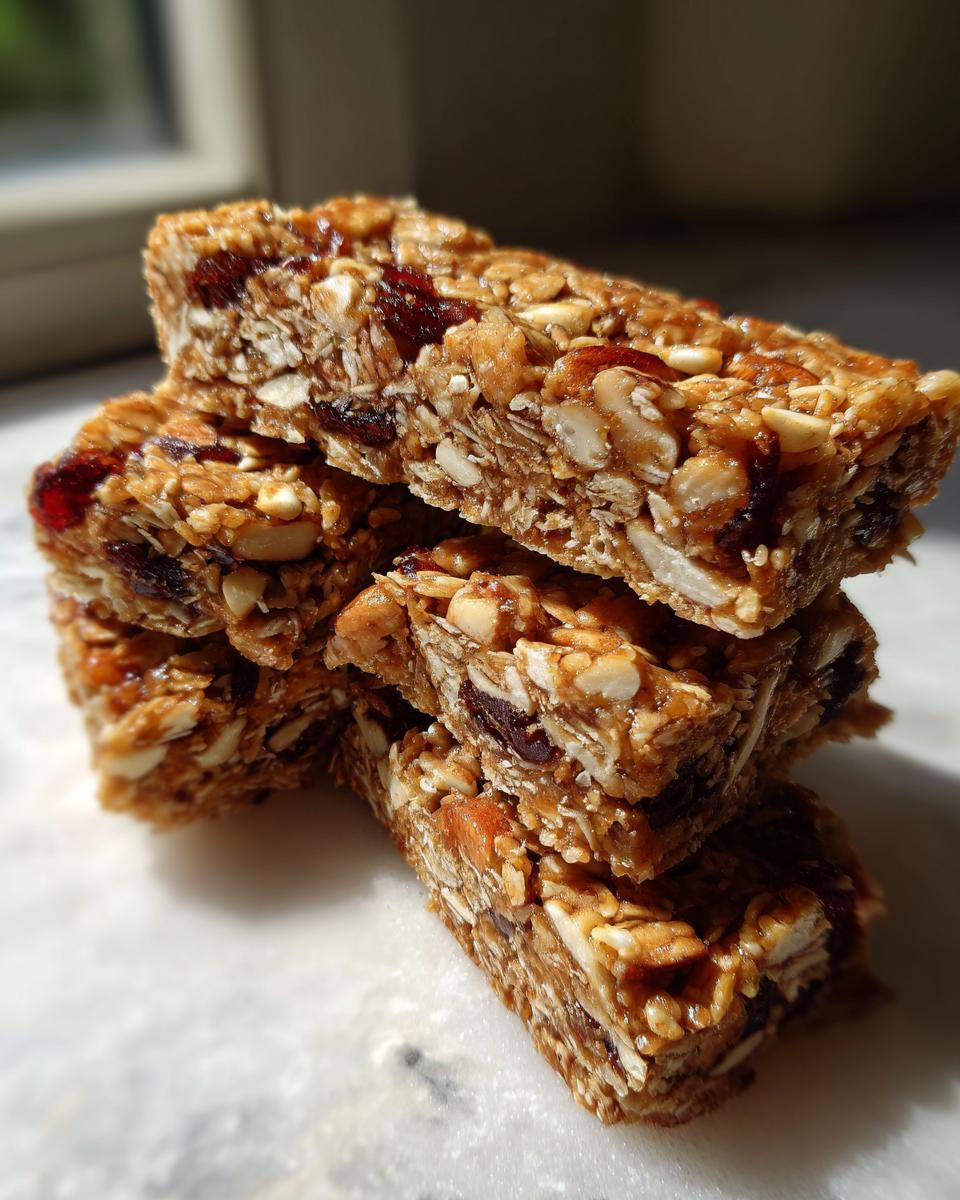
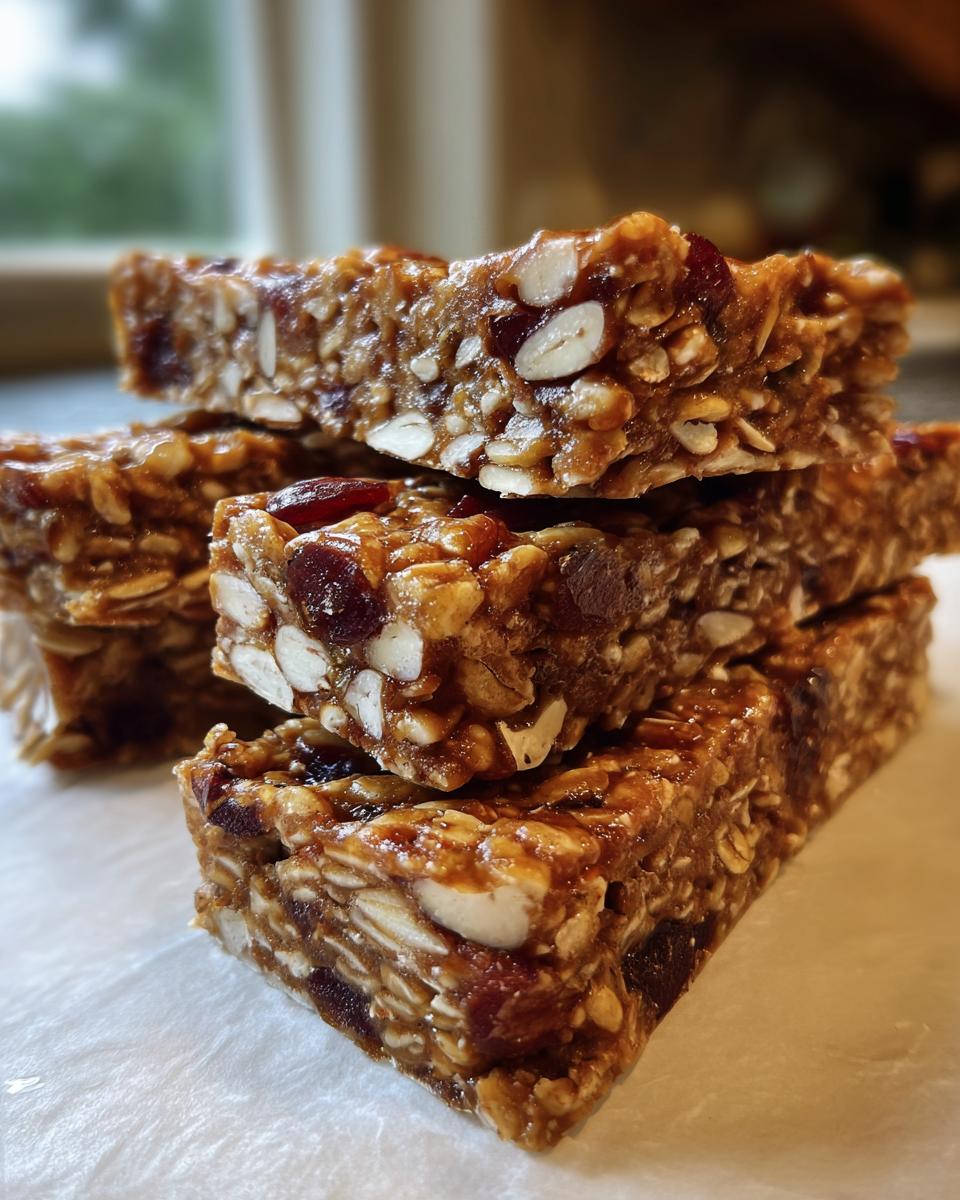
The beauty of these customizable snack bars is that cup of mix-ins! Toss in dried cherries, mini marshmallows, or sunflower seeds. If you want the classic vibe, go heavy on the mini chocolate chips for delicious chocolate chip granola bars homemade style. Just remember, whatever you add, keep that ratio right, and your bars will set up perfectly every time.
Step-by-Step Guide to No Bake Bars Recipe Success
Making these bars is so fast you’ll wonder why anyone bothers with the oven! The active mixing only takes me about 15 minutes, which is less time than it takes to preheat most ovens. Following these exact steps ensures you get those perfect pockets of chewiness instead of a crumbly mess. We are aiming for quality texture here, remember? Before we start mixing, you can check out some other quick energy bars recipes that save time, but for these beauties, pay close attention to the details!
Preparing the Pan and Mixing the Base
First things first, grab an 8×8 inch pan. You absolutely must line this with parchment paper, making sure you leave a nice overhang on two sides. This overhang is your handle later—trust me, it makes lifting the whole slab out so easy! Once the pan is ready, just toss your two cups of rolled oats and whatever mix-ins you chose into a large bowl. Give that dry stuff a quick stir just to combine.
Creating the Natural Sweetener Binder
This part requires just a little heat. In a small saucepan over the lowest heat possible, combine your creamy nut butter and your liquid sweetener—honey or maple syrup. You just want them warm enough to smoothly combine into a pourable liquid. This is so important: Do not boil this mixture! Boiling can cause the sugars to crystallize later, making your bars hard instead of chewy. Once it’s smooth, pull it off the heat and quickly stir in that vanilla and salt.
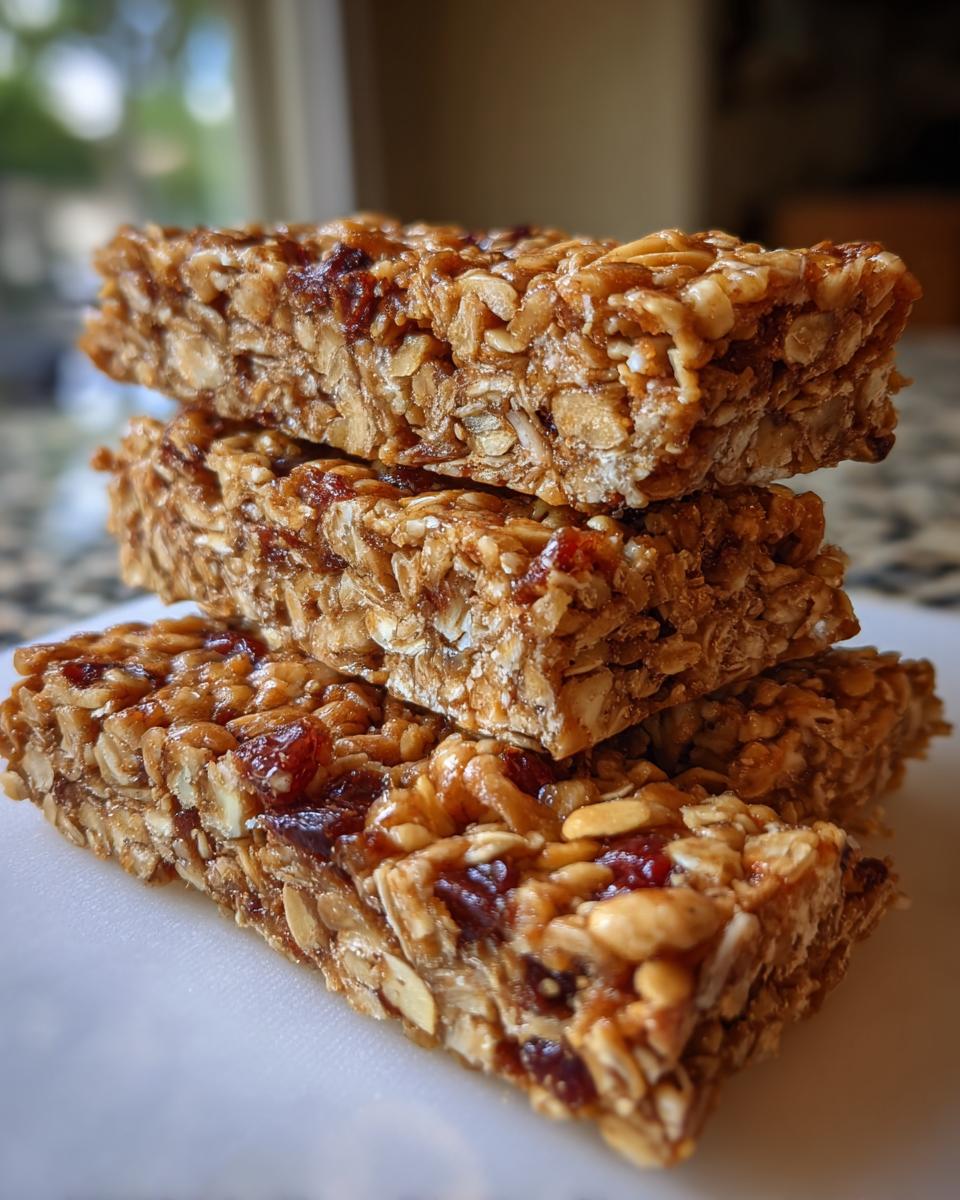
Pressing and Chilling Your Homemade Granola Bars
Pour that gorgeous warm binder right over your oats and stir like crazy until every single flake is coated—no dry spots allowed! Then, dump the mixture into your prepared pan. Now, this is where you earn your keep: press that mixture down firmly. Really compact it using the bottom of a glass or a measuring cup. You need to press hard so they hold their shape when cut. Then, pop the whole thing into the fridge for a solid two hours. That chilling is what sets these no bake bars recipe wonders!
Tips for Perfect Kid Friendly Granola Bars
Getting kids excited about snacks you make yourself can sometimes be tough, but these kid friendly granola bars are an absolute winner. My favorite memories of making these are when my niece, Lily, ‘helped’ me. She insisted on smashing the oats flat in the pan with her tiny hands before the final press. I let her go for it—it’s all about having fun!
Since these are for packed lunches, I always make sure the bar is super firm. A wobbly bar falls apart instantly! That’s why packing them tightly is key. We also rely heavily on milder mix-ins they love, like mini marshmallows or peanut butter chips.
For packing, I usually wrap each individual bar tightly in plastic wrap or parchment paper before storing them in a reusable container. That simple step prevents them from sticking together and keeps them fresh for school all week. Check out some other ideas for packing them happily in my guide on easy lunch meal prep. And if you want to see another wonderful recipe, you should definitely peek at the favorites over at Lisa’s site for more inspiration!
Storing Your Make Ahead Snacks: Homemade Granola Bars
One of the absolute best parts of this recipe is how well they hold up! Since these are naturally sweetened and we aren’t dealing with a lot of moisture from eggs or dairy, they are fantastic make ahead snacks.
Once you’ve cut your chilled slab, wrap each one individually. I prefer parchment paper since it keeps them from sticking together in the container. Store them in an airtight container right in the refrigerator. They stay perfectly good—still chewy and delicious—for up to a whole week. That means you just make one batch and you’re set for almost every school or work week!
Variations: Creating Customizable Snack Bars
This is really where you get to stamp your own name on this recipe! I adore how these customizable snack bars take on whatever personality you give them. If you’re craving something intensely comforting, lean heavily into the chocolate chip granola bars homemade look by using those chips, maybe a swirl of extra peanut butter on top before chilling.
But don’t stop at chocolate! Think about texture. I love adding pepitas—those green pumpkin seeds we get in the fall—for a little earthy pop against the sweetness. Or try toasted pecans if you like a deeper, nuttier flavor. If you want to try that super minimal binder recipe I mentioned, you could check out the ideas from this link for inspiration on ultra-simple versions.
For a genuine health boost, toss in flaxseed or chia seeds along with your dried cranberries. They blend right in, but give you fantastic fiber and healthy fats. These simple swaps let you change the entire profile of the bar without ever touching the stove, which I think is pretty neat. You can even use different nut butters, like cashew butter, if you have a favorite flavor. For a bright, fruity take, try adding dried blueberries and tossing in some lemon zest before mixing. It’s just so easy to adapt!
If you’re branching out into other baking adventures, I have a killer banana cream pie recipe too, but these bars are perfect for when you need zero fuss.
Frequently Asked Questions About Homemade Granola Bars
I get so many questions when people first try making these bar, which I guess just proves how many people are seeking better oatmeal snack bars! Here are the things I hear most often when I share this recipe. If you have other questions after you try them out, drop a comment below; I love hearing how you customized the add-ins!
Can I make these without baking?
You absolutely can! That’s the best part about this specific recipe—it’s a true no bake bars recipe. We rely entirely on the fat and sugar ratio in the binder getting cold. When you chill the mixture in the fridge for those critical two hours, the nut butter and the syrup solidify just enough to hold everything tight. If you bake them, you’ll likely change the texture we worked so hard to achieve!
What is the best way to sweeten these homemade granola bars naturally?
For natural sweetener recipes, you have two fantastic options here: honey or maple syrup. If you use raw honey, the bars will likely set up a tiny bit firmer once chilled. Maple syrup tends to keep them slightly softer and yields a more neutral flavor that lets your oats and nuts shine. Both work beautifully, so use whichever one you have on hand or prefer the taste of. Just use the same measurement for either!
How do I ensure my easy homemade granola bars hold together?
This is all about two things: the ratio and the muscle! First, make sure the ratio of your wet binder (nut butter/syrup) to your dry ingredients (oats/mix-ins) is correct. If it seems too dry, add one small teaspoon of syrup until it just barely clumps when squeezed. Second, and this is critical, you must press them firmly and evenly into the pan! Use a heavy measuring cup to really compact them down before chilling. That pressure is what locks everything in place so they don’t crumble when you try to cut them. We want easy, non-crumbling easy homemade granola bars every time!
If you’re looking for other simple cooking ideas, I’ve got my favorite apple cinnamon overnight oats that are just as quick!
Nutritional Snapshot of These Wholesome Breakfast Bars
When we talk about wholesome breakfast bars, we need to know what we’re fueling up with, right? While every mix-in you choose will slightly shift these numbers, here is the baseline nutrition for one of these glorious bars, based on the core recipe. Just remember, these are estimates, so your results might vary a little based on the exact nut butter or sweetener you use.
- Calories: Around 190
- Total Fat: About 9g
- Protein: Roughly 5g
- Carbohydrates: 25g
- Sugar: About 10g (all from natural sources!)
I think that’s pretty respectable for a snack that tastes like a treat!
Share Your Favorite Homemade Granola Bars Creations
Now that you have the blueprint for what I think are the absolute best homemade granola bars, I’m eager to see what you cook up! If you loved the easy, chewy payoff of this recipe, please leave a rating below—five stars if you agree they are game-changers! And don’t be shy; tell the community what wild or wonderful mix-ins you decided to use. I always get great ideas from readers, just like the fun adventure over at this spot.
I’m constantly testing new variations, and your feedback helps me grow Julia Meal. Head over to my About Page if you want to know more about my own journey in the kitchen!
PrintChewy, No-Bake Homemade Granola Bars
Make easy, chewy, no-bake homemade granola bars that are naturally sweetened and perfect for a healthy snack or lunchbox addition. These customizable snack bars are family favorites.
- Prep Time: 15 min
- Cook Time: 0 min
- Total Time: 2 hr 15 min
- Yield: 12 bars 1x
- Category: Snack
- Method: No-Bake
- Cuisine: American
- Diet: Vegetarian
Ingredients
- 2 cups rolled oats
- 1 cup mix-ins (nuts, seeds, chocolate chips, dried fruit)
- 1/2 cup creamy nut butter (peanut or almond)
- 1/2 cup liquid sweetener (honey or maple syrup)
- 1 teaspoon vanilla extract
- 1/4 teaspoon salt
Instructions
- Line an 8×8 inch baking pan with parchment paper, leaving an overhang for easy removal.
- In a large bowl, combine the rolled oats and your chosen mix-ins.
- In a small saucepan over low heat, warm the nut butter and liquid sweetener until smooth and easily pourable. Do not boil.
- Remove the saucepan from the heat and stir in the vanilla extract and salt.
- Pour the warm liquid mixture over the oat and mix-in combination. Stir well until everything is evenly coated.
- Press the mixture firmly and evenly into the prepared baking pan. Use the bottom of a glass or a spatula to pack it down tightly.
- Refrigerate the bars for at least 2 hours, or until completely firm.
- Use the parchment paper overhang to lift the slab from the pan. Cut into 12 or 16 bars.
- Store the best homemade granola bars in an airtight container in the refrigerator for up to one week.
Notes
- For a gluten free granola bars option, use certified gluten-free rolled oats.
- To make these 5 ingredient bars, omit the salt and vanilla extract.
- If you prefer a crispier bar, you can bake this mixture at 350°F for 12-15 minutes before chilling.
- These are excellent make ahead snacks for quick energy bars.
Nutrition
- Serving Size: 1 bar
- Calories: 190
- Sugar: 10g
- Sodium: 75mg
- Fat: 9g
- Saturated Fat: 1.5g
- Unsaturated Fat: 7.5g
- Trans Fat: 0g
- Carbohydrates: 25g
- Fiber: 3g
- Protein: 5g
- Cholesterol: 0mg