
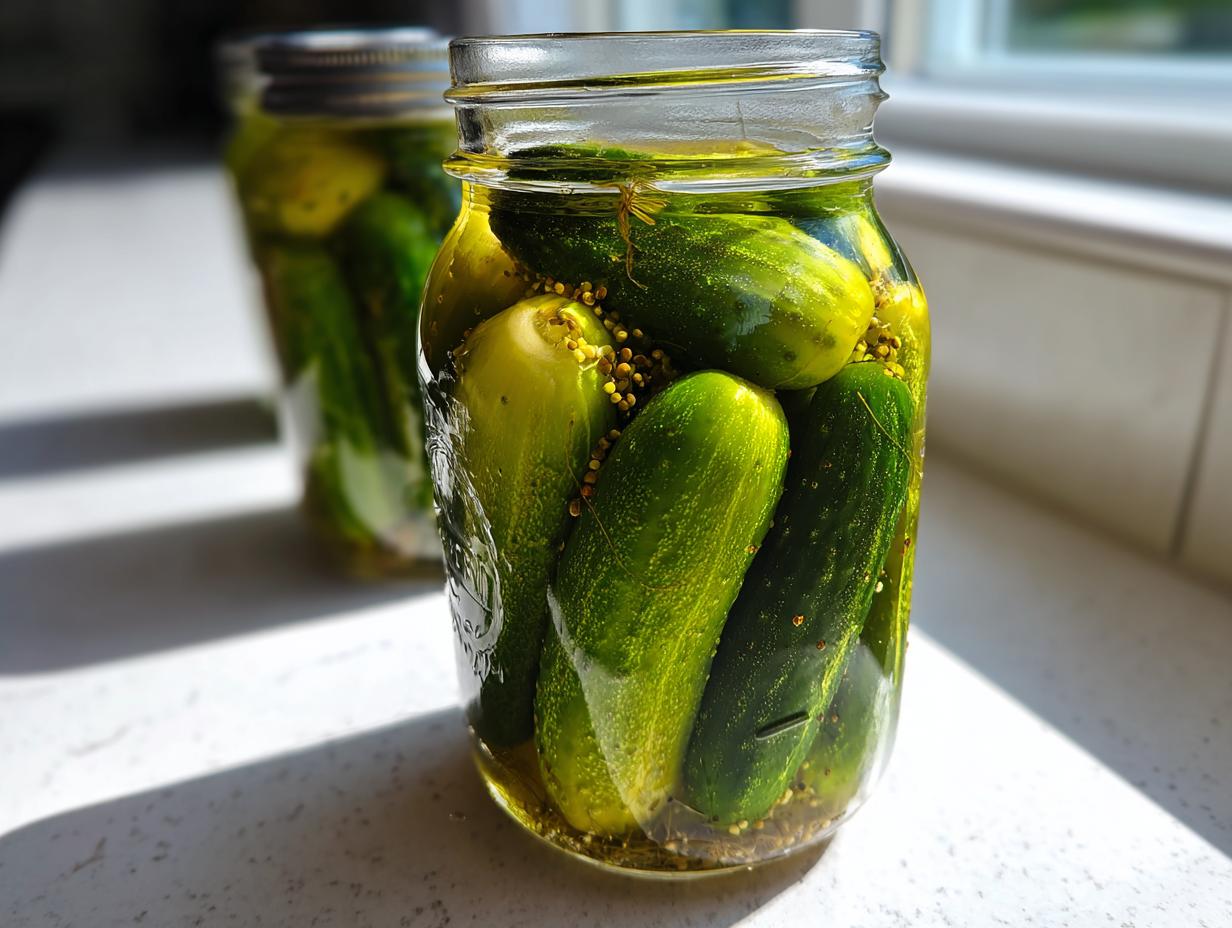
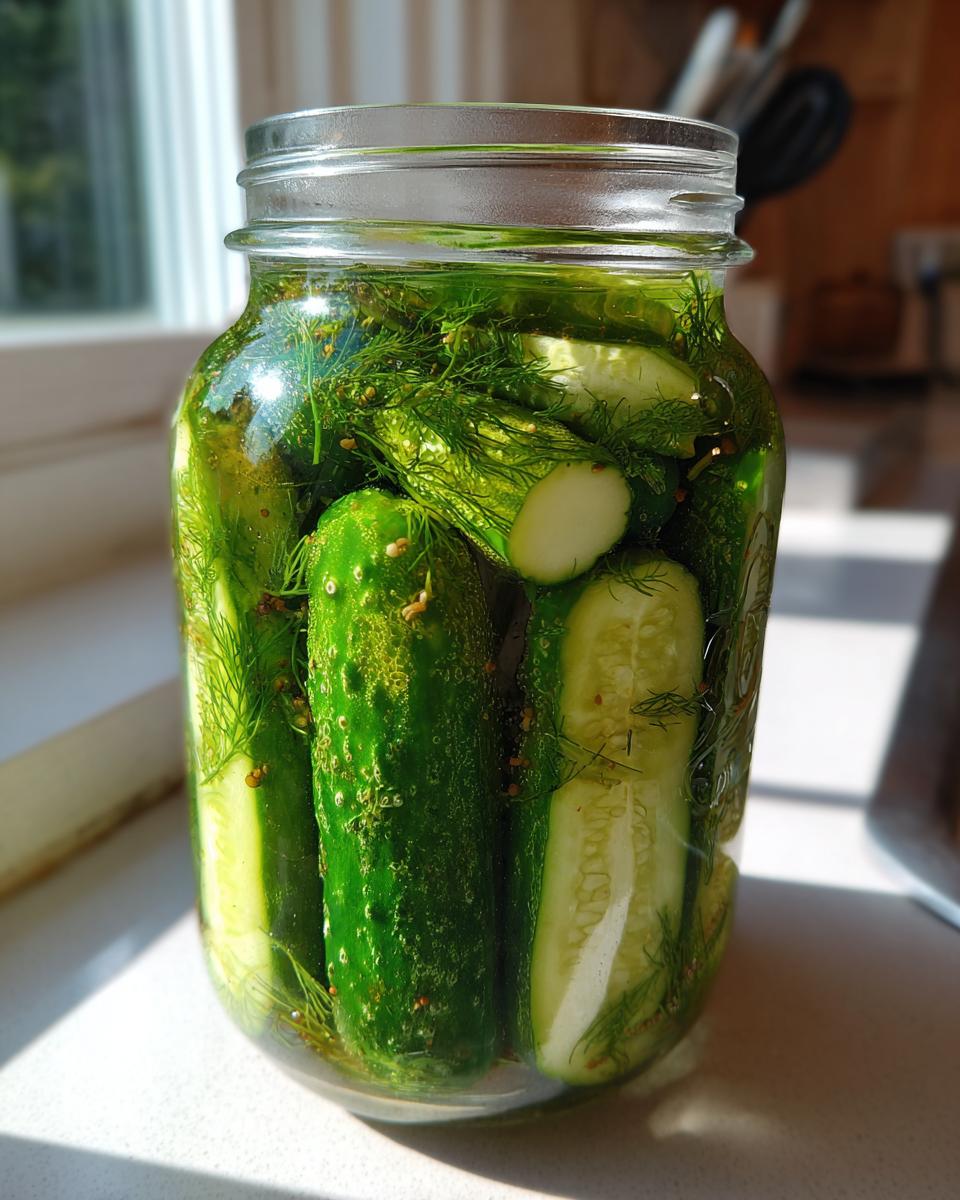
There is nothing quite like the snap of a perfectly pickled cucumber straight out of the fridge. That bright, tangy crunch makes everything better—sandwiches, burgers, or just eating them straight over the sink! When I was learning to cook, I found that the simplest things, like making great refrigerator pickles, often carry the most meaning. For me, capturing that satisfying bite ties right back to my family’s kitchen, where quality, fresh flavor always came first, even without the fuss of traditional preserving.
Forget complicated canning equipment and long processing times. We are diving straight into what I believe are the ultimate, crispy 24-hour refrigerator pickles. They are incredibly easy, bursting with garlic and dill, and ready before the weekend is out. If you want that perfect homemade cucumber pickle flavor without spending all day over a hot stove, this recipe is exactly what you need for your next batch of easy lunch prep.
- Why These Are the Best Refrigerator Dill Pickles You Will Make
- Gathering Ingredients for Your Crispy Refrigerator Pickles
- Step-by-Step Guide: How to Make Refrigerator Pickles Fast
- Tips for Success with Crispy Refrigerator Pickles
- Storage and Shelf Life of Homemade Cucumber Pickles
- Serving Suggestions for Your Tangy Crunchy Pickles
- Frequently Asked Questions About Refrigerator Pickles
- Understanding the Nutrition in Your Homemade Refrigerator Pickles
- Share Your Experience Making These Easy Homemade Pickles
Why These Are the Best Refrigerator Dill Pickles You Will Make
I’ve tried pretty much every fast pickling method out there, and I keep coming back to this one every single time. Why? Because it delivers exactly what we want: incredible, tangy crunchy pickles without the commitment of actual canning. Seriously, these are the best refrigerator pickle recipe you’re going to find.
- They are ready to eat in under 24 hours. That’s quick pickling success!
- The brine is simple—just everyday pantry staples making maximum flavor.
- There is absolutely zero fancy equipment or boiling water bath required. This is purely no canning pickles recipe heaven.
Achieving Maximum Crunch in Your Refrigerator Pickles
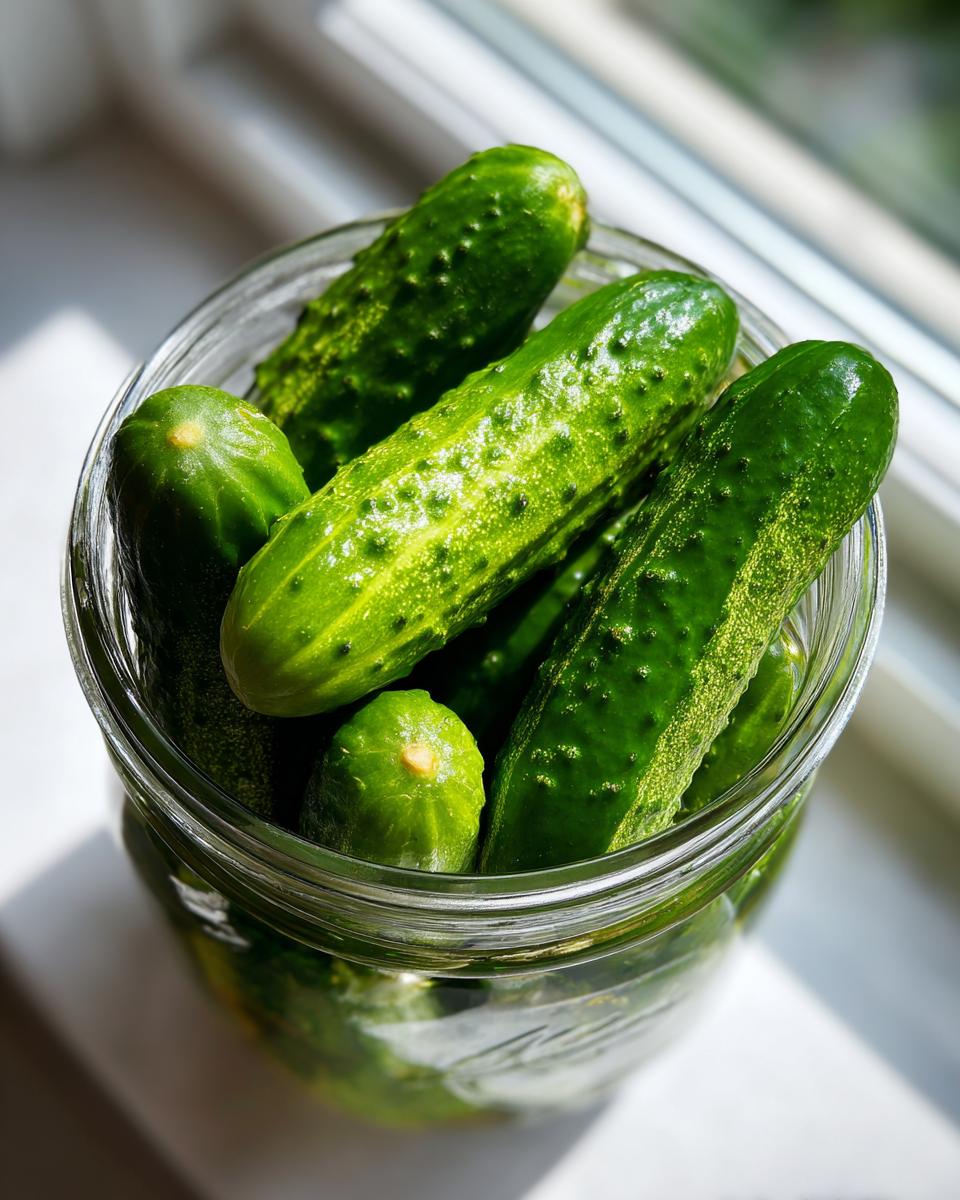
The secret to that wonderful snap isn’t just the cold; it’s the cucumber itself! You absolutely must use firm pickling cucumbers, like Kirby. More importantly, I always trim off the very end where the flower was. That tiny bit holds enzymes that can soften your pickle as it sits. Trim that off first, and trust me, you’ll get that crisp result every time.
Gathering Ingredients for Your Crispy Refrigerator Pickles
You only need simple things for these easy homemade pickles, but quality really matters here. We’re using firm pickling cucumbers—think Kirby—because slicing varieties break down too fast. We need four cups of water and two cups of vinegar to make the brine, plus salt, sugar, garlic, dill, peppercorns, and mustard seeds. That’s it for this simple pickling recipe!
Here is what you’ll need for two quarts:
- 2 pounds pickling cucumbers (Kirby or similar small, firm variety)
- 4 cups water
- 2 cups white vinegar (5% acidity)
- 2 tablespoons pickling salt (or kosher salt, not iodized)
- 1 tablespoon granulated sugar
- 4 cloves garlic, smashed
- 4 large fresh dill heads (or 4 teaspoons dried dill seed)
- 1 teaspoon black peppercorns
- 1/2 teaspoon mustard seeds
Ingredient Notes and Substitutions for Refrigerator Pickles
Listen, about that salt: please do not use table salt with iodine in it! It can make your brine cloudy and leave an off-flavor. We want pickling salt or plain kosher salt for the cleanest taste. If you can’t find fresh dill heads, don’t sweat it. Just use the dried dill seed—it works great in the brine, though the flavor is a little different. These simple swaps keep things flexible for your next batch of refrigerator dill pickles.
Step-by-Step Guide: How to Make Refrigerator Pickles Fast
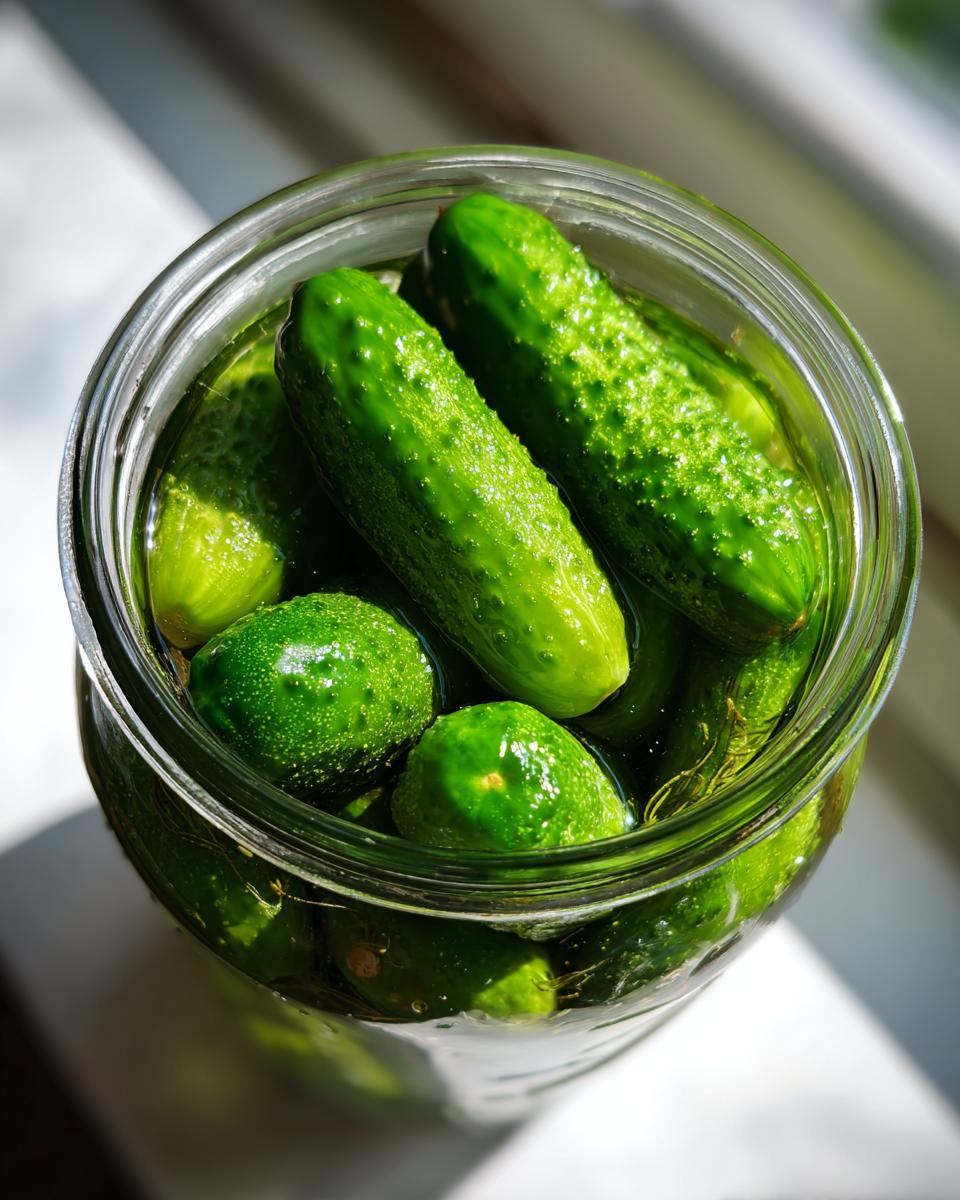
Okay, this is where the magic happens, and truly, it’s so fast! Before we even start heating things up, make sure you’ve washed those cucumbers well and trimmed off any brown, dry ends—that’s key for keeping them crunchy. Slice them however you like—spears are classic—and get your two clean quart jars ready to go.
The whole process is really about getting the brine ready, packing the jars, and letting time do the rest. You’ll have these delicious refrigerator pickles chilling before you even finish cleaning up the cutting board. If you’re looking for more quick recipes, sticking to a simple process like this is always the way to go!
Preparing the Brine for Perfect Refrigerator Dill Pickles
Grab a saucepan and toss in your water, vinegar, salt, and sugar. Turn the heat up to medium-high and stir it constantly until you see everything—the salt and sugar—completely dissolve. You need to bring this mixture just to a boil. The second it hits that rolling boil, yank it off the heat. Don’t let it keep simmering; we just need the heat to activate those spices and dissolve the salt. That hot liquid is what starts the pickling process right away!
Assembling and Sealing Your 24 Hour Pickles Recipe
Now, let’s build flavor in the jars. Divide your smashed garlic, your dill heads or seeds, peppercorns, and mustard seeds evenly between the two jars. Pack your cucumber slices in snugly on top of the seasonings. Then, pour that hot brine directly over everything until those cucumbers are submerged, leaving about a half-inch of space at the top. Wipe those jar rims clean—you want a perfect seal! Put the lids on tight, let them sit on the counter for just an hour to cool down completely, and then they are ready for the fridge! Congratulations, you just made a fantastic no canning pickles recipe success!
Tips for Success with Crispy Refrigerator Pickles
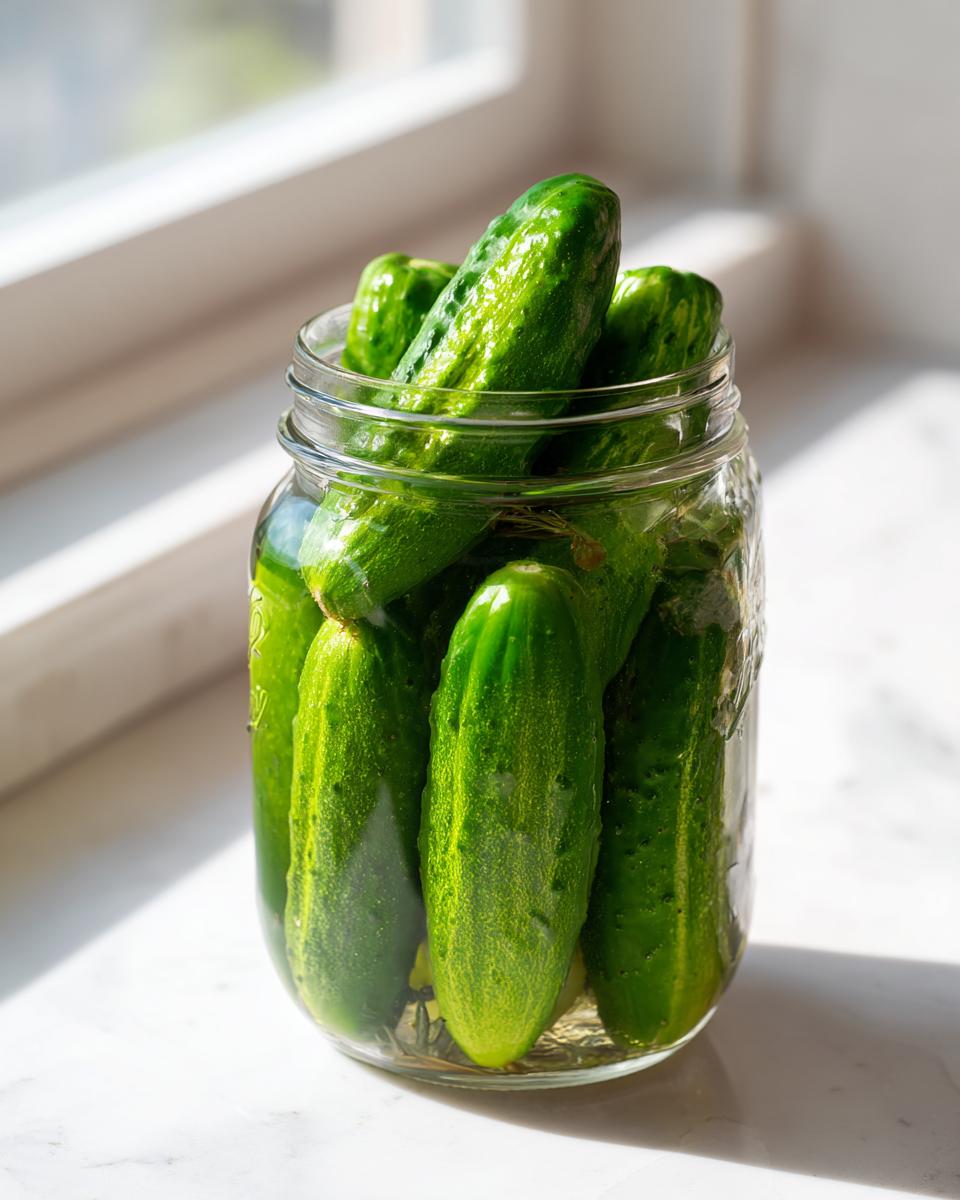
Getting those snappy, perfect garlic dill pickles relies on a couple of small but mighty details, and you know I’m always here to share the secrets! Like I mentioned before, using the freshest cucumbers you can find is non-negotiable for crunch. If your cucumbers are old or soft to begin with, no amount of cold brine is going to stiffen them up. They have to start firm!
Also, don’t skimp on the flavorings, especially the garlic and dill. Since these refrigerator pickles are quick-pickled, the spices need to work hard in that short 24 to 48-hour window to really infuse. If you are looking for ways to pair these fantastic pickles, try them alongside some creamy garlic mashed potatoes; the sharp tang cuts right through the richness!
Storage and Shelf Life of Homemade Cucumber Pickles
One of the biggest perks of making refrigerator pickles is skipping the canning bath, which is fantastic! But here’s the catch—because we aren’t processing these using high heat, they need to stay cold all the time. You must store these fridge pickles no canning required in an airtight container in your refrigerator. They are ready to eat after 24 hours, but for the best tangy flavor, I highly recommend waiting the full 48 hours.
They’ll last you about four to six weeks in the cold. If you want to see more about general storage tips, Kitchn has some great advice on how long different varieties keep safe, like this piece on how to make refrigerator pickles using similar methods.
Serving Suggestions for Your Tangy Crunchy Pickles
Now that you’ve got jars overflowing with perfectly snappy, fresh refrigerator pickles for sandwiches, the big question is: where do they go first? Honestly, they are amazing all on their own as a cool little snack, especially right after you pull them out of the fridge midday. But I primarily make these for my burger nights. That sharp, tangy punch cuts through rich, fatty foods like nothing else!
They are mandatory on my classic cheeseburger setup, of course. They also elevate sloppy joes perfectly—try putting a layer of them on top of my famous Sloppy Joes next time! And while we are talking sandwiches, these pickles are divine chopped up and mixed into a base where you need brightness. They add such a fantastic, crisp texture to my creamy chicken salad—it’s a game changer!
Frequently Asked Questions About Refrigerator Pickles
I know you’ll have questions when you first jump into making these at home, because homemade is just better, right? These quick refrigerator pickles shouldn’t be intimidating, though! I put together the most common things folks ask me about getting this simple pickling recipe right the first time.
Can I make refrigerator sweet pickles with this brine ratio?
That’s a great question! This brine is perfectly balanced for that classic tangy, savory dill profile. If you want refrigerator sweet pickles, you’ll need to adjust. Generally, you increase the sugar significantly in the brine—maybe doubling it or even more—to balance out the vinegar. Taste your brine before you pour it over the cucumbers to make sure it hits that sweet spot for you!
How long do I really need to wait before eating these refrigerator dill pickles?
You *can* sneak one after about 12 hours if you absolutely cannot resist—the flavor is already starting to penetrate! But seriously, for these refrigerator dill pickles, the minimum wait time is a solid 24 hours. That gives the salt and spices time to work their magic. If you want that absolute, peak, satisfying crunch and the fullest flavor, wait the full 48 hours. Trust me on the extra day!
If you try this recipe and have any other burning questions about making your batches perfect, please don’t hesitate to reach out! You can always message us via the contact page; I love hearing about your successes!
Understanding the Nutrition in Your Homemade Refrigerator Pickles
When you’re making food from scratch, especially something like these vibrant refrigerator pickles, it’s nice to have a general idea of what you’re eating. Because we’re using simple ingredients—cucumbers, salt, vinegar, and spices—the nutrition profile is fantastic! It’s mostly water and crunch!
I ran the numbers based on the standard measurements in the recipe for just one spear. Now, remember that this is just an estimate since the size of your cucumbers and how much brine they soak up can change things slightly. But this gives you a great benchmark for these delicious quick and easy preserving treats!
Here is a quick look at the approximate values:
- Serving Size: 1 spear
- Calories: About 10—that’s basically nothing!
- Sugar: Only 1 gram, coming mostly from that touch of granulated sugar we added to balance the acid.
- Sodium: This usually comes in around 180mg. That’s why they taste so perfectly tangy!
- Fat and Cholesterol: Zero!</li
See? You get all that huge flavor and incredible texture from these homemade cucumber pickles without adding any fat. They are such a light, refreshing side dish or snack. If you manage to keep them around long enough, they are so worth the minimal effort!
Share Your Experience Making These Easy Homemade Pickles
Making up a fresh batch of these easy homemade pickles is such a rewarding feeling, right? You took some plain cucumbers and vinegar, and now you have jars full of tangy, crispy goodness ready for lunch all week! I truly hope this recipe has shown you just how simple making your own pantry staples can be—that’s what Julia Meal is all about: making home cooking accessible and joyful.
I would absolutely love to hear how your first batch of refrigerator dill pickles turned out! Did you stick to spears, or did you make chips this time around? Did you add any red pepper flakes for that little extra kick I mentioned? Please leave a rating below—if you feel they deserve it, a five-star review really helps other home cooks find this great, simple way to enjoy pickles!
Don’t forget to snap a picture! If you share your jars on social media, tag us! Seeing those vibrant green pickles make my day. It’s a wonderful connection back to the core idea of food being our gathering language. If you want to explore more simple recipes that make big flavors without big fuss, take a peek at my About Page to see more about my journey in the kitchen!
PrintThe Ultimate Crispy 24-Hour Refrigerator Dill Pickles (No Canning Required)
Make the best crispy refrigerator dill pickles at home without any canning steps. These quick pickles are ready in 24 hours and are perfect for sandwiches or snacks.
- Prep Time: 15 min
- Cook Time: 5 min
- Total Time: 1 hour 20 min (plus 24-48 hours chilling)
- Yield: 2 quarts 1x
- Category: Side Dish
- Method: Quick Pickling
- Cuisine: American
- Diet: Vegetarian
Ingredients
- 2 pounds pickling cucumbers (Kirby or similar small, firm variety)
- 4 cups water
- 2 cups white vinegar (5% acidity)
- 2 tablespoons pickling salt (or kosher salt, not iodized)
- 1 tablespoon granulated sugar
- 4 cloves garlic, smashed
- 4 large fresh dill heads (or 4 teaspoons dried dill seed)
- 1 teaspoon black peppercorns
- 1/2 teaspoon mustard seeds
Instructions
- Wash the cucumbers thoroughly. Trim off the blossom end of each cucumber; this helps keep them crisp. Slice the cucumbers into spears, chips, or leave them whole, based on your preference.
- In a medium saucepan, combine the water, vinegar, pickling salt, and sugar. Bring the mixture to a boil over medium-high heat, stirring until the salt and sugar dissolve completely. Remove the brine from the heat.
- While the brine heats, prepare your jars. You will need two clean quart-sized jars or equivalent containers that have tight-fitting lids.
- Divide the flavorings evenly between the two jars: place 2 smashed garlic cloves, 2 dill heads (or 2 teaspoons dill seed), 1/2 teaspoon peppercorns, and 1/4 teaspoon mustard seeds into each jar.
- Pack the sliced cucumbers tightly into the prepared jars, standing them upright if possible.
- Carefully pour the hot brine over the cucumbers in each jar, making sure the cucumbers are fully submerged. Leave about 1/2 inch of headspace at the top of the jar.
- Tap the jars gently on the counter to release any trapped air bubbles. Wipe the rims clean. Seal the jars with their lids.
- Allow the jars to cool on the counter for about one hour. Once cooled, place the jars in the refrigerator.
- Wait at least 24 hours before eating. For the best, most intense flavor and crunch, wait 48 hours. These are your crispy refrigerator pickles, ready for sandwiches and burgers.
Notes
- To guarantee the crispiest refrigerator pickles, use very fresh, unwaxed pickling cucumbers. Do not use slicing cucumbers from the grocery store if possible.
- If you do not have fresh dill heads, use dried dill seed or fresh dill weed, adjusting the amount to your taste.
- These homemade cucumber pickles must be stored in the refrigerator and will last for about 4 to 6 weeks.
- For a spicier kick, add 1/4 teaspoon of red pepper flakes to each jar.
Nutrition
- Serving Size: 1 spear
- Calories: 10
- Sugar: 1
- Sodium: 180
- Fat: 0
- Saturated Fat: 0
- Unsaturated Fat: 0
- Trans Fat: 0
- Carbohydrates: 2
- Fiber: 0
- Protein: 0
- Cholesterol: 0