
If you’ve ever made sushi at home only to find your rice fell apart, tasting either bland or strangely gluey, I totally sympathize. It’s the most frustrating part of the whole experience, right? But listen, making that perfect, glossy, sticky rice for sushi rice isn’t some unattainable restaurant magic. After spending time honing techniques in professional kitchens, I realized the real secret to incredible Japanese food starts right here. This guide is my total breakdown for achieving that perfect texture every single time. It’s simpler than you think, and once you nail this base, you’ll be ready to roll!
Learning this skill is essential before you tackle rolls, but it’s also the base for amazing bowls like my easy sushi bake. I’m handing over everything I learned so that your home kitchen can finally produce restaurant-quality results.
- Why Perfect Sushi Rice is the Foundation of Great Japanese Dishes
- Gathering Your Ingredients for Authentic Sushi Rice
- The Crucial First Step: How to Wash Sushi Rice Properly
- Cooking Your Sushi Rice: Stovetop Guide vs. Rice Cooker Method
- Seasoning the Rice: Achieving Perfect Rice Texture
- The Final Step for Sticky Rice for Sushi: Cooling and Resting
- Tips for Success with Homemade Sushi Rice
- Frequently Asked Questions About Making Sushi Rice
- Storage and Reheating Best Practices for Sushi Rice
Why Perfect Sushi Rice is the Foundation of Great Japanese Dishes
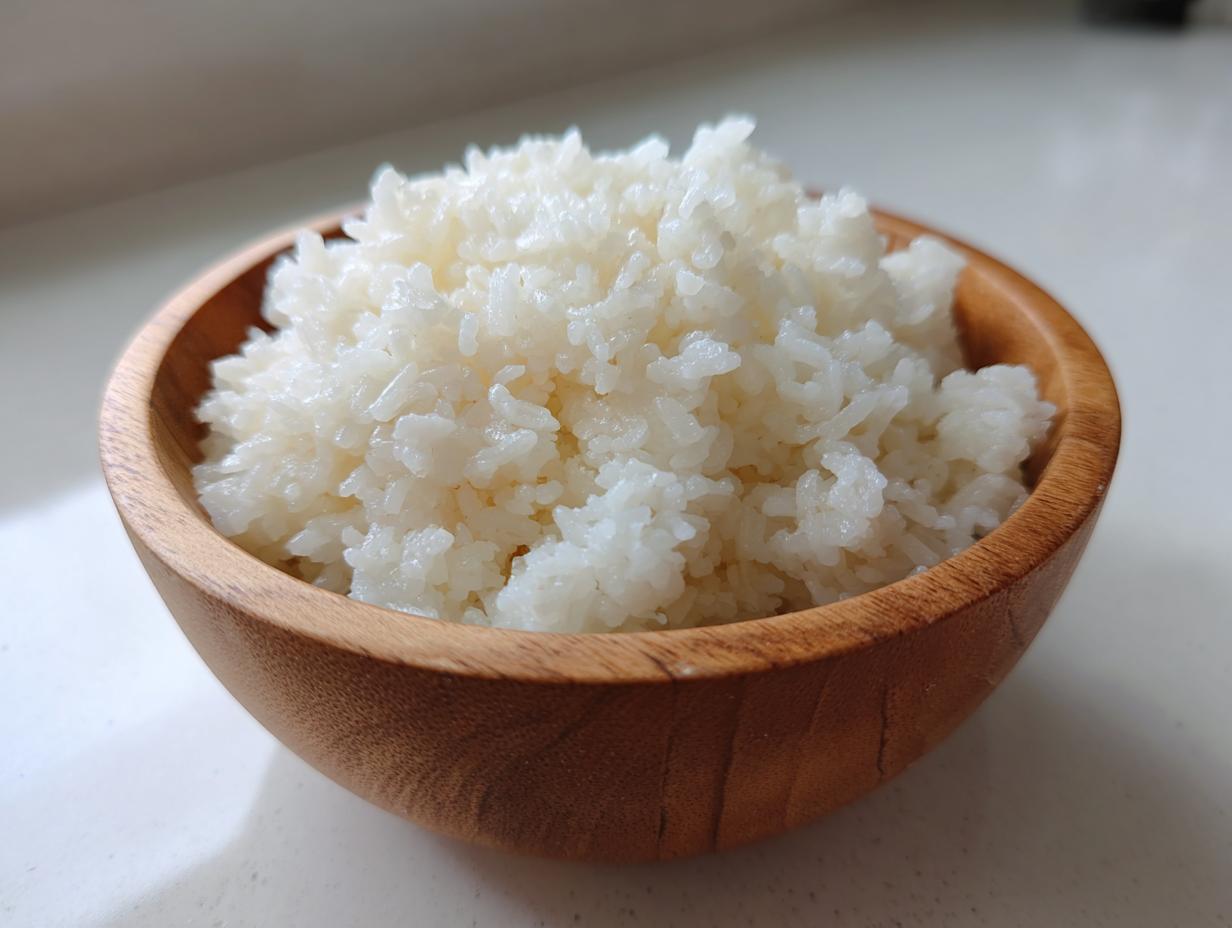
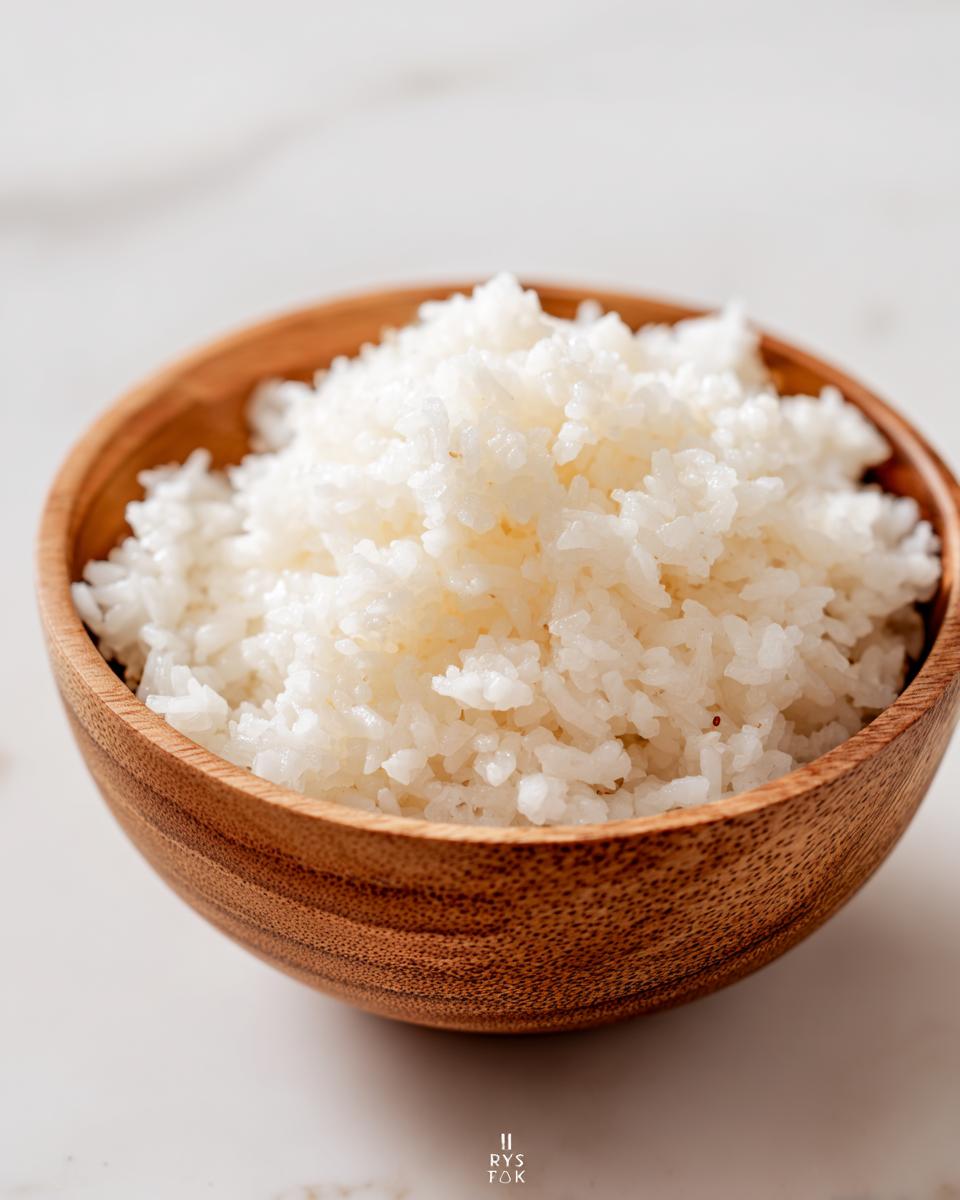
Honestly, if you mess up the rice, you mess up the entire dish. That’s the gospel truth I learned early on. We aren’t aiming for fluffy Basmati here; we need true sushi rice, which means it has to be perfectly sticky—but listen to me, sticky doesn’t mean mushy! We want every beautiful, plump grain to hold its shape but still cling perfectly to the next one.
Mastering this texture is what separates cafeteria sushi from the real deal. This foundation is necessary whether you are carefully wrapping up homemade maki rolls or piling everything high for a gorgeous rice bowl, like the ones I love to make for fresh poke. Once you conquer the rice, everything else builds beautifully on that sticky base.
Check out some of my favorite combinations for rice for poke bowls when you’re ready for the next step!
Gathering Your Ingredients for Authentic Sushi Rice
Before we even look at touching the stove or the rice cooker, we need to talk about what you bring to the party. If you want that restaurant flavor, you absolutely must start with the right grain. Forget the long-grain stuff; we need true Japanese short-grain rice—the kind specifically labeled as sushi rice. It’s starchier, which is exactly what gives us that famous clingy texture we’re after.
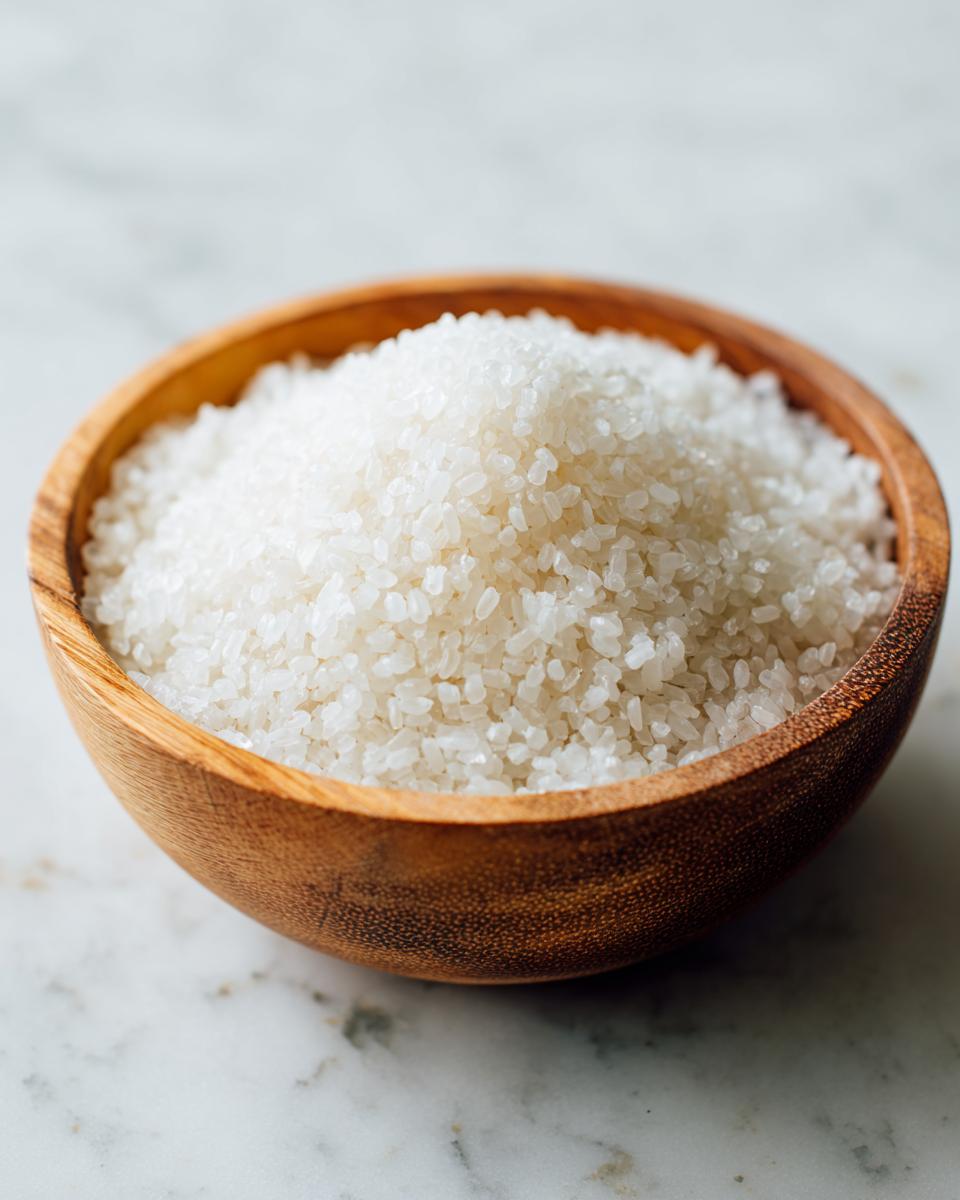
You only need a few things beyond the rice itself. Make sure you have cold water for cooking, unseasoned rice vinegar (this is non-negotiable!), granulated sugar to balance that tang, and fine sea salt. If you use seasoned vinegar, trust me, your rice will taste painfully sharp. Precision here matters for that **best sushi rice recipe** finish.
The Essential Sushi Vinegar Dressing Mix
This little seasoning potion is where all the magic happens for the flavor profile. You’re combining the rice vinegar, sugar, and salt here. It needs to be gently warmed until everything dissolves—think just warm to the touch, not a bubbling mess! Boiling the vinegar wakes up the sharp edges too much, and nobody wants angry rice. This dressing mix coats every grain perfectly, transforming plain cooked rice into seasoned rice ready for rolling.
The balance here is key: enough sugar to soothe the vinegar, enough salt to make the sweetness pop. Once it’s mixed and cooled slightly, it’s ready to go right over your hot, freshly cooked rice.
The Crucial First Step: How to Wash Sushi Rice Properly
Okay, stop right there before you even turn on the burner. If you skip this washing step, you are guaranteeing yourself a bowl of mushy sadness, and we simply can’t have that when working on your **sushi rice**!
This technique is probably the most direct route to that desired **perfect rice texture**—where the grains are tender but fully separate when finished. Grab your rice and place it in a big bowl. Cover it with cold water and gently swirl it around with your hand. Don’t mash it; we just want to knock the excess surface starch loose. Drain that cloudy water immediately. You need to repeat this swirling and draining process about five to seven times until the water that goes down the drain is nearly see-through. Seriously, keep going until you are bored of washing!
Once it’s clean, you have to give it a serious rest. Drain that washed rice completely in a fine-mesh sieve and let it sit for at least 30 minutes. This resting period is vital because it allows the grains to hydrate evenly before cooking, which is essential for stopping that undercooked center that ruins good **sushi rice**.
If you want to see what others are saying about this critical part of preparation, check out this great tip on whether you should wash sushi rice. Trust me, washing makes all the difference!
Cooking Your Sushi Rice: Stovetop Guide vs. Rice Cooker Method
Now that our grain is clean and rested, it’s time to apply heat! Getting the water ratio and cooking time right is how we achieve that perfect internal structure in our sushi rice. You have two great options here, and, honestly, both deliver fantastic results if you follow the rules.
If you are using the **sushi rice stovetop guide**, place your drained rice and exactly two cups of cold water into a heavy-bottomed pot. Bring that up to a boil over medium-high heat—you’ll see little bubbles forming. The absolute second it boils, kill the heat down as low as your burner will go, put that lid on tight, and walk away! Let it cook completely undisturbed for 15 minutes. After those 15 are up, turn the heat *off*, but you MUST let it keep steaming, lid staying locked down, for another full 10 minutes. Resist the urge to peek; lifting that lid lets the steam out, and that steam is what finishes cooking our grains!
If you’re a rice cooker devotee—and bless you if you are—it’s way easier! Just pop your perfectly rinsed rice and two cups of water into the cooker pot and hit the standard ‘White Rice’ setting. That machine handles the timing for you. You can check out a great recipe for the cooker method over at Simply Scrumptious Eats for reference, though I prefer my stovetop method for this specific grain type.
Instant Pot Sushi Rice Method Quick Adaptation
If you happen to be using an Instant Pot, you can still get great results, which is awesome because it’s fast! The rule changes slightly here: use a 1-to-1 ratio of rice to water. Seal it up and cook on high pressure for four minutes. Just like the stovetop method, you then let it do a Natural Pressure Release (NPR) for a full 10 minutes before you manually release the rest of the steam. You can find a great guide right here for the sushi rice Instant Pot method if you want to see the details, but remember that NPR time is crucial!
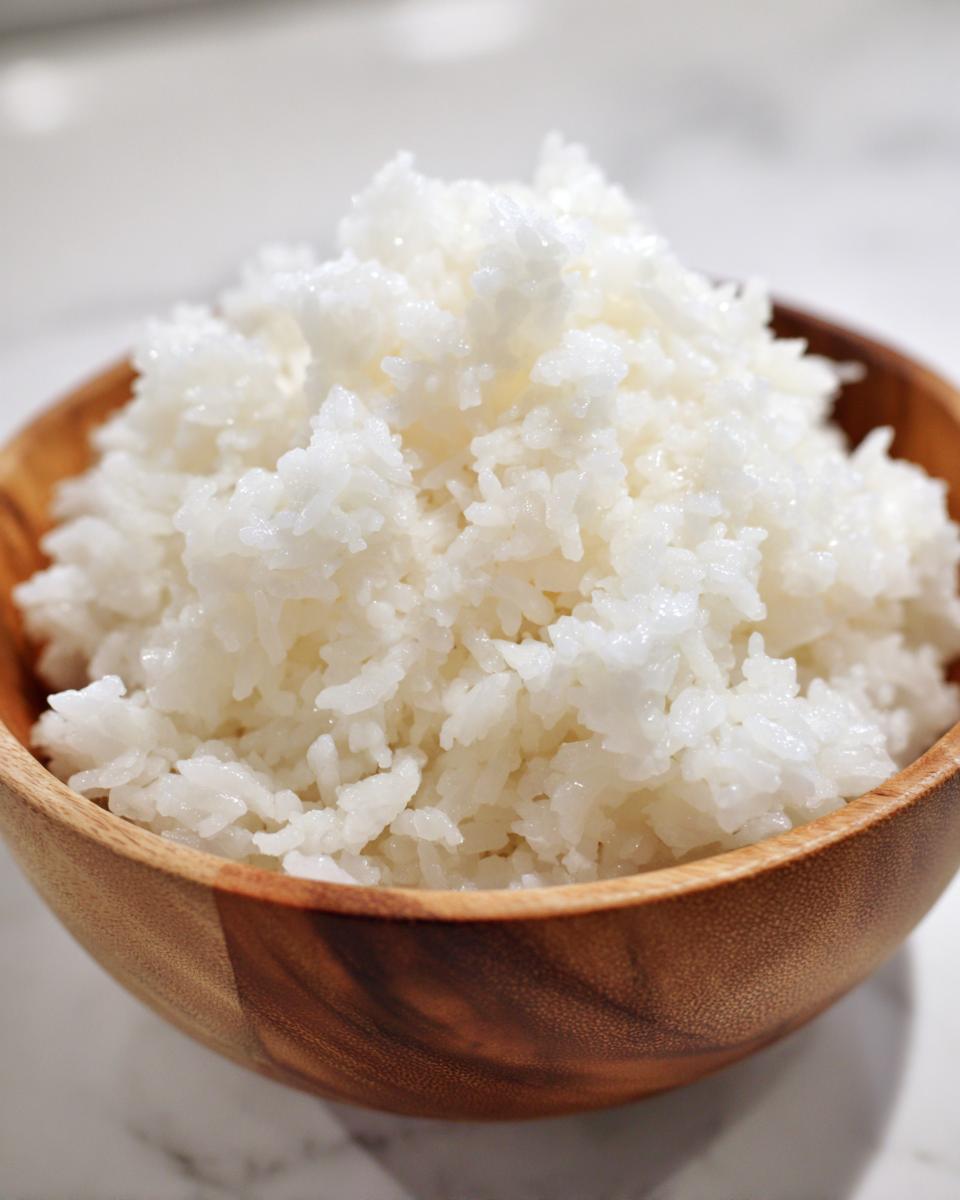
Seasoning the Rice: Achieving Perfect Rice Texture
Alright, the rice is cooked—it should smell heavenly and feel light under the lid. Now we move to seasoning, which is where we transform that perfectly cooked grain into true sushi rice. Remember that vinegar dressing mix we made? Bring it back out! You need to pour it evenly over the *hot* rice. If the rice has cooled down too much, the seasoning won’t absorb correctly, and you’ll end up with sticky rice on the bottom and dry grains on top.
Gently transfer that hot batch into a large, non-metallic bowl. Glass or wood is ideal; metal can react with the vinegar, which we absolutely don’t want. Now for the most important physical action of this whole **seasoned rice tutorial**:
You must use a slicing and folding motion with your paddle. Think about cutting straight down through the rice and turning it over, rather than stirring it around in circles. Stirring is the fastest way to break those beautiful starches and turn your hard work into goo. When you gently slice and fold, you are coating every single grain of your sushi rice with the seasoning without smashing the structure. Keep fanning it gently as you go, which happens in the next step, but the folding motion is what preserves that delicate, perfect rice texture!
If you’re looking for other non-mushy rice tricks, you might find my guide on easy fluffy one-pot rice pilaf helpful for other side dishes!
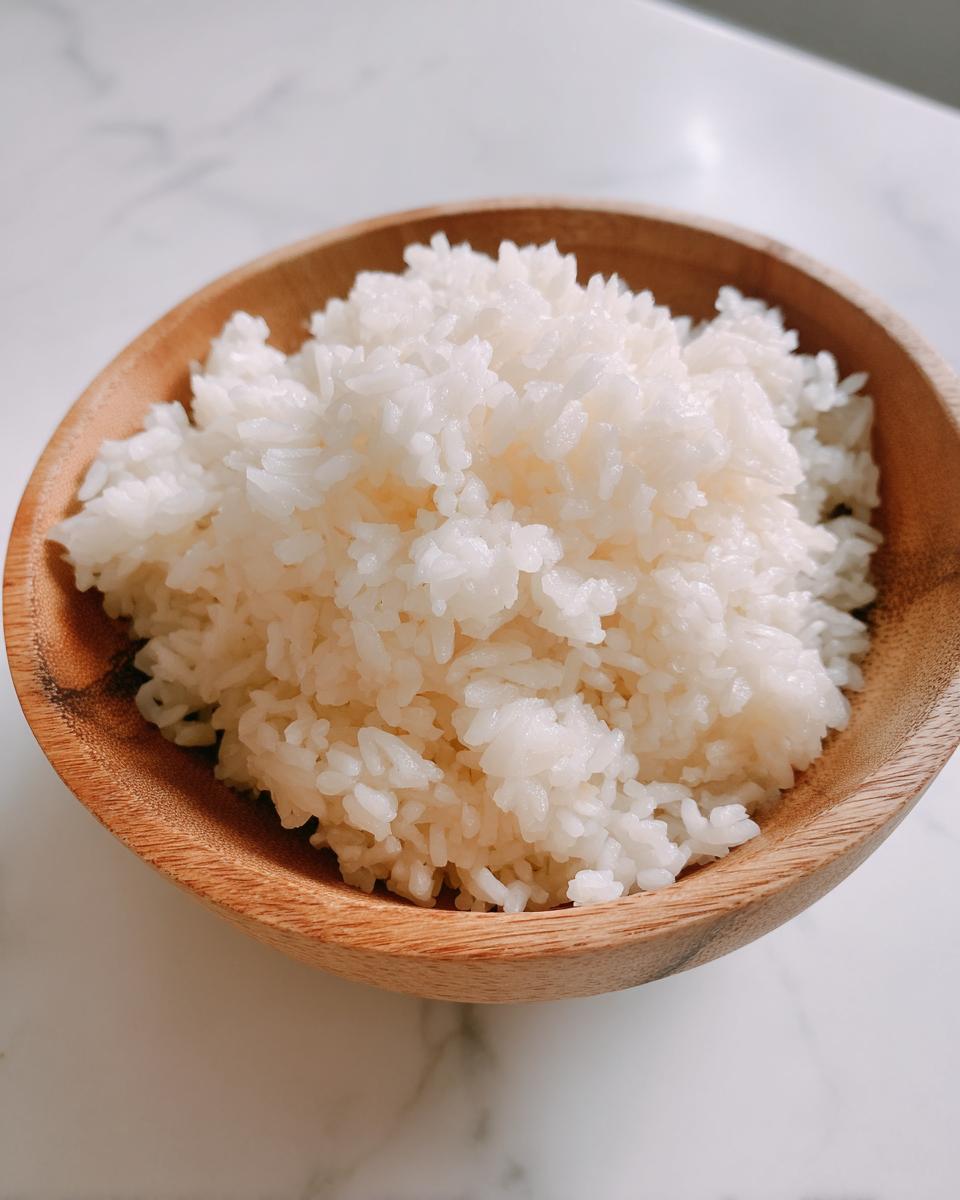
The Final Step for Sticky Rice for Sushi: Cooling and Resting
We are so close now, don’t rush the finish line! While you are gently slicing and folding in that seasoned vinegar—that crucial part of making great **sushi rice**—you need to introduce air. Grab a piece of cardboard or even a stiff menu, and fan the rice vigorously as you fold it. I know it sounds silly, but this step is non-negotiable for getting that signature restaurant sheen!
Fanning cools the mixture down quickly, cutting through the heat gently while helping the vinegar absorb perfectly. This rapid cooling process is what sets the starches just right, guaranteeing you have fantastic **sticky rice for sushi**. Once it’s cooled down to just around room temperature—body temperature, really—cover it immediately with a lightly dampened, clean kitchen towel. This keeps the surface from drying out while you get your fillings ready. And there you have it: the complete **seasoned rice tutorial**!
Tips for Success with Homemade Sushi Rice
When you’re deep in the process, things can sometimes go slightly sideways, even when you follow the steps perfectly. That’s why anticipating little issues is part of mastering the kitchen. I’ve gathered a few things I always check if my rice isn’t quite hitting the mark.
First, if your rice seems a little too dry after seasoning, don’t panic and dump more vinegar on it! That just makes it sour. Instead, mist it very lightly with warm water using a spray bottle while you fan it. It reintroduces just enough gentle moisture to soften things up without saturating the grains.
Second, let’s talk lids. When you’re simmering on the stovetop, the lid must fit snugly—it traps all that crucial steam. If your pot lid rattles or lets air escape, you’re losing cooking power. If necessary, I put a clean tea towel underneath the lid to seal in every tiny bit of moisture while it cooks.
Third, the quality of the rice matters immensely for the final texture. If you can’t find Japanese short-grain, look for Calrose, which is often available everywhere and substitutes well. But really, investing in proper **sushi rice** pays off tenfold. If you want an extra level of insight on common beginner mistakes, check out this great resource from Saigon Supper on making perfect, perfect sushi rice.
Lastly, remember that the cooling process is as much about texture as heat dispersal. Don’t rush moving it to the serving bowl. I always try to keep my hands busy fanning it gently. If you’re into making incredibly soft things that require careful cooling, learning the Tangzhong method for Japanese milk bread uses a similar gentle touch!
Frequently Asked Questions About Making Sushi Rice
I know you’ve probably got a few lingering questions running through your head. It’s the little details that make all the difference between good and great when you’re aiming for that **best sushi rice recipe** quality. I’ve gathered the top things people always ask me, especially when they are trying to master this **seasoned rice tutorial** for the first time.
Can I use long-grain rice like Basmati or Jasmine?
Oh, please don’t! I really have to steer you away from that. Long-grain rice won’t work for this at all—it just doesn’t have the right starch content. That starch is what creates the glue in the **sticky rice for sushi**. If you use Jasmine, you’ll end up with rice that’s fluffy and separate but won’t stick together in a roll at all. Stick to Japanese short-grain or Calrose rice; they are created for this job!
Can I skip washing the rice? I’m in a hurry!
If you skip washing, I promise you it will be a disaster. You’ll end up with rice that tastes chalky on the outside and is gummy and thick in the center—the opposite of the **perfect rice texture** we are aiming for. Washing removes that surface starch that cooks too fast and makes the whole batch heavy. It takes maybe five extra minutes, but it’s the difference between a delicious roll and a sticky mess. Trust me on the washing process; it’s non-negotiable for **how to make sushi rice** correctly!
How long does this seasoned rice last once made?
Here’s the thing about this kind of rice: it’s definitely best eaten the day you make it, especially if you are making homemade maki rolls right away. If you have leftovers, let them cool completely to room temperature first, then store them in an airtight container. It’s generally fine for a day or maybe two, stored in the fridge. However, rice gets hard quickly when chilled, so you’ll need to re-steam it slightly to revive it. If you are prepping ahead for meals, you might love some ideas for easy lunch meal prep where you can use this rice as a base!
Is this rice suitable for rice for poke bowls?
Absolutely! In fact, using this method ensures you have a fantastic base for any kind of layered bowl. When serving rice for poke bowls or chirashi, you want that distinct slight tang from the vinegar dressing, and you want the grains to hold their shape when the toppings—like fish, avocado, or sauces—are added. This Japanese short grain rice cooking method creates the most stable and flavorful base possible.
Storage and Reheating Best Practices for Sushi Rice
Once you’ve finished your beautiful batch of sushi rice, you might have some left over, which is totally normal for such a satisfying recipe!
If you do, make sure it cools down completely to room temperature first—don’t put warm rice straight into the fridge because that creates steam and softens those precious grains. Then, store it in a truly airtight container. It’s best eaten the next day, but you need to treat it gently when you reheat that leftover **sushi rice**.
I strongly suggest you avoid the microwave if you can; it usually turns the texture hard and chewy. The best way to revive it is by placing a few tablespoons of water in a non-stick pan, covering it tight, and reheating it very low and *slow* over the stove, or treating it like a quick steam. Doing this brings back the moisture without sacrificing the texture we worked so hard to achieve. If you’re looking for more ways to use up leftovers on busy nights, check out my tips for quick easy weeknight dinners!
For any other great tips on making sure your rice stays flawless, that link to Evolving Table shows some useful techniques for treating the grains right post-cooking.
PrintFoolproof Homemade Sushi Rice: The Secret to Perfect Sticky Texture and Authentic Flavor (Stovetop & Rice Cooker Methods Included)
Learn how to make authentic sushi rice with the perfect sticky texture and balanced seasoning. This guide covers washing the rice and provides methods for both stovetop and rice cooker preparation, essential for homemade maki rolls or poke bowls.
- Prep Time: 45 min
- Cook Time: 25 min
- Total Time: 70 min
- Yield: About 4 cups cooked rice 1x
- Category: Side Dish
- Method: Stovetop/Rice Cooker
- Cuisine: Japanese
- Diet: Vegetarian
Ingredients
- 2 cups Japanese short-grain rice (sushi rice)
- 2 cups cold water (for cooking)
- 1/2 cup unseasoned rice vinegar
- 3 tablespoons granulated sugar
- 1 teaspoon fine sea salt
Instructions
- Wash the sushi rice properly: Place the rice in a large bowl. Cover with cold water and swirl the rice gently with your hand. Drain the cloudy water. Repeat this washing process 5 to 7 times until the water runs mostly clear. This step is key for cooking rice without mushy texture.
- Drain the washed rice completely in a fine-mesh sieve for at least 30 minutes.
- Cook the rice (Stovetop Method): Combine the drained rice and 2 cups of cold water in a heavy-bottomed pot with a tight-fitting lid. Bring to a boil over medium-high heat. Once boiling, immediately reduce the heat to the lowest setting and cover. Cook undisturbed for 15 minutes.
- Remove the pot from the heat and let it steam, covered, for another 10 minutes. Do not lift the lid during this time.
- Cook the rice (Rice Cooker Method): Place the drained rice and 2 cups of water into your rice cooker pot. Use the standard white rice setting.
- Prepare the sushi vinegar dressing mix: While the rice cooks, combine the rice vinegar, sugar, and salt in a small saucepan. Heat gently over low heat, stirring until the sugar and salt fully dissolve. Do not boil. Remove from heat and let it cool slightly.
- Season the rice: Transfer the hot, cooked rice to a large, non-metallic bowl (wood or glass is best). Pour the prepared sushi vinegar dressing evenly over the rice.
- Fold the seasoning in: Using a rice paddle or wooden spoon, gently slice and fold the seasoning into the rice using a cutting motion. Avoid stirring or mashing the grains to maintain the perfect rice texture.
- Cool the rice: Fan the rice while folding until it reaches body temperature. This process gives the rice its characteristic sheen and stickiness. Cover the seasoned rice with a damp cloth until ready to use for homemade maki rolls or bowls.
Notes
- Use only Japanese short-grain rice or rice labeled specifically as sushi rice for the best results.
- For a quick alternative, you can adapt this recipe for the Instant Pot using a 1:1 rice-to-water ratio and cooking on high pressure for 4 minutes, followed by a 10-minute natural release.
- This seasoned rice tutorial yields the best sticky rice for sushi.
Nutrition
- Serving Size: 1/2 cup cooked
- Calories: 180
- Sugar: 5
- Sodium: 150
- Fat: 0.3
- Saturated Fat: 0.1
- Unsaturated Fat: 0.2
- Trans Fat: 0
- Carbohydrates: 39
- Fiber: 0.5
- Protein: 3.5
- Cholesterol: 0