
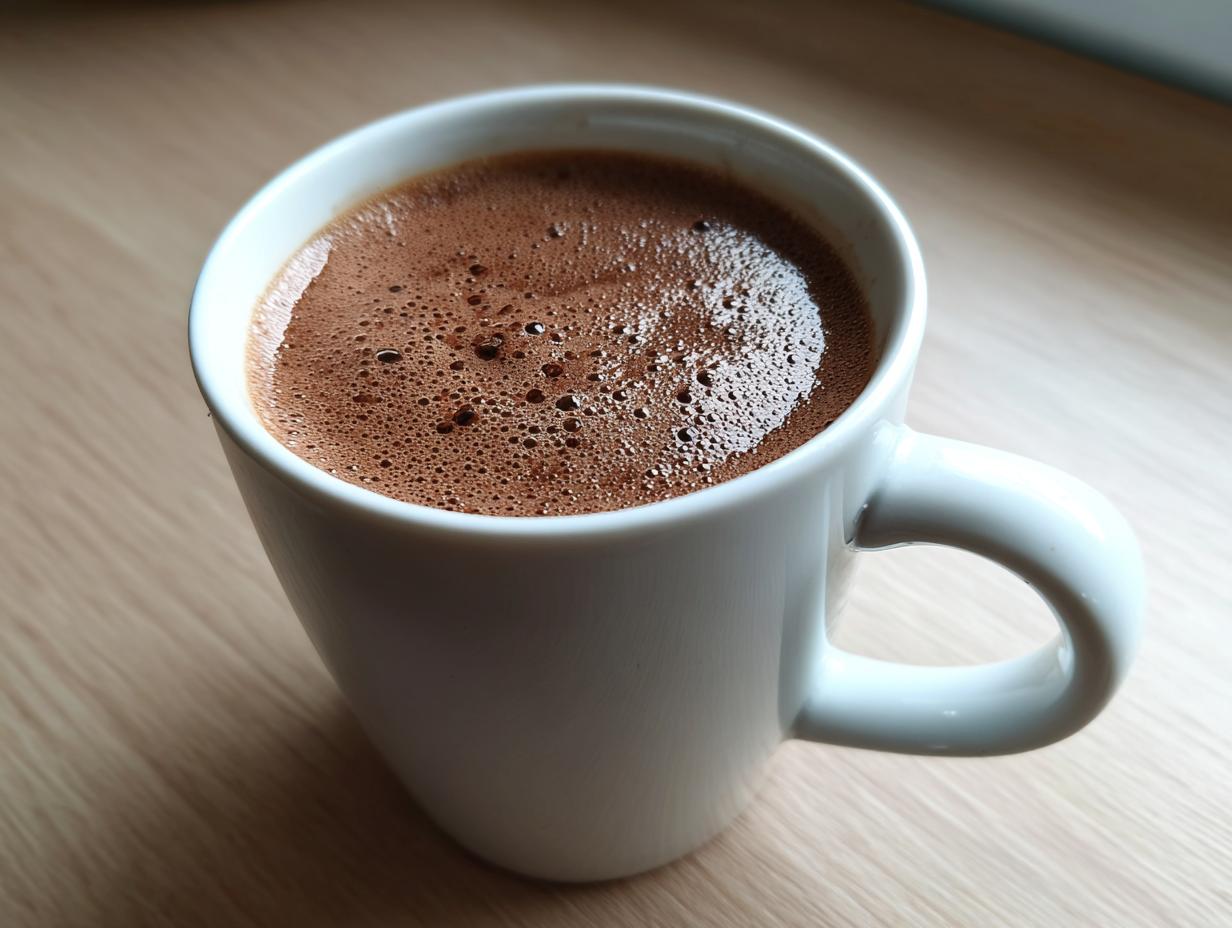
There’s nothing quite like that first sip of something warm when the air outside just bites at your cheeks. For me, that memory always circles back to my grandmother’s kitchen—it wasn’t about fancy gadgets, it was about real ingredients making real comfort. Forget those dusty packets of **hot cocoa mix** you find in the back of the cupboard; they taste like memories of plastic packaging. I’m here to give you the secret, the one that keeps my pantry stocked every single winter: our ultimate creamy homemade hot cocoa mix. This recipe is rich, it’s velvety, and when you see how simple the ingredients are, I promise you won’t ever go back to the store-bought stuff.
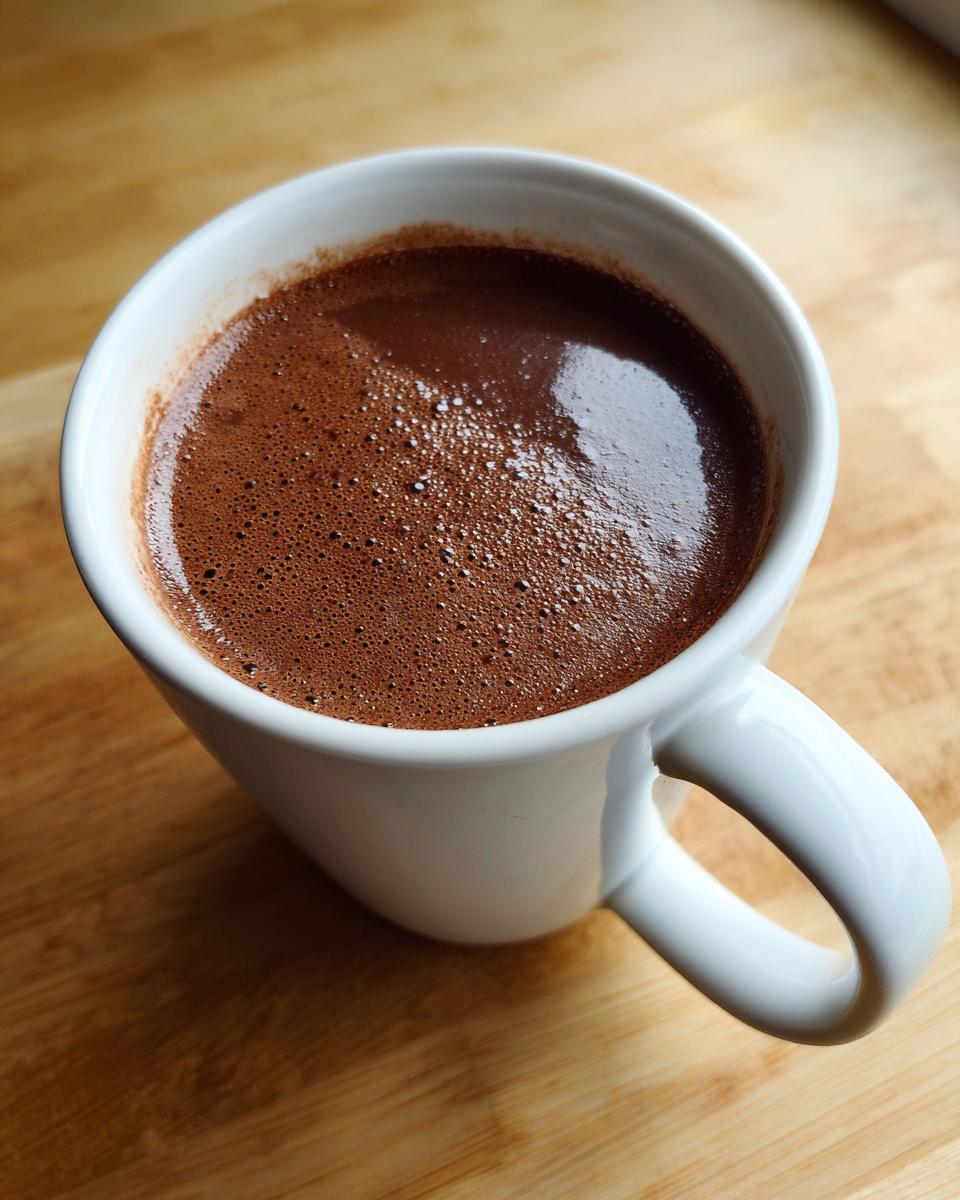
We’re going to build a big batch of this pantry staple drink mix together. It’s incredibly easy, requires almost no time, and it’s the key to turning a cold evening into a moment of pure, chocolatey peace. Think of it as bottled warmth, ready whenever you are.
If you’re looking for an even deeper, more luxurious chocolate experience, you absolutely must check out my recipe for authentic French hot chocolate—it’s thick enough to eat with a spoon!
- Why This Creamy Homemade Hot Cocoa Mix Beats the Box
- Ingredients for Your Ultimate Hot Cocoa Mix
- How to Prepare This Easy Cocoa Mix Recipe
- Making Your Hot Chocolate Mix in a Jar for Homemade Food Gifts
- Storage Friendly Drink Mix: Shelf Life and Care
- How to Prepare the Final Drink from Your Hot Cocoa Mix
- Ingredient Notes and Substitutions for Hot Cocoa Mix
- Frequently Asked Questions About Your Homemade Hot Cocoa Mix
- Serving Suggestions for Cozy Winter Drinks
- Estimated Nutritional Data for This Chocolate Beverage Mix
- Share Your Experience Making This Hot Cocoa Mix
Why This Creamy Homemade Hot Cocoa Mix Beats the Box
Honestly, the difference between this dry mix and what you buy in the store is night and day. When you’re making something cozy, you want it to taste like comfort, not chemicals, right? We build this flavor from the ground up using quality ingredients, which is why this recipe is so treasured.
- It tastes unbelievably fresh because we control every single addition.
- It’s adaptable—you can make it vegan or ultra-rich just by swapping one ingredient.
- It’s ready in under five minutes from pantry storage!
Achieving Rich Chocolate Cocoa Flavor
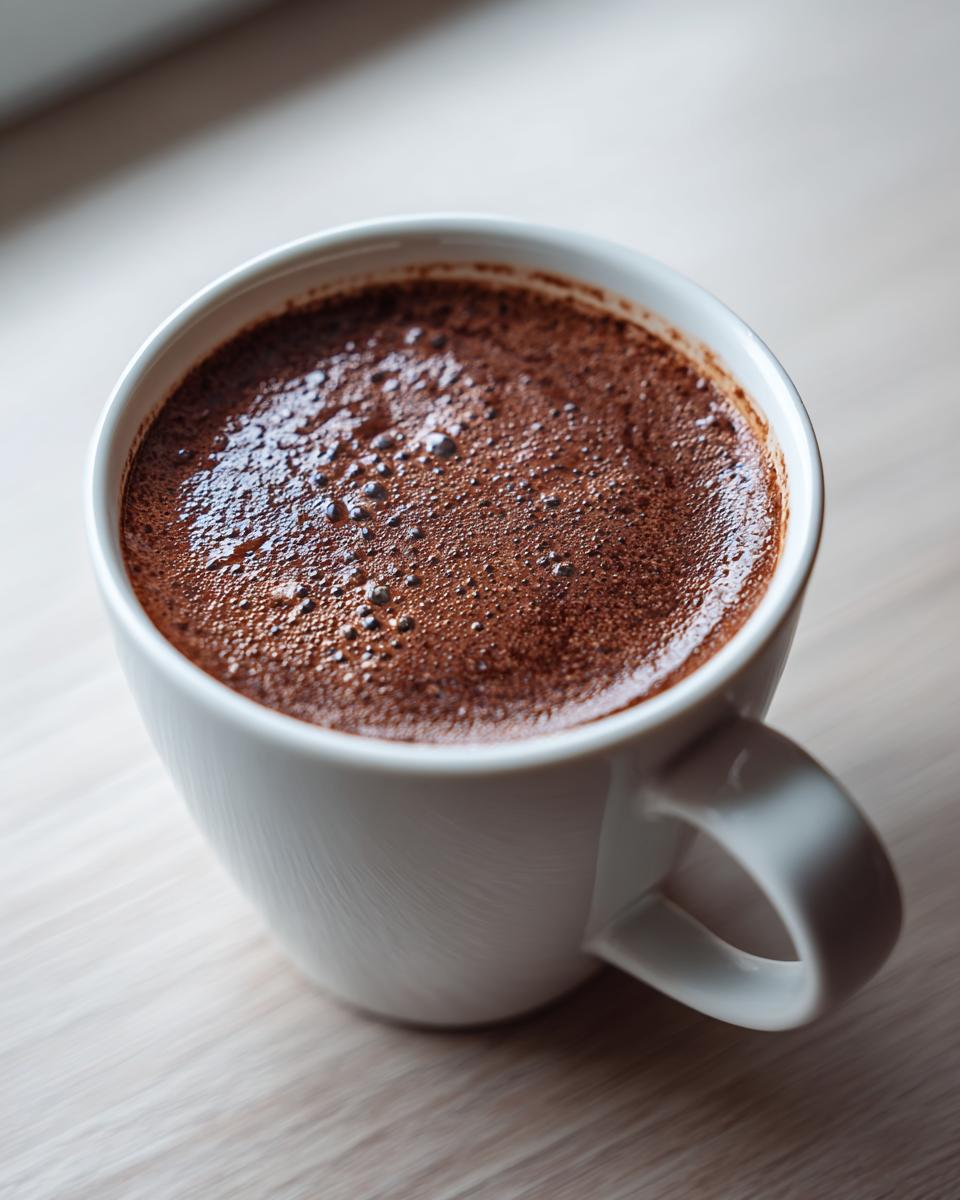
The absolute cornerstone of a truly rich chocolate cocoa experience is the cocoa powder itself. Please, don’t skimp here! If you use a mediocre powder, your final drink will taste thin. I recommend using a high-quality Dutch-processed cocoa powder if you can find it; it smooths out the sharpness and gives you that deep, dark chocolate color you see in fancy coffee shops.
The Secret to the Best Hot Cocoa Recipe Texture
People always ask me how I get that perfect spoonful of creamy hot chocolate dry mix that melts down perfectly. The powdered sugar is crucial for dissolving smoothly, but the real game-changer is the powdered milk. Don’t skip it if you can handle dairy! It mimics the richness of using whole milk without needing to keep heavy cream on hand. It just whips the texture up into something special.
Ingredients for Your Ultimate Hot Cocoa Mix
This is where the magic truly begins! Since this is a **homemade hot cocoa mix**, the beauty is that you likely have most of this sitting in your pantry already. We are building a base that is balanced—sweet, a little salty, and deeply chocolatey. Remember, since we aren’t using this right away, it needs to be perfectly dry before sealing it up tight.
I’ve put the creamy factor ingredient as optional, but trust me, try it once with the powdered milk; it turns this drink into something truly indulgent. If you want to see how I make another pantry staple extra rich, take a look at my recipe for creamy, homemade eggnog!
Here is exactly what you need for a big batch:
- 2 cups powdered sugar
- 1 cup unsweetened cocoa powder (use high quality for rich flavor—this matters!)
- 1 cup powdered milk (optional, for extra creaminess; omit for dairy-free)
- 1 teaspoon salt
- 1 teaspoon vanilla powder (optional, for depth)
- 1/2 teaspoon ground cinnamon (optional, for variation)
Optional Additions for Flavor Variations
Once you master the base, you can start playing around. This is the fun part where you tailor your make ahead hot cocoa just for your family’s taste. These extras don’t change the storage life, so feel free to experiment!
For instance, I always add that tiny bit of ground cinnamon during the initial mix. It doesn’t smack you in the face with spice, but it deepens the chocolate notes beautifully. If you love Mexican hot chocolate—which is a wonderful old fashioned hot cocoa style—you can lean into the warm spices here. A pinch of cayenne pepper, used very sparingly, is another great trick for a subtle warmth on the finish!
How to Prepare This Easy Cocoa Mix Recipe
Mixing this up is honestly the quickest part of the whole process, which is why I love having this **easy cocoa mix recipe** ready to go! You’re just combining dry powders, but you have to dedicate a little time to the whisking. Seriously, take your time here, because if the cocoa clumps up now, you’ll be fishing chunks out of your mug later when you try to enjoy your drink!
First, you’ll dump everything—the sugar, the cocoa, the salt, and any of those fun optional additions we talked about—into a nice big bowl. Then, you grab your whisk. If you’re making a big batch, use one of those balloon whisks that really moves the air around.
To get a big supply of this **make ahead hot cocoa**, I find it is best to use this link for a slightly different, huge recipe if you need even more volume than the standard batch: big batch cocoa mix recipe easy.
Crucial Step: Ensuring a Lump-Free Hot Cocoa Mix
This is the part where you build confidence in your final product. You need to whisk everything together thoroughly for at least two full minutes. I’m not kidding! Cocoa powder loves to hide in little pockets, and we need every speck of salt and sugar evenly distributed. Keep whisking until the texture looks uniform, pale brown, and fluffy. If you stop too soon, you’ll definitely get those annoying, never-dissolving lumps when you try to make your drink later. Be patient; those two minutes are worth it for perfect results!
Making Your Hot Chocolate Mix in a Jar for Homemade Food Gifts
Okay, you’ve made the **homemade hot cocoa mix**, and now you have a gorgeous, rich powder. If you’re like me, you immediately want to share the warmth! This dry mix is absolutely my go-to for **homemade food gifts**, especially around the holidays. It feels so much more personal than a store-bought tin, doesn’t it?
When you’re presenting this as a beautiful hot chocolate mix in a jar, there’s a little trick I love. Instead of whisking everything together first—which is what you do for your own pantry storage—you layer the ingredients in the jar. You start with the powdered sugar on the bottom, then the cocoa, and then sprinkle the salt and cinnamon on top. You want distinct stripes!
Once it’s layered perfectly in a clean mason jar, you just need to attach a cute, handwritten label with the mixing instructions. It makes such a thoughtful little present. If you need ideas for another easy gift you can make ahead, you should check out my recipe for classic thumbprint cookies.
If you are looking for more inspiration on gifting food, click over to see how my friends at An Oregon Cottage package up their own mix!
Storage Friendly Drink Mix: Shelf Life and Care
Because we aren’t adding any liquid initially, this dry **hot cocoa mix** is a fantastic storage friendly drink mix. You can make a massive batch right now, and it’ll be ready for those unexpected snowy days months down the line. Seriously, I usually make three times the base recipe and just set it aside.
The most important thing is the container. It must be airtight—I love using glass jars with sealing lids. Keep your finished mix stored in a cool, dry pantry away from the stove or any moisture. If kept sealed properly, this rich mix stays perfect for up to a full year! That’s right, practically year-round chocolate comfort.
If you want to see how I often create a single-serving version of this for backpacking trips, check out my notes on a standard make ahead hot cocoa preparation.
How to Prepare the Final Drink from Your Hot Cocoa Mix
Alright, you’ve got your jar of amazing, rich, homemade **hot cocoa mix** sitting on the counter. Now for the moment you’ve been waiting for—making the actual drink! I know when you see a dry mix, you might wonder about the right ratio, so let’s make sure your first cup is perfect.
For a single, satisfying mug, you’ll want to scoop out about 3 to 4 tablespoons of the dry mix. If you like it strong—and trust me, with this mix, you probably should—lean towards the 4 tablespoons. If you prefer a lighter, more subtle chocolate flavor, stick closer to 3. You can always add more, but you can’t take it out!
Next, you pour in about 1 cup of liquid. You have two main choices here, and they completely change the experience. If you use hot water, it’s fast, very light, and still delicious because of the quality of the mix. But if you want that *creamy* factor we worked so hard to achieve, definitely use hot milk. Whole milk is best, but whatever you have works!
Get a whisk or a fork and stir vigorously until everything dissolves. And I mean *completely* dissolved. Once it’s smooth, you’re done! No lumps, just pure chocolate joy ready for your favorite toppings. If you want more ideas on enjoying warm beverages throughout the chilly season, check out my list of cozy winter recipes.
Ingredient Notes and Substitutions for Hot Cocoa Mix
One of the best things about making your own DIY hot chocolate mix is that you get to decide exactly what goes into your mug. I know some of you are looking for ways to make this richer, or maybe skip an ingredient if you’re out of it. Don’t worry, we have options! This recipe is flexible, which is what makes it such a reliable **pantry staple drink**.
If you’re trying to tap into that old fashioned hot cocoa flavor profile—think the richer, slightly darker chocolate you might remember from childhood visits—try swapping out half of the cocoa powder for finely grated unsweetened baking chocolate. You just need to make sure you mix that grated chocolate in extremely well, almost until it vanishes into the sugar base. It adds a beautiful mouthfeel you just can’t beat.
Now, let’s talk about the milk situation, because I know finding a good recipe for **hot cocoa without powdered milk** can be tricky. If you omit the dried milk for dietary reasons or just because you’re out, you absolutely must compensate for that lost richness when you make the drink. When you go to prepare your cup, stir in a tablespoon of heavy cream or even coconut milk right along with the hot liquid. It replaces that creamy body perfectly.
For more delicious ways to use chocolate in your baking, you should definitely peek at my chocolate cinnamon rolls recipe!
And for another great perspective on milk-free options, check out the guidance from Berly’s Kitchen on their version made without powdered milk.
Frequently Asked Questions About Your Homemade Hot Cocoa Mix
It’s normal to have questions when you start switching from pre-packaged mixes to something truly from scratch hot chocolate! I gathered the most common things folks ask me when they first stock their pantry with this hot cocoa mix. Don’t hesitate to hop into the comments if you have another query!
Can I make this DIY hot chocolate mix vegan?
Absolutely, yes! That’s one of the great things about customizing your own creamy hot chocolate dry mix. The recipe already allows you to omit the powdered milk if you’re avoiding dairy. To keep the final drink vegan, just make sure that when you prepare the cup, you use hot water or your favorite plant-based milk, like oat or almond milk. Oat milk, by the way, gives the absolute best texture!
What is the best cocoa powder to use for rich chocolate cocoa?
I touched on this a bit above, but for the best, deepest rich chocolate cocoa flavor, skip the standard baking cocoa if you can and grab Dutch-processed cocoa powder. Dutch processing means the cocoa has been treated to neutralize its acidity. What does that mean for you? A smoother, darker, less bitter flavor profile that just tastes richer overall. If you only have natural cocoa, it still works for this chocolate beverage mix, but the Dutch version really elevates it.
How much of this hot cocoa mix should I use per cup?
For the standard preparation, which yields a very satisfying, chocolatey mug, measure out 3 to 4 tablespoons of the **homemade hot cocoa mix** per 1 cup (8 ounces) of hot liquid. If you want it extremely dark and intense, go for that 4 tablespoons mark. If you are using it for a recipe or want a lighter flavor, 3 tablespoons is perfect. Remember, you can always add more mix—you can’t un-mix it once it’s in the mug!
If you are making quick dinners while your cocoa cools down, you might want to check out my tips for quick, easy weeknight dinners!
Serving Suggestions for Cozy Winter Drinks
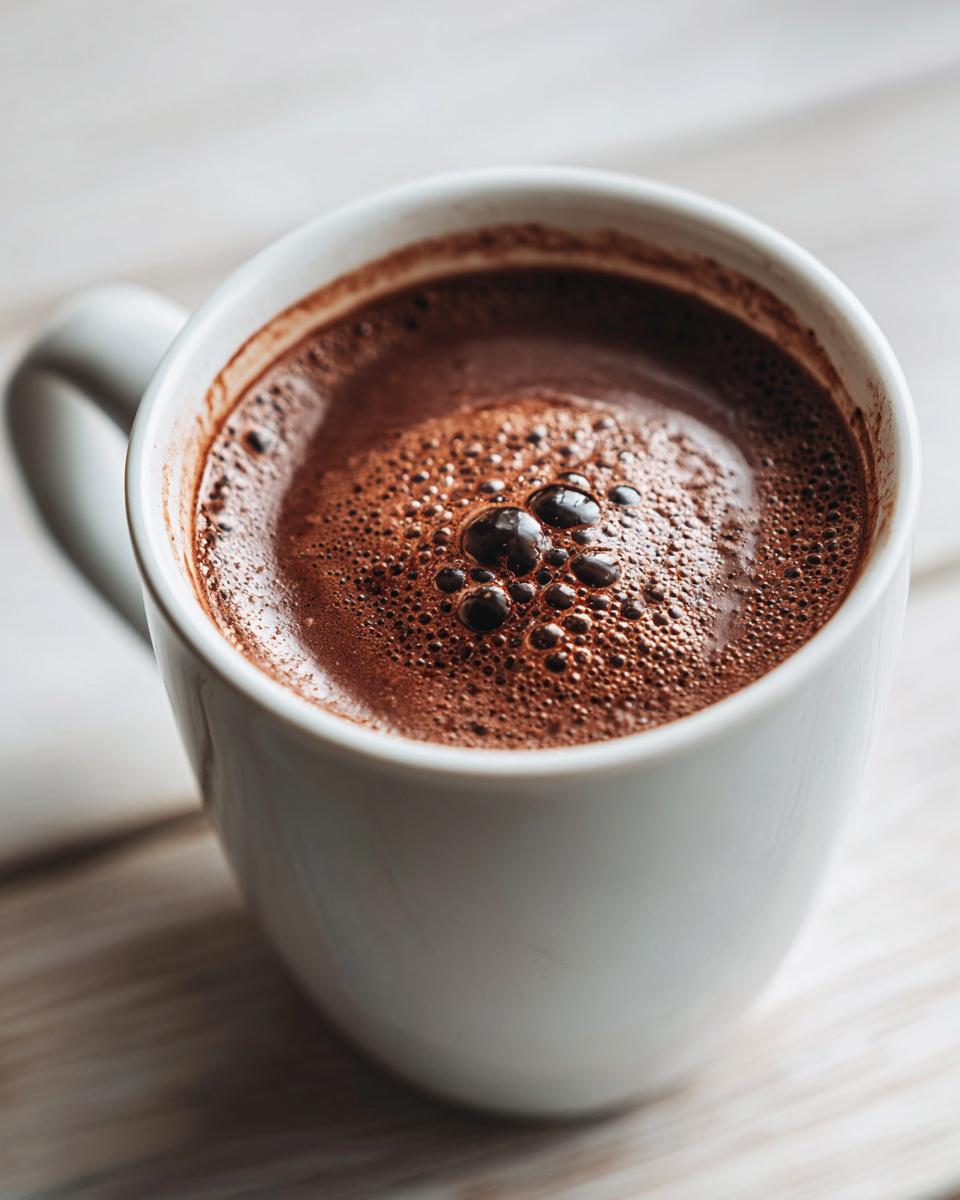
Okay, you’ve mixed your powder with hot milk, and now you have the most gloriously rich cup of chocolate in your hand. What do we do next? We deck it out! This is where we take our fantastic hot cocoa mix from great to absolutely show-stopping. Seriously, don’t just drink it plain; you earned the toppings!
I’m a huge fan of simple, crushed additions that add texture. A little freshly whipped cream is always nice, but if you want a real moment, try sprinkling on some candied pecans—the sweet crunch is incredible against the warm chocolate. Marshmallows are classic, of course, but try laying a few chocolate shavings on top first; they melt just a little bit before the marshmallows go on. Sometimes, just a tiny sprinkle of coarse sea salt on the foam really wakes up the chocolate flavor. Enjoy every second of this cozy winter drink!
Estimated Nutritional Data for This Chocolate Beverage Mix
I always believe in being completely open about what goes into our food, even when it’s just a dry mix waiting in the pantry. So, here is the estimated nutritional breakdown for one serving prepared according to the instructions—that’s about 3 tablespoons of the dry mix stirred into milk or water.
Please keep in mind, these figures are just estimates based on the ingredients listed. If you use water instead of milk, or skip the optional powdered milk, your final numbers will change quite a bit, especially the fat and calorie counts. This is just a guideline so you know what you’re working with in your mug!
Here are the estimates per serving:
- Serving Size: 3 Tbsp mix
- Calories: 130
- Sugar: 22g
- Sodium: 55mg
- Fat: 2g
- Saturated Fat: 1g
- Unsaturated Fat: 1g
- Trans Fat: 0g
- Carbohydrates: 28g
- Fiber: 2g
- Protein: 2g
- Cholesterol: 0mg
See? Just simple ingredients creating something delicious. I hope knowing what’s in it makes you feel even better about making this ultra-creamy **chocolate beverage mix** at home!
Share Your Experience Making This Hot Cocoa Mix
Now that you have your very own beautiful, airtight jar of rich **hot cocoa mix**, it’s my turn to ask you for something! I honestly pour my heart into these recipes, hoping they bring that same sense of warmth and connection to your home that they bring to mine. And I absolutely love seeing how you all make them your own!
Did you try the old-fashioned version with grated chocolate? Did you package your batch as one of those lovely hot chocolate mix in a jar gifts for your neighbors? Drop a comment below and let me know! Rating the recipe helps other home cooks know that this recipe is truly worth their time, too.
If you have any questions about storage, substituting ingredients, or just want to share a photo of your perfect, creamy mug, feel free to reach out on my contact page. Knowing that you’re enjoying a cup of simple, homemade comfort on a chilly night is truly what cooking is all about for me. Happy sipping!
PrintThe Ultimate Creamy Homemade Hot Cocoa Mix (Perfect for Gifting & Pantry Stocking)

Make rich, creamy hot cocoa mix from scratch using simple pantry staples. This recipe is easy to store, perfect for stocking your pantry, and makes an excellent homemade food gift in a jar.
- Prep Time: 5 min
- Cook Time: 0 min
- Total Time: 5 min
- Yield: About 12 servings 1x
- Category: Beverage
- Method: Mixing
- Cuisine: American
- Diet: Vegetarian
Ingredients
- 2 cups powdered sugar
- 1 cup unsweetened cocoa powder (use high quality for rich flavor)
- 1 cup powdered milk (optional, for extra creaminess; omit for dairy-free)
- 1 teaspoon salt
- 1 teaspoon vanilla powder (optional, for depth)
- 1/2 teaspoon ground cinnamon (optional, for variation)
Instructions
- Gather all dry ingredients: powdered sugar, cocoa powder, powdered milk (if using), salt, and any optional flavorings like vanilla powder or cinnamon.
- Place all ingredients into a large bowl.
- Whisk the ingredients together thoroughly for at least two minutes. You must mix well to break up any clumps in the cocoa powder and ensure even distribution of the salt and sugar.
- Transfer the finished hot cocoa mix to an airtight container, such as a large mason jar or storage tin.
- Store the mix in a cool, dry pantry. This mix keeps well for up to one year.
- To prepare one serving: Scoop 3 to 4 tablespoons of the dry mix into a mug. Add 1 cup of hot milk or hot water. Whisk or stir until completely dissolved and smooth. Adjust the amount of mix for your preferred chocolate intensity.
Notes
- For a richer, old fashioned hot cocoa flavor, use 1/2 cup of cocoa powder and 1/2 cup of finely grated unsweetened chocolate instead of the full 1 cup of cocoa powder, ensuring the grated chocolate is mixed in very well.
- If you are making this as a homemade food gift, layer the ingredients in a clean mason jar without mixing them first, then attach a label with the mixing instructions.
- To make this mix without powdered milk, simply omit the powdered milk and use 4 tablespoons of mix per cup of hot liquid, stirring in 1 tablespoon of heavy cream or coconut milk when preparing the drink for added richness.
Nutrition
- Serving Size: 3 Tbsp mix
- Calories: 130
- Sugar: 22g
- Sodium: 55mg
- Fat: 2g
- Saturated Fat: 1g
- Unsaturated Fat: 1g
- Trans Fat: 0g
- Carbohydrates: 28g
- Fiber: 2g
- Protein: 2g
- Cholesterol: 0mg