
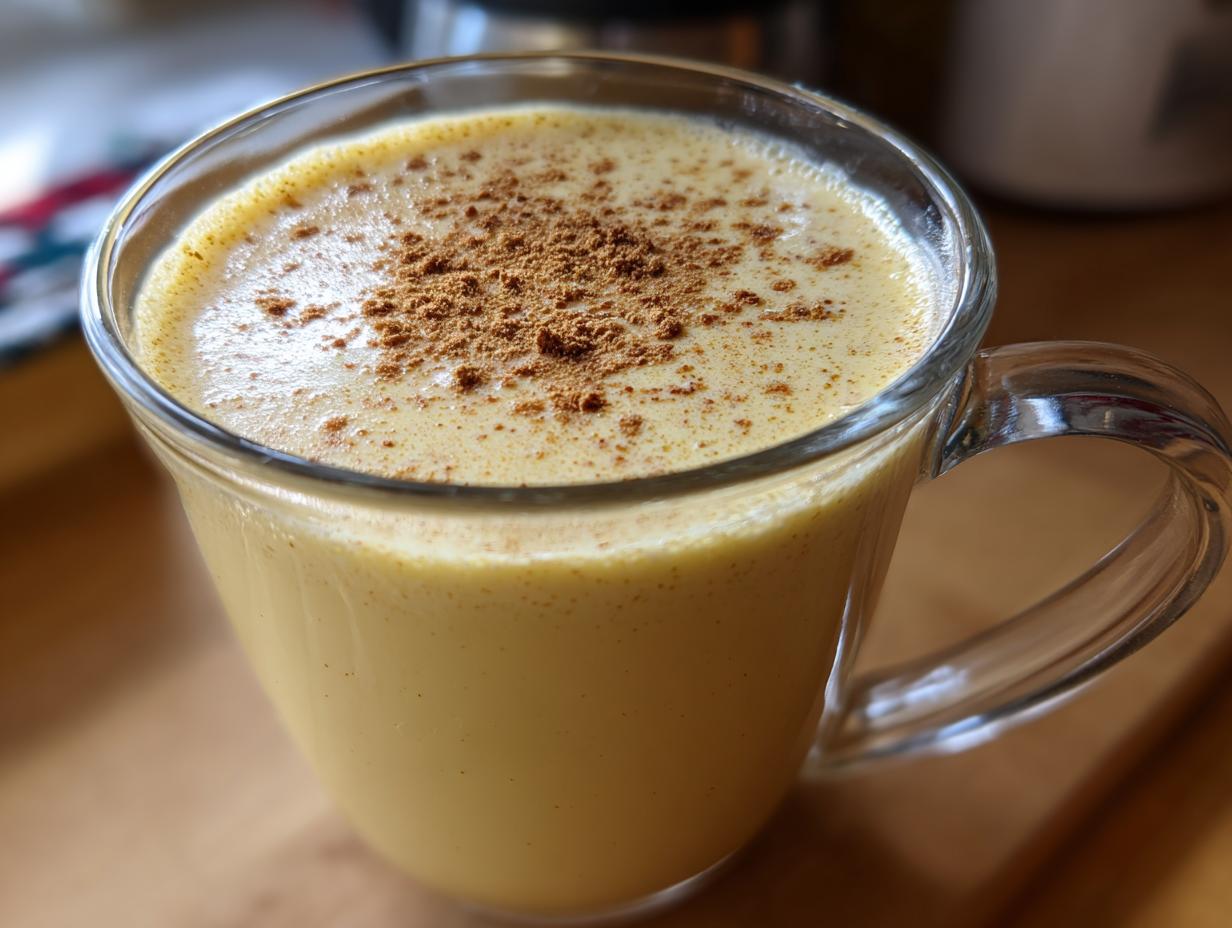
If you ask me what truly smells like Christmas morning, it isn’t pine needles—it’s the thick, spiced aroma of eggnog warming up the kitchen. I remember tasting gallons of the thin, vaguely spiced stuff you pull out of a carton, and that’s why I’m so passionate about this recipe. Forget all that—we are making real, spectacular homemade eggnog here! This isn’t just a drink; it’s a showstopper for your holiday gathering. When I was developing my foundational techniques, traveling from professional kitchens to quiet regional tables, I learned that perfection in a creamy beverage like this comes from controlling that custard base. Trust me, the effort you put in creates a drink with a rich, undeniably creamy texture that store-bought versions simply can’t match. We’re making the absolute best of it, right here in your home kitchen.
If you’re looking to dive into something truly satisfying after mastering the mains, you absolutely must check out some of my favorite simple, delicious desserts, too. The world of easy baking is full of joy!
- Why This Creamy Eggnog Recipe Beats Store-Bought (The Secret to Thick and Creamy Nog)
- Gathering Ingredients for Classic Homemade Eggnog From Scratch
- Simple Eggnog Preparation: Mastering the Eggnog Custard Base Explained
- Making Spiked Eggnog Recipe or Nonalcoholic Eggnog
- Tips for Success When Making Homemade Eggnog
- Serving Suggestions for Your Festive Winter Drinks
- Storage and Reheating Instructions for Homemade Eggnog
- Frequently Asked Questions About Homemade Eggnog
- Estimated Nutrition for This Rich Holiday Drink
- Share Your Homemade Eggnog Experience
- Estimated Nutrition for This Rich Holiday Drink
- Share Your Homemade Eggnog Experience
Why This Creamy Eggnog Recipe Beats Store-Bought (The Secret to Thick and Creamy Nog)
Look, I’ve made my share of dishes in high-pressure restaurant settings, and I can tell you that the real magic happens when you respect tradition. That sad, watery carton eggnog? It has no soul! This homemade eggnog is fundamentally different because we create a proper custard base. That step, which involves gently heating the yolks, milk, and cream, is what guarantees that impossibly smooth, velvety eggnog texture we all crave. You’ll find that homemade nog that tastes better than store bought not just because it’s fresh, but because every ingredient is perfectly balanced before it even hits the fridge. My time studying classic techniques confirmed that patience here pays off huge dividends! Check out more about my journey and why I focus on foundational cooking right here.
Key Benefits of Our Homemade Eggnog
- Incredible Flavor Depth: You get the full impact of fresh egg yolks and real spices, not just artificial vanilla flavoring.
- Unmatched Texture: It sets up thick and rich during chilling thanks to that cooked custard base—never thin!
- Total Control: You decide exactly how much sweetness you want and, critically, how much—or if—you spike it later.
- It’s Festive! Serving this from scratch instantly elevates any holiday gathering.
Gathering Ingredients for Classic Homemade Eggnog From Scratch
To make a creamy eggnog recipe that truly sings, we need to start with the best components. Honestly, this classic eggnog from scratch relies on standard pantry items, but using quality milk and cream makes a huge difference in the final product. We are aiming for luxurious, rich holiday drink territory here, so don’t skimp on the dairy! I’ve listed everything you need below. Don’t worry if you’ve never made a custard drink before; the steps are straightforward, and the reward is beyond comparison.
Speaking of satisfying home baking, if you want something to serve alongside this fantastic nog, you should check out my recipe for easy vanilla cupcakes. They are unbelievably moist!
- 6 large egg yolks
- 3/4 cup granulated sugar
- 1/4 cup maple syrup
- 1/4 teaspoon salt
- 1 teaspoon vanilla extract
- 1/4 teaspoon ground nutmeg, plus more for garnish
- 1/4 teaspoon ground cinnamon
- 2 cups whole milk
- 1 cup heavy cream
- Optional: 1 cup bourbon, rum, or brandy
Ingredient Notes and Substitutions for Your Rich Holiday Drink
Let’s chat about a few points here because getting the ingredients right sets us up for success. First, the eggs. You must use fresh, good-quality large eggs. Since we are gently cooking the yolks, freshness really matters for flavor and safety. We use maple syrup alongside the sugar; that light caramel note from the maple syrup deepens the complexity of our eggnog spice blend beautifully!
If you don’t have maple syrup on hand, you can substitute it with an equal amount of light brown sugar, but I really prefer the maple note. For the spices, I always suggest grating the nutmeg yourself right before using it—it has amazing aroma! This recipe is designed for a genuinely thick and creamy nog experience, so using whole milk and heavy cream is non-negotiable. Skim milk just won’t give you that decadence!
Simple Eggnog Preparation: Mastering the Eggnog Custard Base Explained
This is where we transform simple dairy and eggs into liquid gold, folks! Making excellent homemade eggnog is all about careful heat application. We’re cooking this mixture gently on the stovetop to create that essential custard—this is the secret step that delivers that luscious, velvety eggnog texture and guarantees everyone’s safety while making a profoundly rich holiday drink. You cannot rush this part, and you certainly can’t let it boil, or you’ll end up scrambling your beautiful yolks!
I learned years ago that low heat and constant motion are your best friends here. You are tempering those eggs—slowly introducing them to the heat so they thicken rather than seize up. If you stick with me through this, your reward will be the thickest, creamiest holiday beverage you’ve ever tasted. It’s the foundation of this incredible recipe! If you need some super fast cooking ideas for the rest of the week, check out my tips for quick, easy weeknight dinners.
Step-by-Step Instructions for Perfect Homemade Eggnog
The process might sound intimidating, but watch how wonderfully it comes together. Just follow these steps closely for your classic eggnog from scratch.
- First up, grab a medium saucepan. Whisk your egg yolks and sugar together until that mixture just starts looking pale yellow. It should be lighter in color than when you started.
- Next, whisk in all those lovely spices—the maple syrup, salt, vanilla, cinnamon, and nutmeg—until everything is incorporated smoothly.
- Now, take your whole milk and heavy cream and whisk them in slowly until you have one combined, slightly thin liquid base. See? Easy so far!
- Place that saucepan over medium-low heat. This is the critical part! You must stir constantly using a wooden spoon or a heatproof spatula. Keep scraping the bottom of the pan. You are cooking until the mixture thickens enough so that if you dip your spoon in and run your finger across the back of it, the line stays clean. That’s the official ‘coat the back of the spoon’ test! Do not let it boil, seriously, watch that temperature!
- Once it coats the spoon perfectly, pull it off the heat instantly. If you’re making a spiked version, this is the time to stir in your bourbon, rum, or brandy excitement!
- To smooth everything out, pour that hot liquid right through a fine-mesh sieve into a clean bowl or pitcher. This catches anything that might have cooked a tiny bit too fast.
- Cover it up tight and this is where the patience comes in: chill this mixture for a minimum of four hours. I always say overnight is best! Chilling is what transforms this liquid into that intensely thick and creamy nog we are aiming for. Trust me, you want it ice cold.
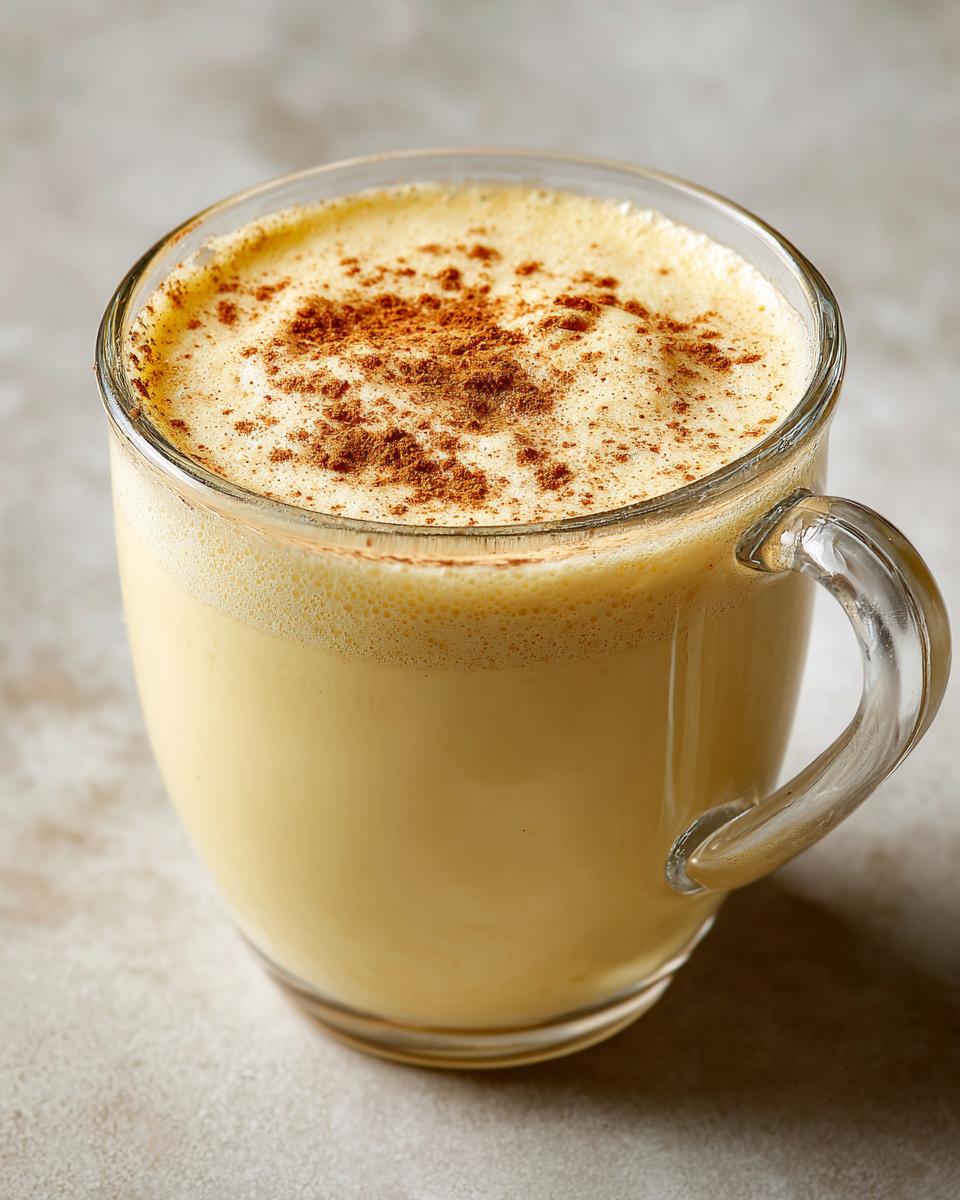
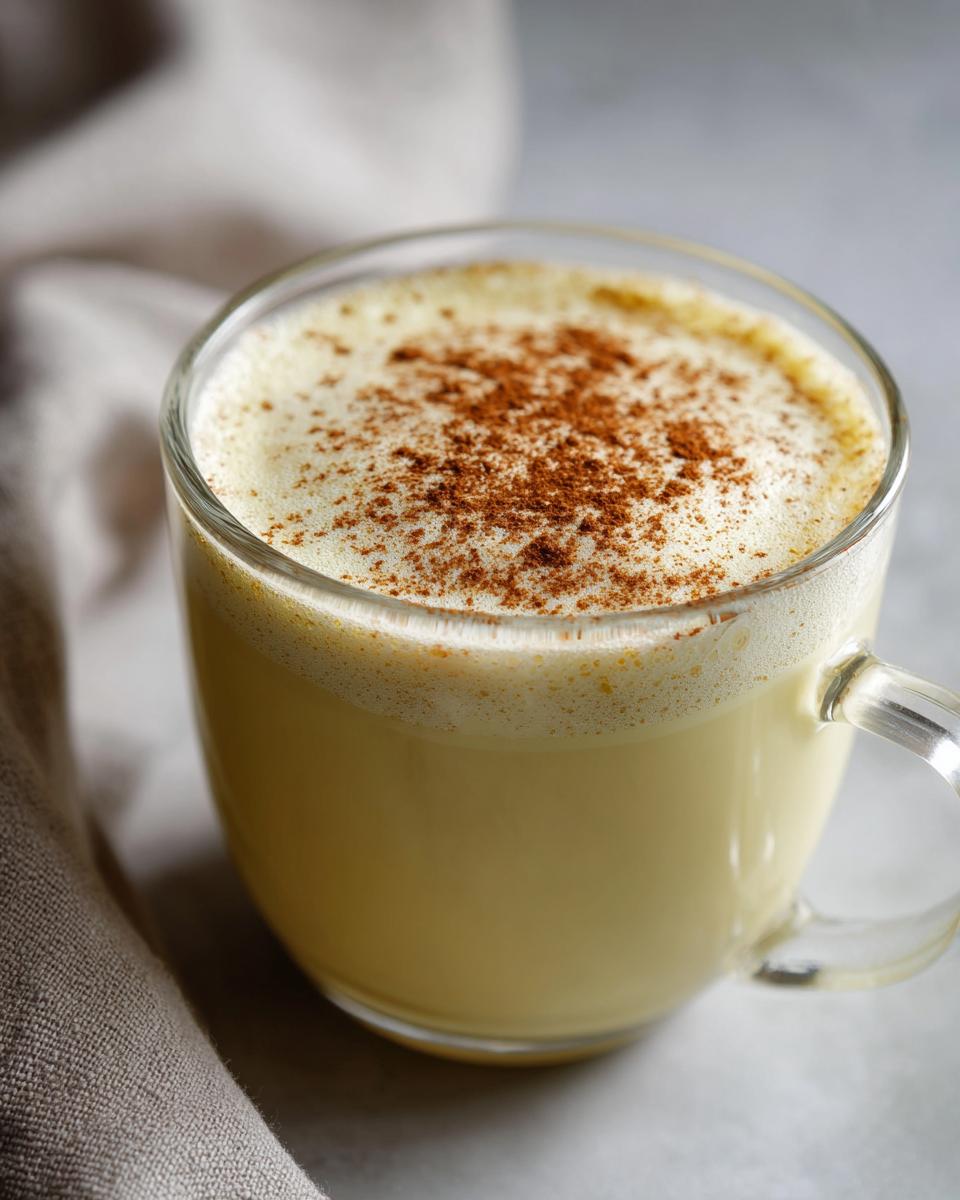
- When you’re ready to serve this fantastic homemade eggnog, just give it a vigorous whisk right before pouring. Top with that freshly grated nutmeg and enjoy the glory!
Making Spiked Eggnog Recipe or Nonalcoholic Eggnog
Now, let’s talk about the fun part—whether we’re making this a family punch or something with a little kick! This is why I love this homemade eggnog recipe; it’s perfectly adaptable. If you are planning on serving this to everyone, including the kids who want that from scratch holiday drink flavor, simply skip the liquor entirely. It will be just as rich, creamy, and delicious as a straight nonalcoholic eggnog.
If you plan to spike it, timing is everything! You want to add your spirits only *after* you’ve taken the base off the heat and strained it. Adding alcohol while it’s hot can actually change the flavor profile, and we don’t want that!
For the best flavor profile in your spiked eggnog recipe, I usually go for bourbon—it complements the nutmeg so beautifully. But honestly, a good dark rum or even rich brandy works wonderfully too. I’ve made it using the rum from my Bananas Foster adventure before, and wow, that was decadent! Just stir in about a cup, give it a good mix, and then let that chilling process do its work. It mellows everything out perfectly overnight.
Tips for Success When Making Homemade Eggnog
Making this classic eggnog from scratch should feel joyful, not stressful! Even when following the stovetop method perfectly, a few little tricks can guarantee you get that signature velvety texture every single time. These are the things I picked up managing chaotic holiday service, so trust me, they make the difference between good nog and absolutely unforgettable nog.
First, let’s talk about chilling. If you think you can get away with two hours in the fridge, I’m here to gently tell you no, you can’t! The real magic happens when the milk fats and egg molecules settle overnight. The longer it chills (up to 24 hours is my limit), the thicker and creamier nog it becomes. Don’t skip that minimum four-hour rest!
Second tip, and this is crucial for aromatic intensity: always grate your nutmeg fresh on top just before serving—don’t use the pre-ground stuff that’s been sitting in the cabinet since last Thanksgiving! The difference in flavor is staggering. You want that sharp, bright scent hitting you first.
What if disaster strikes and you see a tiny bit of curdling in the saucepan around the 10-minute mark? Don’t panic! Take it off the heat *immediately*. If you whisk vigorously while it cools slightly, those tiny cooked bits often re-incorporate into the smoother base for your rich holiday drink. If you still see chunks after cooling a bit, just lean hard on that fine-mesh sieve when straining—that’s exactly what it’s there for!
Finally, remember the texture check. When testing for doneness over the stove, if you think it’s ready, give it one more minute of gentle stirring. That extra minute of confidence building the custard allows the mixture to achieve the perfect thickness without going over the boil. If you have any questions while you’re whipping up a batch, don’t hesitate to reach out to me on my contact page!
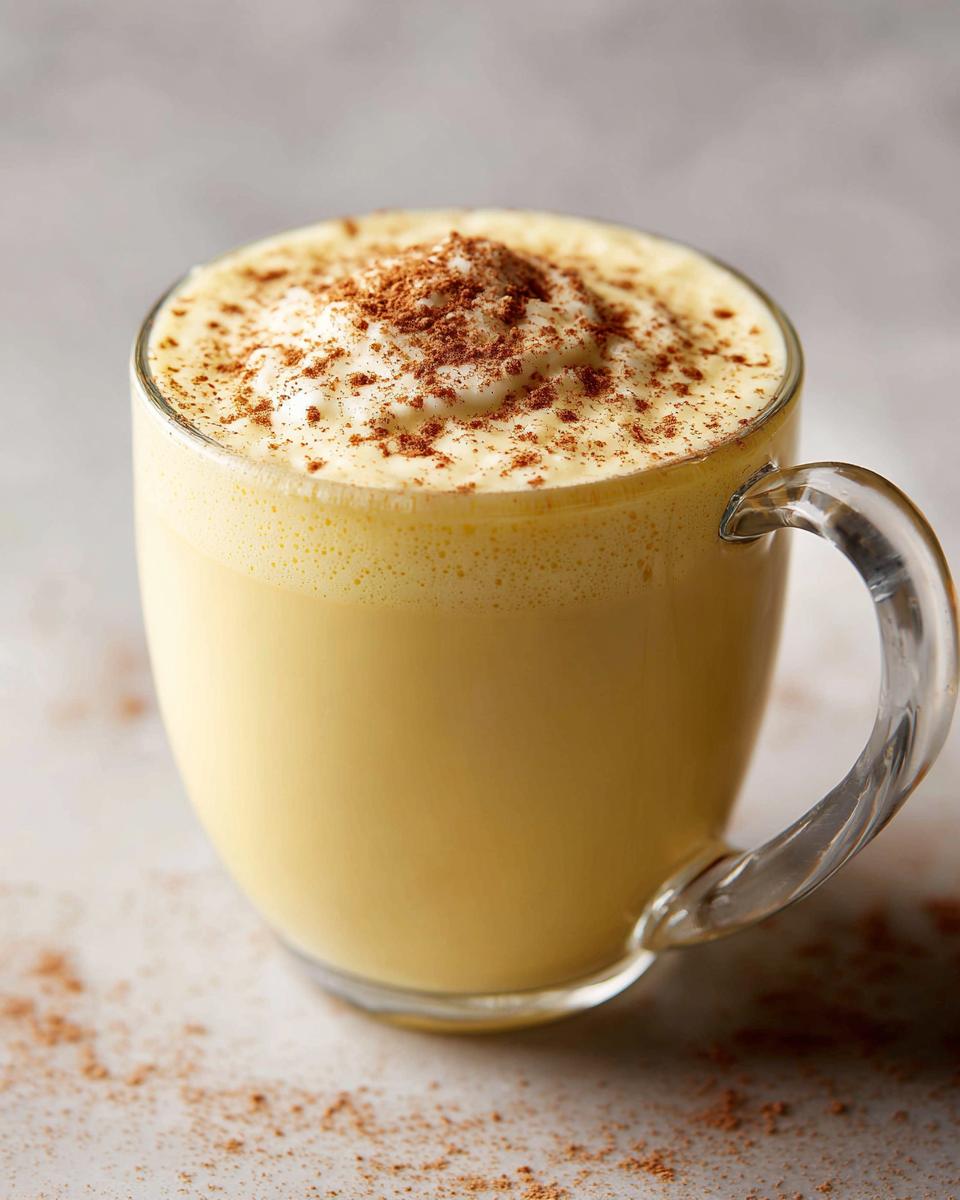
Serving Suggestions for Your Festive Winter Drinks
How you present this beautiful homemade eggnog is almost as important as how it tastes! Since this is the perfect star for your holiday gathering drinks menu, feel free to pull out your fanciest crystal punch bowl. I love setting mine near the fire, maybe with some evergreen sprigs around the base for effect.
Always serve it ice cold, of course, and remember that freshly grated nutmeg garnish we talked about? That’s non-negotiable for the presentation boost! If you want something truly decadent to pair with your rich holiday drink, may I suggest a batch of my Christmas Gooey Butter Cookies? The combination of super-rich cookie dipped in chilled, spiced nog is just heavenly. It turns a casual party into a real winter treat!
Storage and Reheating Instructions for Homemade Eggnog
One of the great advantages of making your own homemade eggnog is that it actually tastes better as it sits! Since this is a genuine from scratch holiday drink, you don’t have the stabilizers that keep the store-bought stuff safe forever. However, because we cooked those egg yolks properly, this keeps beautifully.
You should get a solid week out of this mixture if you keep it covered tightly in the coldest part of your refrigerator. I’ve probably pushed it to ten days—*shhh, don’t tell anyone I said that!*—but a week is a safe, reliable timeframe for peak freshness and flavor.
Now, here’s the crucial part about texture: after 24 hours chilling, your nog will likely look significantly thicker, maybe even a little gelatinous. Don’t panic! This is normal; the heavy cream and milk solids have done their job creating that beautiful body. Before serving, you absolutely must grab a whisk!
Take your pitcher out of the fridge and give it a really vigorous whisking for about 30 seconds. That breaks up the texture, brings back that lovely pourable consistency, and releases those beautiful spiced aromas all over again. It brings your eggnog right back to that luscious, creamy state.
If you end up having leftovers after the holiday rush and you’re concerned about the timeline, remember that the milk and cream are the first things that will spoil. If it smells sour or looks genuinely separated when you open it up after a week or so, it’s time to toss it. But that’s rare if you keep it cold! For all the details on how we maintain privacy regarding your kitchen creations and visits here, you can check out my privacy policy, but rest assured, your nog secrets are safe with me!
Frequently Asked Questions About Homemade Eggnog
Can I use pasteurized eggs instead of raw for this old fashioned eggnog recipe?
Oh, absolutely, you can! If you have any hesitation about using raw eggs, pasteurized eggs are a wonderful, safe substitute. Because we are strictly cooking this base on the stovetop anyway until it coats a spoon, we are pasteurizing them manually, but using pasteurized eggs just adds another layer of assurance! You’ll still get that great, rich flavor since we are using those yolks strictly as the thickener for our creamy eggnog recipe.
How long can I keep the old fashioned eggnog recipe refrigerated?
Because we’ve cooked the base, this is what makes our homemade eggnog last so much longer than those raw-milk versions you see sometimes! I stick to keeping it for about 7 days maximum. It’s always best right around day two or three after settling in the fridge, but honestly, the flavor deepens up nicely over that first week. Just remember my rule: give it a really good, hard whisking right before you serve it to revive that luxurious texture.
Can I make this ahead of time?
Yes! In fact, I strongly encourage it. If you’re hosting a big event, make this recipe two days ahead of time. It’s one of those few recipes where the mandated chilling process actually *improves* the flavor profile. The spices marry so much better with the cream and milk when given time to mingle in the cold. Just make sure to keep it covered well; you don’t want it absorbing any weird fridge smells!
How do I get the thick and creamy nog texture without cooking?
That’s a tricky one! If you are absolutely set on a completely raw, or ‘uncooked’ version (which might be faster, but honestly less satisfying), you would skip the entire saucepan step. Instead, you’d whisk those yolks and sugar until they were pale and ribbony (which takes ages by hand!), then slowly stream in the cold milk and cream while whisking constantly with an electric mixer. You’d still need to chill it for a full 24 hours to get any thickness at all, but it will never achieve that velvety texture of a true custard base. For that supreme thick and creamy nog, trust me, the little bit of stovetop time is worth it.
If you’re looking to pair this wonderful holiday drink with something lighter for breakfast one morning, perhaps check out my ideas for healthy breakfast ideas!
Estimated Nutrition for This Rich Holiday Drink
It’s important to remember that eggnog falls squarely into the “indulgent holiday treat” category, and that’s okay! This nutrition information is based on the recipe made *without* any added alcohol. If you decide to spike your drink with bourbon or rum, the calorie and sugar counts will change slightly based on what spirit you choose. This calculation is an estimate for one hearty cup of rich holiday drink.
- Serving Size: 1 cup
- Calories: 450
- Sugar: 35g
- Fat: 28g
- Protein: 10g
- Carbohydrates: 38g
For full disclosure on how we handle data and visitor information here at the site, please review my terms of use.
Share Your Homemade Eggnog Experience
Now, the best part: when you bring this spectacular homemade eggnog to your celebration, I want to hear all about it! Did you go for the bourbon, or maybe try some dark rum? Tell me about your favorite garnish method. Did you try to make an eggnog with bourbon recipe variation? Seriously, drop a rating below, and leave a comment sharing how this from scratch holiday drink became the highlight of your gathering. Seeing your successes is what drives me in the kitchen!
If you’re looking for the perfect dessert to follow up such a wonderful beverage, you absolutely must try my recipe for the best homemade lasagna—just kidding! Stick to sweets! Try the cookies instead!
PrintThe Best Creamy & Classic Homemade Eggnog Recipe

Make rich, velvety homemade eggnog from scratch that tastes better than store-bought. This classic recipe is perfect for holiday gatherings and can easily be spiked with bourbon or rum.
- Prep Time: 15 min
- Cook Time: 10 min
- Total Time: 4 hr 25 min
- Yield: 6 servings 1x
- Category: Dessert
- Method: Stovetop Cooking
- Cuisine: American
- Diet: Vegetarian
Ingredients
- 6 large egg yolks
- 3/4 cup granulated sugar
- 1/4 cup maple syrup
- 1/4 teaspoon salt
- 1 teaspoon vanilla extract
- 1/4 teaspoon ground nutmeg, plus more for garnish
- 1/4 teaspoon ground cinnamon
- 2 cups whole milk
- 1 cup heavy cream
- Optional: 1 cup bourbon, rum, or brandy
Instructions
- In a medium saucepan, whisk the egg yolks and sugar together until the mixture is pale yellow.
- Whisk in the maple syrup, salt, vanilla extract, nutmeg, and cinnamon.
- Gradually whisk in the whole milk and heavy cream until combined.
- Place the saucepan over medium-low heat. Cook, stirring constantly with a wooden spoon or heatproof spatula, until the mixture thickens enough to coat the back of the spoon. Do not let it boil. This step tempers the eggs and creates the custard base.
- Remove the mixture from the heat immediately. If using alcohol, stir in your choice of bourbon, rum, or brandy now.
- Pour the eggnog through a fine-mesh sieve into a clean bowl or pitcher to remove any small cooked egg pieces.
- Cover the mixture and chill in the refrigerator for at least 4 hours, or preferably overnight, until it is very cold and thick.
- Before serving this rich holiday drink, whisk it well. Serve chilled, garnished with freshly grated nutmeg.
Notes
- For a nonalcoholic eggnog, simply omit the spirits in Step 5.
- To achieve a velvety eggnog texture, make sure you stir constantly over low heat and do not allow the mixture to boil.
- If you prefer a thinner consistency, reduce the heavy cream slightly or add a splash more milk after chilling.
Nutrition
- Serving Size: 1 cup
- Calories: 450
- Sugar: 35
- Sodium: 110
- Fat: 28
- Saturated Fat: 16
- Unsaturated Fat: 12
- Trans Fat: 1
- Carbohydrates: 38
- Fiber: 0
- Protein: 10
- Cholesterol: 250