
Listen, I grew up watching grandmothers pour their whole hearts into every simple dish, and I learned one thing: the bottled stuff just doesn’t have a soul. Seriously, toss that high-fructose, vaguely chocolate-flavored corn syrup in the recycling bin right now. We are going to make the absolute best homemade chocolate syrup you have ever tasted, and we’re going to do it faster than you can get to the grocery store—we’re talking under 10 minutes total!
This recipe is pure culinary honesty, using common pantry staple recipes like cocoa powder to create something deeply rich and velvety smooth. It’s proof that extraordinary flavor doesn’t need a long list of ingredients or a complicated process. Trust me, once you see how simple it is to make this decadent drizzle at home, you’ll never look back. This is the foundation of a truly comforting kitchen, just like the ones I learned in. If you’re already a fan of homemade toppings, check out my recipe for quick, creamy chocolate frosting, too!
- Why This Homemade Chocolate Syrup Beats Store-Bought
- Gathering Ingredients for Your Quick Chocolate Syrup
- How to Make Chocolate Syrup from Cocoa Powder: Step-by-Step
- Tips for Success with Your Rich Chocolate Sauce
- Creative Ways to Use Your Easy Chocolate Sauce Recipe
- Ingredient Notes and Variations for Chocolate Syrup
- Storage and Shelf Life for Homemade Toppings
- Frequently Asked Questions About Making Chocolate Syrup
- Share Your Decadent Chocolate Drizzle Creations
Why This Homemade Chocolate Syrup Beats Store-Bought
Why mess around with preservatives and corn syrup when you’ve got the real deal sitting right here? Using simple cocoa powder and water means you control everything that goes into this delicious liquid gold. I love knowing exactly what I’m covering my ice cream with!
- Unmatched Flavor: The taste is deep, dark, and truly chocolatey—nothing artificial about it.
- Speed Demon: It’s ready to drizzle in less than 10 minutes. Seriously, it’s almost instant gratification.
- Ingredient Control: You decide the sugar level and texture. That’s power!
Making your own chocolate syrup lets you achieve the absolute best flavor profile for whatever you’re serving, whether it’s a simple glass of milk or our fudgy flourless chocolate cake.
Achieving Rich Chocolate Sauce Texture Fast
The secret to that incredible mouthfeel isn’t magic; it’s just good technique married to pure ingredients. Because we’re not relying on commercial thickeners or stabilizers, we need the gentle power of simmering to get the right body. When you heat the cocoa with the sugar and water just right, you create a stable liquid that coats a spoon beautifully. This results in a natural, velvety consistency that you just can’t replicate by stirring room-temperature ingredients together.
Gathering Ingredients for Your Quick Chocolate Syrup
This is where the magic really starts to feel achievable. I always say that the best results come from using quality basics, and look at this ingredient list! These are true pantry staple recipes. You likely have everything you need to whip up this amazing homemade french onion dip – wait, wrong recipe! I mean this amazing **chocolate syrup** right now. We’re keeping it minimal for maximum impact.
Ingredient Clarity: Measurements and Preparation
Precision matters, even when we’re moving quickly. When I line up my measuring cups, I know exactly what density I’m aiming for. Make sure your cocoa powder is unsweetened; that’s key for balancing the sugar we add next. Here’s what you need to pull together:
- 1 cup granulated sugar
- 1 cup unsweetened cocoa powder
- 1 cup water
- 1 teaspoon vanilla extract
- Pinch of salt
How to Make Chocolate Syrup from Cocoa Powder: Step-by-Step
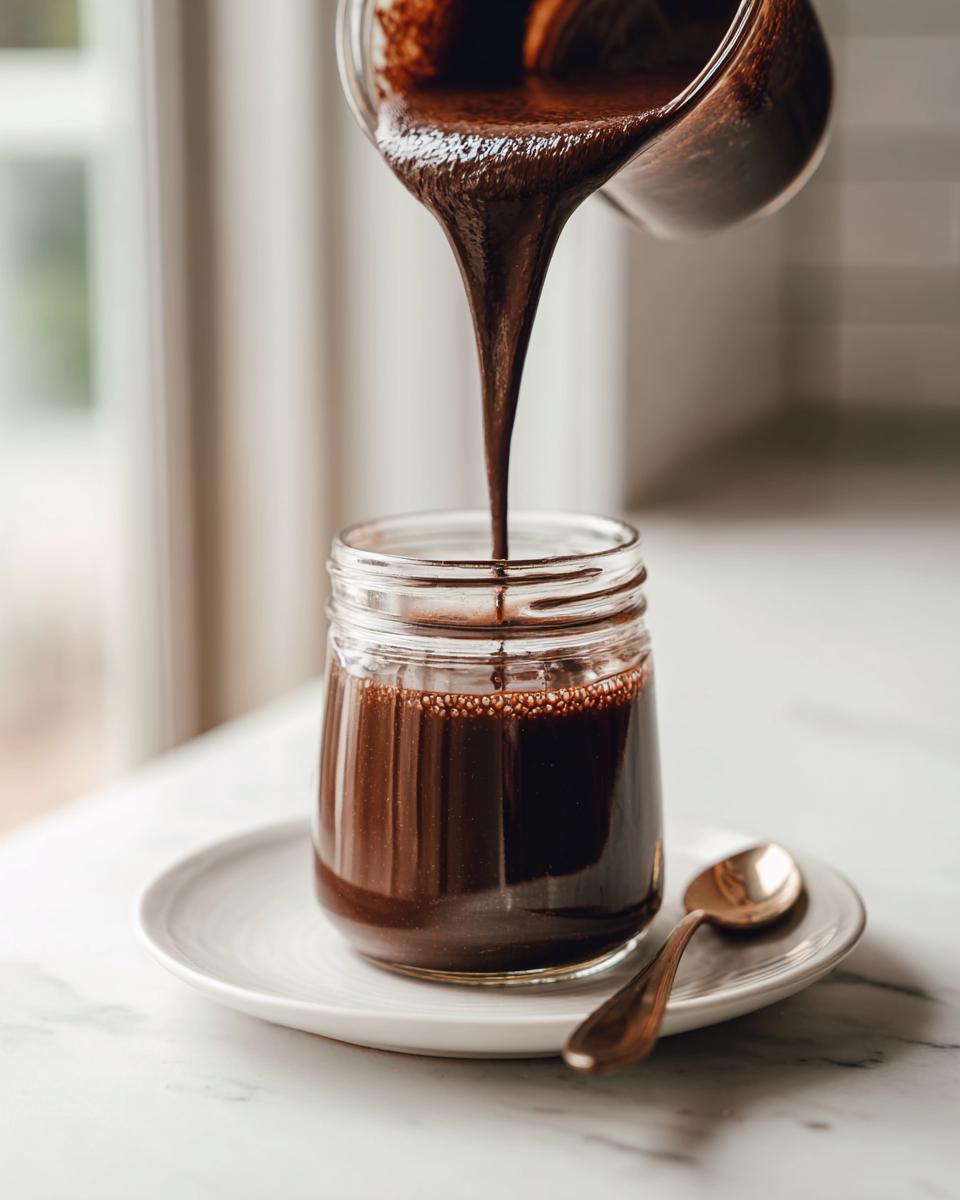
We are aiming to have this rich, decadent sauce ready in about 10 minutes total, so keep your whisk handy! This is the part where technique really shines. First thing we do is combine all our dry goods—the sugar and that beautiful unsweetened cocoa powder—right in a small saucepan, then we add the water. Don’t start heating it yet; you want to give everything a good initial whisk to eliminate any dry pockets of cocoa dust. Trust me, nobody wants a lumpy **chocolate syrup**!
Next, set that pan over medium heat. Your job now is to whisk constantly until you see the mixture start to steam gently and come to that initial simmer. Once you see those first few bubbles pop across the surface, drop the heat way down low. We’re not making a candy; we just need a gentle, slow heat to marry the flavors properly. This process ensures we get the smoothest, most luxurious consistency possible for your easy chocolate sauce recipe.
Crucial Timing for the Best Homemade Chocolate Syrup
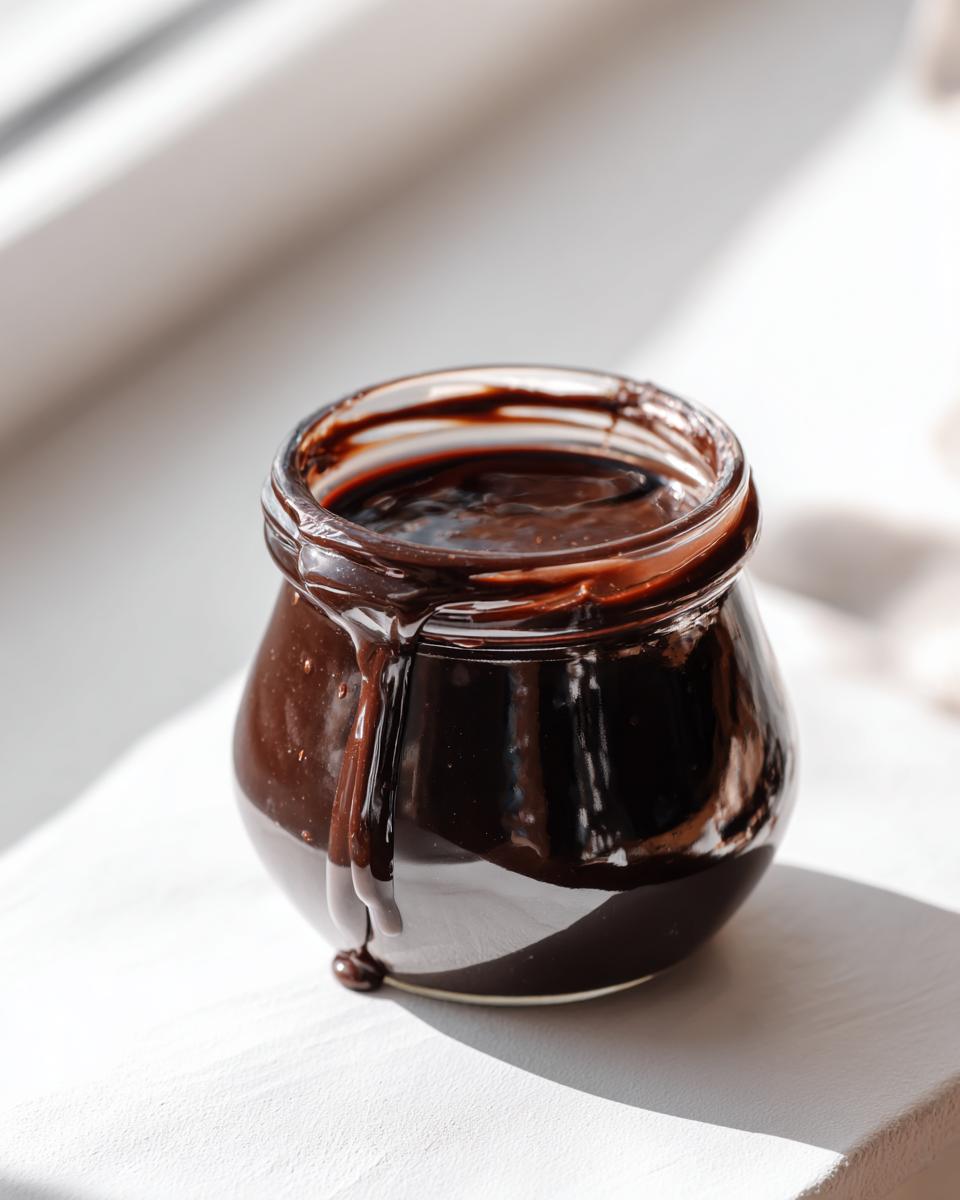
The simmer is short—just one to two minutes is all it needs after the initial heat-up. That slow warmth dissolves every last sugar crystal. When I’m testing it, I look for the liquid to look perfectly glossy and uniform; if you drag the whisk edge across the bottom, the trail should instantly fill in without showing the saucepan base. That’s your signal! Take it right off the heat immediately. The vanilla and salt go in last. You’ll notice it seems a touch thin when hot, but don’t panic. That beautiful thickening happens automatically as it cools down a bit.
Tips for Success with Your Rich Chocolate Sauce
Now that you’ve mastered the quick heat technique, let’s talk about fine-tuning this amazing chocolate syrup. The biggest question I get is always about thickness. If you want it thicker—say, perfect for an ice cream topping that holds its shape—just let it simmer for an extra minute or two before coming it off the heat. If you accidentally made it too thin while it’s still hot, don’t stress! Just let it cool down completely first. It thickens significantly as it rests.
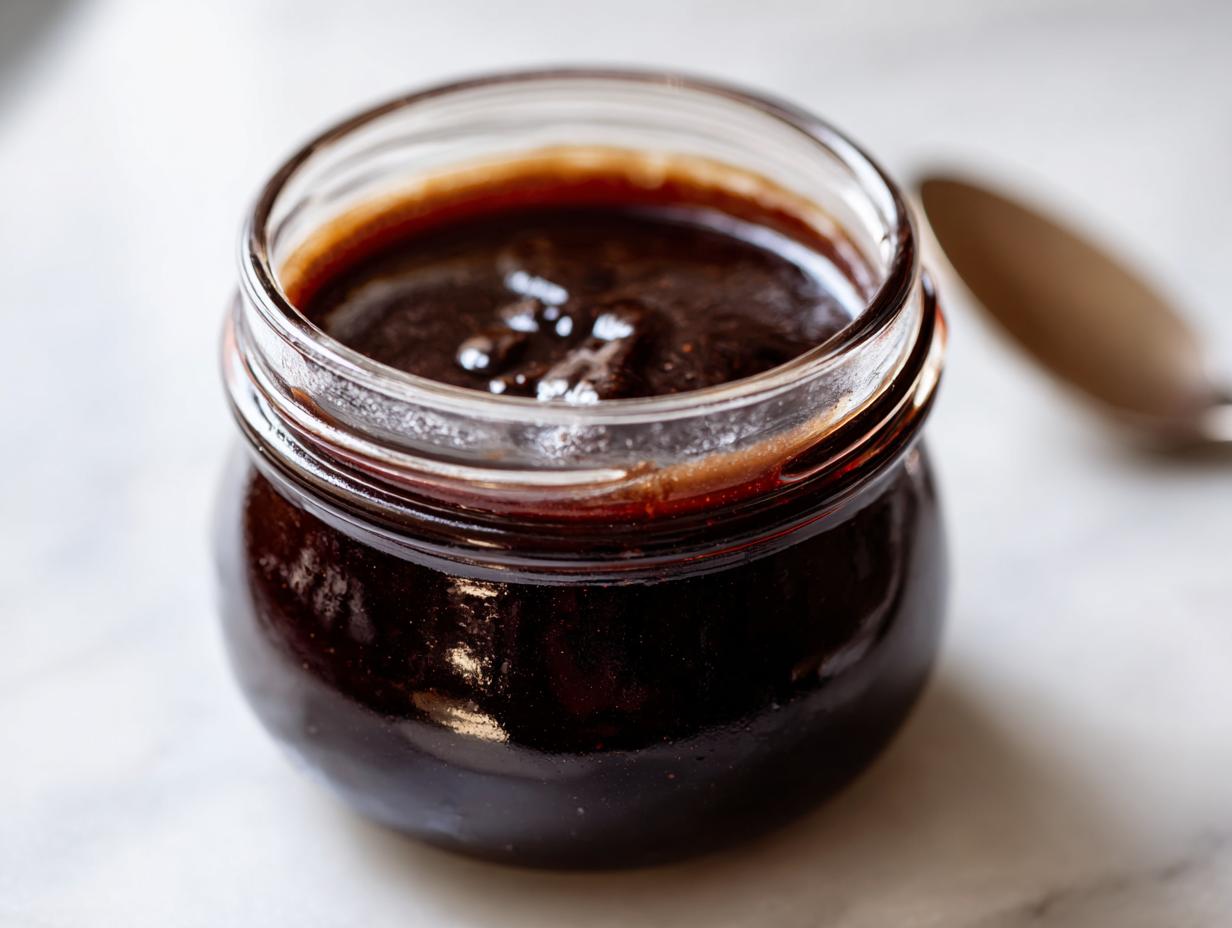
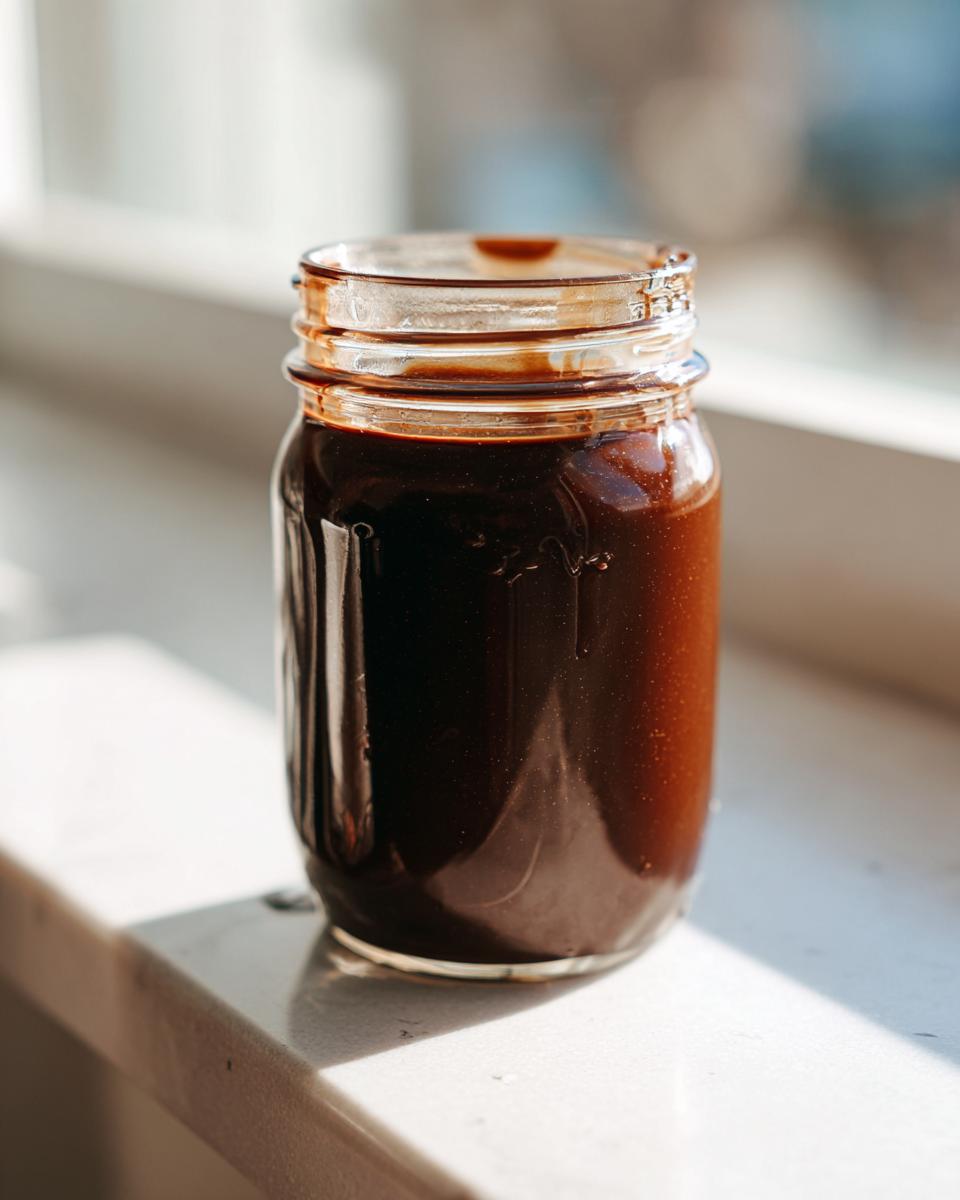
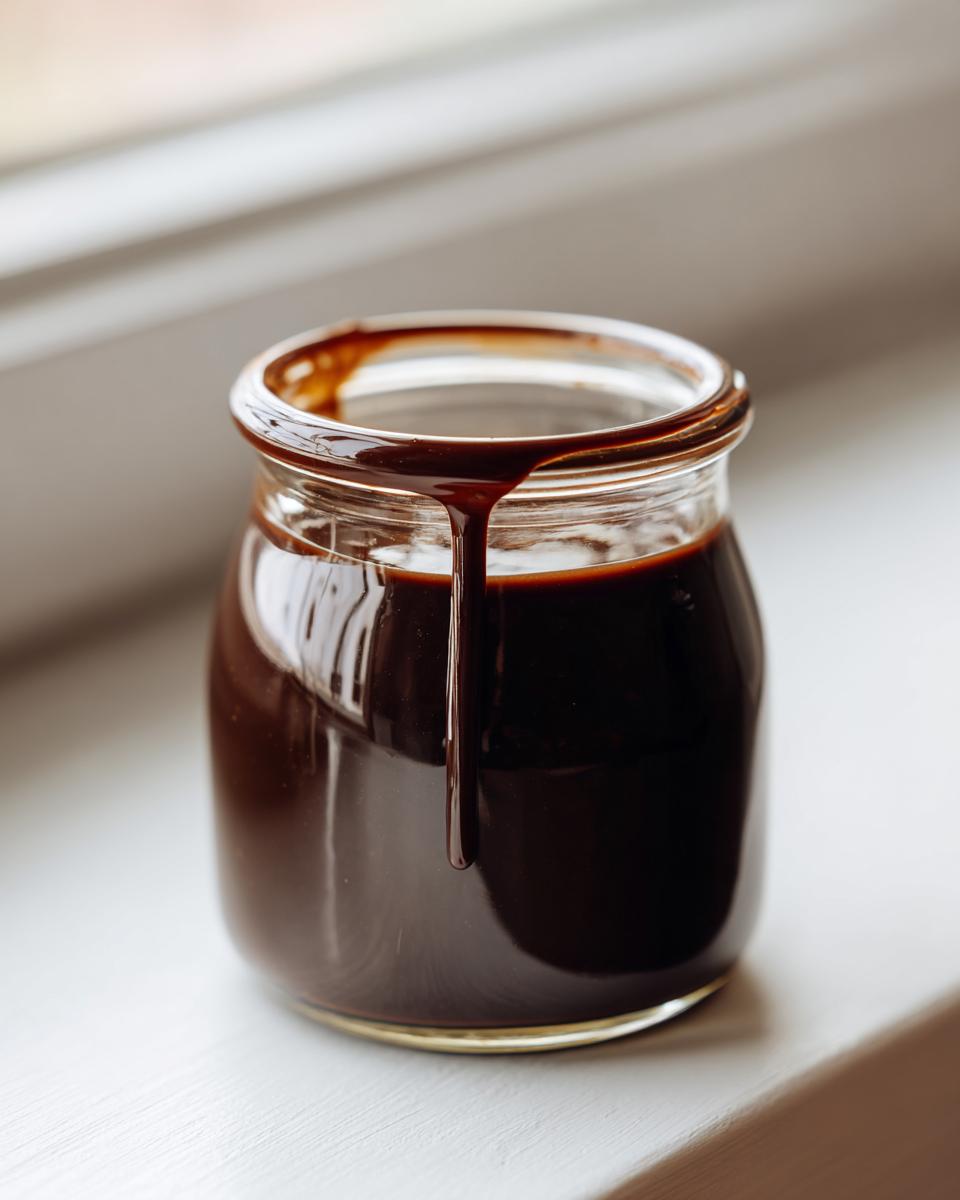
Storage is simple, but critical. You need to pop this into an airtight container—a glass mason jar is my go-to for aesthetics—and get it into the fridge. Since we aren’t using industrial stabilizers, this beautiful sauce will keep perfectly well for about three weeks. That’s plenty of time for making hot cocoa or drizzling it all over my easy pizza bites (yes, I dip those too!). Remember to give it a quick stir if it separates slightly after sitting; it’s totally natural for homemade sauces!
Creative Ways to Use Your Easy Chocolate Sauce Recipe
The best part about having this chocolate syrup around is that it’s the ultimate flavor upgrade for almost anything sweet! Forget boring desserts; this sauce makes everything feel a little more special. For an immediate dose of comfort, try stirring just two tablespoons of this rich sauce into one cup of cold milk. It makes the most intensely flavorful chocolate milk you can imagine, way beyond anything bottled. It’s absolutely fantastic when warmed up slightly and poured over a stack of my cinnamon roll French toast, too.
It’s also my secret weapon when I’m craving a coffee shop drink at home. A good tablespoon or two, frothed right into my espresso, makes the richest mocha—way better than any pre-made mocha syrup. You can also use it as a decadent ice cream topping sauce that solidifies just a tiny bit when it hits the cold surface. I even use it when I make my homemade pumpkin spice latte just to deepen the chocolate notes in the spice mix!
Making Vegan Chocolate Syrup Beverages
Because this base recipe is naturally vegetarian, switching it up for someone following a plant-based diet is a breeze. When mixing up drinks, just use your favorite plant-based milk—oat or almond work beautifully here. The flavor of the syrup shines through perfectly, meaning you don’t need any special ingredients to make incredible vegan chocolate milk or a rich, creamy dairy-free mocha. It’s so simple!
Ingredient Notes and Variations for Chocolate Syrup
We’ve locked in the core recipe for the absolute best homemade chocolate syrup, but I always want you to feel empowered to tweak things slightly for your own needs. If you want to experiment, I highly suggest adding a teaspoon of espresso powder when you mix in the cocoa; it doesn’t make it taste like coffee, but it just deepens that wonderful dark chocolate flavor. It’s a trick I learned when I was focusing on rich sauces that needed more complexity.
Now, I know some of you are looking for a sugar free chocolate syrup option, and while this exact recipe relies on granulated sugar for structure, you absolutely can substitute it with your preferred granular sweetener, like erythritol or monk fruit blends. Just be aware that the final thickness might change a bit, so you may need to simmer it slightly longer to compensate. For an amazing, moist texture in other bakes, you have to try my lemon loaf recipe!
Storage and Shelf Life for Homemade Toppings
This homemade sauce is so much better than the stuff from the store, but you do need to treat it right since it doesn’t have all those stabilizers. You absolutely must keep your finished product tightly sealed in an airtight container—a small jar works perfectly—and tuck it into the refrigerator. That’s the only way to keep it fresh for the longest time.
When stored correctly in the cold, this luscious topping stays fantastic for up to three weeks. Honestly, it rarely lasts that long around my house! If you want to learn how to preserve other seasonal goodies, you should definitely look at my easy freezer jam recipe; using the fridge or freezer is key for slow-cooked items!
Frequently Asked Questions About Making Chocolate Syrup
I get a lot of questions about tweaks and troubleshooting for this recipe—it’s just that good, and people want it to be perfect! It’s always a joy to talk kitchen science with you all. Whether you’re trying to make the ultimate treat for your kids or you just need a quick dessert topping, I’m here to help you get that ultimate, smooth texture that destroys any bottle on the shelf. If you’re looking for other great dips, check out my recipe for classic cold clam dip!
Will this homemade chocolate syrup thicken as it cools?
Oh, absolutely! This is one of the best parts of using a simple cocoa and sugar base. It looks a little thin right off the heat, but give it 15 or 20 minutes on the counter, and it gains serious body. That’s the natural thickening happening!
Can I use brown sugar instead of granulated sugar in this chocolate syrup?
You sure can try! However, I always recommend sticking to the granulated sugar for the classic, clean chocolate flavor in this **chocolate syrup**. If you swap in brown sugar, you’ll get a richer, almost caramel-like note, which is fantastic, but it changes the profile slightly from the original recipe. Just know that the final result will have a darker color thanks to that molasses!
Share Your Decadent Chocolate Drizzle Creations
Well, that’s all there is to creating what I truly believe is the best **chocolate syrup** available! Now it’s your turn to experience the joy of making something so simple taste this luxurious. Don’t keep this goodness to yourself—rate the recipe below and then tell me in the comments what you drizzled it on first! Did you make the ultimate chocolate milk, or did you go straight for the ice cream? I always love seeing your creations over on the contact page, so feel free to share pictures!
PrintQuick & Easy Homemade Chocolate Syrup Recipe (Better Than Store-Bought)

Make rich, smooth homemade chocolate syrup in under 10 minutes using simple pantry ingredients like cocoa powder. This easy chocolate sauce recipe is superior to store-bought versions and perfect for ice cream, milk, and coffee.
- Prep Time: 5 min
- Cook Time: 5 min
- Total Time: 10 min
- Yield: About 1.5 cups 1x
- Category: Dessert Topping
- Method: Stovetop Simmering
- Cuisine: American
- Diet: Vegetarian
Ingredients
- 1 cup granulated sugar
- 1 cup unsweetened cocoa powder
- 1 cup water
- 1 teaspoon vanilla extract
- Pinch of salt
Instructions
- Combine the sugar, cocoa powder, and water in a small saucepan.
- Place the saucepan over medium heat. Whisk constantly until the sugar dissolves and the mixture begins to simmer.
- Reduce the heat to low and let it simmer gently for 1 to 2 minutes, stirring occasionally. Do not boil rapidly.
- Remove the saucepan from the heat. Stir in the vanilla extract and salt.
- Allow the syrup to cool slightly before using. It will thicken as it cools.
- Pour the finished chocolate syrup into an airtight container for storage.
Notes
- For a thicker sauce, simmer the mixture for an extra minute or two, or reduce the amount of water slightly.
- Store this homemade chocolate syrup in the refrigerator for up to three weeks.
- To make decadent chocolate milk, mix 2 tablespoons of syrup with 1 cup of cold milk.
- This recipe works well as a vegan chocolate syrup if you use plant-based milk in your final beverage.
Nutrition
- Serving Size: 2 tablespoons
- Calories: 90
- Sugar: 18g
- Sodium: 5mg
- Fat: 0.5g
- Saturated Fat: 0.3g
- Unsaturated Fat: 0.2g
- Trans Fat: 0g
- Carbohydrates: 23g
- Fiber: 1g
- Protein: 1g
- Cholesterol: 0mg