
I love hosting. Seriously, there’s nothing better than seeing friends gather around a spread of snacks while I finish up the evening’s main course. But let’s be honest, hosting can get stressful, right? That’s why I always lean on appetizers that work hard so I don’t have to. For me, nothing beats the reliability and sheer joy of a great spread of cheese, and that’s where this ultimate, easy, make-ahead cheese ball recipe comes in.
When I was starting out professionally, I saw fussy dishes all the time. But in my home kitchen, I learned that the best culinary moments usually come from simple, honest flavors executed perfectly. This classic ball hits that sweet spot—it’s creamy, salty, savory, and basically guaranteed to vanish first at any party, whether it’s a huge holiday bash or just a quiet Sunday football game. You can prepare it the day before, and it’s ready to go when the doorbell rings. Trust me; this is the anchor for any great appetizer lineup.
- Why This Classic Cheese Ball Recipe is the Best Party Appetizer
- Ingredients for Your Simple Cream Cheese Appetizers
- How to Make a Cheese Ball: Step-by-Step Instructions
- Tips for Success with Your Make Ahead Cheese Ball
- Serving Suggestions for Your Crowd Pleasing Party Dip
- Storing and Reheating This Easy Cheese Ball Recipe
- Frequently Asked Questions About the Cheese Ball Recipe
- Estimated Nutritional Data for One Serving of this Cheese Ball Recipe
- Share Your Experience Making This Cheese Ball Recipe
Why This Classic Cheese Ball Recipe is the Best Party Appetizer
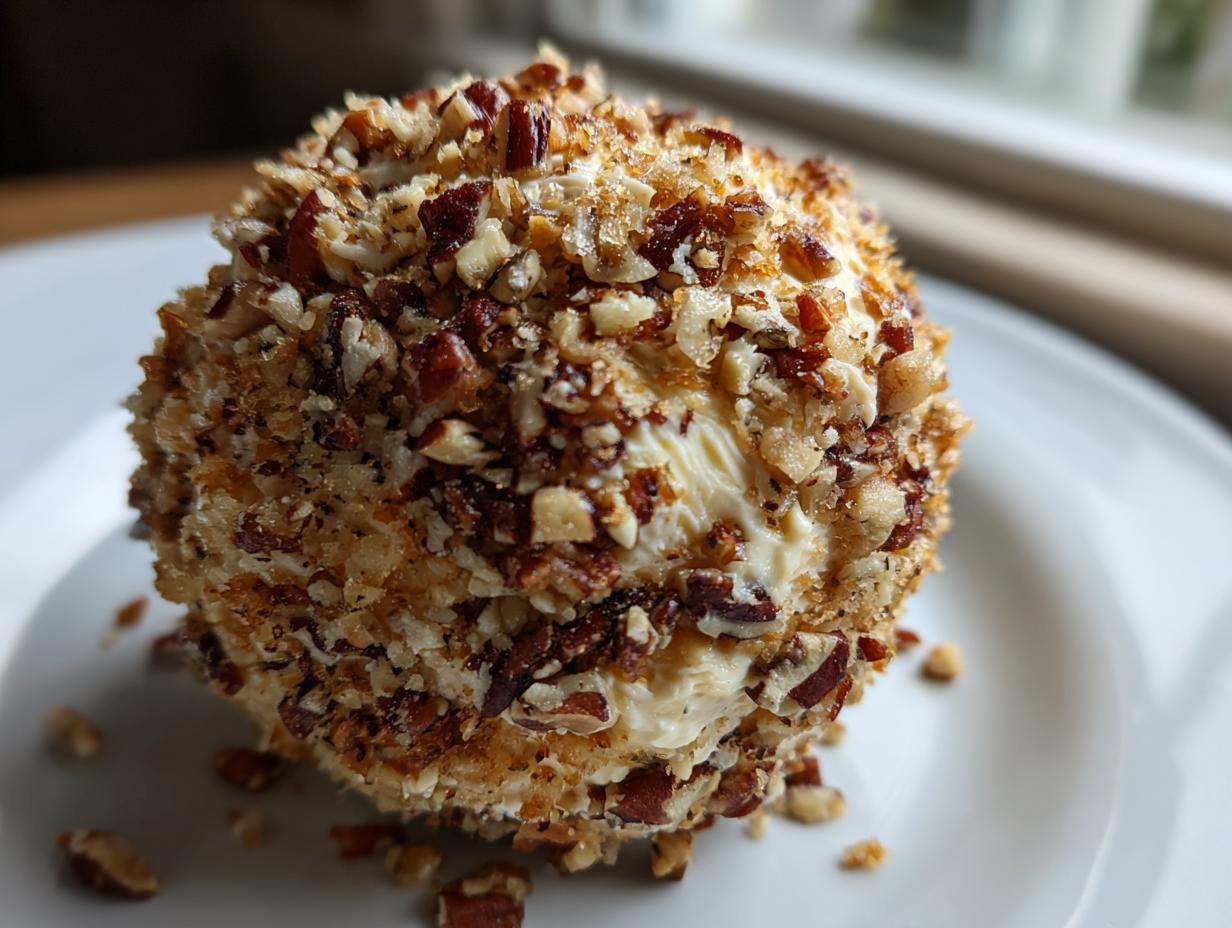
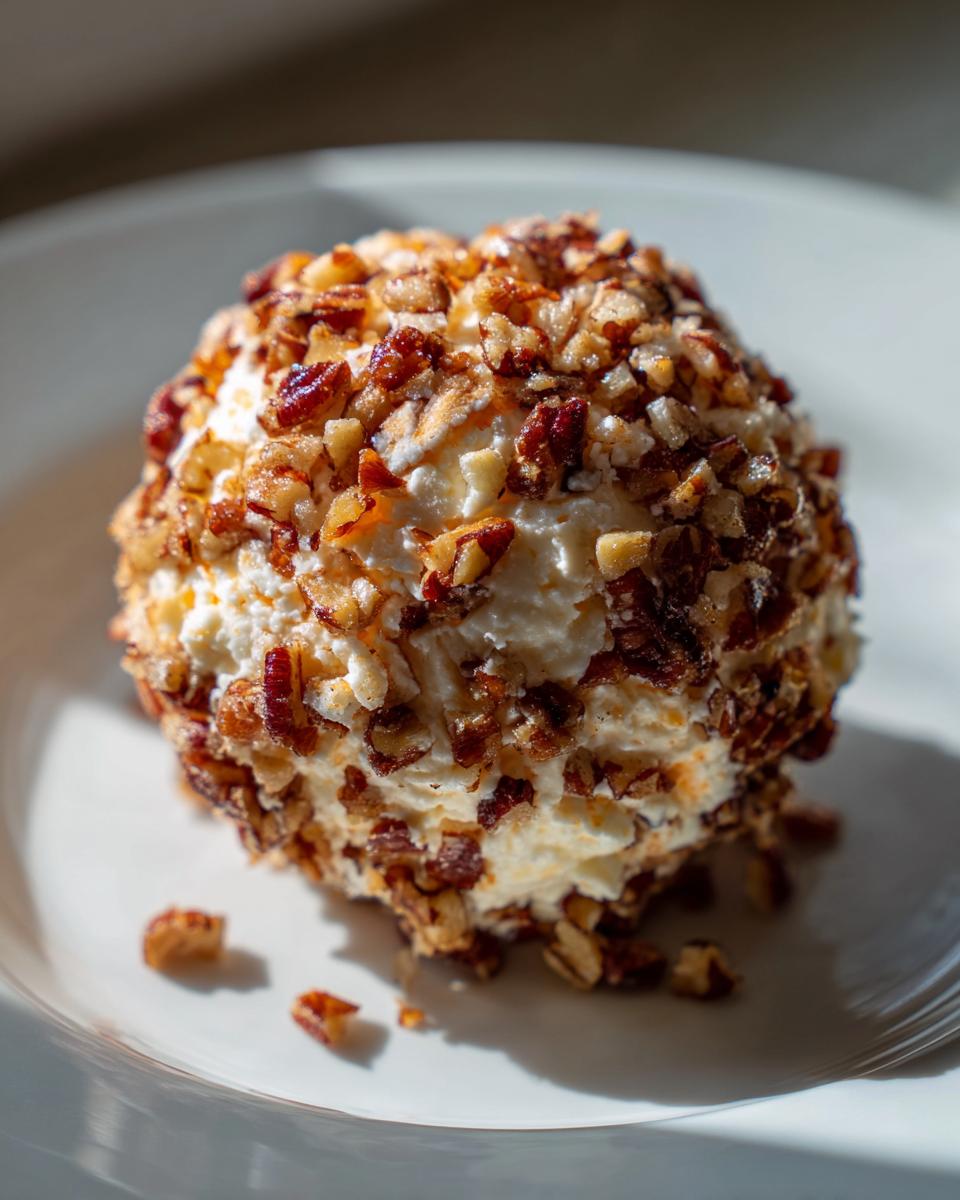
Look, I’ve made every complicated dip under the sun, but nothing replaces a truly reliable classic. This specific cheese ball recipe shines because the balance between the sharp cheddar and the creamy base is just perfect. It’s savory, that Worcestershire sauce gives it a real depth of flavor you don’t often find in simple spreads, and the pecans offer that necessary crunch. Plus, it stays fresh and gorgeous for days!
When you need something that looks impressive but barely requires any cooking—which is basically all the time when entertaining—this formula is my secret weapon. It’s a genuine crowd pleasing party dip contender.
- It earns the title of **Make Ahead Cheese Ball**—prep it completely the day before!
- It requires zero actual baking time. It’s pure assembly.
- The sharp cheddar ensures the flavor cuts through cracker fatigue.
Prep Time, Total Time, and Yield for Your Cheese Ball Recipe
Here’s the best part about this recipe: the active work is minimal. You’re mostly just waiting for it to chill, which is perfect because that means you can focus on other things.
- Prep Time: 15 minutes. That’s it!
- Total Time: 1 hour 45 minutes (most of that is necessary chilling).
- Yield: 12 servings. (Though if you have hungry football fans, plan on doubling it!)
Ingredients for Your Simple Cream Cheese Appetizers
When I talk about simple cream cheese appetizers, I really mean it. We aren’t talking about measuring spices down to the milligram here; we’re talking about pulling good ingredients from the fridge and mixing them up. The quality of the cheese really matters here, though, because there’s nowhere for weak flavors to hide! For the pecans, if you wanted to try a little twist, you could toast them first, or even look into making candied pecans for a sweet/savory contrast, but the classic crunch is what I use most often.
Here’s what you need to gather for the base of this ultimate cheese ball recipe:
- 8 ounces cream cheese, and make sure it’s softened—I mean really soft, leave it out for an hour!
- 8 ounces sharp cheddar cheese, freshly shredded if you have the chance. Please don’t use pre-shredded bags if possible; it just melts better when it’s fresh.
- 1 teaspoon Worcestershire sauce—this is where the background savoriness comes from!
- 1/2 teaspoon garlic powder
- 1/4 teaspoon onion powder
- 1/4 teaspoon salt
- 1/4 teaspoon black pepper
- 1 cup finely chopped pecans. This is the coating, so mine have to be roughly the same size.
Then we have the little extras, which are totally optional but add a nice visual pop when you serve it:
- Optional: 2 tablespoons chopped fresh parsley for garnish. A little green makes everything look festive, doesn’t it?
How to Make a Cheese Ball: Step-by-Step Instructions
When it comes to creating the ultimate cheese ball, the steps are straightforward, but timing is key. Because we’re not baking anything, the chilling process is what does the heavy lifting, making sure you get a perfect, moldable spread rather than a total mess when you try to shape it. Follow these steps, and you’re going to nail this cheese ball recipe every single time you serve it.
Mixing the Base for the Ultimate Cheese Ball
First things first, grab that softened cream cheese, and you need to work it until it’s silky smooth. I use an electric hand mixer for this because you want zero lumps before moving on. Once that base is perfect, you add in all your flavor components: the shredded cheddar cheese, the Worcestershire sauce, the garlic and onion powders, and the salt and pepper. You just mix this until everything is completely uniform. You’re looking for one homogenous cheesy mass—no streaks of white cream cheese left hiding anywhere!
Chilling and Shaping Your Savory Cheese Log
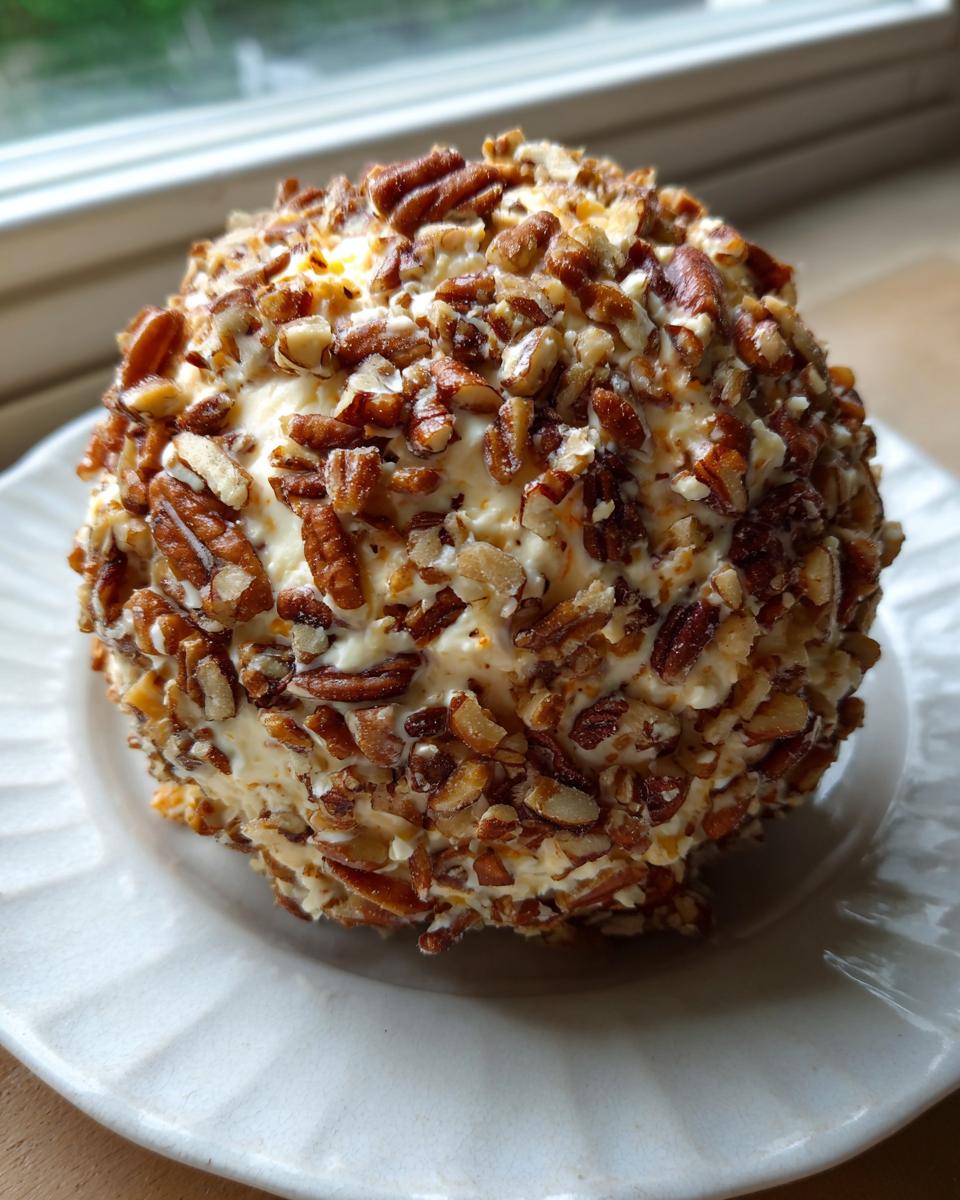
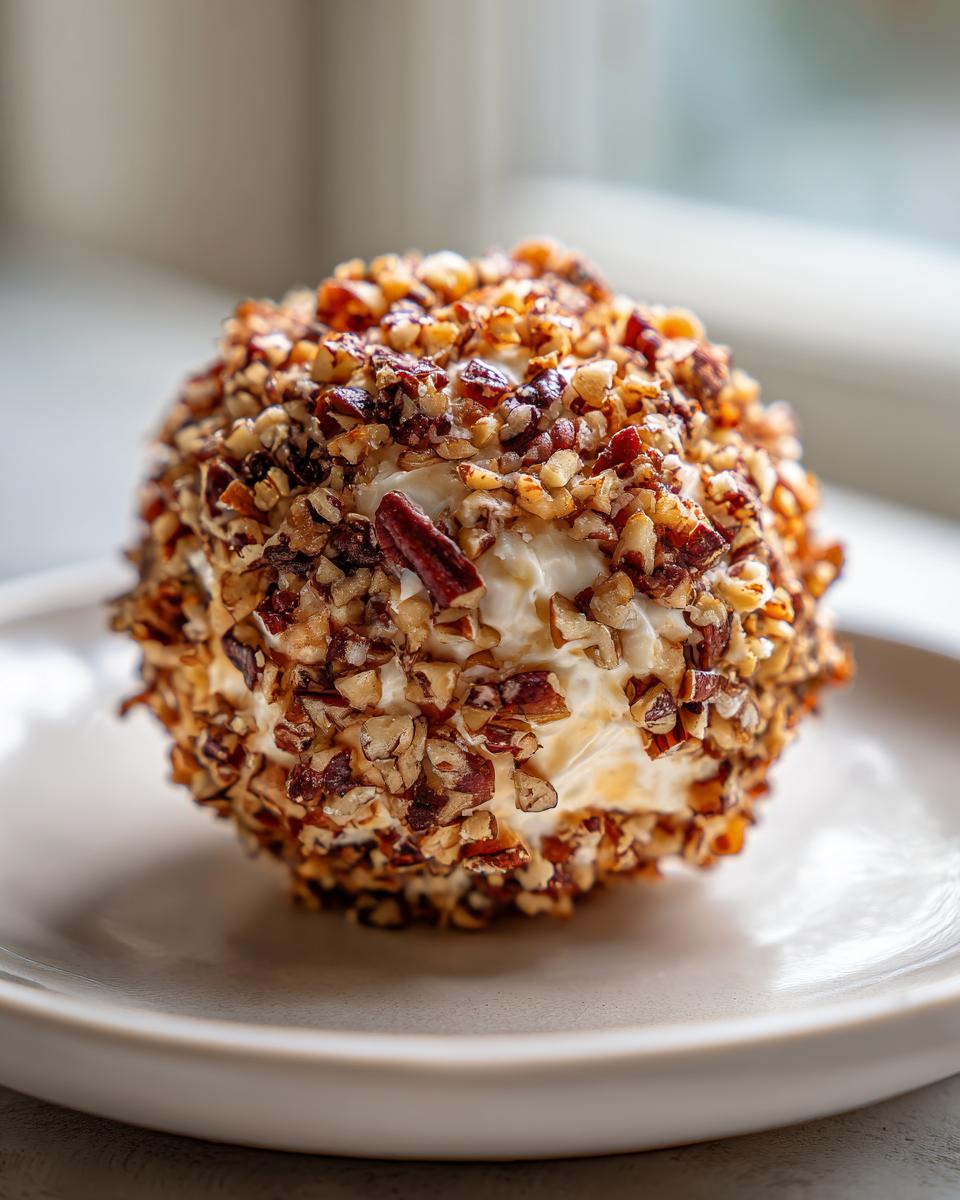
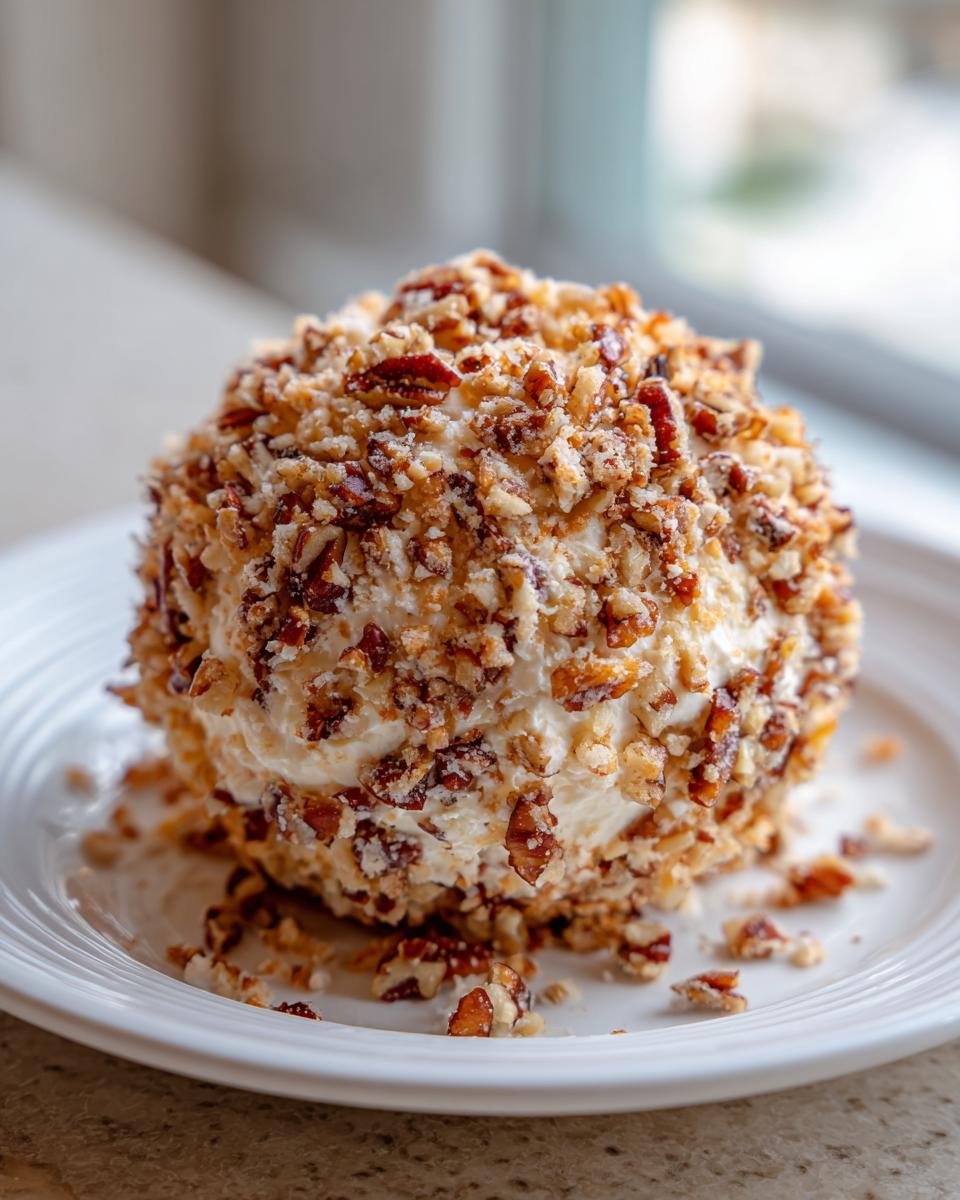
Now here’s where patience comes in. Cover that bowl and pop it into the fridge for at least an hour. Trust me, if you try to shape it straight away, it’ll stick to you like glue! Once it’s thoroughly chilled and firm, set up your coating station. Spread those finely chopped pecans out evenly on a shallow plate. Take your firm cheese mixture—it should feel much easier to handle now—and gently shape it into a nice round ball using your hands or a spatula. Then, roll that ball right into the pecans until it’s completely coated. We chill it one more time for about 30 minutes so it holds that gorgeous shape perfectly when guests arrive.
Tips for Success with Your Make Ahead Cheese Ball
The beauty of this cheese ball recipe is how much work it saves you later. You can totally make this two days ahead! Just wrap that ball up super tight in plastic wrap right after you coat it and stick it in the fridge. It just means less fuss when the company arrives—which is always the goal for me, you know?
I’ve found that keeping it tightly wrapped is key to getting that perfect texture when it’s time to serve. Don’t worry about it getting too hard; it softens up nicely on the counter while you’re setting out the serving platter. This feature alone makes it one of my favorite holiday cheese ball snacks.
Coating Variations for a Classic Cheese Ball Recipe
Pecans are classic, but sometimes you want to switch things up! The coating is really where you can customize your savory cheese log. If you’re making this for a game day spread, swapping the nuts for something salty is fantastic. Think about lining up crushed pretzels or even some thinly chopped dried beef for a real meaty kick.
Honestly, you could even mix ingredients. Try half pecans and half finely chopped dried chives for a hint of sharpness. The cheese base is sturdy enough to handle almost anything you throw at it, which is what makes this recipe so versatile for entertaining!
Serving Suggestions for Your Crowd Pleasing Party Dip
You’ve made the most perfect, beautiful mound of savory deliciousness—now what? The accompaniment is just as important as the spread itself, right? A great cheese ball needs something sturdy to carry it onto your palate. I’ve seen people use everything from fancy bread crisps to simple celery sticks, and honestly, they all work because the cheese ball flavor is so robust.
When I set this out for guests, I always aim for variety so everyone finds something they love. Think about texture contrast; you want crunchy, salty, and maybe something fresh and cool to balance out the richness of the cream cheese and cheddar.
Here are the things I always, always put out alongside it:
- Crackers: Go for sturdy crackers, like water biscuits or butter crackers. Thin, delicate crackers tend to break under the density of a good scoop.
- Pretzels: Absolutely essential, especially the small twists or pretzel rods. They offer great saltiness.
- Fresh Vegetables: For balance, you need cool crunch! Think carrot sticks, celery stalks, and maybe some crisp bell pepper slices. I sometimes use blanched broccoli florets too.
- Bread: Small slices of toasted baguette or pumpernickel bread are fantastic, especially if you want an elegant touch.
If you’re looking for another crowd pleasing party dip recipe that pairs well with these same items, you should check out my honey mustard chicken salad—it’s also a huge hit!
Storing and Reheating This Easy Cheese Ball Recipe
One of the major strengths of this recipe is how perfectly it handles sitting around waiting for the party to start! Since this is a completely no bake cheese ball, you don’t have to worry about it degrading in the oven; you just need to protect its texture.
The truth is, this cheese ball recipe is designed to be made ahead. You can wrap it up TIGHTLY in plastic wrap right after you finish rolling it in the pecans, and it will happily wait in the refrigerator for up to two full days. Seriously, if you’re planning ahead for a big holiday weekend, this is your insurance policy against day-of stress!
When you’re ready to serve it, pull it out of the fridge about 20 to 30 minutes before you plan to put it out on the table. That little bit of rest time allows the cream cheese to soften just slightly, making it easier for your guests to get a good scoop, but it stays plenty chilled. I try to keep my leftovers wrapped up well, just like you would with homemade freezer jam—tight seal equals fresh flavor!
Now, if you’re asking about “reheating,” well, we don’t reheat a cheese ball, silly! This is meant to be a cold, refreshing appetizer. If it gets warm sitting out for hours at a party, you just pop it back into the fridge for an hour to firm up again. It’s durable like that. Just keep it covered when it’s not actively being served, and you’ll have amazing leftovers for snacking the next day!
Frequently Asked Questions About the Cheese Ball Recipe
Whenever I share this no bake cheese ball approach, people always have a few similar questions pop up. It’s smart to ask! Getting the ratios and timing right ensures you end up with that perfect, scoopable texture for your next event. I pulled together the most common ones so you can feel totally confident when assembling this Easy Cheese Ball Recipe.
Can I use different cheeses in this cheese ball recipe?
Oh, absolutely! While the recipe calls for sharp cheddar for that fantastic bite, you have so much flexibility here. You must keep the cream cheese base, though—that’s non-negotiable for structure. For the hard cheese, you can swap out that cheddar for something like Gruyère if you want a slightly nuttier flavor, or even Monterey Jack if you prefer a milder profile. Just make sure whatever hard cheese you use is finely shredded, just like the cheddar. Avoid anything too soft, like fresh mozzarella, because it will make the entire mixture sloppy and impossible to shape into a nice ball.
How long does this classic cheese ball recipe last in the fridge?
Because it’s made entirely of high-fat dairy and doesn’t contain any ingredients that break down quickly (like fresh herbs mixed into the base), this mixture holds up incredibly well. If you wrap it tightly—and I mean *tightly*, like you are wrapping a priceless artifact—it stays delicious for up to four days in the refrigerator. However, for the absolute best flavor and texture, I find that serving it within the first 48 hours is ideal. The pecans tend to stay crispest when they haven’t been coated for too long!
Estimated Nutritional Data for One Serving of this Cheese Ball Recipe
I always keep track of things like this, especially when I’m planning a big spread—you never know when a guest might ask! Now, remember, this data is only an estimate based on the specific ingredients I use in my kitchen, particularly the brand of sharp cheddar and the type of pecans. Homemade things always vary a little bit, but this gives you a really good baseline for what you’re serving.
For a single serving (about 1.5 ounces) of this pure, creamy goodness, here is the breakdown:
- Serving Size: 1.5 oz (That’s one decent scoop!)
- Calories: 150
- Fat: 14g (Yes, that’s where most of the flavor lives!)
- Saturated Fat: 7g
- Trans Fat: 0g
- Cholesterol: 35mg
- Sodium: 210mg
- Carbohydrates: 2g
- Fiber: 0g
- Sugar: 1g (Mostly natural sugars from the cheese and the tiny bit in the Worcestershire sauce.)
- Protein: 6g
This is truly a dish built around fat and protein, which is exactly why it keeps everyone satisfied while they chat and mingle! It’s rich, savory, and honestly, worth every single gram of flavor.
Share Your Experience Making This Cheese Ball Recipe
Now that you have the secrets to the best party appetizers, I genuinely want to see what you create! This recipe is sturdy, dependable, and it always brings smiles to my table, and I hope it does the same for yours. Did you stick with the creamy, sharp, pecan-crusted classic? Or did you get adventurous with one of those coating swaps we talked about?
I always hope my recipes inspire you to slow down a little and enjoy the process of bringing people together over good food. Please, take a moment to leave a quick star rating right below this section. It helps other cooks know that this easy cheese ball recipe is worth their time!
And if you have a favorite way you dress this up—maybe you stirred in a little smoked paprika or used spicy mustard instead of Worcestershire—drop that in the comments too! I’m always learning new tricks from everyone who tries my recipes. You can always reach out to me directly through the contact page if you have any detailed questions. Seriously, knowing that this simple little cheese ball helps make your holiday entertaining or game day spread stress-free is the huge payoff for me. Happy snacking!
PrintThe Best Classic Homemade Cheese Ball Recipe

Make this easy, classic cheese ball recipe for your next gathering. It is a simple, make-ahead party appetizer that uses sharp cheddar and cream cheese, coated in pecans.
- Prep Time: 15 min
- Cook Time: 0 min
- Total Time: 1 hour 45 min
- Yield: 12 servings 1x
- Category: Appetizer
- Method: No Bake
- Cuisine: American
- Diet: Vegetarian
Ingredients
- 8 ounces cream cheese, softened
- 8 ounces sharp cheddar cheese, shredded
- 1 teaspoon Worcestershire sauce
- 1/2 teaspoon garlic powder
- 1/4 teaspoon onion powder
- 1/4 teaspoon salt
- 1/4 teaspoon black pepper
- 1 cup finely chopped pecans
- Optional: 2 tablespoons chopped fresh parsley for garnish
Instructions
- Place the softened cream cheese in a medium bowl. Beat with an electric mixer until smooth.
- Add the shredded cheddar cheese, Worcestershire sauce, garlic powder, onion powder, salt, and pepper to the bowl. Mix until all ingredients are fully combined and uniform.
- Cover the cheese mixture and chill in the refrigerator for at least 1 hour to firm up. This step makes shaping easier.
- Spread the finely chopped pecans on a shallow plate.
- Remove the chilled cheese mixture from the refrigerator. Shape the mixture into a ball using your hands or a rubber spatula.
- Roll the cheese ball in the chopped pecans until it is completely coated. If using parsley, sprinkle it over the top for color.
- Return the finished cheese ball to the refrigerator to chill for at least 30 minutes before serving.
- Serve cold with crackers, pretzels, or fresh vegetables.
Notes
- You can prepare this cheese ball up to two days ahead of time. Keep it tightly wrapped in plastic wrap in the refrigerator until you are ready to serve.
- For a different flavor, substitute the pecans with crushed pretzels, dried beef, or a mix of dried herbs.
- If you are serving a large crowd, consider making two smaller cheese balls instead of one large one.
Nutrition
- Serving Size: 1.5 oz
- Calories: 150
- Sugar: 1
- Sodium: 210
- Fat: 14
- Saturated Fat: 7
- Unsaturated Fat: 7
- Trans Fat: 0
- Carbohydrates: 2
- Fiber: 0
- Protein: 6
- Cholesterol: 35