
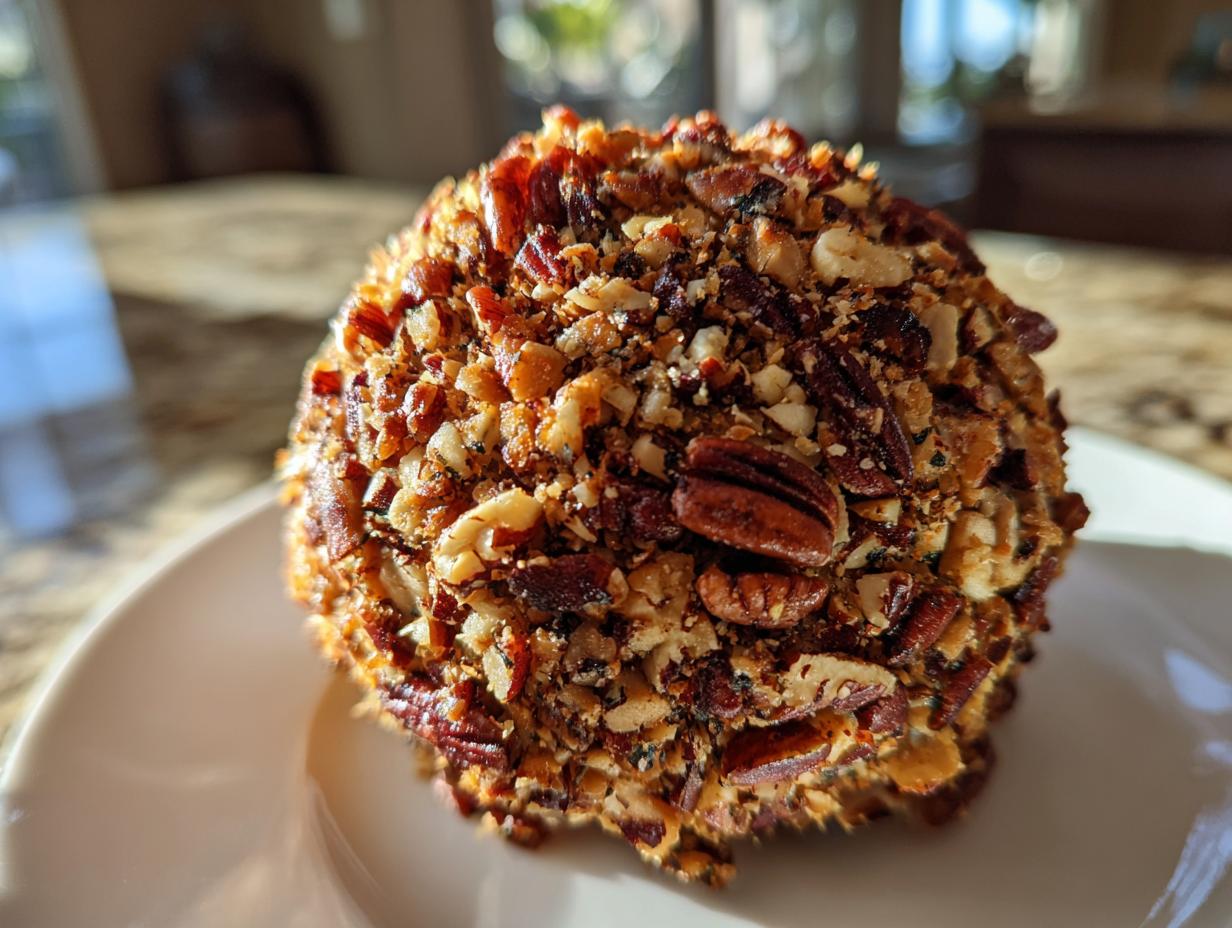
Remember that feeling when you walk into a holiday party and the appetizer spread is just screaming comfort? For me, that smell and sight always means one thing: the inevitable, perfect holiday cheese ball dominating the table. Julian Maxwell knows that feeling well; he built the whole Julia Meal philosophy around that deep connection to classic, comforting food, and this recipe is pure nostalgia distilled into a creamy sphere. Trust me when I say, this is the easiest, I mean *easiest*, recipe you’ll ever use for that classic, savory and creamy spread everyone flocks to. You absolutely need this retro party appetizer in your life, and you can find out a little more about where that culinary heart comes from over here: our story.
- Why This Classic Cheese Spread is Essential for Your Party
- Gathering Ingredients for Your Nut-Coated Cheese Ball
- Step-by-Step Instructions for the Perfect Holiday Cheese Ball
- Expert Tips for Making the Ultimate Holiday Cheese Ball
- Serving Suggestions for Your Retro Party Appetizer
- Storage and Make-Ahead Instructions for Your Holiday Cheese Ball
- Frequently Asked Questions About This Classic Cheese Spread
- Estimated Nutritional Data for the Classic Cheese Spread
- Share Your Experience Making This Retro Party Appetizer
Why This Classic Cheese Spread is Essential for Your Party
Honestly, if you’re hosting during the holidays, you need this recipe because it’s your secret weapon. Why? Because it’s completely fool-proof and everyone loves it. It’s the ultimate crowd-pleaser that tastes like childhood holidays and looks fantastic.
- It’s almost entirely make-ahead—you can whip the base up the day before.
- The robust flavor profile hits every savory note you want in a party snack.
- It brings that wonderful, slightly retro party appetizer vibe that just feels festive.
Quick Prep for a Showstopping Holiday Cheese Ball
The best part is how little time you actually spend stirring! We are talking maybe 15 minutes of active work here. Then, you just let the fridge do all the heavy lifting while you tackle the rest of your hosting duties. Nobody needs more stress when entertaining, right?
Gathering Ingredients for Your Nut-Coated Cheese Ball
Okay, let’s talk groceries! This amazing little ball relies on good quality base ingredients. Since this is a no-bake situation, you can’t hide behind cooking; everything needs to taste great on its own. Don’t try to skimp here—it’s worth it to get the good stuff!
Here’s what you’ll need lined up for our classic cheese spread. I always like to have all my cheeses measured out before I even turn the mixer on. It makes the whole process feel slower and more relaxed.
- You absolutely need 8 ounces of cream cheese. And listen closely: it must be fully softened! Like, leave-it-out-for-two-hours soft. If it’s cold, it won’t blend right.
- Get 8 ounces of sharp cheddar cheese, and please, shred it yourself if you can. Those pre-shredded bags have anti-caking agents that keep the texture from being perfectly smooth.
- If you’re brave and love that little bit of tang (which I do!), grab 4 ounces of blue cheese, crumbled. If not, just skip it—no hard feelings!
- For our savory kick, we’re using 1/4 cup of finely chopped green onion, or scallions. They add that freshness that cuts through the richness.
- For the deep background flavor—the secret sauce, really—you need a splash of Worcestershire sauce (about a tablespoon), plus 1 teaspoon of garlic powder, half a teaspoon of onion powder, and a dash of black pepper.
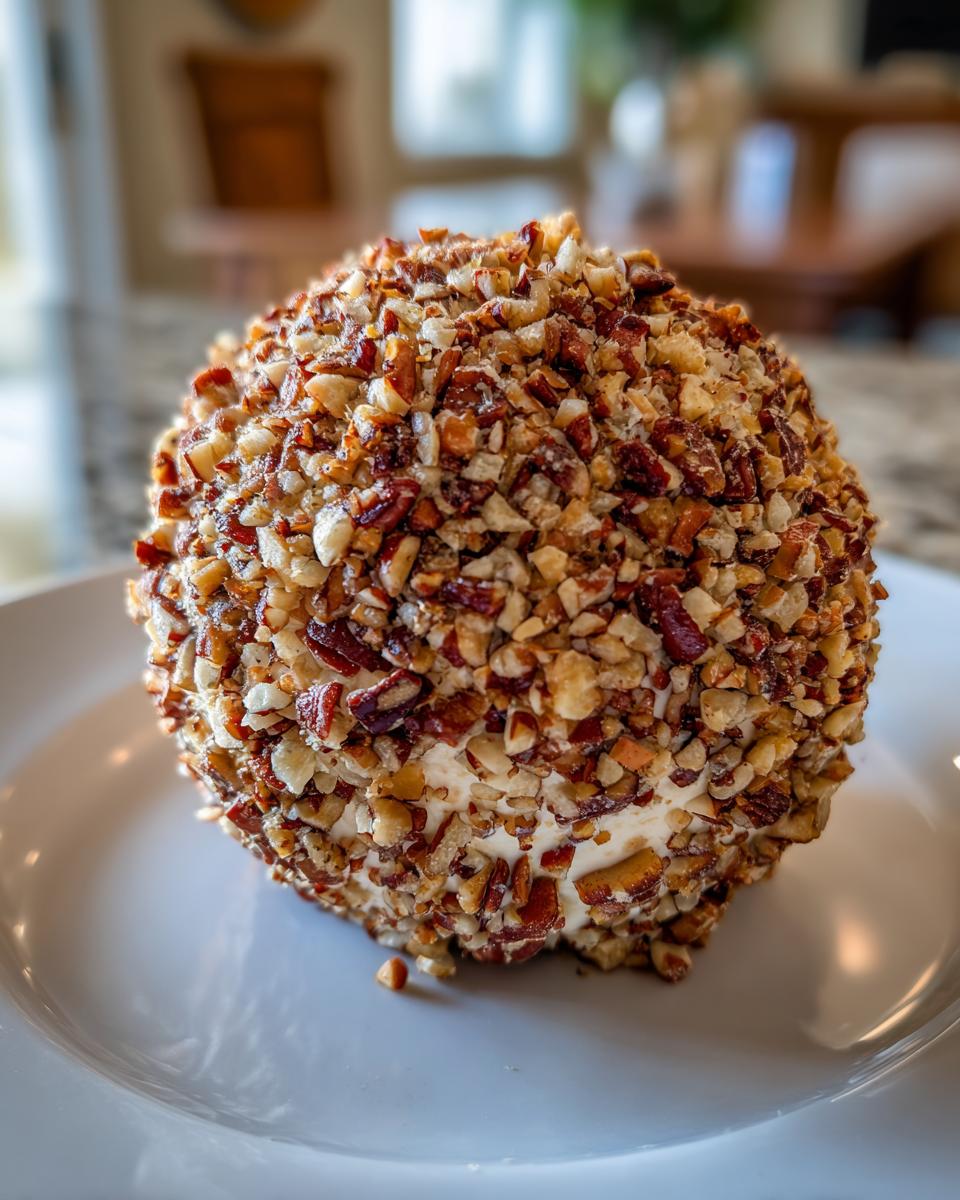
- Now for the showstopper coating: 1 cup of finely chopped pecans or walnuts. Toasting these nuts really wakes up the flavor, but you can go straight from the bag if you’re in a rush.
Ingredient Specifications and Notes
The secret to a fantastic holiday cheese ball is really in the texture of the cheese base. That cream cheese has to be yielding. I swear, if you try to mix in cold bricks of cheese, you end up with lumps that never soften up, no matter how long you mix.
When it comes to the cheddar, sharp is non-negotiable for me. Mild cheddar just tastes… polite. We want bold flavor here! If you are using dried herbs instead of nuts on the outside, like parsley, make sure it’s finely chopped—we want a uniform coating, not big floppy clumps.
Also, don’t forget to mix in those spices right with the cheese. I like to do a little taste test right there before I start balling it up. If it tastes good mixed, it will be incredible once it chills!
Step-by-Step Instructions for the Perfect Holiday Cheese Ball
Alright, this is where the magic really happens! We’ve got all our wonderful, sharp, savory things ready to go. Just remember, this isn’t a recipe where you just toss everything in and walk away. A little attention here pays off huge later, I promise you.
Mixing the Creamy Base of Your Classic Cheese Spread
Get your big bowl ready. You’re combining that softened cream cheese, your sharp cheddar, blue cheese (if you’re using it!), the green onions, and all those potent little spices—Worcestershire, garlic, onion powder, pepper. You can totally use your hands if you like getting messy, but honestly, to avoid that white spray going everywhere, pop your mixer in on the *lowest* speed first. Just mix until everything is completely incorporated and looking smooth. Don’t rush it; those flavors need to say hello to each other!
Chilling and Coating the Nut-Coated Cheese Ball
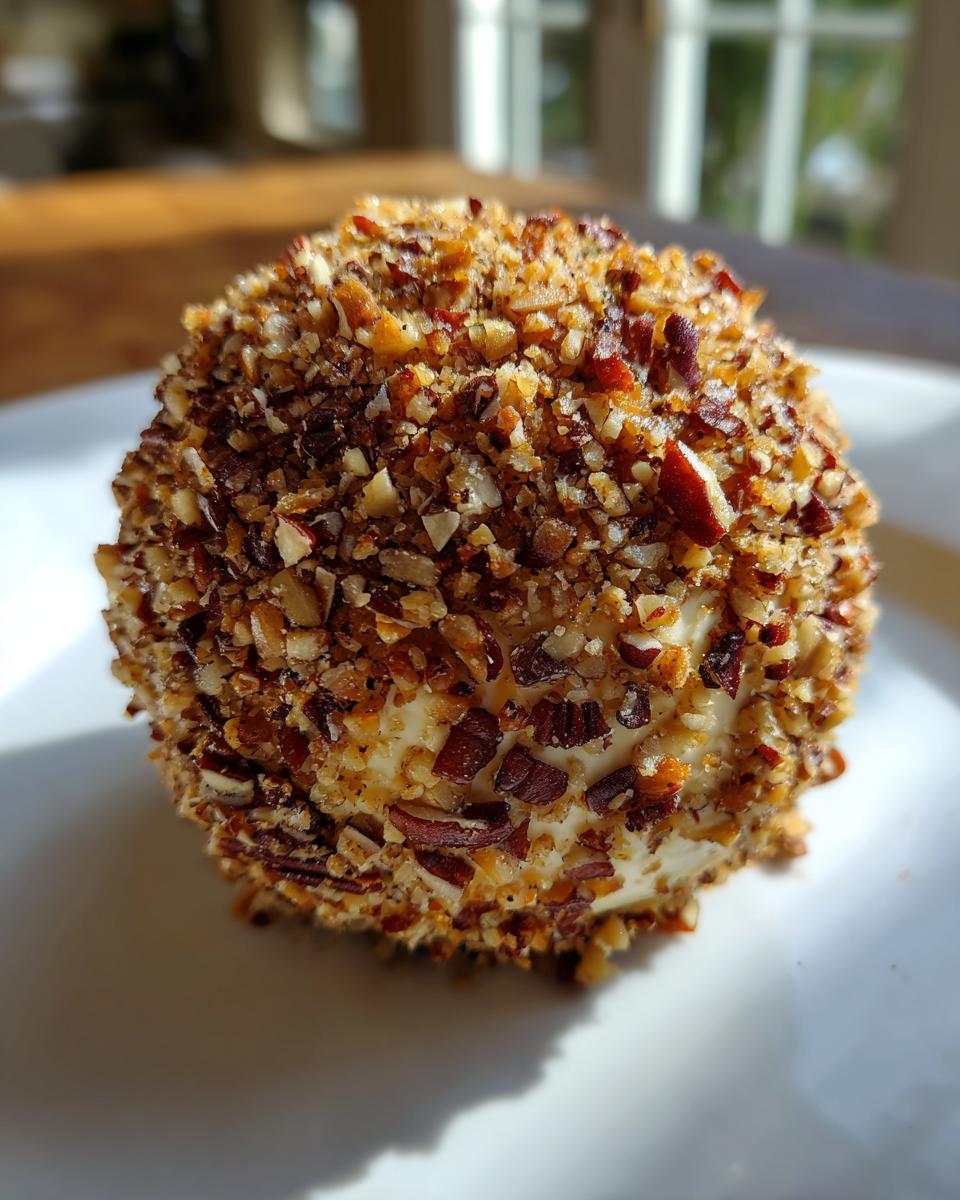
Once it’s blended, it’s too soft to shape beautifully, and it will just melt onto your fingers. So, you have to chill it! Wrap that beautiful cheese mixture tightly—I use plastic wrap and form a rough ball shape right there—and tuck it into the fridge for at least two hours until it’s firm. Seriously, don’t try to skip this! Once it’s chilled and stiff, spread your chopped pecans out on a clean plate. Take the ball out and gently roll it all over until it’s completely coated in nuts. Then, pop it back in the fridge for one more hour to set that coating before company arrives. That second chill is key for a non-sticky presentation!
Expert Tips for Making the Ultimate Holiday Cheese Ball
Now that you have the foolproof basic method down, let me share some of the little whispers of wisdom I picked up over the years perfecting this classic cheese spread. If you want your nut-coated cheese ball to be the star of the table, try these little tweaks. They won’t change the fundamental recipe, but they sure do boost the wow factor!
For presentation, the parsley trick is non-negotiable for me during Christmas. If you use finely chopped fresh parsley mixed with your pecans—maybe a 50/50 split—you get this gorgeous green and brown texture that looks so intentionally festive. You almost forget it’s dipped in nuts!
Flavor variations are where you can really make it your own. If you happen to have some leftover cooked bacon from breakfast, crumble up two tablespoons incredibly fine and mix that right into the cheese base along with the onions. That little *pop* of smoky flavor takes this retro party appetizer right over the top. Trust me, that savory depth makes the guests ask what your secret is!
Serving Suggestions for Your Retro Party Appetizer
So, you’ve got this gorgeous, perfectly coated holiday cheese ball chilling away—now, what are you going to serve it with? Honestly, the cheese spread is the star, but the accompaniments can elevate the whole experience from a nice snack to a true centerpiece!
When I set out my classic cheese spread, I always try to offer a few different textures. You need something sturdy because this stuff is thick, and something light to cleanse the palate. Don’t just grab one bag of plain crackers and call it a day!
Here’s what I always put out:
- Definitely some robust rye chips or maybe some deeply toasted baguette slices. They hold up beautifully against the creaminess.
- I always include a box of simple water crackers. They are light and let the savory flavor of the cheese ball shine without competing with it.
- For veggies, keep it crisp! Thin slices of bright red bell pepper are fantastic, and crunchy celery sticks are just classic for a reason. Make sure the dip for the veggies is nowhere in sight—this ball stands alone!
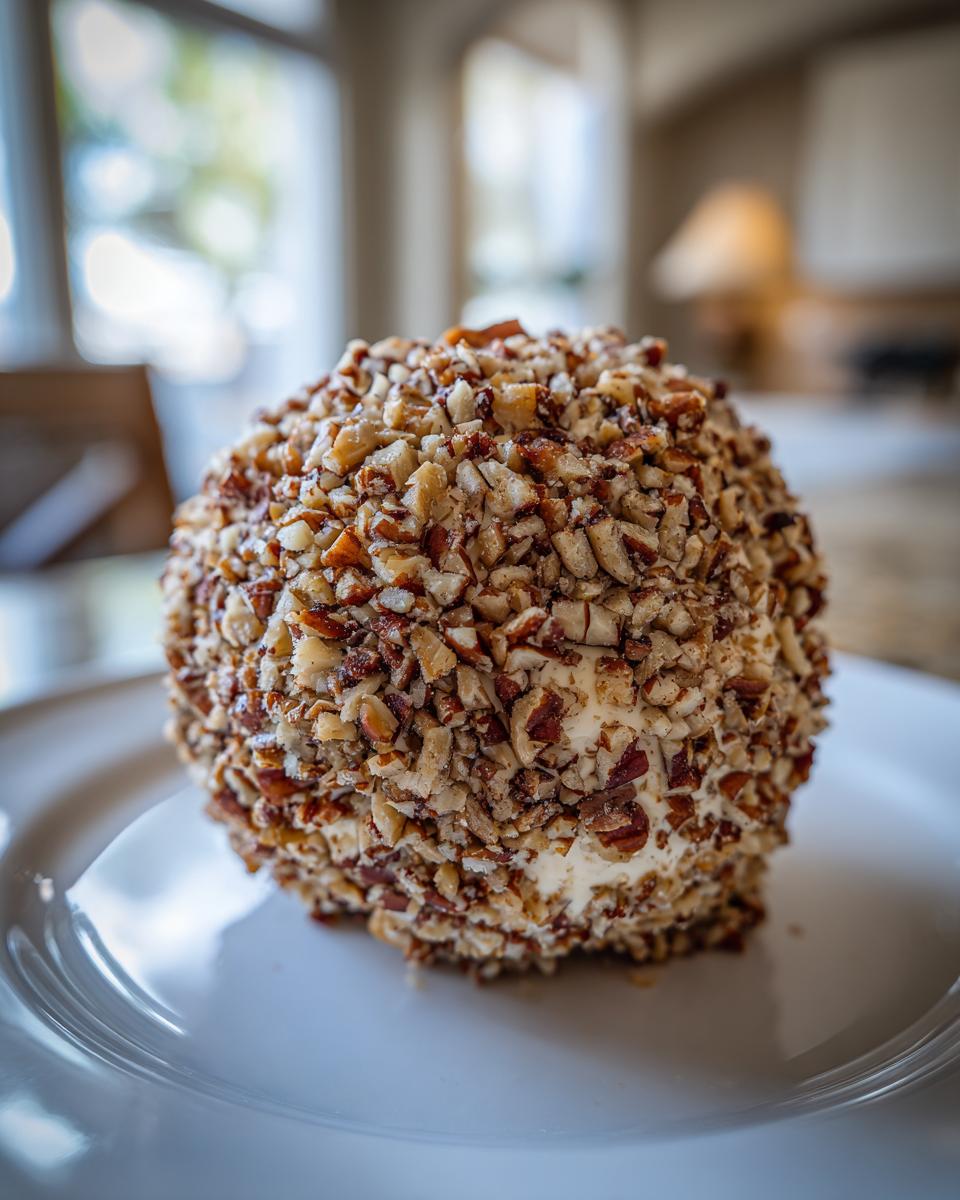
Presentation wise, think of the cheese ball as the anchor. Place it right in the middle of a beautiful wooden board or a heavy white platter. Arrange your crackers and veggies radiating outward from the ball, almost like spokes on a wheel leading right back to the centerpiece. It makes the whole retro party appetizer look intentional and incredibly inviting. People won’t know where to start, which is exactly the reaction you want!
Storage and Make-Ahead Instructions for Your Holiday Cheese Ball
Listen up, because this is my favorite part about making this amazing holiday cheese ball—it’s honestly better when you make it ahead! This isn’t just a convenience; I truly think the chilling process lets all that garlic, Worcestershire, and sharpness really marry together in the best way. It deepens the flavor profile, turning it from just a mixed dip into a truly classic cheese spread.
You have a wonderful window of time here when planning your party. You can make the base mixture—the part before you roll it in the nuts—up to three whole days early! That’s right, three days! Just mix everything thoroughly, form it into a rough mound, and wrap it TIGHTLY in plastic wrap. I mean wrap it like you’re protecting state secrets. The goal is to keep any air from getting in there to dry out that creamy goodness.
When you are ready to deploy your retro party appetizer, pull that plastic-wrapped mound out, shape it properly into a ball, and chill it until it’s firm again (that’s the two-hour step we talked about). Once it’s firm, then you roll it in those crunchy pecans. You only need about an hour chill after coating for the nuts to really stick well.
If you coat it ahead of time, you need to be extra careful. The nuts can actually absorb moisture from the cheese or dry out overnight if not wrapped perfectly. If you are nervous about the coating, just chill the uncoated ball, wrap it well, and then roll it in the nuts just an hour before your guests arrive. That makes for the freshest crunchiest nut-coated cheese ball presentation!
Frequently Asked Questions About This Classic Cheese Spread
I get so many questions whenever I post pictures of this classic cheese spread on social media! It proves how much everyone loves bringing back these fun, easy recipes for holiday gatherings. Don’t worry if you have a question—that’s why I’m here! Cooking is all about finding what works best for *your* kitchen.
Can I make this holiday cheese ball without nuts?
Oh, absolutely! Sometimes people have allergies, or maybe you just ran out of pecans—it happens! If you skip the nuts on your nut-coated cheese ball, you don’t want to leave it naked, or it gets sticky really fast. My favorite workaround is using finely chopped dried herbs, like chives or dill, mixed with just a little bit of that cheddar you saved to help it stick. Crispy fried onions you buy for casseroles work amazingly well too! They give you that great texture without involving tree nuts.
How long does the cheese ball need to chill before serving?
Chilling is non-negotiable for a firm, manageable holiday cheese ball, but there are two stages. Firs, after you mix it all together, you need at least two hours for the mixture to firm up enough to shape without turning into a big sloppy mess. Then, after you roll it in the pecans (or herbs!), it needs one more solid hour in the fridge. This final chill makes sure that beautiful coating stays put when people start dipping into your retro party appetizer. If you can manage it, three hours total chill time is perfection!
Estimated Nutritional Data for the Classic Cheese Spread
Okay, let’s be real for a second. When you bring out a glorious, creamy, nut-coated masterpiece, you aren’t exactly thinking about macros, are you? Neither am I! But since we are talking about making sure this holiday cheese ball is the absolute best, I pulled the numbers together based on serving size. This is classic, rich appetizer territory, so expect it to be satisfying!
This estimate is based on one serving size being about 1.5 ounces of the cheese ball mixture, not including the crackers you serve it with. Remember, this is just a guideline because every brand of cheddar or cream cheese has slightly different percentages for fat and sodium.
- Calories: About 150 per serving. That’s a good hearty bite!
- Fat: This is where most of those calories come from—around 14 grams total. That’s what makes it so incredibly satisfying, right?
- Protein: We get about 7 grams of protein in there, thanks to all that glorious cheese!
- Carbohydrates: Super low carb, usually hanging right around 2 grams. Fantastic for when you’re trying to manage your sugar intake! Note that this recipe is very low in sugar, coming in at just 1 gram.
A quick word of caution! Because we are using sharp cheeses and Worcestershire sauce, the sodium content is a bit higher (around 250mg) compared to, say, a veggie dip. So just keep that in mind. But hey, it’s the holidays, enjoy that classic cheese spread!
Share Your Experience Making This Retro Party Appetizer
And just like that, we’ve sent you off with the secrets to the most reliable, comforting, and undeniably delicious holiday cheese ball recipe. I truly hope this brings back some wonderful memories for you while helping you create brand new ones around your own table. This truly is one of those foundational American appetizers that deserves a spot in every celebration rotation.
Now comes the best part—I want to hear from you! Did you stick to the classic pecan coating, or did you try my bacon crumble idea? Did you use the blue cheese? Don’t leave me hanging!
Take a moment and rate this recipe right below. I want to know if it earned a spot in your permanent collection. And if you have a classic holiday memory tied to a cheese ball—maybe something wild your grandpa used to sneak in there—we would absolutely love to read it in the comments. We are all part of the Julia Meal family here, and sharing those stories around food is what we do best. If you have any tricky questions that came up while you were making it, please reach out to us through our contact page—we’re always happy to help a fellow cook!
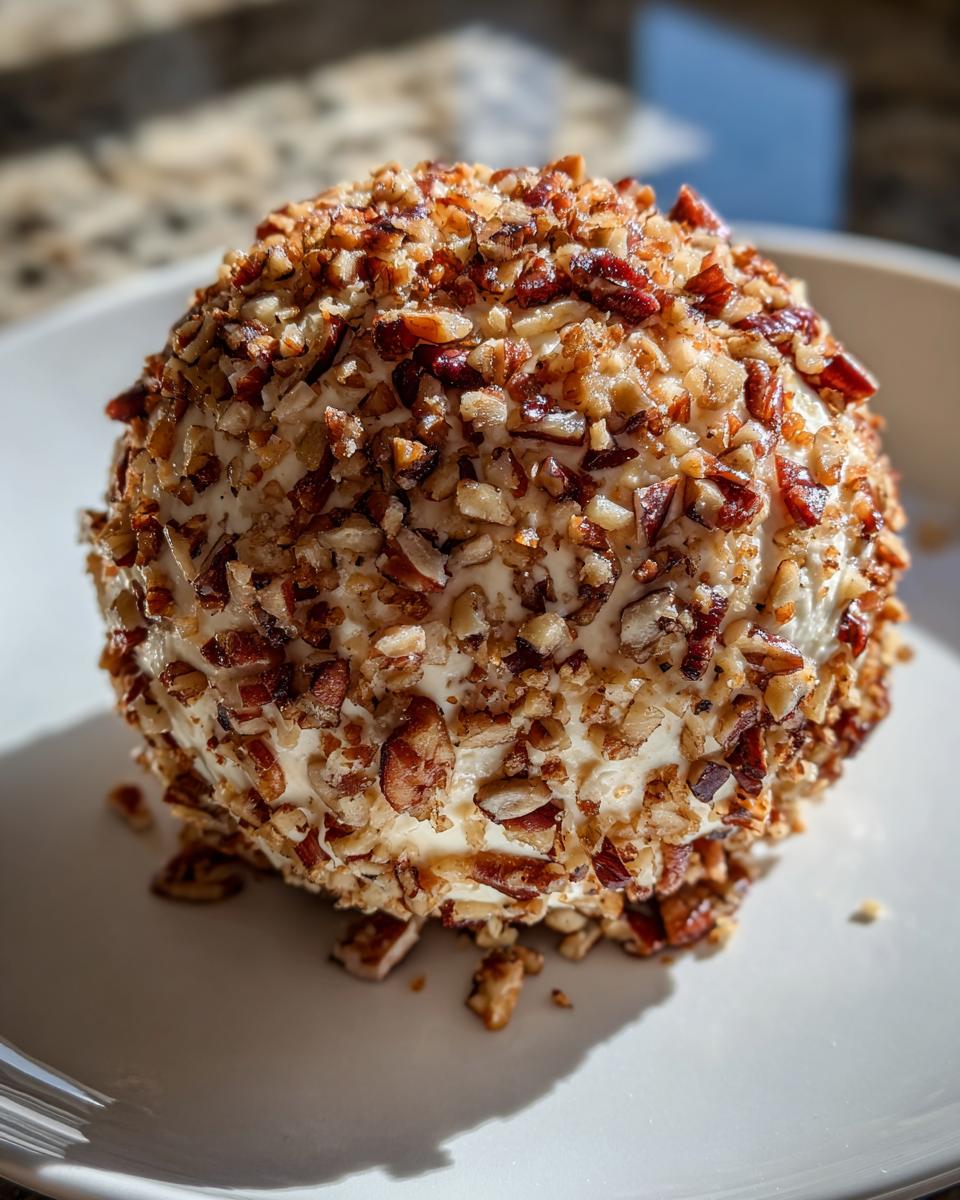
PrintClassic Holiday Cheese Ball
Make this retro party appetizer, a creamy, savory cheese spread coated in chopped nuts, perfect for holiday gatherings.
- Prep Time: 20 min
- Cook Time: 0 min
- Total Time: 20 min
- Yield: 12 servings 1x
- Category: Appetizer
- Method: No Bake
- Cuisine: American
- Diet: Vegetarian
Ingredients
- 8 ounces cream cheese, softened
- 8 ounces sharp cheddar cheese, shredded
- 4 ounces blue cheese, crumbled (optional)
- 1/4 cup finely chopped green onion (scallions)
- 1 tablespoon Worcestershire sauce
- 1 teaspoon garlic powder
- 1/2 teaspoon onion powder
- 1/4 teaspoon black pepper
- 1 cup finely chopped pecans or walnuts
- Crackers and vegetable sticks for serving
Instructions
- In a large bowl, combine the softened cream cheese, shredded cheddar, blue cheese (if using), green onion, Worcestershire sauce, garlic powder, onion powder, and black pepper.
- Mix all ingredients thoroughly until completely combined and smooth. You can use an electric mixer on low speed for easier blending.
- Shape the cheese mixture into a uniform ball using your hands or plastic wrap.
- Place the cheese ball on a plate or piece of plastic wrap. Chill in the refrigerator for at least 2 hours, or until firm enough to handle easily.
- Spread the chopped pecans or walnuts evenly on a flat plate.
- Remove the chilled cheese ball from the refrigerator. Roll the ball completely in the chopped nuts until it is fully coated. Press lightly so the nuts adhere well.
- Return the finished cheese ball to the refrigerator to chill for at least 1 hour before serving.
- Serve cold with crackers and fresh vegetable sticks.
Notes
- For a festive look, substitute half of the nuts with finely chopped fresh parsley for a green coating.
- You can prepare this cheese ball up to 3 days ahead of time. Keep it tightly wrapped in plastic wrap in the refrigerator.
- If you prefer a smoky flavor, add 2 tablespoons of finely crumbled cooked bacon to the cheese mixture.
Nutrition
- Serving Size: 1.5 oz
- Calories: 150
- Sugar: 1
- Sodium: 250
- Fat: 14
- Saturated Fat: 7
- Unsaturated Fat: 7
- Trans Fat: 0
- Carbohydrates: 2
- Fiber: 0
- Protein: 7
- Cholesterol: 35