

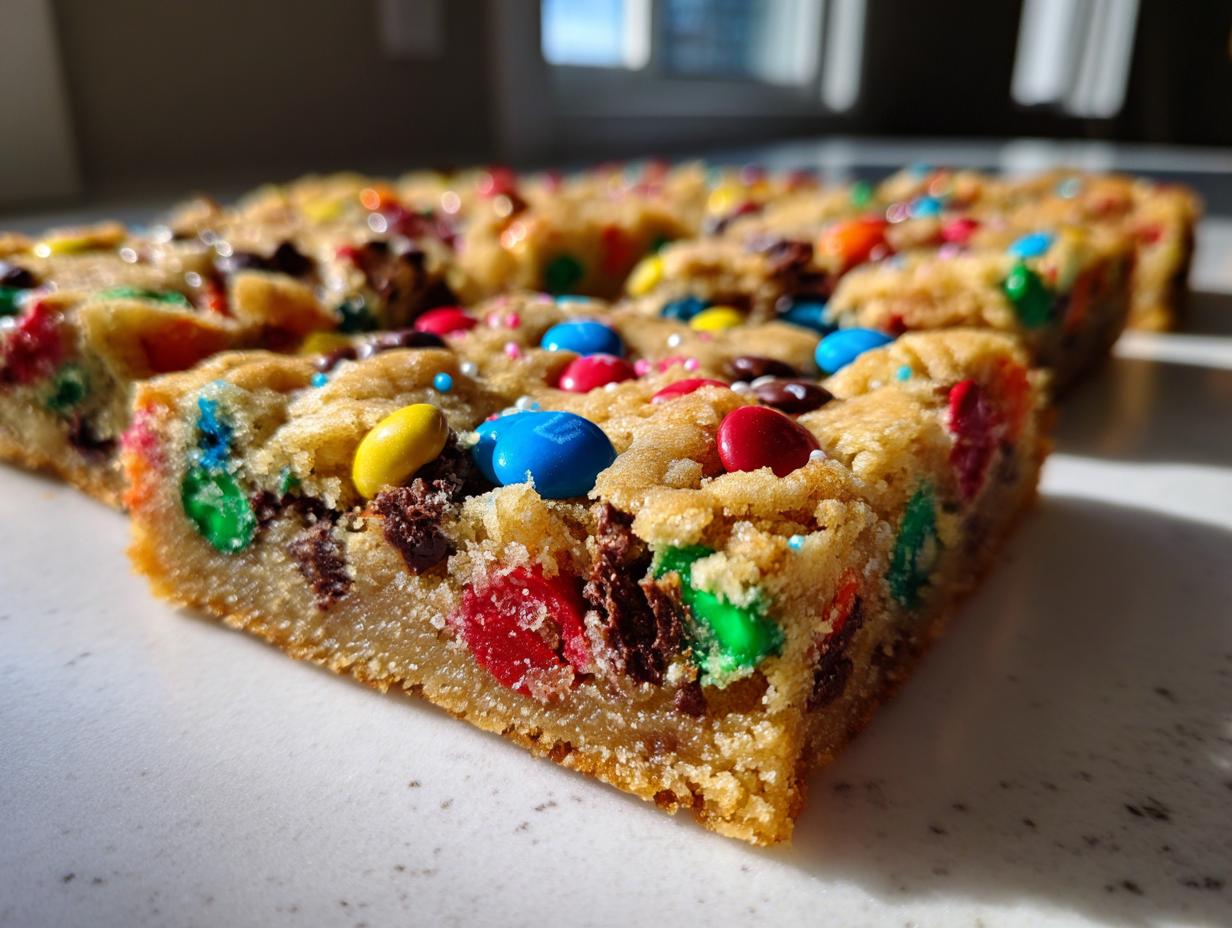
Listen, I get it. The holidays come with this pressure to bake dozens of different, complicated things. My goal here at Julia Meal has always been to take those classic, heartwarming recipes and make them simple, joyful, and accessible for the home cook, not the professional pastry chef. That’s why I am so excited to share these christmas cookie bars with you today. Forget scooping every single dough ball and waiting hours for chilling! These are the ultimate chewy, colorful treats you can mix up in one pan in under an hour. They capture the entire festive spirit—butter, chocolate, and sprinkles—without turning your kitchen into a disaster zone. If you loved the simplicity of our caramel ritz cracker christmas cookies, you’re going to adore how fast these come together. Trust me, these will be your new easiest holiday staple.
- Why You Will Love These Chewy Christmas Cookie Bars
- Essential Ingredients for Perfect Christmas Cookie Bars
- Step-by-Step Instructions for Easy Holiday Baking
- Expert Tips for Perfect Christmas Cookie Bars Texture
- Making Ahead and Storing Your Festive Bar Cookies
- Variations on the Classic Christmas Cookie Bars
- Serving Suggestions for These Simple Christmas Sweets
- Frequently Asked Questions About Christmas Cookie Bars
- Share Your Ultimate Chewy Christmas Cookie Bars Experience
Why You Will Love These Chewy Christmas Cookie Bars
Baking during the holidays should feel like comfort, not a chore! I developed this one-pan recipe because I needed that classic holiday flavor without the mess of individual cookies. Here is why these bars are going straight into your annual rotation:
- They are truly one-pan magic. We skip the scooping process entirely! You just press the dough into the pan. It’s such a simple Christmas sweet to manage when you’re busy.
- Perfectly Chewy Texture: I know you want that soft center, not a dry cracker. These bars bake up just right—they are our family favorite chewy cookie bars for Christmas because they hold their shape but melt in your mouth.
- Make Ahead Holiday Desserts: You can bake these a day or two before your party, and they actually taste better the next day! They store beautifully, which seriously cuts down on Christmas day stress.
- Crowd-Pleasing Colors: When you top them with those festive M&Ms and bright sprinkles, they look like they took hours of careful decorating. They are instant eye-catchers for any holiday platter – perfect Christmas potluck bars!
- Quick and Easy Holiday Baking: From start to finish, including the quick bake time, we are looking at under an hour total. That’s serious time saved for wrapping presents or watching holiday movies! Find more ideas like this in my collection of simple and delicious desserts.
- Buttery, Classic Flavor: These bars have that deep, rich, buttery base flavor you look for in the best holiday treats. They taste like pure holiday nostalgia.
Essential Ingredients for Perfect Christmas Cookie Bars
When you’re making something as straightforward as these christmas cookie bars, the quality of your base ingredients really shines through. Since this recipe bypasses fancy techniques, we rely on that beautiful, rich buttery flavor to carry us through the holidays. I always splurge a tiny bit more on the butter here; it makes all the difference in that chewy final product. You won’t need anything complicated, just good quality staples that we probably already have!
- 1 cup unsalted butter, softened (It MUST be softened, not melted!)
- 1 cup packed brown sugar (Packing it tightly is crucial for moisture control.)
- 1/2 cup granulated sugar
- 2 large eggs
- 1 tablespoon vanilla extract (Get the good stuff—it smells amazing when baking!)
- 2 3/4 cups all-purpose flour
- 1 teaspoon baking soda
- 1/2 teaspoon salt
- 1 cup M&M’s holiday baking candies (The red and green ones are the best!)
- 1 cup semi-sweet chocolate chips
- 1/2 cup festive Christmas sprinkles (I like the long, skinny ones best for visual pop.)
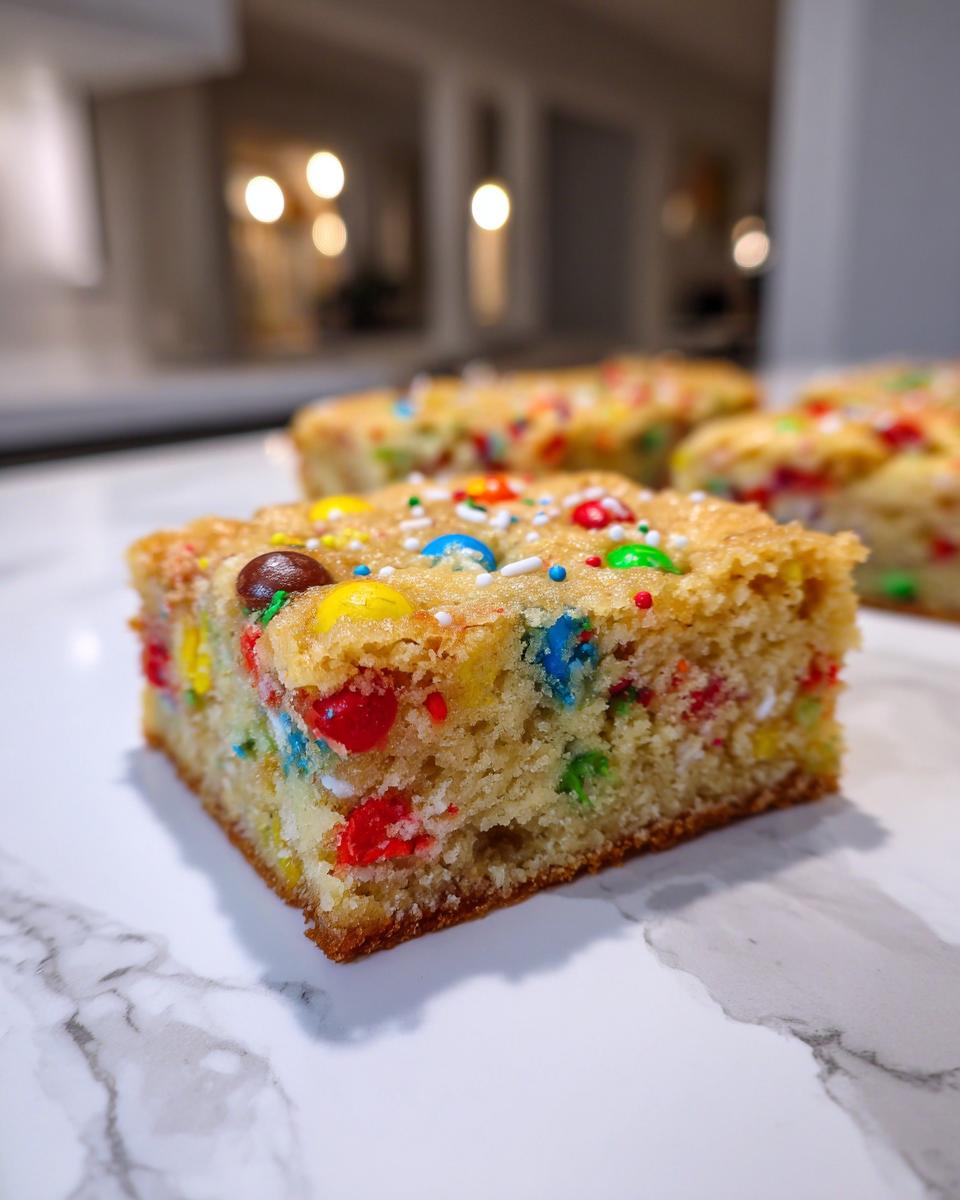
Ingredient Clarity and Preparation Notes for Christmas Cookie Bars
Success in a bar recipe often comes down to measuring correctly. Remember, we are aiming for those wonderfully chewy christmas cookie bars, and technique starts here. Make sure that butter is truly softened—soft enough for your finger to press an indent in easily, but you shouldn’t see any puddles of oil forming. Also, when it comes to the sugars, really press that brown sugar down into the measuring cup; volume matters hugely when you want that perfect density in your finished bars.
Step-by-Step Instructions for Easy Holiday Baking
This is where the magic happens, and I promise you, it’s so streamlined! Remember, with these christmas cookie bars, we skip the fuss of rolling and chilling. Everything comes together right in the mixing bowl. We’re focusing purely on mixing technique to ensure that perfect chewy result we talked about earlier. Once it hits the oven, it’s just a quick twenty-five minutes until you have a whole pan full of festive goodness!
Preparing the Pan and Oven for Your Christmas Cookie Bars
First things first, let’s get organized. Preheat your oven to 350 degrees Fahrenheit right away so it’s ready when you are. The absolute MVP step here is prepping the pan. I use a standard 9×13 inch pan. You must line it with parchment paper, making sure you leave an overhang on the sides—I mean, really let that paper hang over! This overhang is basically built-in handles; it lets you lift the entire baked slab out later without breaking a single corner. It makes cleanup a breeze and ensures our beautiful finished christmas cookie bars stay intact.
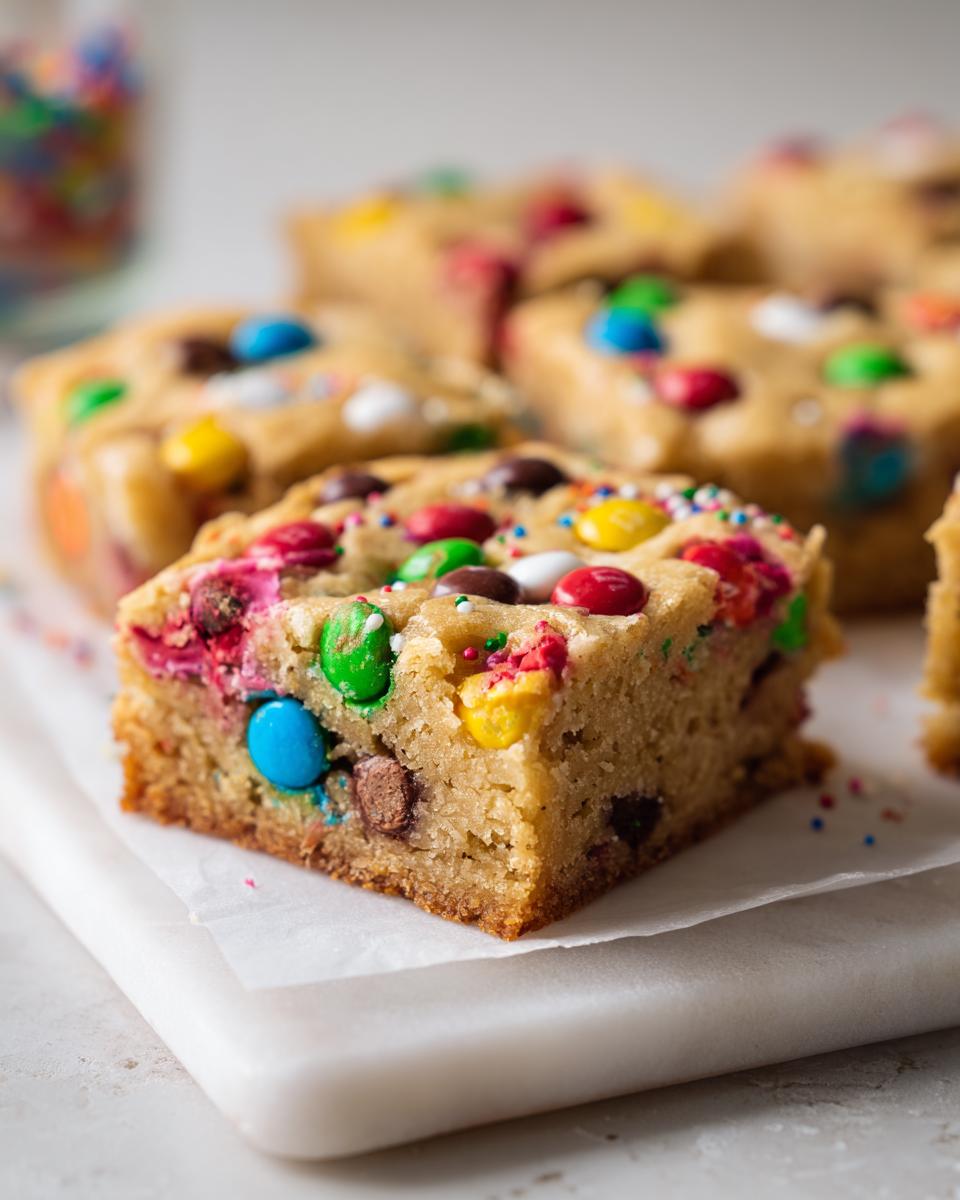
Mixing Wet and Dry Ingredients for Chewy Cookie Bars for Christmas
Grab your big bowl and the electric mixer. We start by creaming the softened butter, brown sugar, and white sugar together until it looks light and fluffy. This step whips air into the texture foundation, which is key for a great bar! Then, beat in the eggs one at a time, mixing well after each addition, followed by that lovely vanilla extract. Now, in a separate bowl, just whisk your flour, baking soda, and salt together. Add the dry mix to the wet mix slowly, mixing only on low speed until it *just* comes together. I am serious about the ‘just’! Overmixing develops gluten, and we want soft, chewy cookie bars for Christmas, not tough ones. Once combined, then you can fold in all those good mix-ins like the M&Ms and chips. You can find another great one-pan recipe linked here for my easy pizza bites if you need more quick ideas!
Expert Tips for Perfect Christmas Cookie Bars Texture
Achieving that ideal texture—that marvelous balance between a cake and a chewy cookie—is what separates an okay holiday treat from the absolute best. Because we aren’t chilling this dough, we have to be extra mindful during the final mixing and baking stages. My years spent refining recipes, like my famous chewy chocolate chip cookies, taught me a few tricks that translate perfectly to these christmas cookie bars.
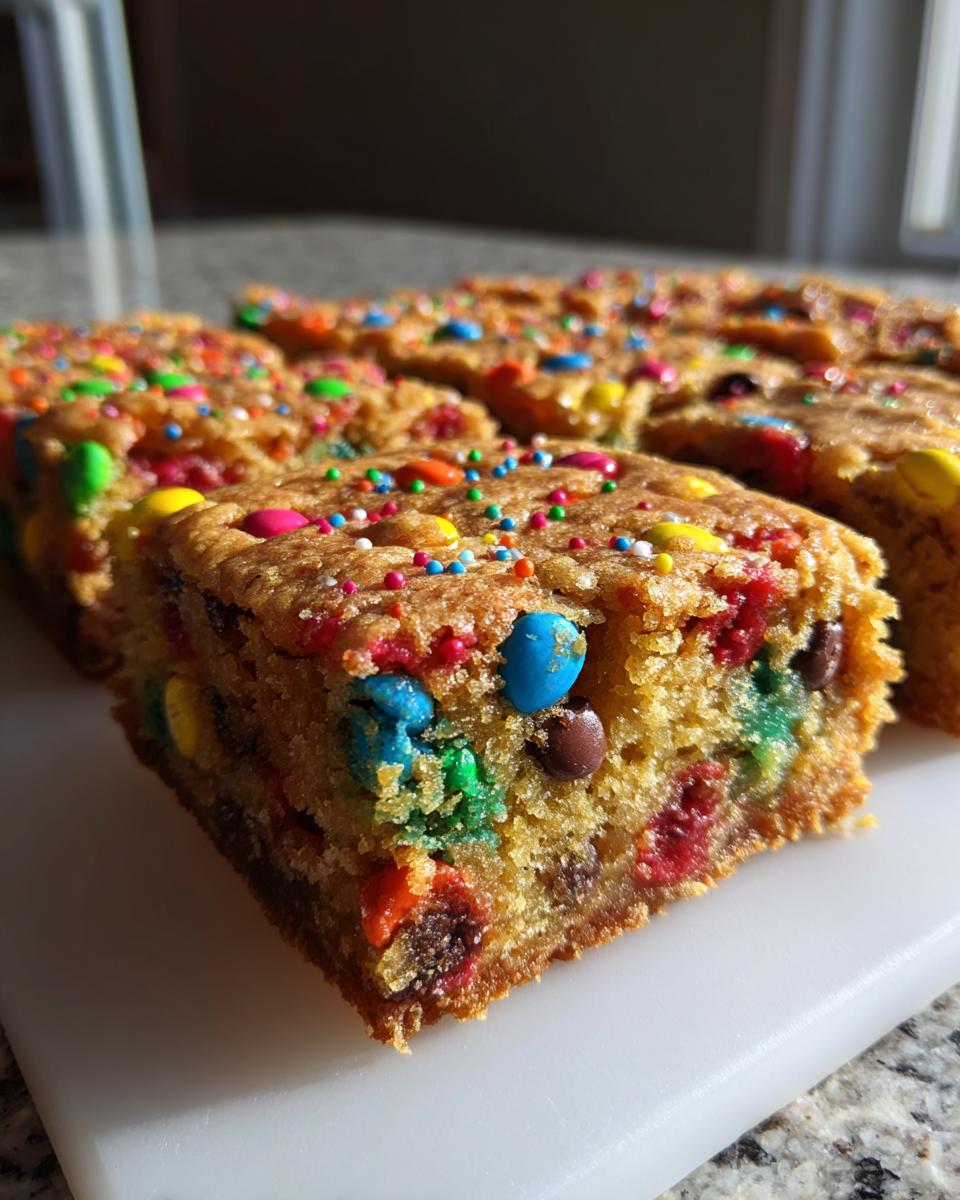
The absolute most important thing for getting those fantastic chewy cookie bars for Christmas is underbaking them, ever so slightly. When the recipe says 25 minutes, I look for visual cues around the 22-minute mark. You want the edges to be set and just starting to turn golden, but the very center should still look a little soft, maybe even slightly glossy. Don’t panic! As the entire pan cools outside the oven, that residual heat finishes cooking the center, locking in incredible moisture.
Also, be incredibly gentle when you fold in those M&Ms and chips. Use a rubber spatula and turn the dough over gently. If you mix those candies too aggressively, you can actually break them up or crush the sugary coatings, which affects the final chewiness and smears color everywhere. We want pockets of color, not pink batter!
Making Ahead and Storing Your Festive Bar Cookies
One thing I truly appreciate about these delicious christmas cookie bars is how incredibly friendly they are to holiday prep schedules. You simply cannot go wrong making these ahead of time! This really helps when you need reliable make ahead holiday desserts that taste just as good the day of the party as they did the day you baked them.
The key, and I can’t stress this enough, is patience during the cooling phase. You need to let the entire pan cool down completely—and I mean completely—before you even think about lifting those babies out or cutting into them. If they are warm, they will crumble, and you’ll get messy edges instead of those perfect squares everyone wants for their holiday platter.
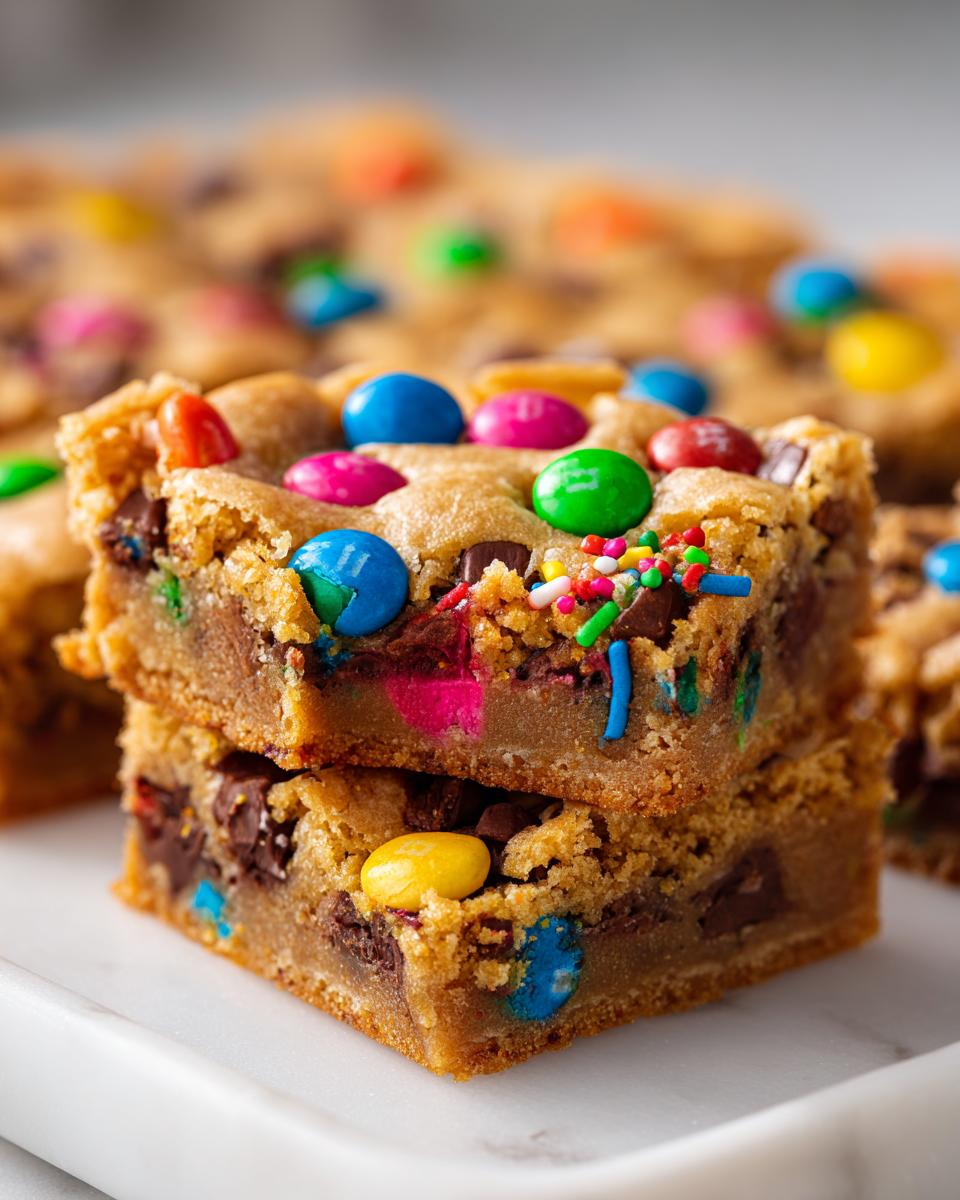
Once cooled, use those parchment paper overhangs to lift the whole slab onto a cutting board. Slice them up, and then store them in an airtight container layered between sheets of waxed paper or parchment. They honestly keep well at room temperature for four days! This makes them standout Christmas potluck bars because you can drop them off and forget about them until dessert time. Don’t even bother freezing them; they are best enjoyed fresh from the counter, especially when paired with my simple easy freezer jam recipe if you wanted a topping!
Variations on the Classic Christmas Cookie Bars
Part of the joy of baking these christmas cookie bars is making them perfectly yours! While the M&Ms and traditional festive sprinkles are fantastic, don’t be afraid to swap things out based on what you love. If you are a big candy cane person, try swapping half the chocolate chips for crushed peppermint candies. That bright, cool mint against the buttery bar is incredible—it’s almost like a holiday blondie!
Another excellent twist is focusing on white chocolate chips—they offer a lovely contrast in color and richness. Or, if you want a little crunch, some chopped pecans or walnuts folded in right with the candies adds a great texture. If you need some inspiration for another minty holiday treat, you absolutely have to check out my recipe for fudgy peppermint brownies. These little modifications just prove how versatile a great bar recipe can be!
Serving Suggestions for These Simple Christmas Sweets
These buttery, chocolate-packed bars are fantastic all by themselves, but they truly shine when paired with the right cozy drink! Because they are so rich, you don’t need much else to accompany them. They go perfectly with a hot mug of my homemade pumpkin spice latte—the warm spice really complements the chocolate chips.
If you’re serving them after dinner, a little dollop of cold whipped cream or a scoop of vanilla bean ice cream right next to one of these simple Christmas sweets makes it feel instantly more decadent. Honestly, though, they are pretty much perfect as is, ready to go straight from the counter to someone’s holiday plate!
Frequently Asked Questions About Christmas Cookie Bars
I always get so many great questions when sharing a recipe this popular! People want to tweak things just right, and that’s smart baking. Here are a few common things folks ask me when they are getting ready to bake these christmas cookie bars, especially concerning texture and pan sizing.
How can I make these Christmas cookie bars fudgier?
If you’re aiming for something closer to a dense holiday blondie texture instead of chewy, you have two main levers to pull. First, you can reduce the flour by about 1/4 cup; too much flour makes bars cakey, not fudgy. Second, and this is maybe more important, reduce your baking time by about 3 to 4 minutes. You want the very center looking almost wet when you pull the whole pan out. Don’t worry, that residual heat does all the work to set it up perfectly as it cools!
What is the best pan size for these festive bar cookies?
For the timing listed in the recipe—22 to 25 minutes—the 9×13 inch pan is the gold standard. This size ensures the dough spreads out thinly enough to bake evenly all the way through. If you use a smaller pan, say an 8×8 inch, you’ll have much thicker bars. They will need a huge increase in baking time, probably closer to 35–40 minutes, or the middle won’t set at all. If you use a larger pan, like a jelly roll pan, your festive bar cookies will be too thin and will likely bake in under 18 minutes, turning them crispy instead of chewy!
Share Your Ultimate Chewy Christmas Cookie Bars Experience
I truly hope these easy christmas cookie bars bring a little bit of genuine holiday warmth to your kitchen this year. If you give them a try, please come back and leave a rating below so I can see how they turned out! Snap a picture and share your colorful holiday creation—I absolutely love seeing your baking successes on social media. You can also learn more about my cooking journey on my About Page!
PrintThe Ultimate Chewy Christmas Cookie Bars with M&Ms and Sprinkles
Make these easy, chewy Christmas cookie bars loaded with festive M&Ms and sprinkles. This one-pan dessert is perfect for holiday gatherings and requires no chilling or scooping.
- Prep Time: 15 min
- Cook Time: 25 min
- Total Time: 40 min
- Yield: 24 servings 1x
- Category: Dessert
- Method: Baking
- Cuisine: American
- Diet: Vegetarian
Ingredients
- 1 cup unsalted butter, softened
- 1 cup packed brown sugar
- 1/2 cup granulated sugar
- 2 large eggs
- 1 tablespoon vanilla extract
- 2 3/4 cups all-purpose flour
- 1 teaspoon baking soda
- 1/2 teaspoon salt
- 1 cup M&M’s holiday baking candies
- 1 cup semi-sweet chocolate chips
- 1/2 cup festive Christmas sprinkles
Instructions
- Preheat your oven to 350 degrees Fahrenheit. Line a 9×13 inch baking pan with parchment paper, leaving an overhang on the sides for easy removal.
- In a large bowl, beat the softened butter, brown sugar, and granulated sugar together with an electric mixer until the mixture is light and fluffy.
- Beat in the eggs one at a time, mixing well after each addition. Stir in the vanilla extract.
- In a separate bowl, whisk together the flour, baking soda, and salt. Gradually add the dry ingredients to the wet ingredients, mixing on low speed until just combined. Do not overmix.
- Gently fold in the M&M’s, chocolate chips, and most of the festive sprinkles, reserving some sprinkles for the top.
- Press the dough evenly into the prepared 9×13 inch pan. Sprinkle the reserved sprinkles over the top of the dough.
- Bake for 22 to 25 minutes, or until the edges are lightly golden brown and the center is set. The bars should remain slightly soft for a chewy texture.
- Let the bars cool completely in the pan on a wire rack before lifting them out using the parchment paper overhang.
- Cut into squares. These make great make ahead holiday desserts.
Notes
- For the chewiest texture, avoid overbaking. The center should look slightly underdone when you remove the pan from the oven.
- You can substitute the M&M’s with your favorite holiday mix-ins, such as white chocolate chips or crushed peppermint candies.
- These bars store well in an airtight container at room temperature for up to four days, making them ideal for Christmas potluck bars.
Nutrition
- Serving Size: 1 bar
- Calories: 220
- Sugar: 18g
- Sodium: 110mg
- Fat: 11g
- Saturated Fat: 7g
- Unsaturated Fat: 4g
- Trans Fat: 0g
- Carbohydrates: 30g
- Fiber: 1g
- Protein: 3g
- Cholesterol: 35mg