
Oh, the struggle is real, isn’t it? You spend hours making those gorgeous sugar cookies, only for your icing to go completely sideways—either it cracks the second it dries, or you’re stuck staring at a watery puddle barely clinging to the edges. It’s enough to make you want to stick to plain sprinkles! Trust me, I’ve been there, especially when I was trying to nail those intricate cake designs back in the restaurant world. But I found the answer, and it’s surprisingly simple. I’m sharing my best foolproof **royal icing recipe** right now, focusing on using meringue powder so you skip the hassle of raw egg whites. This formula gives you that incredibly smooth, glossy finish every single time, making it a staple for cookies and gingerbread houses alike. Here at Julia Meal, we are obsessed with making sure your treasured home baking moments are joyful, not frustrating. My commitment is to provide recipes that are rigorously tested so they absolutely work in your kitchen, just like they’ve worked in mine. That’s the heart of what we do.
- Why This Royal Icing Recipe Works for Every Decorator
- Gathering Ingredients for Your Perfect Royal Icing Recipe
- The Step-by-Step How to Make Royal Icing Instructions
- Mastering Piping Icing Consistency for Decorated Cookies
- Essential Royal Icing Tips and Tricks for Hardening Icing Recipe
- Storage and Care for Your Basic Royal Icing Formula
- Troubleshooting Common Royal Icing Issues
- Frequently Asked Questions About This Royal Icing Recipe
- Estimated Nutritional Data for Royal Icing
Why This Royal Icing Recipe Works for Every Decorator
What makes this formula my absolute go-to, even now? It’s all about stability and that ridiculously shiny top coat. When I was learning in professional kitchens, raw egg whites were the standard, and frankly, the risks and the varying results drove me nuts! I finally landed on this specific combination that brings supreme reliability for home bakers. This is the secret to achieving that coveted **Glossy Cookie Icing** look without any guesswork. It pipes beautifully and dries hard and durable, perfect for making anything from simple cut-outs to professional-level detailing.
The Advantage of Meringue Powder Royal Icing Recipe
The real game-changer here is the use of meringue powder. If you’re worried about using raw egg whites, this is your answer for a fantastic **No Egg White Royal Icing Recipe**. Meringue powder is shelf-stable, it takes the worry right out of the equation, and honestly, it mixes up more consistently than most fresh whites I’ve dealt with. It ensures that glossy finish we all want and gives you perfect control over your base icing consistency. It just eliminates that one huge variable that trips up so many beginners!
Gathering Ingredients for Your Perfect Royal Icing Recipe
Okay, let’s talk what you need because precision really does matter here, even if this icing is famously forgiving once you get the hang of it. For this batch, you’re going to need about four cups of confectioners’ sugar, but listen to me: you absolutely must sift it first! Clumps make for lumpy icing, and we aren’t aiming for lumpy today. We scoop up two tablespoons of meringue powder—that’s the magic stabilizer—and we’ll measure out about a quarter cup of warm water. Only use what you need initially, though, because this water amount is totally approximate. Finally, grab about a half teaspoon of clear vanilla or almond extract. That’s it! Simple stuff, but doing it right makes all the difference.

Ingredient Notes and Substitutions for Your Cookie Decorating Icing
A quick note on the flavor: I prefer clear vanilla because it keeps the **Cookie Decorating Icing** perfectly white. If you use regular vanilla, it might give your icing a slight beige tint, which might be fine, but for that crisp look, clear is the way to go. Almond extract gives a nice, classic, slightly sharper flavor that cookie decorators love too. And seriously, don’t skip the sifting! You want that pristine powder mixed evenly with the meringue powder before introducing any liquid. Remember, the final, crucial steps for adjusting consistency only work if your starting point is smooth, and that starts with perfectly sifted sugar and measuring that water slowly.
The Step-by-Step How to Make Royal Icing Instructions
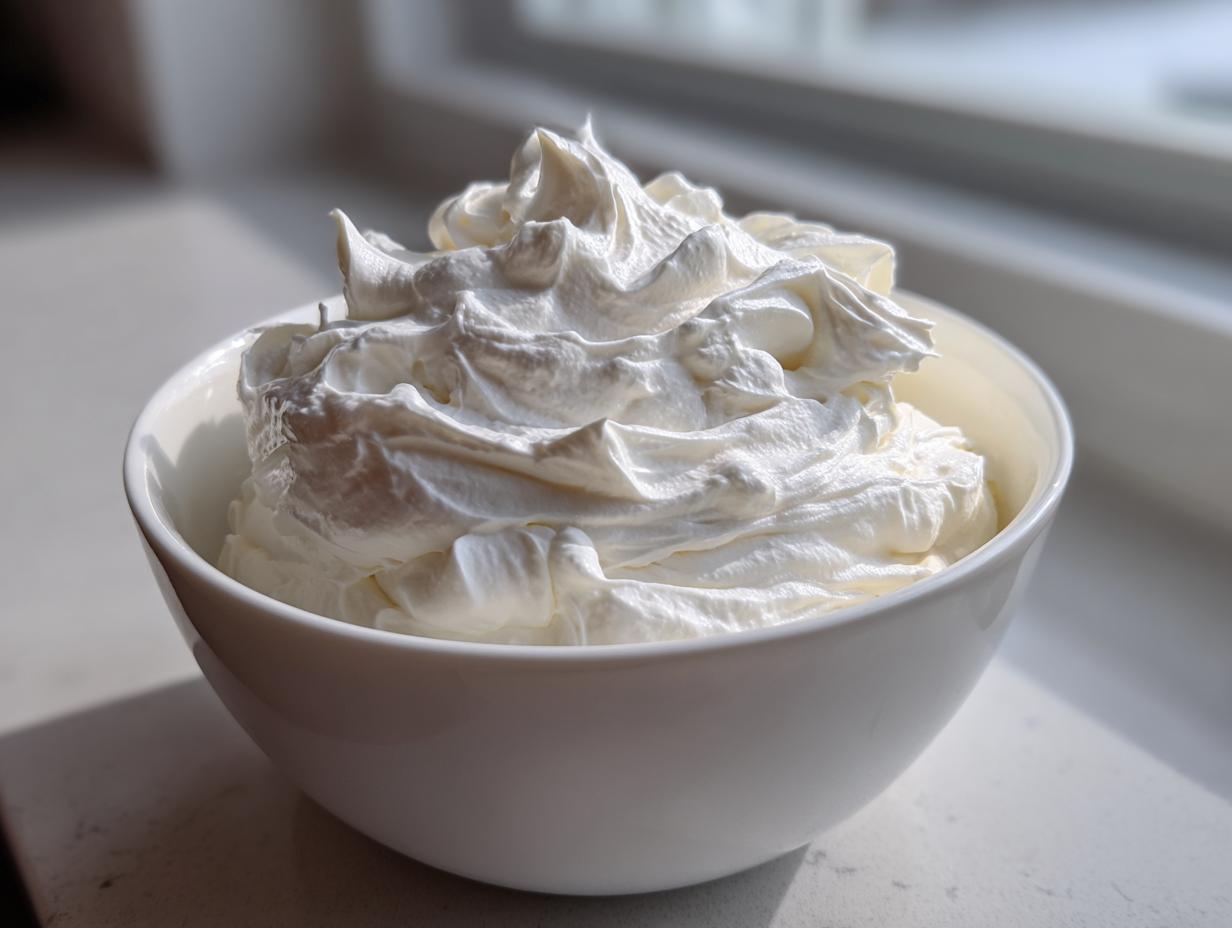
Alright, time to get mixing! This part is honestly the easiest, but it requires a little bit of machine attention. First, grab your big bowl—we mixed our dry ingredients, the sifted sugar and the meringue powder, earlier, so make sure those are totally combined. Now, pour in your measured warm water and that clear vanilla extract. Put your mixer on low speed just until everything looks combined and there’s no flour dust flying everywhere. Don’t stand there with your hand mixer on high right away; oil would explode! Once it looks like a cohesive, thick paste, switch that speed up to medium-high. You need to let this run for a solid five to seven minutes. Seriously, don’t cheat this part! This beating time develops the air and texture that makes this **royal icing recipe** so fantastic and strong.
When those seven minutes are up, turn off the mixer. That’s when we check things out. We are looking for icing that holds stiff peaks when you pull the beater out. If it’s just too thick—and sometimes it is, depending on your humidity—you start playing the water game. I check the instructions here, but basically, add water just one teaspoon at a time, beating it in completely after every single drop. You want to slowly work your way toward perfection.
Achieving the Right Royal Icing Tips and Tricks Consistency
This is where our **Royal Icing Tips and Tricks** really come into play once you’ve hit that initial stiff peak stage. Remember that if you stop mixing, this icing will start forming a skin almost immediately! It’s thirsty like that. So, if you stop working with a batch, you immediately need to press plastic wrap directly onto the surface of the icing in the bowl. I mean squish it right down there! If you’re coloring batches, cover those bowls too. This simple step is non-negotiable; it keeps that beautiful, smooth texture from drying out while you’re working on other colors or techniques.
Mastering Piping Icing Consistency for Decorated Cookies
This is the part where people usually panic, but don’t you worry! Once that base icing is mixed to that stiff-peak stage we talked about, you have the blueprint for almost every decorating technique imaginable. You’re going to use that base for stiff work, and then you thin it selectively for flooding and detail work. Getting your **Piping Icing Consistency** dialed in means you can tackle anything from fine lines on a gingerbread house to flooding entire sugar cookies smoothly. I promise, once you understand the 10-second rule, you’re practically a pro decorator already!
Tips for Thick Consistency Icing (Outlining)
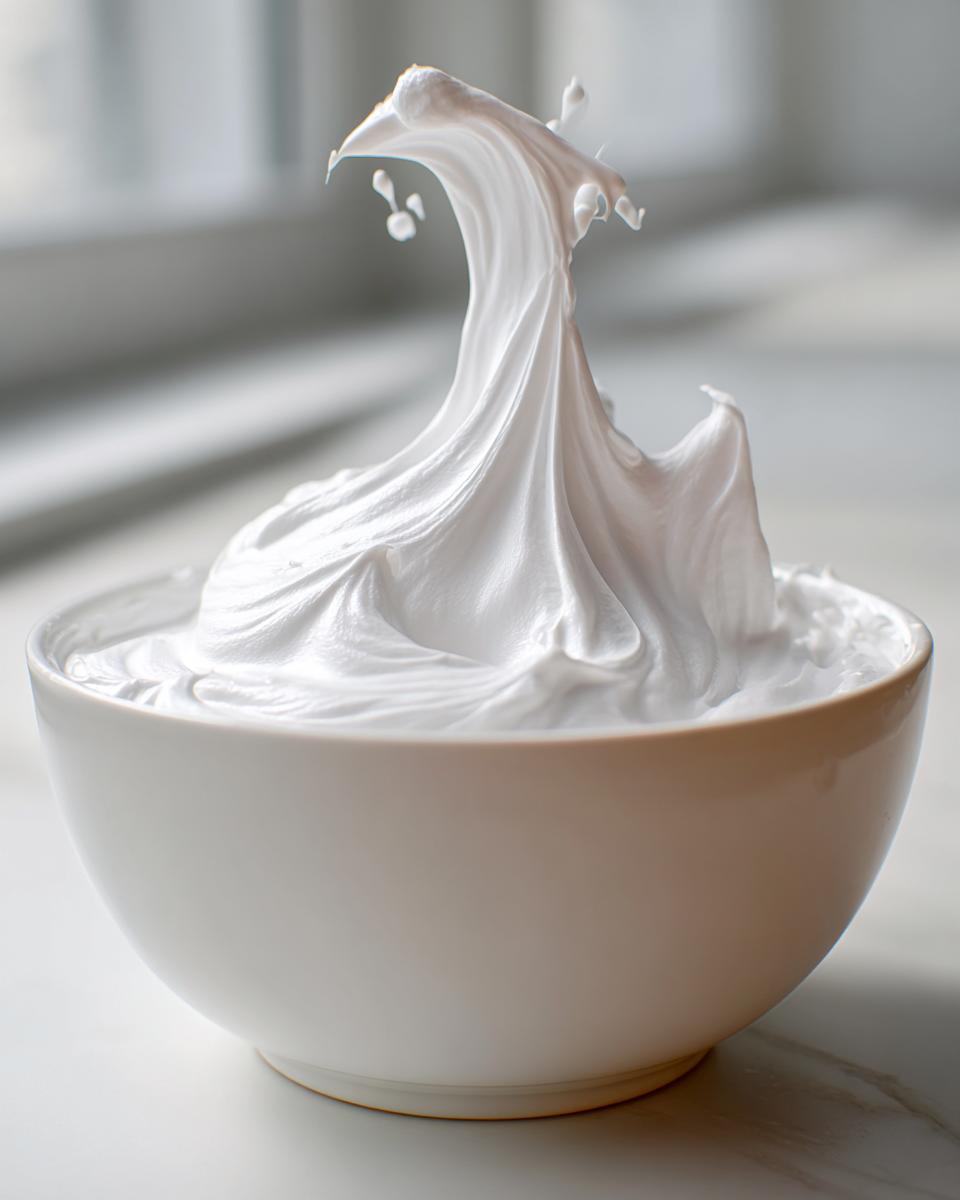
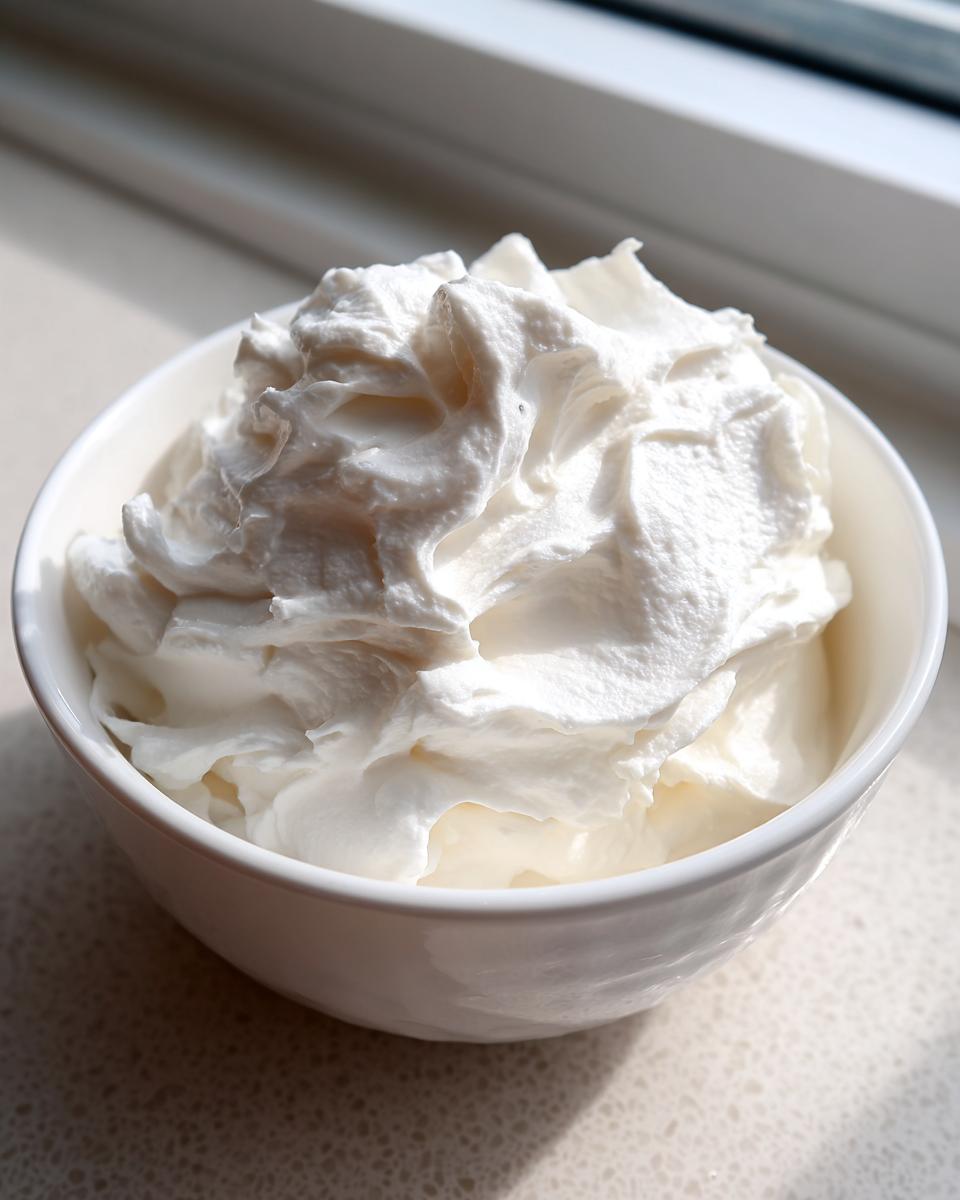
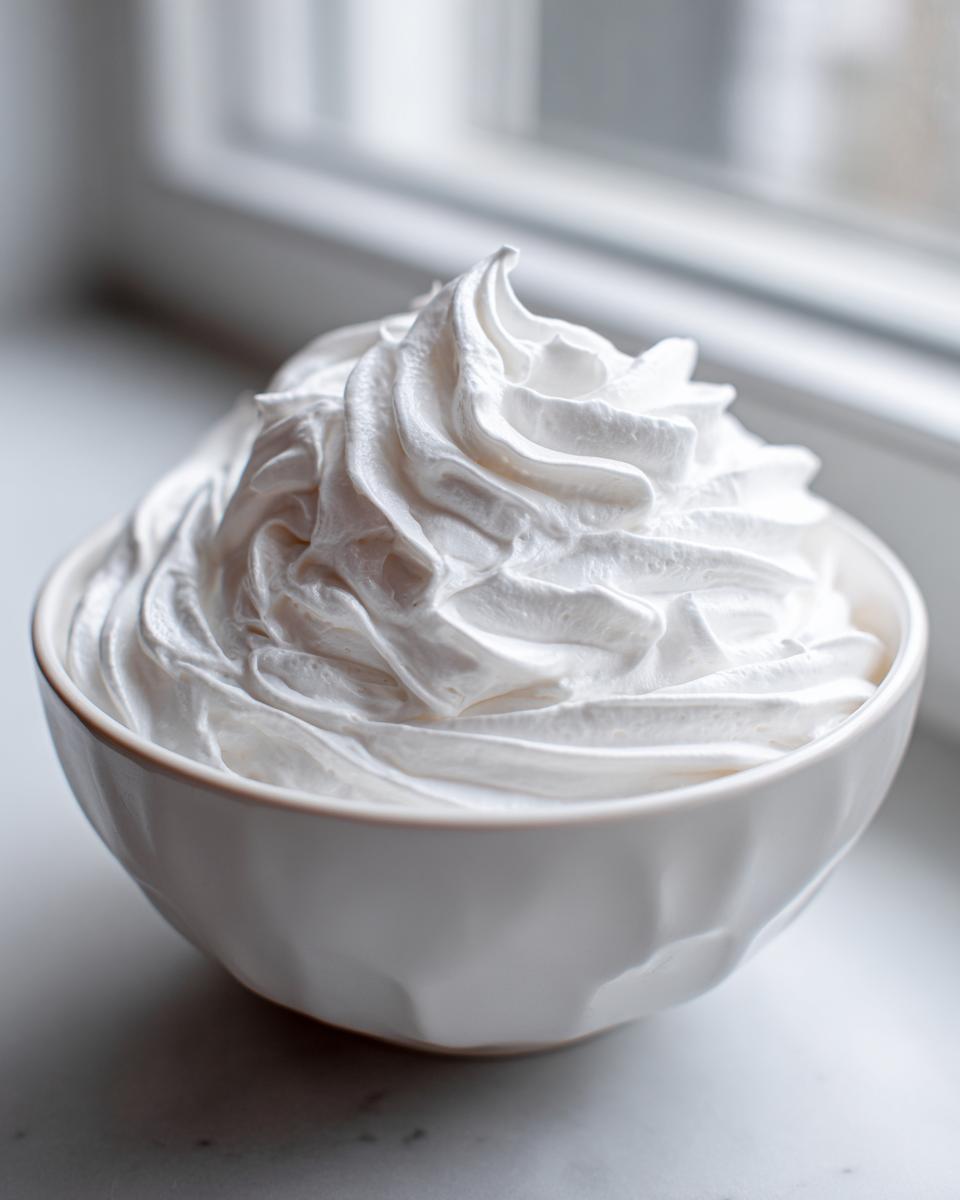
When you want to outline your cookies—creating those lovely borders that hold the flood icing in place—you want the icing straight out of that 7-minute mixing time, maybe even a dash thicker. I call this the ‘stiff peak’ test. Scoop some up with your whisk attachment or a spatula; if the peak stands straight up, rigid, without slumping over, you’re good! This stiff icing holds its sharp piped shape beautifully and it won’t spread outside your lines, which is exactly what we need for clean edges.
Achieving Flood Consistency Icing
Now, for the smooth fill, we need **Flood Consistency Icing**. This is where you take your stiff icing and slowly beat in tiny drops of water until we hit the magic metric: the 10-second rule. Take a spoon, scoop up some icing, let it fall back into the bowl, and start your timer. If it takes between 10 to 15 seconds for that trail of icing that fell onto the surface to disappear back into the main batch, you’ve nailed it! This is the perfect texture for filling in those outlined areas. If it disappears instantly, it’s too thin, and you need a bit more powdered sugar—though honestly, adding a teaspoon of water at a time is way easier than trying to salvage icing that is ruined by too much liquid! For structural work on something big, like a gingerbread display, always rely on that thicker outlining consistency for gluing pieces together.
Essential Royal Icing Tips and Tricks for Hardening Icing Recipe
We’ve mixed it, we’ve colored it, and now comes the part where we wait—the hardest step, right? But this waiting game is what transforms our beautiful, slightly wet icing into a durable, hard shell. To get that beautiful, glossy finish we fought for, these decorated cookies need to totally air dry. I mean, leave them out on a rack at room temperature for several hours, or honestly, just plan to let them sit overnight. Don’t try to speed it up in the oven; you’ll end up cracking that perfect surface! You’re looking for hard to the touch before you even think about stacking them.
Here’s a little piece of knowledge I picked up working holidays when we had tight deadlines: humidity is the absolute enemy of a fast-drying **Hardening Icing Recipe**. If it’s raining outside or super humid, it will take ages to dry, sometimes even staying tacky! If I have huge batches, I sometimes run the dehumidifier nearby for a few hours. If you need to connect for any reason about your progress, feel free to reach out to us here. Remember that even the best icing, like the one over at Semisweet Designs recommends, needs time to set perfectly.
Storage and Care for Your Basic Royal Icing Formula
Okay, you’ve decorated everything in sight, and now you’re looking at leftover icing. Don’t panic! This stuff is pretty stable, which is one of the huge benefits of this recipe. You can store any unused portion of your **Basic Royal Icing Formula** airtight at room temperature. I mean it—press plastic wrap right down onto the surface, seal it in a good container, and keep it cool, but definitely *not* in the fridge. Cold messes with the texture when you bring it back out, trust me.
You can keep it safely stored this way for up to two weeks. Eventually, even tightly sealed, it might start to feel a bit stiff when you pull it out, especially the thicker batches intended for outlining. If that happens, don’t toss it! Just revive it gently. Add water, just a *tiny* drop at a time, then mix slightly by hand or with a spoon. If you need a bigger stir, use your mixer on the absolute lowest speed for just a few seconds to coax it back to life. Just be super careful not to whip in a ton of air when reviving it, or you’ll be back to dealing with air bubbles tomorrow!
Troubleshooting Common Royal Icing Issues
Even with the most foolproof recipe, sometimes baking throws us a curveball, right? Dealing with royal icing troubleshooting is just part of the journey, but I promise, the fixes are usually quick. Let’s tackle the two biggest frustrations I hear about all the time: when the icing either decides to become a runny mess or it comes out looking like it’s full of air pockets. Neither is a disaster, but both require a specific approach to fix without starting over.
If you find your icing is too thin—maybe you got heavy-handed with the water while thinning it out for flooding—don’t sweat it. The fix here is simple but requires patience. You need more structure, and the only ingredient that provides that structure upfront is the dry stuff we already used. Slowly mix in more sifted confectioners’ sugar, about one tablespoon at a time. Mix it gently by hand first, then briefly with the mixer on low. If you dump in a ton of sugar, you’ll create new clumps, so slow and steady is the mantra here. It takes patience, but you’ll get that body back!
Now, let’s talk bubbles. You beat this icing for seven minutes to get it glossy, and sometimes, that aeration process leaves tiny little air holes floating around. If you see these bubbles, they will show up on your cookie surface once it starts to dry, which ruins the smooth look. A non-obvious fix I learned is to never stir it if you see bubbles! Stirring just whips more air in. Instead, take a square of plastic wrap, gently press it right onto the surface of the icing in the bowl, sealing out all the air above the surface. Let it sit quietly for about 15 to 30 minutes. This steams the air out of the top layer and lets those stubborn bubbles pop naturally without remixing them in. It’s amazing how well a little bit of stillness can solve a mixing problem!
Frequently Asked Questions About This Royal Icing Recipe
It’s natural to have a few lingering questions before you dive into decorating, especially when it comes to something as time-sensitive as icing! I’ve pulled the questions I get asked the most right here. Don’t worry if you’re a beginner; this recipe is designed to hold your hand through the process, but these little pointers will make you feel like a pro right out of the gate. I always tell people to read the tips on The Fresh Press post, but here are my quick answers specifically for this meringue powder version.
Can I use this royal icing recipe for gingerbread houses?
Absolutely, yes! This is actually one of the best uses for it. Because this **royal icing recipe** dries so incredibly hard and essentially becomes like edible cement, it’s perfect for building and decorating gingerbread houses. When you are gluing walls or roofs together, you want that super stiff, **Thick Consistency Icing** right out of the mixer. Make those peaks stand straight up! That structure is what keeps your holiday village from collapsing halfway through Christmas Eve. It’s far superior to using buttercream for structural support, which just gets too soft.
How do I make the icing bright white?
That’s a great question, especially if you’re aiming for that pristine look to truly shine through as a **White Royal Icing Recipe**. The two biggest culprits for a dingy color are using regular vanilla extract instead of clear vanilla (which adds a slight yellow tint from the bean specs) and using dark food coloring! If you want pure, stark white, use the clear extract like I mentioned earlier. Also, go easy on the gel colors, even the dark reds and blues, because they can shift the whole batch slightly. For the purest white, I sometimes skip coloring completely until the very end, and I leave a small untouched batch of the initial mix—no extract even, kept airtight—just for piping borders that need to look spotless.
Remember, if you’ve been reading up on our terms of use here on our site, transparency is key, and I want your icing color to be transparently beautiful! If you’ve only dyed a small portion and realize you need more white, just mix up another tiny test batch following the main formula, but omit any coloring. It’s easy to adjust!
Estimated Nutritional Data for Royal Icing
Now, I know we are all here for the artistry and the taste, but sometimes we need to know what’s in the delicious stuff we are piping onto our holiday haul! Because this recipe is basically powdered sugar and meringue powder, the numbers skew a little high on the sugar front, naturally. But hey, it’s a treat, right? This is the estimated breakdown for a single serving size, which we figure is about a quarter cup of the finished, uncolored icing.
- Calories: 450
- Sugar: 110g
- Protein: 1g
- Sodium: 5mg
- Fat: 0g
- Cholesterol: 0mg
Please keep in mind that these numbers are just an estimate based on the standard ingredients I use when I make this batch. If you use a different brand of confectioners’ sugar, or if you add specialized flavorings or larger amounts of food coloring, those final nutritional values will shift a bit. It’s mostly just sugar holding everything together, so when decorating big batches for parties, just remember it’s a delightful, sweet addition to your baked goods!
PrintThe Best Foolproof Royal Icing Recipe Using Meringue Powder

A reliable recipe for smooth, glossy royal icing using meringue powder, perfect for decorating sugar cookies and gingerbread houses. Includes guidance on adjusting consistency.
- Prep Time: 10 min
- Cook Time: 0 min
- Total Time: 10 min
- Yield: Coats approximately 3 dozen standard cookies 1x
- Category: Baking
- Method: Mixing
- Cuisine: American
- Diet: Vegetarian
Ingredients
- 4 cups confectioners’ sugar, sifted
- 2 tablespoons meringue powder
- 1/4 cup warm water (approximately)
- 1/2 teaspoon clear vanilla extract or almond extract
Instructions
- In a large bowl, whisk together the sifted confectioners’ sugar and meringue powder until fully combined.
- Add the warm water and extract to the dry ingredients.
- Beat the mixture with an electric mixer on low speed until the ingredients are incorporated.
- Increase the speed to medium-high and beat for 5 to 7 minutes until the icing is very thick, smooth, and holds stiff peaks.
- Check the consistency. If the icing is too thick for your needs, add water one teaspoon at a time, beating well after each addition, until you reach the desired texture.
- Divide the icing into separate bowls for coloring, if desired. Cover all unused icing with a damp cloth or plastic wrap pressed directly onto the surface to prevent drying.
- Use immediately for decorating cookies or store airtight for up to two weeks.
Notes
- For outlining consistency (stiff): Use the icing as it is after the initial 7-minute beat time. It should hold its shape when lifted.
- For flooding consistency (medium): Add 1 to 2 teaspoons of water per cup of icing until the icing flows smoothly off a spoon and the trail disappears back into the bowl within 10 to 15 seconds (the 10-second rule).
- For fine line or detail work (thin): Add slightly more water until the icing flows easily but still holds a defined edge when piped.
- To make the icing dry firm and glossy, allow decorated cookies to air dry at room temperature for several hours or overnight until completely hard to the touch.
Nutrition
- Serving Size: 1/4 cup
- Calories: 450
- Sugar: 110g
- Sodium: 5mg
- Fat: 0g
- Saturated Fat: 0g
- Unsaturated Fat: 0g
- Trans Fat: 0g
- Carbohydrates: 112g
- Fiber: 0g
- Protein: 1g
- Cholesterol: 0mg