
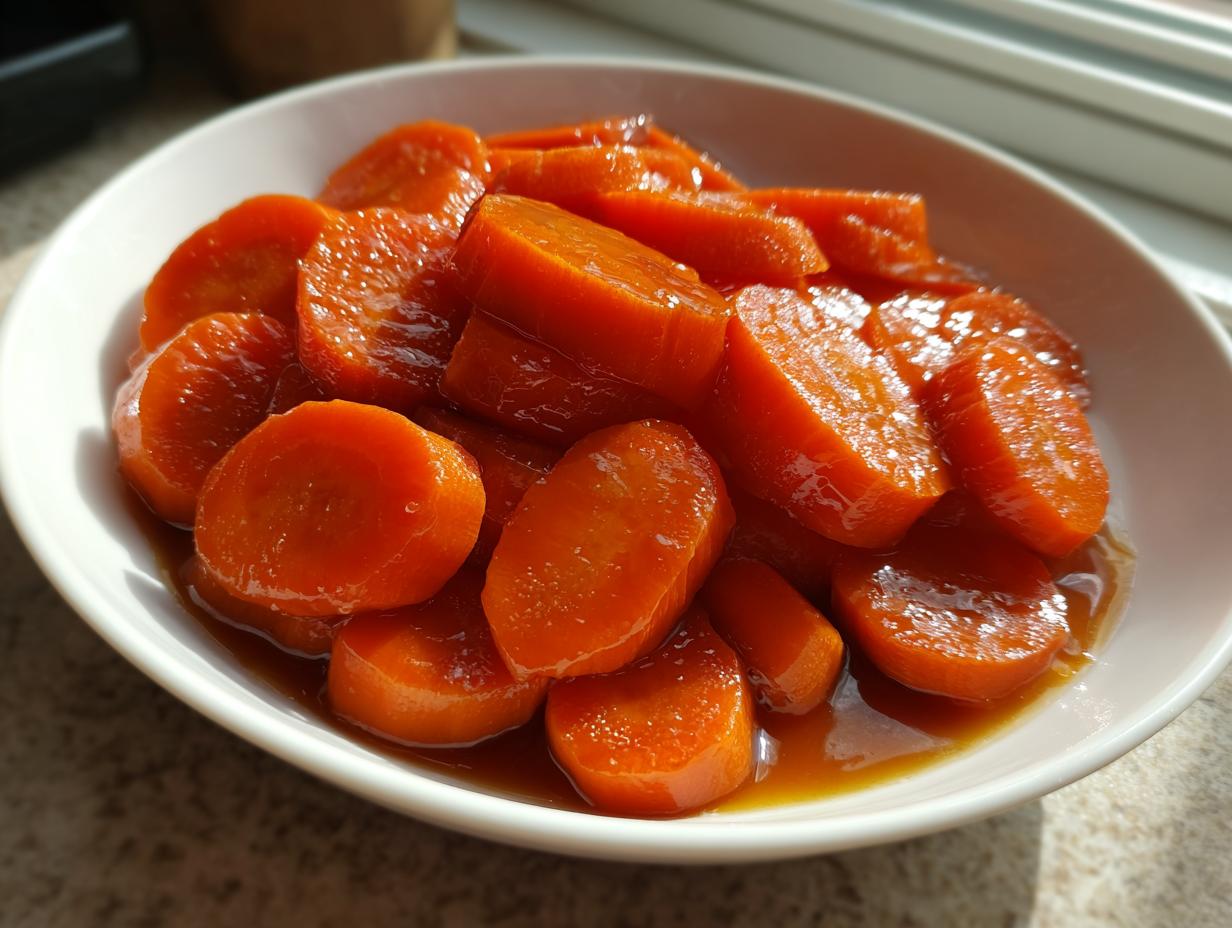
The holidays, right? Everyone talks about turkey and pie, but honestly, the side dishes are where the real pressure hits! You want something that tastes like the best parts of every Thanksgiving you’ve ever known, but you only have about three minutes of free time between basting and setting the table. That’s why I’m sharing my absolute favorite secret to stress-free flavor: these incredible Glazed carrots. Seriously, they are simple perfection. Julian Maxwell mastered so many classic American dishes during his time working professionally, and this basic side is a testament to how a few simple techniques can elevate the ordinary into something unforgettable. Trust me, this recipe is your new holiday hero. You can read more about his journey to bring these home-style classics to you over at our About Us page.
We developed this to be the most flavorful and straightforward way to handle your carrots this year. No fuss, just fantastic flavor that steals the show!
- Why This Glazed Carrots Recipe is a Thanksgiving Classic
- Essential Ingredients for Perfect Glazed Carrots
- How to Make Glazed Carrots: Step-by-Step Instructions
- Tips for Success When Preparing Glazed Carrots
- Serving Suggestions for Your Holiday Glazed Carrots
- Storage and Reheating Instructions for Leftover Glazed Carrots
- Frequently Asked Questions About Glazed Carrots
- Estimated Nutritional Data for Glazed Carrots
- Share Your Classic Glazed Carrots Experience
Why This Glazed Carrots Recipe is a Thanksgiving Classic
I love making these carrots because they hit that nostalgic sweet spot everybody expects on Thanksgiving—that little bit of sweet, a little spice, incredibly shiny. It’s the ultimate Thanksgiving classic that never disappoints. When I have five other things bubbling or baking, I depend on recipes that are rock solid, and this one has been tested until it’s perfect for the chaotic home kitchen. You don’t need fancy skills, just 25 minutes total! It’s amazing how much flavor we can pack in when we’re focused on what truly matters at the table.
Quick Prep and Cook Times for Your Holiday Schedule
Look at these numbers—they are why this recipe is a lifesaver for me! Prep time is only 10 minutes, and the total cooking time clocks in around 15 minutes. That means you can get these babies started while you’re wrestling with the gravy boat or wrestling the kids into their holiday outfits. They cook quickly right on the stovetop, which saves precious oven space for the turkey and those marshmallow-topped sweet potatoes. Being fast and delicious means more time for you to actually relax.
Essential Ingredients for Perfect Glazed Carrots
When you’re aiming for that perfect holiday side that disappears fast, you have to be precise with your ingredients—even for something as simple as carrots! I always lay everything out first, which I call ‘mise en place,’ because during the holiday rush, one missed step can throw your timing off. We need simple, common pantry staples here, but using just the right amounts of butter and brown sugar is what guarantees that thick, beautiful coating.
Don’t stress about having one specific thing, though. Precision is key, but flexibility is also important when you’re cooking for a crowd! That golden syrup coating comes together really easily once you have your items ready.
Ingredient Notes and Substitution Tips for Your Glazed Carrots
Sometimes you realize you are totally out of brown sugar halfway through prep. Oops! If that happens, or if you just want a slight variation, you can swap out half that brown sugar for real maple syrup. It deepens the flavor just beautifully—it almost tastes like a candy coating! Also, if your family likes their vegetables on the softer side, maybe leaning into that classic Thanksgiving tenderness, don’t be afraid to simmer those carrots for an extra three to five minutes before you even start making the glaze. It changes the final texture slightly, but both ways are delicious!
How to Make Glazed Carrots: Step-by-Step Instructions
Ready to dive into how to make glazed carrots that actually look shiny and taste amazing? This process feels almost magical because it moves so quickly, but every step matters. Don’t rush that initial simmer, and be ready to stir when the glaze goes in! When you follow these steps, you’ll get those fantastic, restaurant-quality carrots that wow people at your holiday table without any stress.
Cooking the Carrots to the Right Texture
First things first: the carrots need just enough cooking time so they get tender, but not so much that they turn into orange mush on your plate! You’re going to put your sliced carrots right into a saucepan with just a little bit of water—only enough to cover the bottom, really ($$1/2$$ cup is plenty). Bring that up to a boil, then immediately turn it down, cover it up, and let them simmer for about 8 minutes. You are looking for what chefs call tender-crisp. They should yield a little when you poke them, but still have some bite. After 8 minutes, drain off any extra water really well. We want the glaze to stick, not swim!
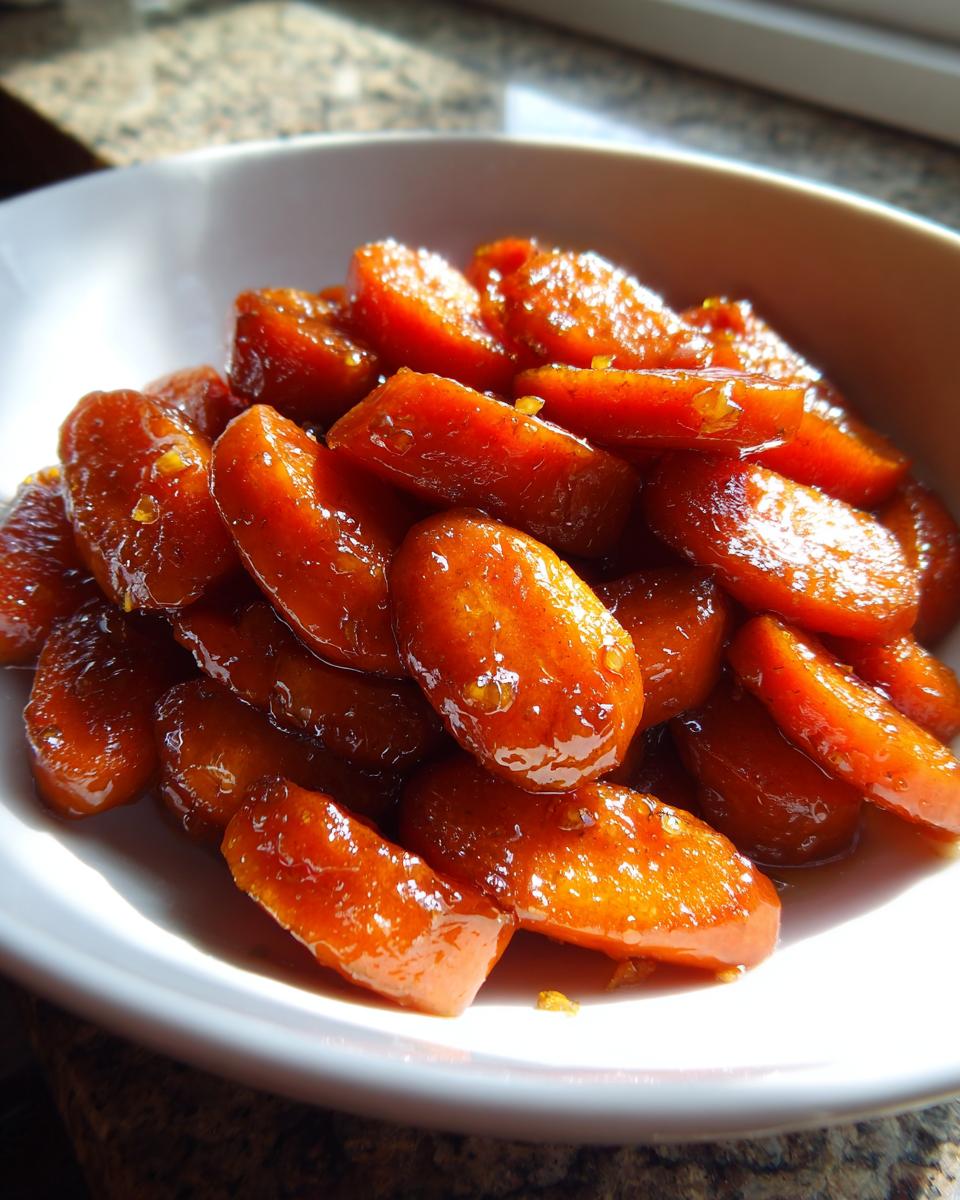
Achieving the Thick, Shiny Glaze on Your Glazed Carrots
This is where the magic happens and where you need to pay attention. While the carrots are simmering, take a small bowl and whisk together your sugars, salt, pepper, and—this is important—the cornstarch. You need to whisk that dry mix really well so the cornstarch doesn’t clump up later! Once your carrots are drained, toss them back in the pot. Add that quarter cup of butter and let it melt down completely over medium heat, stirring gently. Now, sprinkle in your dry sugar mixture and stir constantly. Keep stirring gently for just two or three minutes, and watch! That sauce will suddenly thicken up and turn into that perfect, shiny coating right before your eyes. Take them off the heat right when the glaze turns thick enough to coat the back of a spoon. Serve them immediately while they’re hot and glistening!
Tips for Success When Preparing Glazed Carrots
Honestly, the difference between good holiday carrots and amazing ones comes down to just a couple of tiny things I’ve learned over the years. Since we are relying on a quick stovetop finish, paying attention to these tips saves you from ending up with watery carrots or a burnt glaze.
First, make sure you drain that excess water completely after the initial 8-minute simmer. If there’s too much water sitting in the pot, it throws off the starch-to-liquid ratio, and your beautiful glaze will just turn into thin syrup. It’s frustrating, so drain it well!
Also, when you add the cornstarch and sugar mixture, don’t dump it all in at once. Sprinkle it slowly while stirring constantly. This keeps the sugar from clumping and helps distribute that thickening agent evenly so you get that gorgeous, shiny coat we are aiming for.
Finally, once the sauce starts to cling to the carrots, that’s your cue to pull them off the heat immediately. That two-to-three-minute thickening window is real! They’ll keep cooking slightly even off the burner, so you want them pulled right before they look totally done.
Serving Suggestions for Your Holiday Glazed Carrots
Honestly, having this glazed carrots recipe easy means you have a fantastic side dish ready to go with everything else on that huge Thanksgiving table! Because they bring such a lovely touch of sweetness, they pair perfectly with savory, salty mains. I always put them right next to the big roasted turkey, and they look gorgeous nestled beside fluffy mashed potatoes.
They are the perfect contrast to something herby, like a sage stuffing or a rich pan gravy. Since they are so simple, they don’t fight with any of your other flavors; they just enhance them. Making these shiny beauties means you always have one less thing to worry about when balancing your plate across the table!
Storage and Reheating Instructions for Leftover Glazed Carrots
If you manage to have any of these leftovers—which, let’s be real, sometimes happens—storing them is super easy. Just pop them into an airtight container and put them in the fridge. They last great for about three or four days, no problem. The sugar in the glaze helps keep them preserved nicely.
Reheating takes a little care, though! You don’t want to burn that lovely sugar crust. I find the best way is actually on the stovetop over the lowest heat possible with just a tiny splash of water, stirring often. That little bit of steam helps revive the carrots, and you only heat them until they are just warm again. You want to avoid setting the pan too high, or the sugar turns gritty fast!
Frequently Asked Questions About Glazed Carrots
I get so many messages after the holidays! People love how easy this was, but they always have one or two last-minute cooking questions pop up, usually right before they serve dinner. I’ve gathered up the ones I hear most often about these sweet little jewels. It’s always good to have backups for those unpredictable moments in the kitchen!
Can I use fresh versus frozen carrots for this glazed carrots recipe easy?
That’s a great question, especially when you are trying to streamline your chopping time! You absolutely can use frozen carrots if you’re desperate, and it certainly makes this a faster glazed carrots recipe easy. However, you need to remember that frozen carrots release a lot more water during cooking than fresh ones do. Since we rely on boiling off most of the water before adding the glaze, you should probably simmer those frozen carrots for about 10 to 12 minutes initially, instead of the 8 listed. Give them a good taste test before you drain them aggressively. We want tender-crisp, not soup!
What high‑CPC phrases can I add to my glazed carrots?
I love when folks want to play around with the flavor profile! If you want to make your carrots even more fancy—maybe for a big dinner party where you want them to sound extra special—there are a few classic additions that really work well with that brown sugar and butter base. A few sprigs of fresh thyme simmered right along with the carrots adds this gorgeous, subtle herbaceous note. If you want brighter flavor, a little bit of shaved orange zest mixed into the glaze right at the end wakes everything up. And honestly, a tiny dash of cinnamon when you whisk in the dry ingredients adds that whisper of holiday spice that just feels so festive!
Estimated Nutritional Data for Glazed Carrots
Now, listen up! While this recipe is pure comfort food heaven and tastes like sunshine mixed with butter, I always like to give you a heads-up on what we’re working with nutritionally. Since we’re using butter and brown sugar, it’s definitely a richer side dish, but it pairs so well with leaner turkey breast, you know?
These numbers are just estimates based on the standard recipe measurements we used—two pounds of carrots, that quarter cup of butter, and the brown sugar. Nutrition labels can vary wildly depending on the exact brand of butter or the sweetness of your carrots, but this gives you a solid baseline for planning your big holiday meal. It’s good to know what you’re spreading on the table!
- Serving Size: 1 serving
- Calories: About 150 (A great number considering how much flavor they pack!)
- Fat: Roughly 8g
- Carbohydrates: Around 19g
- Sugar: Approximately 18g (That’s where all the shine comes from!)
- Protein and Fiber: Modest amounts, but hey, they’re still carrots!
See? Not bad at all for a side dish that tastes this decadent. You can swap out half the brown sugar for maple syrup if you want to play with the carb and sugar sources a bit, but the core profile stays delightfully sweet.
Share Your Classic Glazed Carrots Experience
Now that you know all my secrets for making truly stunning Glazed carrots that shine brighter than the silverware on your dining table, I genuinely want to know how it went!
This recipe means so much, especially since it’s a go-to for the whole Thanksgiving classic spread, so please, please don’t keep your success to yourself! Did you manage to get that perfect tender-crisp texture? Did you sneak in a little maple syrup like I suggested?
Head down to the comments section right below this and tell me everything! Leave a star rating so other cooks know this recipe is the real deal. And if you snapped a picture of those glistening beauties next to the turkey, share it on social media and tag us—I absolutely love seeing your holiday tables!
We work so hard to test every recipe here at Julia Meal to make your cooking joyful, and hearing from you makes all that work worthwhile. If you have any trouble or just want to share a win, we’re here to listen. Before you go, take a quick look at our Privacy Policy and our Terms of Use—we keep your information safe as you share all those great cooking memories!
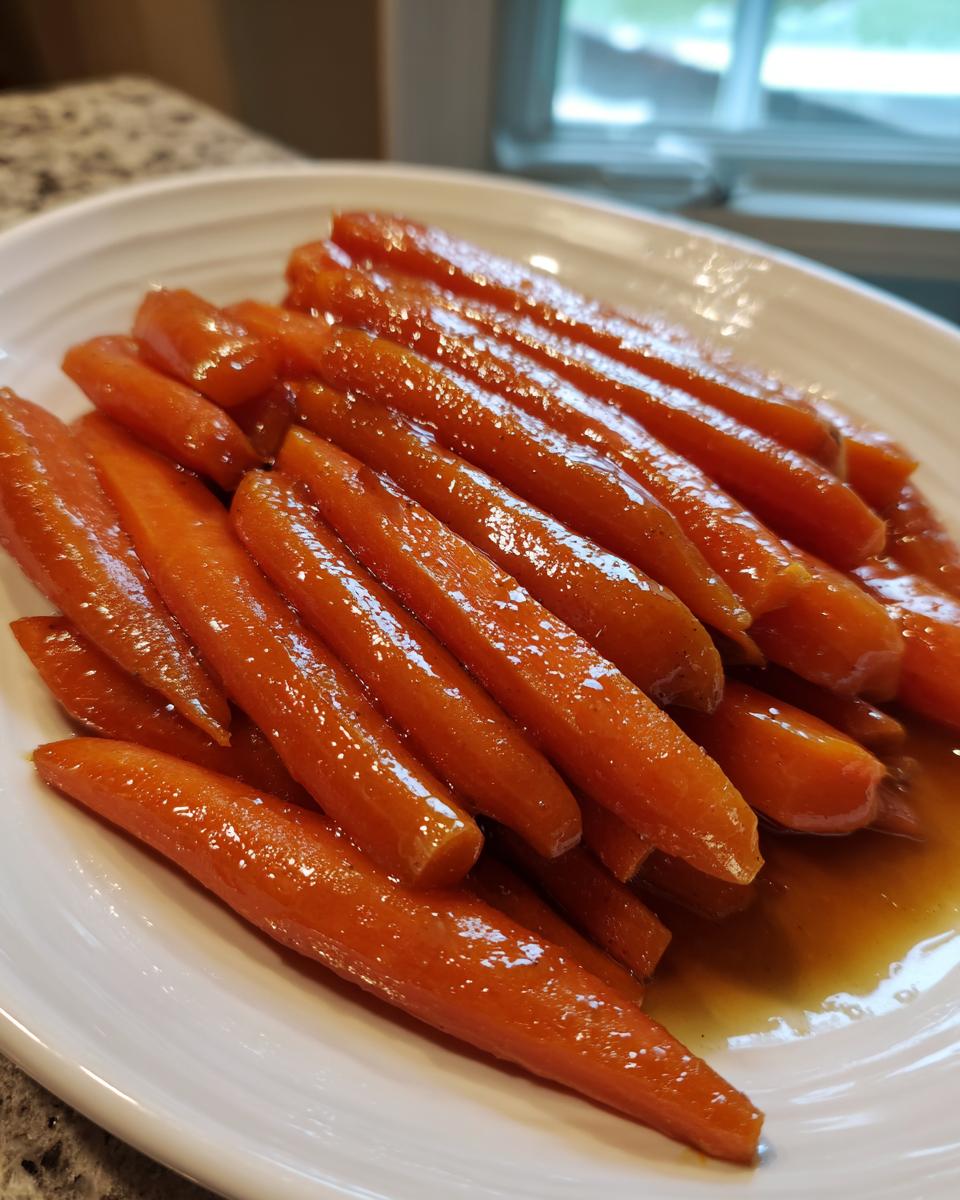
PrintClassic Glazed Carrots for Thanksgiving

Prepare easy, crowd-pleasing glazed carrots with familiar flavors for your holiday meal.
- Prep Time: 10 min
- Cook Time: 15 min
- Total Time: 25 min
- Yield: 6 servings 1x
- Category: Side Dish
- Method: Stovetop
- Cuisine: American
- Diet: Vegetarian
Ingredients
- 2 lbs carrots, peeled and sliced into rounds
- 1/2 cup water
- 1/4 cup butter
- 1/4 cup packed brown sugar
- 1 tablespoon cornstarch
- 1 teaspoon salt
- 1/4 teaspoon black pepper
Instructions
- Place the sliced carrots and water in a large saucepan. Bring to a boil, then reduce heat, cover, and simmer for 8 minutes, or until carrots are tender-crisp. Drain off any excess water.
- In a small bowl, whisk together the brown sugar, cornstarch, salt, and pepper.
- Add the butter to the saucepan with the carrots. Stir until the butter melts.
- Sprinkle the sugar mixture over the carrots and stir gently to coat.
- Cook over medium heat, stirring constantly, until the sauce thickens and coats the carrots, about 2 to 3 minutes. Serve immediately.
Notes
- For a deeper flavor, you can substitute maple syrup for half of the brown sugar.
- If you want softer carrots, simmer them for an extra 3 to 5 minutes before adding the glaze ingredients.
Nutrition
- Serving Size: 1 serving
- Calories: 150
- Sugar: 18g
- Sodium: 350mg
- Fat: 8g
- Saturated Fat: 5g
- Unsaturated Fat: 3g
- Trans Fat: 0g
- Carbohydrates: 19g
- Fiber: 3g
- Protein: 1g
- Cholesterol: 20mg