

You know the moment—you’ve made a beautiful roast or perfectly fluffy mashed potatoes, and then you reach for the gravy, only to pull out that thin, flavorless, packaged stuff. It’s a culinary letdown, isn’t it? Well, put that can away for good. I’m Julian Maxwell, and trust me, I spent years in professional kitchens learning just how critical a truly great sauce is. That’s why mastering **homemade brown gravy** was non-negotiable for me. I’m absolutely thrilled to share that this recipe is the absolute richest, most deeply savory **brown gravy from scratch** you can make, and the best part? It needs zero meat drippings and comes together in under 15 minutes. This is exactly the kind of foundational magic we celebrate here at Julia Meal, ensuring your comfort food classics always shine. You can find more of my quick fixes for weeknight meals right here!
- Why This Homemade Brown Gravy Recipe Works Without Drippings
- Gathering Ingredients for Your Homemade Brown Gravy From Scratch
- Step-by-Step Instructions for Quick Stovetop Homemade Brown Gravy
- Tips for Success: Making the Best Homemade Brown Gravy
- Serving Suggestions for Your Comfort Food Gravy
- Storage and Reheating Instructions for Leftover Gravy
- Frequently Asked Questions About Making Gravy Without Drippings
- Nutritional Snapshot of This Savory Sauce Recipe
- Share Your Experience Making This Quick Gravy Fix
Why This Homemade Brown Gravy Recipe Works Without Drippings
The biggest hurdle for home cooks wanting a quick, good gravy is usually waiting for a roast to finish just to get those precious pan drippings. Honestly, who has the time sometimes? That’s why this recipe is engineered around one core principle: building massive flavor through technique, not luck. We rely on a perfectly cooked roux as our base—this technique is the secret behind any great **rich brown sauce**, mimicking that richness fat provides.
Since we skip the drippings, we lean hard on high-quality beef broth for that deep, meaty foundation. Then, we layer in seasonings like Worcestershire sauce and powders to give that slow-cooked savoriness right away. It’s the ultimate **no drippings gravy** solution, giving you that velvety texture and savory punch you crave, even on a Tuesday night when all you have is broth in the pantry. If you love one-pot meals that anchor that savory goodness, take a look at my chicken and dumplings recipe here. For another take on quick gravy, you can check out this link too: drivemehungry.com/brown-gravy/.
Gathering Ingredients for Your Homemade Brown Gravy From Scratch
Okay, let’s get down to brass tacks. Since we aren’t relying on those drippings, every single ingredient here has a job to do to build up that amazing, rich flavor profile. Don’t skip the Worcestershire sauce—it’s doing heavy lifting in the savory department! Here is what you’ll need for about two cups of sauce perfection:
- 4 tablespoons unsalted butter or vegetable oil
- 4 tablespoons all-purpose flour
- 2 cups beef broth (low sodium preferred)
- 1 teaspoon Worcestershire sauce
- 1/2 teaspoon onion powder
- 1/2 teaspoon garlic powder
- 1/4 teaspoon black pepper
- 1/4 teaspoon salt (or to taste)
- Pinch of dried thyme (optional)
I always stress low-sodium broth when making a **brown gravy from scratch**. Why? Because you are adding salt later, and we want control! If you use super salty broth, you’ll end up with a harsh flavor. If you happen to have a great batch of homemade beef broth simmering away, absolutely use that! If you swap the butter for oil, this becomes a perfectly suitable vegetarian option, which is a nice bonus for those nights.
Ingredient Notes and Substitutions for Easy Brown Gravy
Choosing between butter or oil is mostly about what you are used to for a roux. Butter gives a slightly richer mouthfeel, but oil works just as well for color development, especially if you want to keep this recipe vegetarian-friendly. The key here, as I covered before, is quality beef broth. It’s the liquid foundation of this **easy brown gravy**. If you don’t have beef broth, vegetable broth works fine, but be prepared to bump up your onion/garlic powder just a touch to keep that meaty depth. It’s all about balancing those savory notes!
Step-by-Step Instructions for Quick Stovetop Homemade Brown Gravy
This is where the magic happens, and I mean *quick* magic! You truly get that rich payoff in just about 10 minutes of active cooking time. We’re moving fast, so keep an eye on the pan, but don’t stress. This is simple stovetop work. We start by melting our fat and then move straight into building that flavor-packed foundation that makes this a true **stovetop gravy** experience.
Here is the rundown for getting this perfect sauce going for your dinner:
- In a medium saucepan over medium heat, melt the butter or heat the oil until it shimmers slightly.
- Whisk in the flour to create a smooth paste, known as a roux. Continue cooking the roux, stirring constantly, for 2 to 3 minutes until it turns a light, peanut-butter color. Do not let it burn.
- Slowly whisk in the beef broth, a little at a time, ensuring no lumps form before adding more liquid. Keep whisking until the mixture is smooth.
- Bring the gravy to a simmer, stirring occasionally. It will begin to thicken as it heats.
- Once simmering, stir in the Worcestershire sauce, onion powder, garlic powder, pepper, salt, and thyme, if using.
- Continue to simmer for 3 to 5 minutes, stirring until the gravy reaches your desired thickness. If it is too thick, whisk in a tablespoon of hot water or broth.
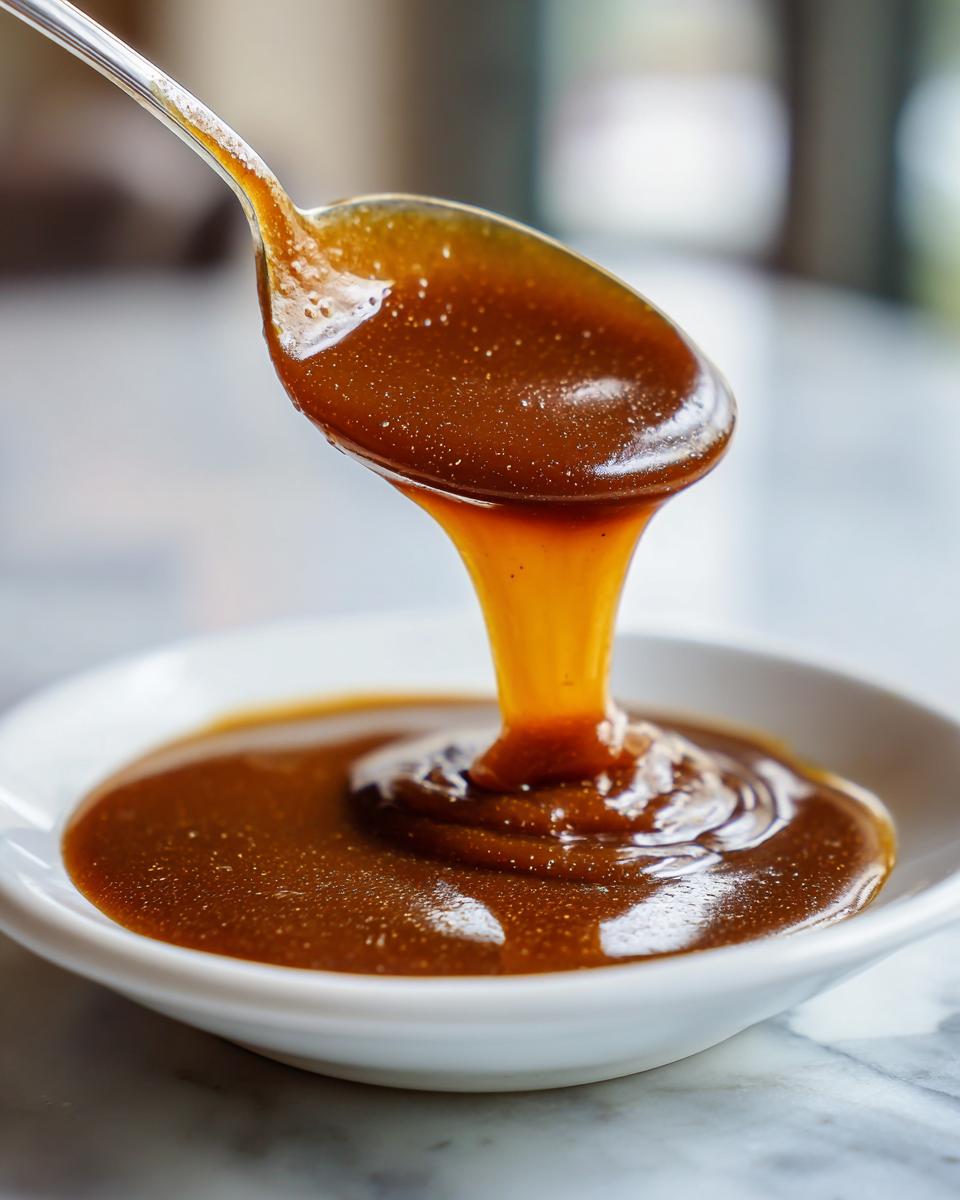
- Taste and adjust salt and pepper as needed. Serve your **homemade brown gravy** hot over your favorite comfort foods.
If you’re looking for quick noodles to put this glorious sauce over, I’ve got a great fried noodles recipe that pairs perfectly!
Mastering the Roux: The Foundation of Velvety Brown Gravy
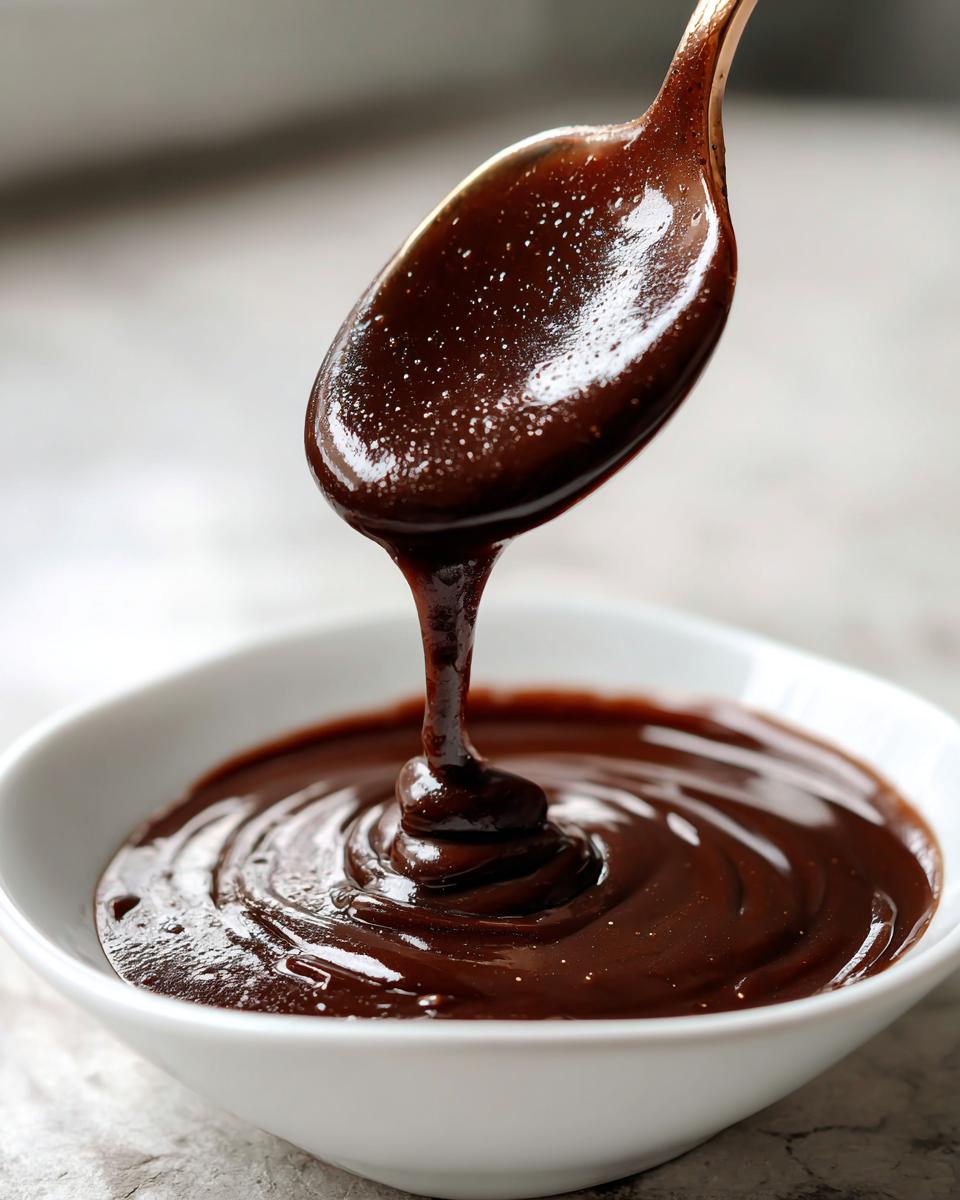
The roux is non-negotiable; it’s the engine of texture here. You need to cook this flour and fat mixture for at least two minutes after you combine them. We are aiming for that perfect light tan, like peanut butter. If you don’t cook it long enough, your gravy will taste raw, like paste. If you cook it too long—turning it dark brown—it will taste burnt and slightly bitter. Finding that sweet spot gives you the best start for your **velvety brown gravy**, ensuring no bitterness interferes with that savory profile down the line.
Achieving Smoothness When Adding Liquid to Your Brown Gravy From Scratch
Lumps are the enemy of any good sauce! When you start whisking in that beef broth—especially for a **brown gravy from scratch**—you must go slow. I mean, add a splash, whisk it until it’s perfectly smooth and just starting to bubble, *then* add the next splash. If you dump it all in, you’ll get lumps the size of marbles, and you’ll never get them out! Pro tip: warming your broth slightly beforehand helps it incorporate much faster without shocking the roux and causing seizing.
Tips for Success: Making the Best Homemade Brown Gravy
Honestly, making a fantastic **homemade brown gravy** without drippings is all about these small, crucial details. These aren’t just suggestions; these are the little secrets I picked up when I was trying to impress a very stern chef back in my early restaurant days. He taught me that the roux tells a story—you just need to know how to listen to it!
First, let’s talk color. If you want that really deep, restaurant-quality look—the color you associate with high-end roast beef—you need to let your roux cook just a hair longer than the light peanut butter stage. Remember that note about darkening the roux? Absolutely do that. But here is where I learned my lesson the hard way: I once got distracted talking about plating techniques and left mine on medium heat for maybe an extra minute. The resulting gravy tasted smoky, almost bitter. It was a total loss! Always keep that whisk moving when you are trying to push the color darker. It goes from perfectly brown to burnt in the blink of an eye.
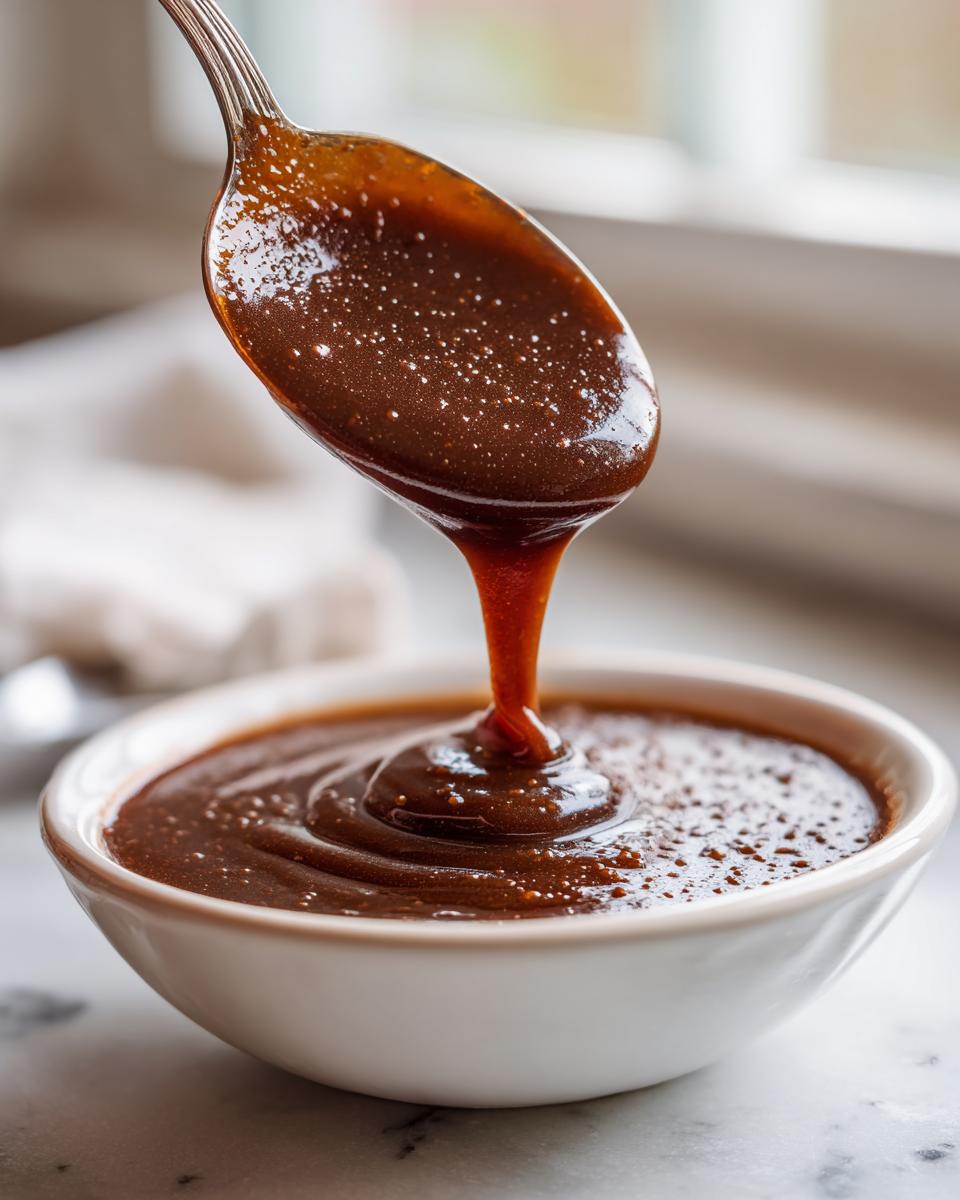
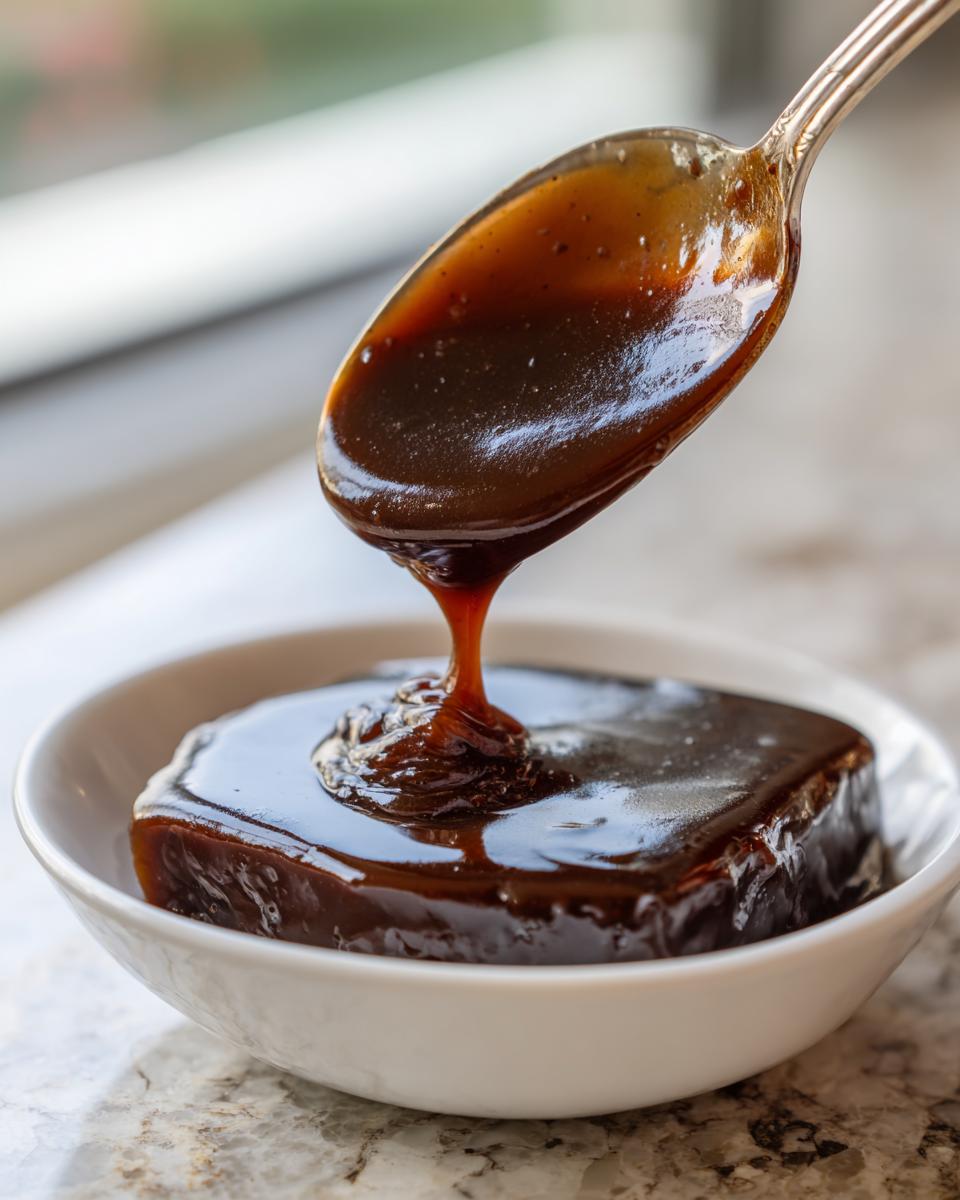
Next up is thickness. This recipe aims for that beautifully pourable, yet coating consistency, but sometimes, broth quality or cooking time throws you off. If you find your sauce is just a little too thin for smothering those mashed taters—which is the ultimate test, by the way—don’t panic and keep boiling it down, because that just concentrates the salt. Instead, take one tablespoon of cold water and mix it aggressively with one tablespoon of flour. Once that slurry is totally smooth, whisk it into your simmering gravy. It thickens right up! This is my go-to **quick gravy fix** when I’m running behind.
Finally, always use a high-quality beef broth here. Since no drippings are present, the broth is your main flavor source for this savory sauce. If you use premium broth, you immediately elevate the entire dish without needing extra work. If you’re prepping for a big holiday, you can always double the recipe and check out my thoughts on making sweet baking recipes too, just to balance out all that savory goodness!
For another fantastic take on achieving that deep, rich flavor, take a look at one of my colleagues’ brilliant guides here: arorasrecipe.com/recipes/best-brown-gravy-from-scratch/.
Serving Suggestions for Your Comfort Food Gravy
Now that you have this incredibly rich, savory sauce, the real fun begins: deciding what masterpiece you’re going to smother it in! If you’ve managed to avoid eating it straight out of the saucepan with a spoon—which I totally understand—you have to try it on some classics. This is the ideal **dinner side sauce** that makes any meal instantly feel cozy and important. You’ve earned this gravy!
Obviously, the number one job for this **homemade brown gravy** is topping a giant mound of mashed potatoes. Seriously, if you want to elevate that side dish from simple to spectacular, you need a proper, rich coating. If you haven’t tried my creamy garlic version yet, now is the time! Trust me, pouring this velvety sauce over them makes them the ultimate **mashed potato topping**. You can grab the full recipe for those potatoes here.
But don’t stop there! This sauce is fantastic over so many things. Since you’ve made a **beef gravy recipe** base here, it’s naturally sublime over slices of meatloaf or any Sunday pot roast. It’s also wonderful spooned over thick slices of white bread—a true old-school comfort move. Or, if you’re making biscuits and gravy but want a savory, darker flavor scheme, this works beautifully there too. It’s versatile, savory, and totally addictive!
Storage and Reheating Instructions for Leftover Gravy
The great news about making a fantastic sauce like this is you can absolutely have leftovers! This rich gravy keeps really well in the fridge. Just pop any cooled portion into an airtight container. It should stay delicious for about three to four days. When you get ready to reheat it, I strongly recommend the stovetop method. Bring it gently to a simmer on medium-low heat, stirring often.
What usually happens when gravy chills is that the flour thickens it up significantly—sometimes almost into a paste! Don’t sweat it. If your **savory sauce recipe** has gotten too stiff overnight, just whisk in a splash or two of cold water or extra beef broth while it warms up. That brings it right back to that perfect, pourable consistency we worked so hard to achieve!
Frequently Asked Questions About Making Gravy Without Drippings
It’s natural to have questions when you’re trying a foundational sauce recipe for the first time, especially when skipping the traditional method. I’ve gathered the most common things folks ask me about achieving that perfect **homemade brown gravy** using my stovetop, no-drippings method!
How can I make this gravy thicker than the recipe suggests?
If you want an even saucier consistency, skip adding more flour to the hot gravy and use a slurry! Mix one tablespoon of cold water with one tablespoon of cornstarch until totally smooth, then whisk it into your simmering gravy. It thickens almost instantly.
Can I use chicken broth instead of beef broth for this Easy Brown Gravy?
Absolutely, you can! If you use chicken broth, you will still end up with a wonderful, flavorful **savory sauce recipe**. Just know that the flavor profile will be lighter and less intensely savory than the recipe intends for a classic **beef gravy recipe**. You might need to add an extra dash of seasoning!
Another thing I get asked about all the time relates to achieving that dark color we talked about when we didn’t have drippings. Remember, cooking the roux longer develops that deep hue, crucial for a stunning presentation. If you’re looking for more quick dinner ideas to serve alongside this amazing gravy, check out my favorites list here. Consistency is key in everything we cook!
Nutritional Snapshot of This Savory Sauce Recipe
I always like to give you a heads-up on what you are feeding your family, even with a simple side like this. Because this **savory sauce recipe** relies on butter or oil and flour, it’s best enjoyed in moderation! Below are the estimated values per quarter-cup serving, but remember, these are just starting points.
- Serving Size: 1/4 cup
- Calories: 85
- Fat: 6g
- Carbohydrates: 6g
- Protein: 2g
It’s important to know that these numbers change based on how dark you cook your roux or if you use salted butter, so consider this a general guide. I always find that using high-quality ingredients, like I recommend for the broth, keeps the overall profile in check!
Share Your Experience Making This Quick Gravy Fix
Listen, knowing how to make a fantastic **quick gravy fix** like this means you’ve unlocked a whole new level of dinner success! I pour a lot of heart into these recipes, and the best way I know that they are truly working in your kitchen is when you tell me about them. So please, take a moment and give this recipe a rating—five stars if it saved your dinner, I hope! If you tried a modification, like using dried mushrooms for extra depth, shout it out in the comments below. Sharing your journey helps us all build a stronger community here at Julia Meal. You can read a bit about what drives that community spirit on my About Page!
PrintThe Best Homemade Brown Gravy (No Drippings Needed!) – Rich & Savory Recipe in Under 15 Minutes

Make rich, savory homemade brown gravy from scratch quickly without needing meat drippings. This roux-based recipe yields a velvety sauce perfect for mashed potatoes, meatloaf, or roast beef.
- Prep Time: 5 min
- Cook Time: 10 min
- Total Time: 15 min
- Yield: About 2 cups 1x
- Category: Side Sauce
- Method: Stovetop
- Cuisine: American
- Diet: Vegetarian
Ingredients
- 4 tablespoons unsalted butter or vegetable oil
- 4 tablespoons all-purpose flour
- 2 cups beef broth (low sodium preferred)
- 1 teaspoon Worcestershire sauce
- 1/2 teaspoon onion powder
- 1/2 teaspoon garlic powder
- 1/4 teaspoon black pepper
- 1/4 teaspoon salt (or to taste)
- Pinch of dried thyme (optional)
Instructions
- In a medium saucepan over medium heat, melt the butter or heat the oil.
- Whisk in the flour to create a smooth paste, known as a roux. Continue cooking the roux, stirring constantly, for 2 to 3 minutes until it turns a light, peanut-butter color. Do not let it burn.
- Slowly whisk in the beef broth, a little at a time, ensuring no lumps form before adding more liquid. Keep whisking until the mixture is smooth.
- Bring the gravy to a simmer, stirring occasionally. It will begin to thicken as it heats.
- Once simmering, stir in the Worcestershire sauce, onion powder, garlic powder, pepper, salt, and thyme, if using.
- Continue to simmer for 3 to 5 minutes, stirring until the gravy reaches your desired thickness. If it is too thick, whisk in a tablespoon of hot water or broth.
- Taste and adjust salt and pepper as needed. Serve your homemade brown gravy hot over your favorite comfort foods.
Notes
- For a deeper brown color without drippings, cook the roux for an extra minute until it is a darker brown, but watch carefully to prevent burning.
- If you prefer a thicker gravy, use 5 tablespoons of flour instead of 4.
- Use high-quality beef broth for the best flavor in this no drippings gravy.
Nutrition
- Serving Size: 1/4 cup
- Calories: 85
- Sugar: 0.5
- Sodium: 350
- Fat: 6
- Saturated Fat: 3.5
- Unsaturated Fat: 2.5
- Trans Fat: 0
- Carbohydrates: 6
- Fiber: 0.2
- Protein: 2
- Cholesterol: 7