
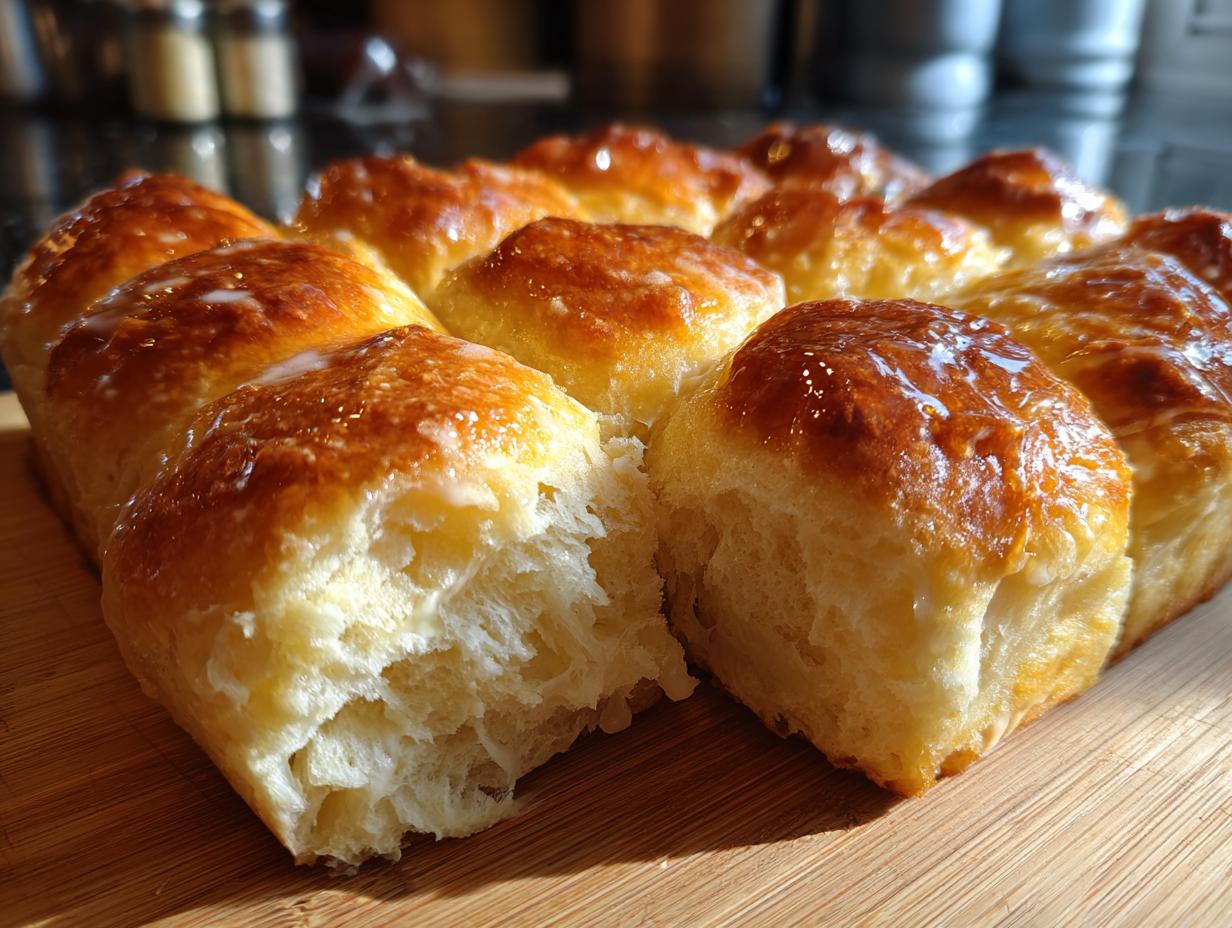
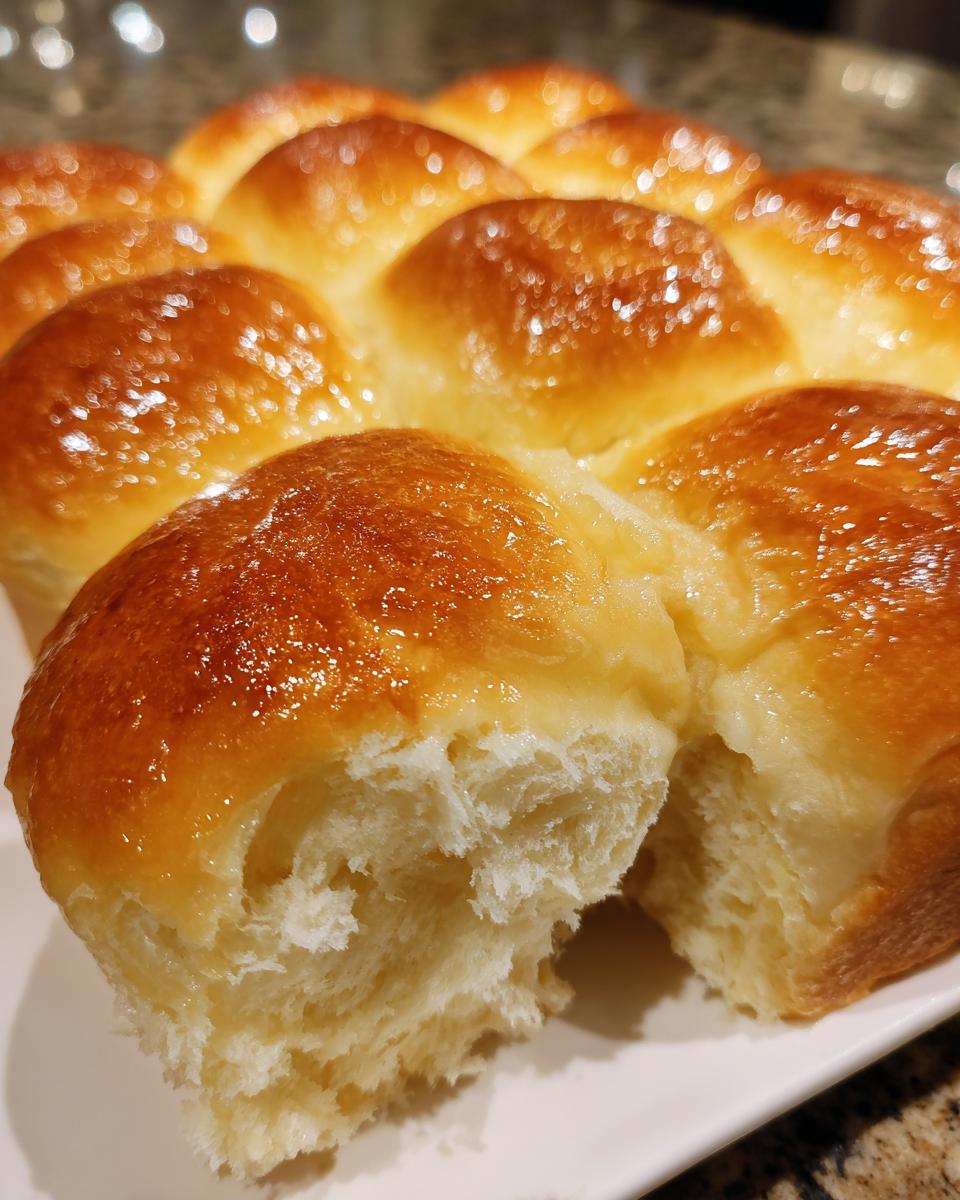
Oh, that smell! There is nothing that makes a house feel like a home quite like the warm, yeasty perfume of bread baking, right? That buttery aroma hits you before the timer even goes off. Forget the store-bought stuff; when you’re planning a big family feast, you need rolls that beg to be pulled apart. That’s exactly what this recipe delivers: bakery-quality, soft, pillowy homemade dinner rolls from scratch.
For me, making bread like this connects me straight back to those moments in my family’s kitchen. If you want to hear more about why creating extraordinary meals at home matters so much, check out our little story over at Julia Meal. These aren’t just bread buns; they are the centerpiece of comfort. I promise you, once you master this simple dough, you’ll never buy those plastic bags of rolls again. We are aiming for pure, buttery satisfaction!
- Why You Will Master These Homemade Dinner Rolls
- Gathering Ingredients for Fluffy Dinner Rolls From Scratch
- Expert Tips for Perfect Homemade Dinner Rolls Texture
- Step-by-Step Guide to Making Homemade Dinner Rolls
- Making Ahead and Storing Your Soft Dinner Rolls
- Variations for Your Yeast Bread Buns
- Frequently Asked Questions About Homemade Dinner Rolls
- Estimated Nutritional Data for Homemade Dinner Rolls
- Share Your Soft Pull-Apart Rolls Experience
Why You Will Master These Homemade Dinner Rolls
Seriously, these are foolproof. I know bread can seem scary at first—all that waiting and kneading! But this recipe just *works*. You’re going to nail that soft, pull-apart texture every single time because we focus on three things:
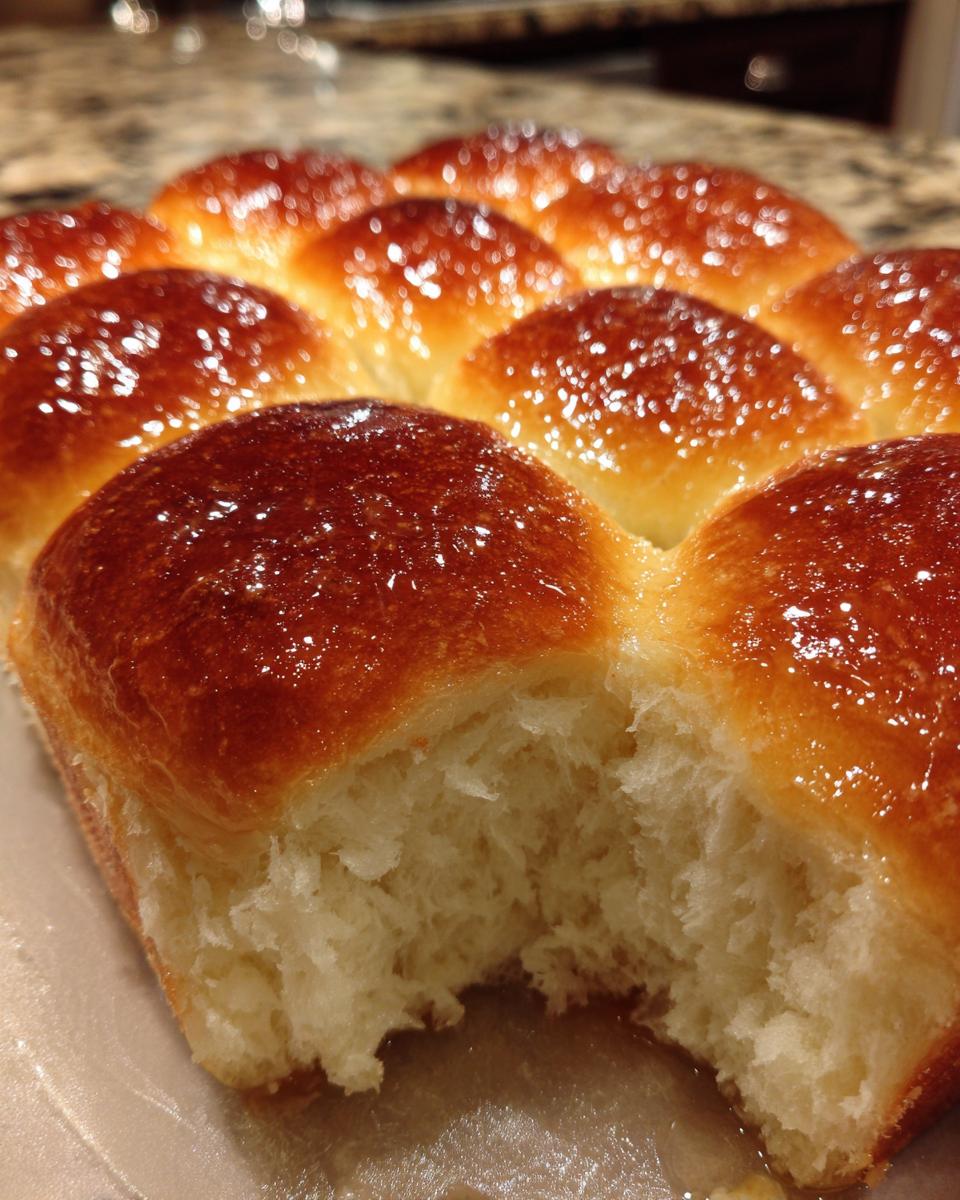
- They are ridiculously soft—truly pillowy, thanks to that warm milk and butter combo.
- The shaping is easy; you just roll them into balls, no fancy folding required.
- That final brush of melted butter right before they hit the table? Heaven. You’ll be known for these homemade dinner rolls!
Gathering Ingredients for Fluffy Dinner Rolls From Scratch
Before we get our hands messy—and trust me, you will want to get your hands in this dough—we need to make sure everything is ready to go. Baking is mostly chemistry, sweetie, so precision matters here, especially with things like temperature and texture! Don’t panic, though; I’ve laid out exactly what you need below. The key is using milk that’s warm enough to wake up that yeast, but not so hot it kills it dead. You want room temperature eggs too; cold eggs can shock the soft, already warmed butter we use.
- 1 cup warm milk (must be between 105-115°F, check with a thermometer!)
- 2 1/4 teaspoons active dry yeast
- 1/4 cup granulated sugar
- 1/2 cup unsalted butter, softened to what I call ‘squishy but not greasy’
- 1 teaspoon salt
- 2 large eggs, brought up to room temperature
- 3 1/2 to 4 cups all-purpose flour (get ready to measure this carefully)
- 4 tablespoons unsalted butter, melted, reserved specifically for brushing right out of the oven
Expert Tips for Perfect Homemade Dinner Rolls Texture
Listen, the difference between a great roll and one that falls flat is all in the setup and the handling. We are building a structure here, and we want it soft, not dense! The temperature of your wet ingredients and how much you work that gluten are non-negotiable steps if you want those light, fluffy dinner rolls from scratch. If you happen to be using instant yeast instead of active dry, good news—you can skip the initial proofing bath! Just stir the instant yeast right into your dry flour mixture before you add any wet ingredients. Easy shortcut!
Handling the Yeast for Optimal Rise
When we proof active dry yeast, that milk absolutely has to be in that sweet spot, between 105 and 115°F. If it’s too cold, the yeast just sleeps, and your dough won’t grow. If it’s too hot—say over 125°F—you’ll actually kill the live cultures, and then you just have warm, sweet milk! You’re looking for a lovely, bubbly foam on the surface after five minutes—that means your microscopic helpers are wide awake and ready to work for us.
Achieving Elasticity in Your Yeast Bread Buns
Kneading is where we build strength. You need that strong gluten network to trap all those lovely carbon dioxide bubbles during the rise. If you’re doing this by hand, commit to that 8 to 10 minutes of pushing, folding, and turning until the dough feels smooth under your palms. If you use a mixer, don’t overdo it! Check it around the 6-minute mark. You know it’s ready when it pulls cleanly away from the sides of the bowl and looks smooth, shiny, and elastic. Stop when it passes the windowpane test, or you’ll end up with tough buns!
Step-by-Step Guide to Making Homemade Dinner Rolls
This is where the magic happens! Putting it all together sounds like a lot, but trust me, it’s just a sequence of simple actions. We’ll go through mixing everything up, letting it rest (twice!), getting them shaped, and then that glorious final bake. Keep an eye on those rising times; they depend a lot on how warm your kitchen is, so use your eyes more than your watch when making these homemade dinner rolls.
Mixing the Dough and First Rise for Homemade Dinner Rolls
First things first, get that warm milk ready in a big bowl and gently sprinkle over your active dry yeast. Let it get foamy—that’s your signal! Next, stir in the sugar, softened butter, salt, and your room-temperature eggs right into that yeast bath. Now for the flour: add it gradually, about a cup at a time. You want it just combined into a shaggy mess before you dump it onto your countertop for kneading (remember we covered that kneading practice already!). After it’s smooth and elastic, tuck it into an oiled bowl, cover it up, and let it sit somewhere warm for about an hour to an hour and a half. You’ll know the first rise is done when it has happily doubled in size. Don’t rush this part!
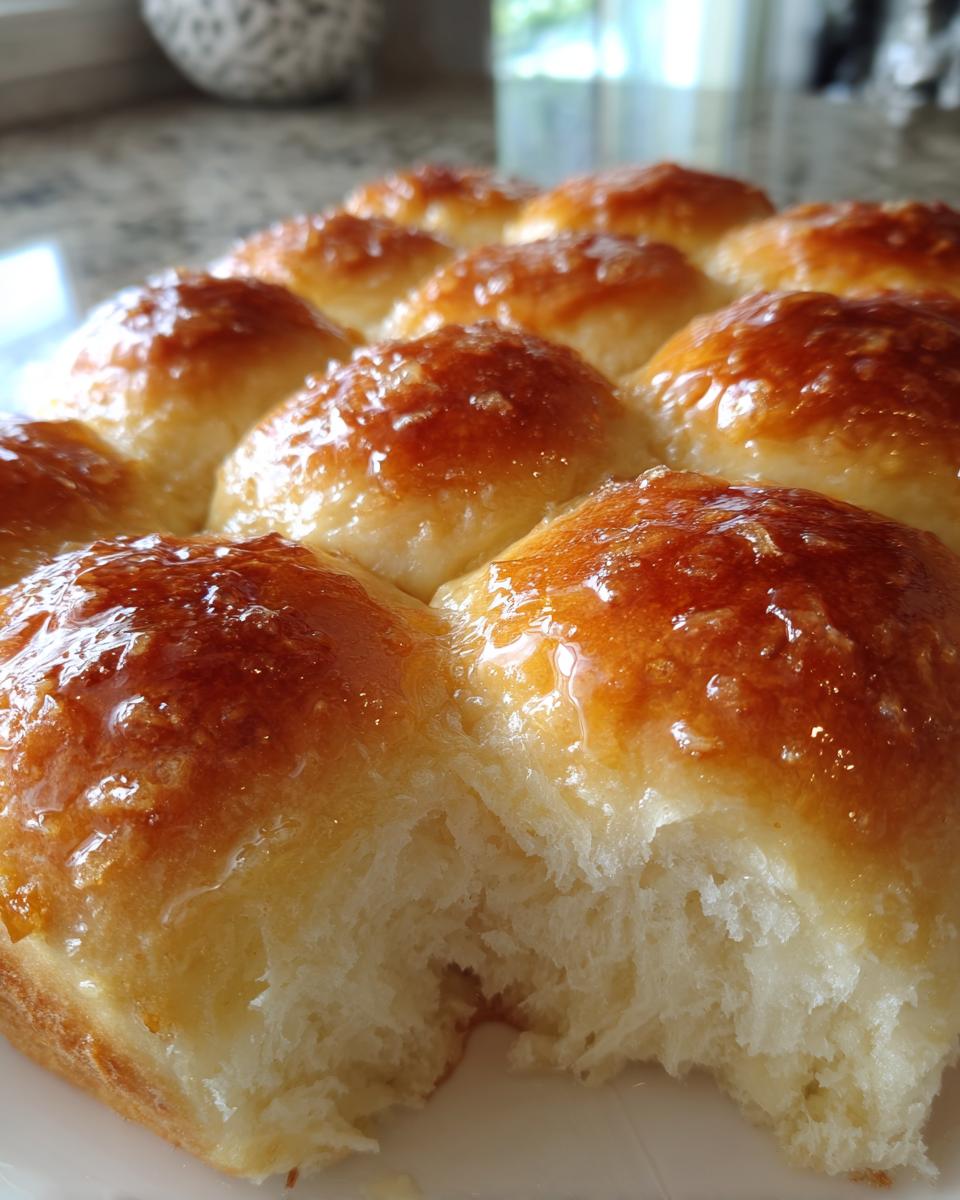
Shaping and Second Proofing for Soft Pull-Apart Rolls
Once it’s doubled, just gently punch that air out—it’s therapeutic! Now, divide that lovely dough into 12 equal portions. I weigh mine just to be sure they bake evenly, but eyeballing works too if you’re experienced. Roll each piece firmly between your palms until you have a smooth, tight ball. Place them into your greased 9×13 pan. The secret to those beautiful soft pull-apart rolls is setting them about an inch apart; they need room to spread and snuggle up to their neighbors as they grow a second time. Cover them loosely and let them sit again for 30 to 45 minutes until they look visibly puffy and light.
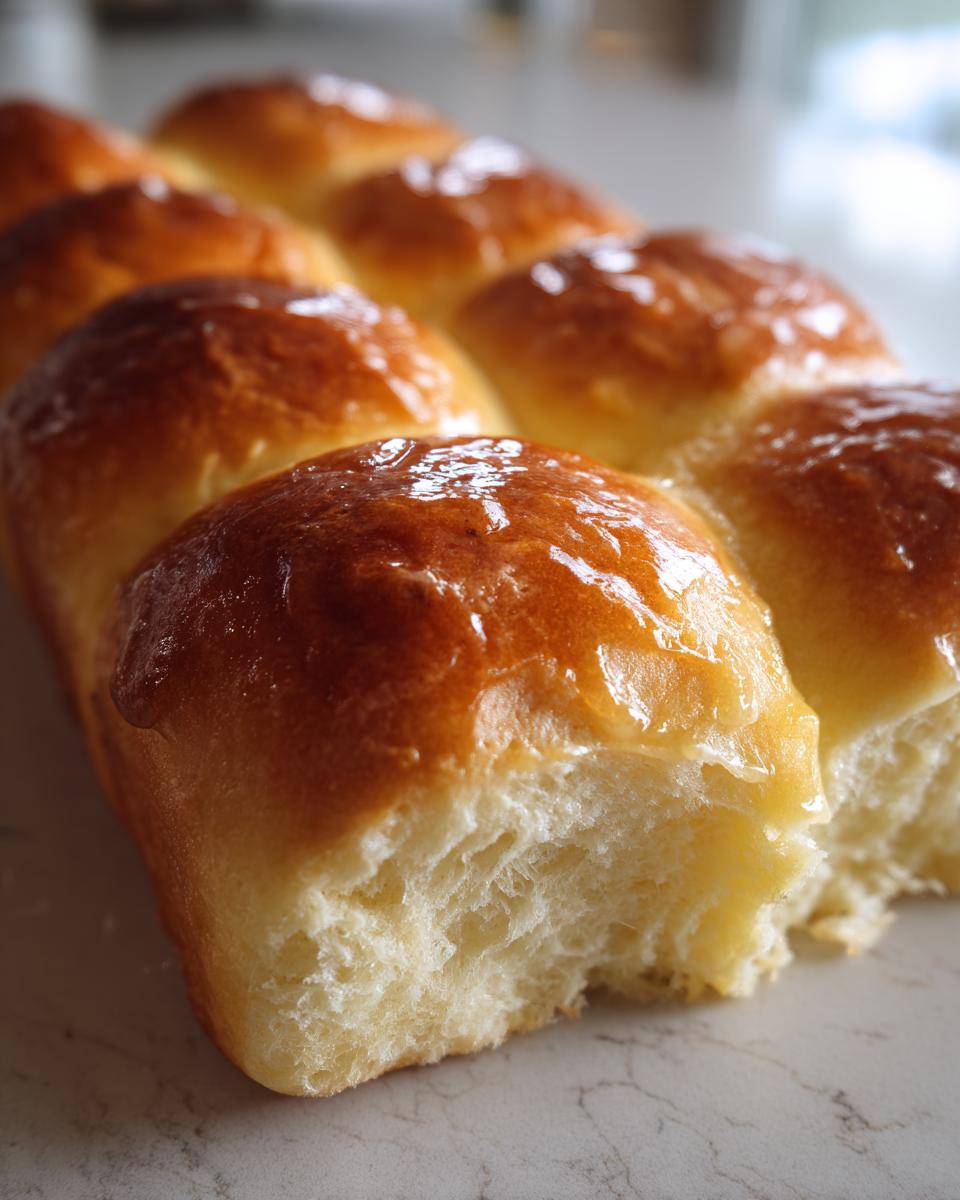
Baking and Buttering Your Homemade Holiday Bread
While they are puffing up, heat your oven to 375°F (190°C). Once they look perfectly puffy, slide that pan right into the hot oven. They bake fast! You are looking for beautiful golden brown tops, usually just 15 to 18 minutes. The absolute most important part comes the second they exit the oven: immediately brush the tops generously with that reserved 4 tablespoons of melted butter. This traps the steam and keeps the crust tender, giving you that rich flavor you crave in your homemade holiday bread. Don’t wait even a minute!
Making Ahead and Storing Your Soft Dinner Rolls
I know timing is everything when you’re hosting a big meal, so yes, you absolutely can make these rolls ahead of time! That’s one of the beautiful perks of working with a rich yeast dough like this. After the first rise (when the dough has doubled), gently punch it down, wrap that lovely ball of dough tightly in plastic wrap, and pop it into the fridge. It can chill there happily for up to 24 hours. This actually deepens the yeast flavor a bit, which is a bonus!
When you’re ready to bake your homemade dinner rolls the next day, just pull the dough out for about 30 minutes to warm up slightly—don’t let it proof all the way again, just take the chill off. Then proceed with dividing and shaping as normal. If you have leftovers (good luck having any!), store them in an airtight container at room temperature for a couple of days. A quick 5-minute warming in a low oven brings back that fresh-baked tenderness!
Variations for Your Yeast Bread Buns
If you’ve mastered the classic buttery flavor and want to shake things up for a different holiday, I have a couple of easy tricks that don’t mess with the main dough structure. Bread is adaptable, you see; you just need to introduce new elements gently.
For a savory batch, try stirring in about two tablespoons of finely chopped fresh rosemary or thyme right when you add the last cup of flour. It gives these yeast bread buns a fantastic herbal earthiness that goes amazing with roasted chicken or turkey. Make sure the herbs are completely dry before adding them!
Another fun one is a slight sweetness boost. Instead of brushing with just plain melted butter as they come out of the oven, try mixing that melted butter with one teaspoon of honey and a tiny pinch of sea salt. That little crystallized top just sings when you tear it open. It’s a subtle change, but guests always notice!
Don’t feel like you have to stick to the standard shaping either. If you want a slightly richer bread, you can use half-and-half instead of milk, though your dough might need just a tiny splash more flour because of the higher fat content. Keep experimenting!
Frequently Asked Questions About Homemade Dinner Rolls
I know when you’re deep into baking, sometimes you just need a quick answer to save the batch! Here are the things people ask me most often about getting their fluffy dinner rolls from scratch just right. And yes, I’ve made all these mistakes myself, so maybe you can skip them!
Can I use water instead of milk in this recipe?
Oh, you certainly can, but I really don’t recommend it if softness is your primary goal. Milk contains fat and small amounts of sugar that tenderize the dough significantly, which is what gives us those beautiful soft pull-apart rolls. If you swap for water, the bread structure will be a bit chewier, less rich, and you might need to adjust your flour slightly. Stick to the milk for the best texture!
Why did my homemade dinner rolls turn out dense?
That feeling of despair when you pull a tray of hockey pucks out of the oven is the WORST! Density almost always comes down to two things: not enough warmth for the first rise, meaning the yeast didn’t work hard enough, or you overworked the dough during kneading. If you knead too long, you develop too much tough gluten structure, and the dough can’t expand enough during baking. Remember, smooth and elastic is the goal, not rock-solid!
Can I freeze these yeast bread buns?
Absolutely, this dough freezes like a dream! After the first rise, punch it down gently, divide it into individual balls, briefly set them on a baking sheet to firm up in the freezer for about an hour, and then transfer all those cold balls into a heavy-duty freezer bag. They will last for about three months. When you want fresh rolls, just arrange them in the greased pan, cover, and let them thaw and proof in the fridge overnight before baking the next day. It saves so much time!
If you ever have questions about how we handle your data or privacy while you’re on the site checking out these recipes, please review our policy over at this link anytime.
Estimated Nutritional Data for Homemade Dinner Rolls
Now, I know many of you are looking for comfort food, not a spreadsheet, but since these rolls are so wonderfully rich from the butter and milk, I feel like I should give you a rough idea of what’s in one. Please remember, this is based on dividing the entire recipe result into 12 equal servings, so if you make bigger or small rolls (or maybe sneak two instead of one!), the numbers will absolutely change.
These are homemade, after all, so we are focusing on the soft, buttery goodness, not calorie counting!
- Serving Size: 1 roll
- Calories: 190
- Fat: 8g
- Saturated Fat: 5g
- Trans Fat: 0g
- Carbohydrates: 26g
- Sugar: 4g
- Protein: 4g
- Sodium: 250mg
This is just an estimate, of course. If you skip the heavy butter brush on top, you will cut down on fat considerably, but honestly, why would you do that to yourself? These numbers reflect the pure, unadulterated joy of a perfect, tender yeast bread bun fresh from the oven. Bake them with love, enjoy them generously!
Share Your Soft Pull-Apart Rolls Experience
Well, that’s it—you’ve successfully made a batch of the most tender, buttery homemade dinner rolls imaginable! I truly hope your kitchen smells as heavenly as mine does right now. The real reward, as I always say, is seeing everyone reach for that basket when the rolls are still warm enough to perfectly melt the butter.
Once you’ve had your first taste, I’d be so grateful if you’d come back and tell me how they turned out for you. Did they achieve that perfect pull-apart fluffiness? Did you end up hoarding the very best one for yourself? Don’t be shy! Leave a star rating right here on the recipe card—it helps other home cooks build the confidence to try this classic bread.
If you had an amazing result, or maybe if you tried one of the variations we talked about, please share your triumphant photos! We are such a supportive bunch here at Julia Meal, and seeing your beautiful loaves really inspires me to keep sharing these family traditions. If you have any lingering questions after baking, or if wish to share a success story personally, feel free to reach out through our contact form. Happy baking, and enjoy every single bite!
PrintSoft Homemade Dinner Rolls
Make soft, pillowy dinner rolls from scratch for your next family meal. This recipe yields tender, buttery yeast bread buns perfect for pulling apart.
- Prep Time: 25 min
- Cook Time: 18 min
- Total Time: 1 hour 58 min
- Yield: 12 rolls 1x
- Category: Baking
- Method: Baking
- Cuisine: American
- Diet: Vegetarian
Ingredients
- 1 cup warm milk (105-115°F)
- 2 1/4 teaspoons active dry yeast
- 1/4 cup granulated sugar
- 1/2 cup unsalted butter, softened
- 1 teaspoon salt
- 2 large eggs, room temperature
- 3 1/2 to 4 cups all-purpose flour
- 4 tablespoons unsalted butter, melted, for brushing
Instructions
- Pour the warm milk into a large bowl. Sprinkle the yeast over the milk and let it sit for 5 minutes until foamy.
- Add the sugar, softened butter, salt, and eggs to the yeast mixture. Mix until just combined.
- Gradually add the flour, 1 cup at a time, mixing until a shaggy dough forms.
- Turn the dough out onto a lightly floured surface. Knead for 8 to 10 minutes until the dough is smooth and elastic. If using a stand mixer with a dough hook, mix on medium-low speed for 6 to 8 minutes.
- Place the dough in a lightly oiled bowl, turning to coat. Cover the bowl with plastic wrap or a clean towel and let it rise in a warm place for 1 to 1.5 hours, or until doubled in size.
- Gently punch down the risen dough. Divide the dough into 12 equal pieces. Roll each piece into a smooth ball.
- Arrange the dough balls in a greased 9×13 inch baking pan, leaving about 1 inch between them so they touch as they rise.
- Cover the pan loosely and let the rolls rise again for 30 to 45 minutes, or until puffy.
- Preheat your oven to 375°F (190°C).
- Bake for 15 to 18 minutes, or until the tops are golden brown.
- Immediately brush the tops of the hot rolls generously with the 4 tablespoons of melted butter.
- Serve warm.
Notes
- For extra soft rolls, use instant yeast and skip the initial proofing step; mix it directly with the dry ingredients before adding wet ingredients.
- If you want shinier rolls, use an egg wash (1 egg beaten with 1 tablespoon water) instead of melted butter before baking.
- You can make this dough ahead; after the first rise, punch it down, wrap it tightly, and refrigerate for up to 24 hours. Allow it to warm up slightly before shaping.
Nutrition
- Serving Size: 1 roll
- Calories: 190
- Sugar: 4
- Sodium: 250
- Fat: 8
- Saturated Fat: 5
- Unsaturated Fat: 3
- Trans Fat: 0
- Carbohydrates: 26
- Fiber: 1
- Protein: 4
- Cholesterol: 30