
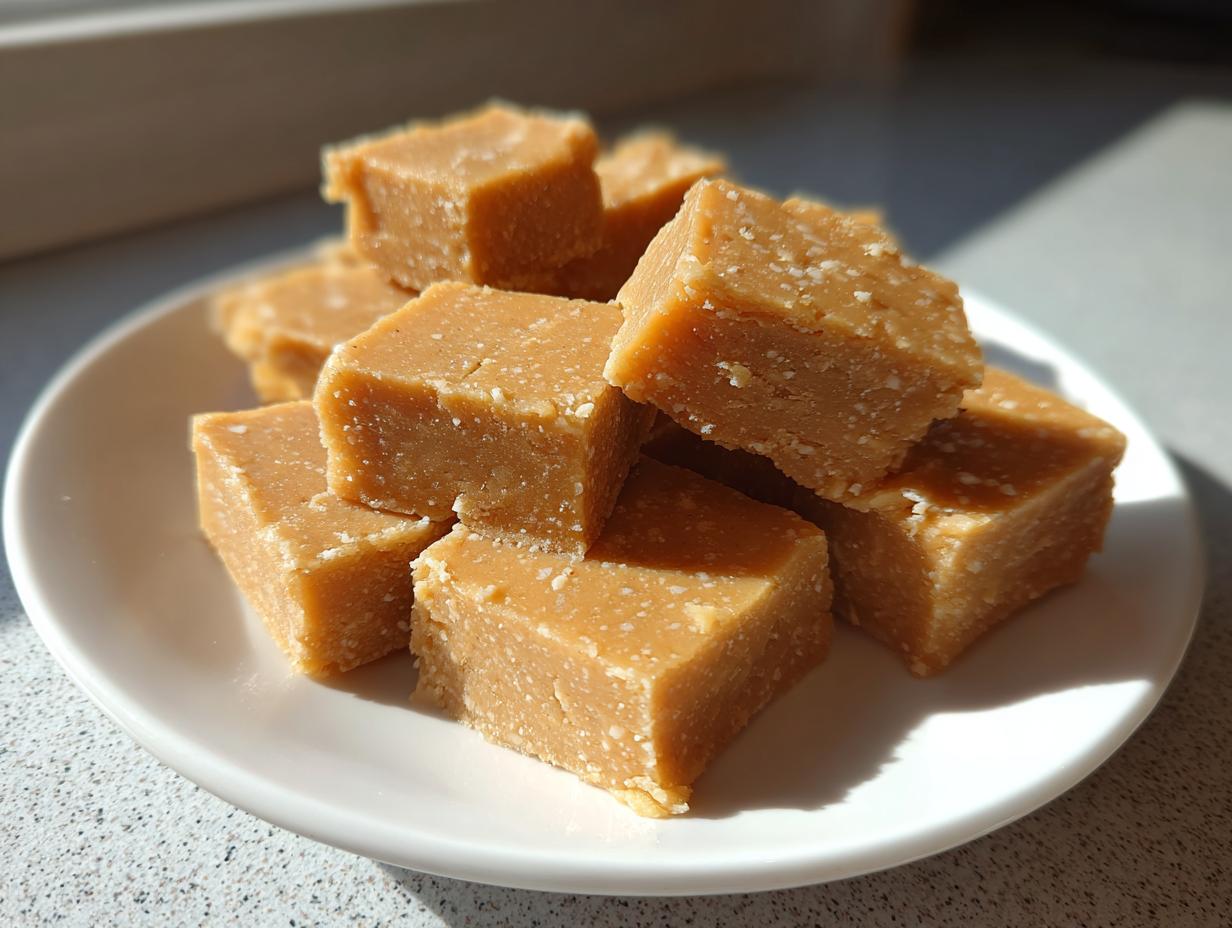
Oh, that deep, comforting taste of classic fudge! There’s just nothing better when the holidays roll around, or honestly, any random Tuesday afternoon. Forget waiting around for hours near a tricky stovetop; I’m here to tell you about the absolute best peanut butter fudge recipe you’ll ever need. This is my secret weapon: a ridiculously fast, three-ingredient batch made entirely in the microwave that actually sets up perfectly every single time. Julian learned long ago that the best food connects us to home, and this simple, nostalgic confection does just that, no complicated techniques required!
- Why This peanut butter fudge recipe is Your New Go-To
- Gathering Ingredients for Your peanut butter fudge recipe
- Step-by-Step Instructions for the old fashioned peanut butter fudge
- Tips for Success with Your peanut butter fudge recipe
- Making This peanut butter fudge recipe a Holiday Candy Favorite
- Storage and Keeping Your Easy Peanut Butter Fudge Fresh
- Frequently Asked Questions About This 3 Ingredient Fudge
- Estimated Nutritional Data for This peanut butter fudge recipe
- Share Your Experience Making This Easy Peanut Butter Fudge
Why This peanut butter fudge recipe is Your New Go-To
If you’ve ever been scared off by fudge recipes calling for candy thermometers or tricky stovetop swirling, this is the one that cures you! We are talking about the ultimate comfort candy here.
The magic of this easy peanut butter fudge is how little effort it requires for such a rich payoff. We’re cutting down to just three main ingredients, which is fantastic when you need a quick treat or are assembling a big platter of holiday candy. Trust me when I say that while we are using the microwave for speed, our testing here at the kitchen ensures the quality absolutely doesn’t suffer one bit.
Speed and Simplicity: The 3 Ingredient Fudge Advantage
Why complicate things when you don’t have to? Traditional fudge involves constant stirring over heat, worrying about crystallization, and a huge mess. Not here! This no bake fudge skips all that drama. You combine your peanut butter and milk, give it a quick zap in the microwave—literally just over a minute total—and then fold in the sugar. That’s it for prep time! It’s so streamlined, I often make a batch when I realize I forgot a dessert five hours before guests arrive.
Achieving Perfect Texture with This microwave peanut butter fudge
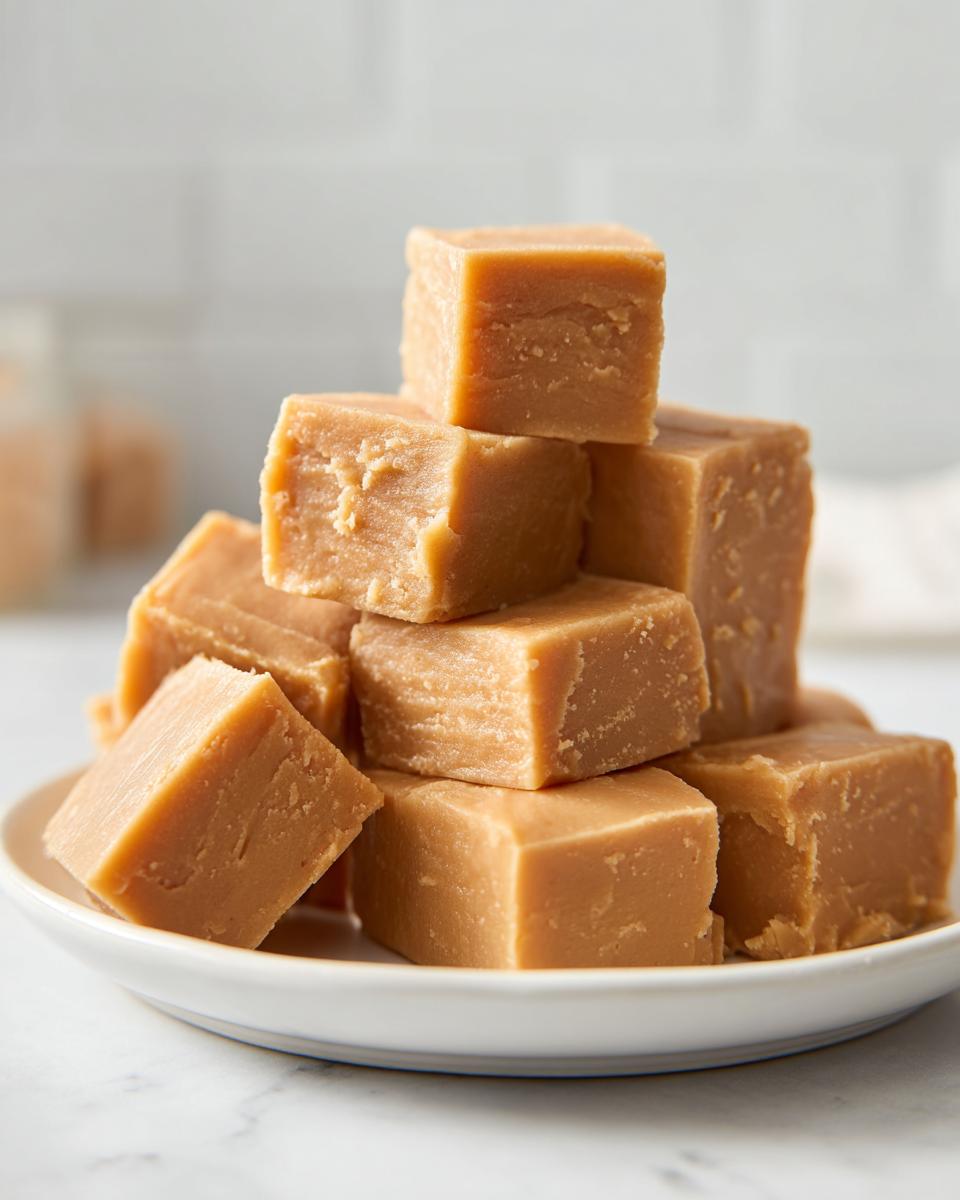
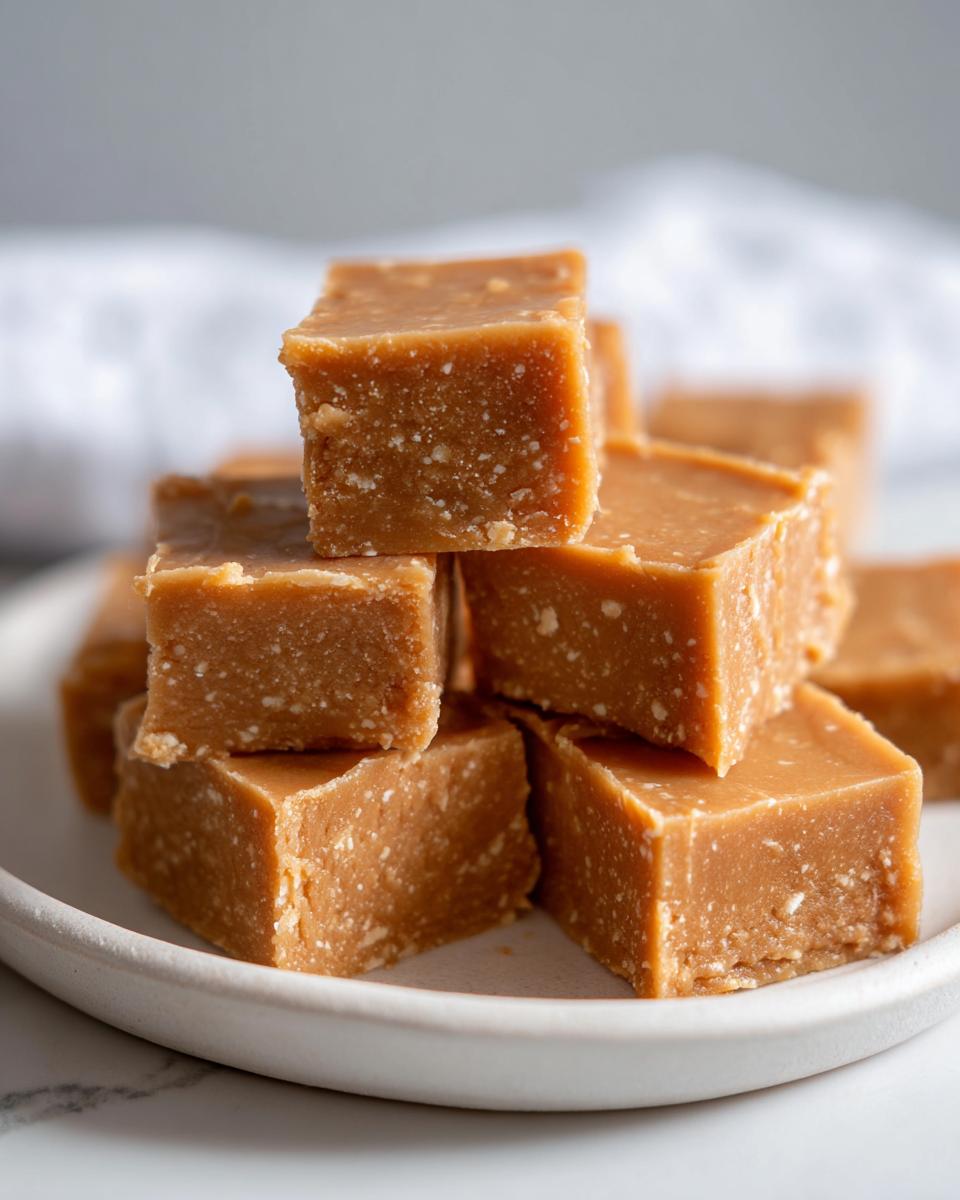
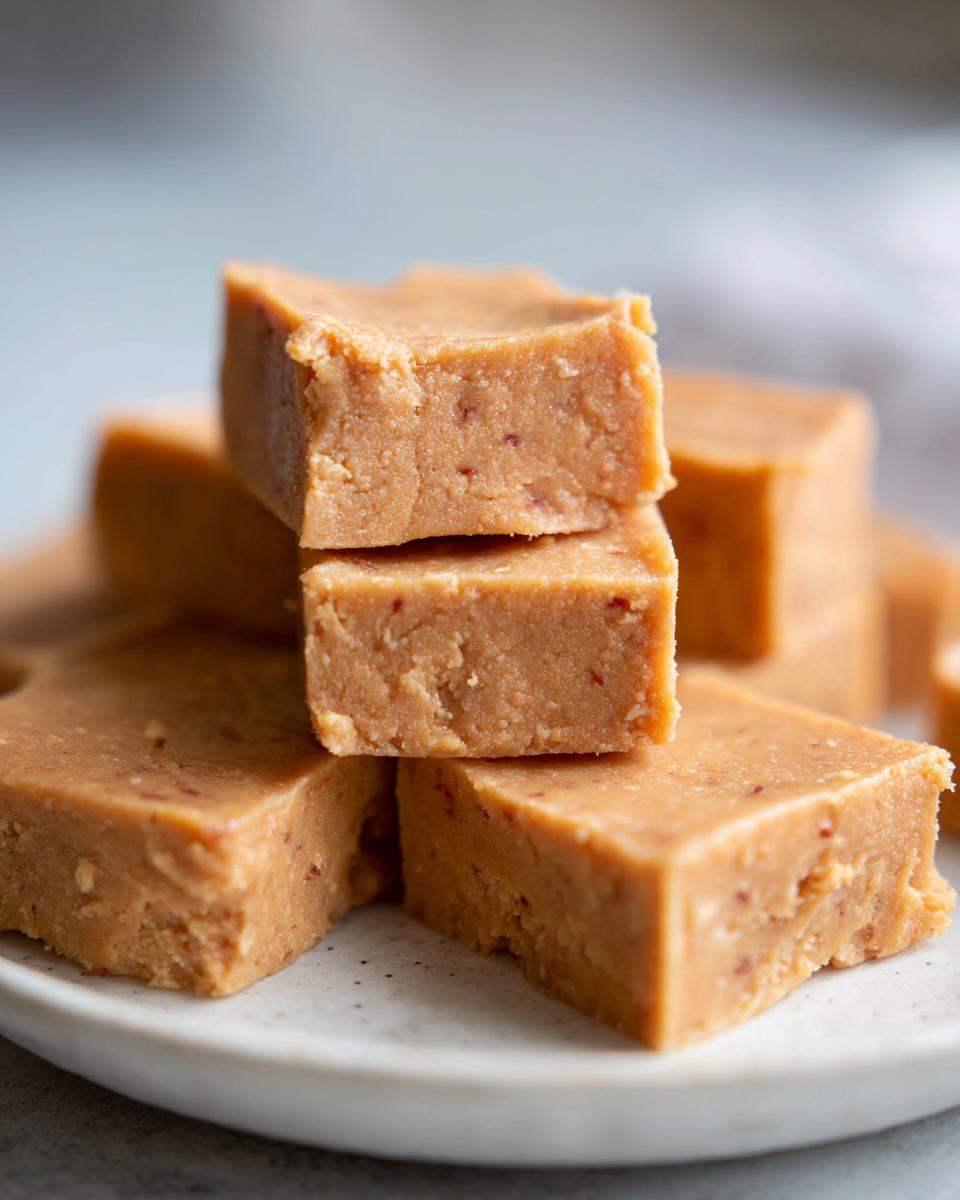
The biggest headache with quick fudge is it never sets, right? You end up with a sweet, sticky, scoopable mess instead of those perfect little squares you want. This specific microwave peanut butter fudge formulation is designed to combat that! The ratio of peanut butter to sweetened condensed milk, enhanced by the right amount of powdered sugar, creates a stable structure. When you chill it, it firms up beautifully, giving you that classic, dense, melt-in-your-mouth texture we all crave. I’ve done the math so you don’t have to worry—it just works!
Gathering Ingredients for Your peanut butter fudge recipe
Okay, this is the best part about this recipe: the ingredient gathering is almost embarrassingly short! We need the big three, and that’s it. When you keep the ingredient list this small, quality really matters because there’s nowhere for an off-flavor to hide. Make sure you have one full 16-ounce jar of creamy peanut butter, one 14-ounce can of sweetened condensed milk, and a healthy three cups of powdered sugar ready to go.
Don’t you dare try to substitute the sweetened condensed milk with regular evaporated milk—that’s the binder that keeps this magic happening! We want creamy peanut butter for the smoothest results, but if you’re a texture fiend, you can certainly swap in crunchy for a little extra bite, as the recipe notes suggest.
Ingredient Spotlight: Peanut Butter Choice
When it comes to the peanut butter, stick to the shelf-stable creamy stuff (like Jif or Skippy) for the best and most reliable results here. Natural peanut butter is usually full of oil that separates, and even if you stir it well, it can mess with the setting power of this peanut butter fudge recipe. If you *must* use natural, make sure you stir that oil back in really well!
Also, take your peanut butter out of the fridge about 20 minutes before you start. Cold peanut butter fights the warm milk, and we want everything cooperating beautifully when we hit that microwave. A slightly softer peanut butter mixes so much easier at the beginning!
Step-by-Step Instructions for the old fashioned peanut butter fudge
Now we move into the fun part—the mixing! This fudge comes together so fast, which is why it’s honestly my favorite old fashioned peanut butter fudge trick. You have to be ready to mix quickly once that sugar hits the warm base, but the heating itself is totally foolproof.
Preparing the Pan and Melting the Base
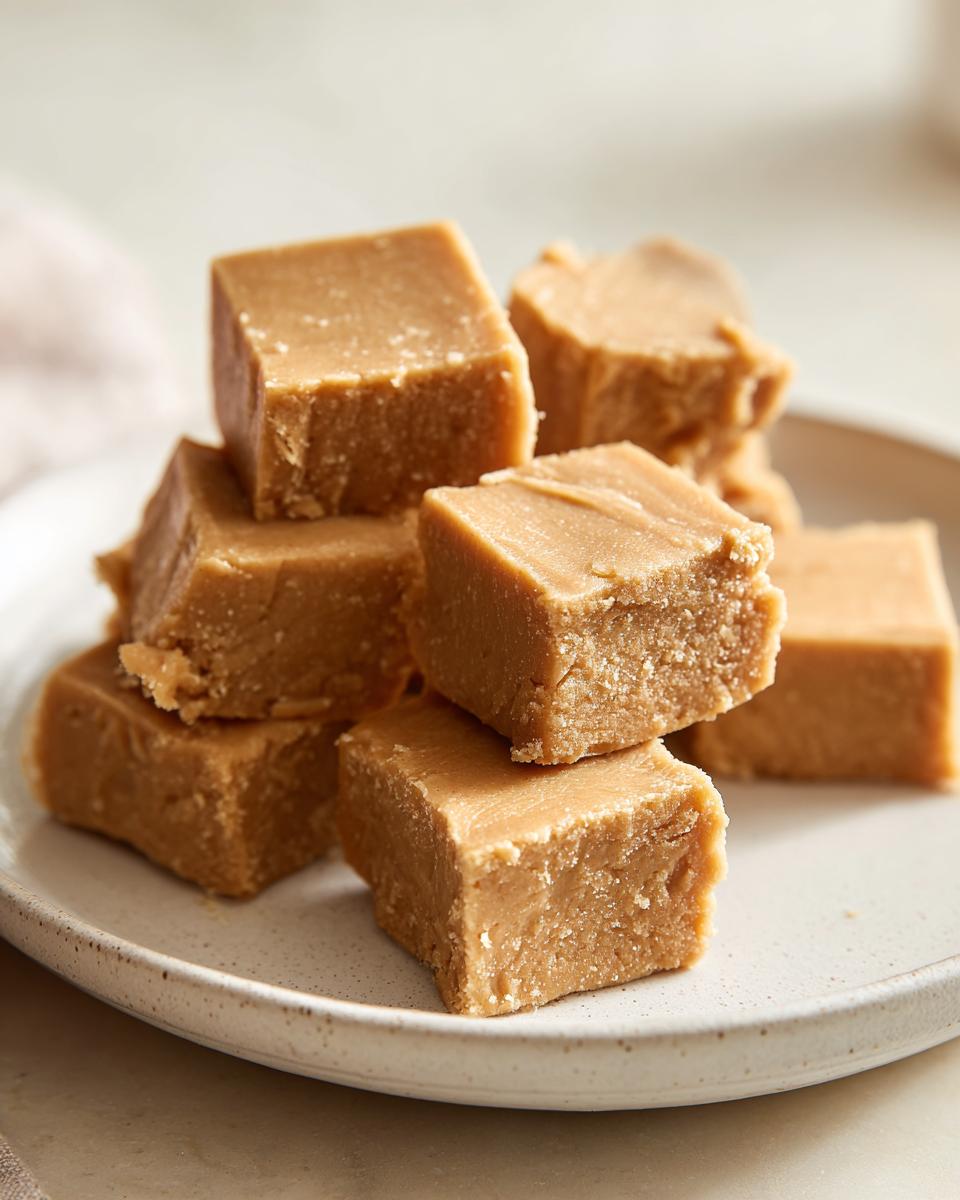
First things first, get your 8×8 pan lined with parchment paper. I like to leave big overhangs—like little handles—on two sides. This way, when the fudge is totally chilled, you can just grab the paper and lift the whole block right out. No fighting with the sides!
Next, grab a big, microwave-safe bowl. Combine your creamy peanut butter and that can of sweetened condensed milk. Pop that mixture into the microwave for a full 60 seconds on high. When it comes out, stir it like crazy until it’s totally smooth. It might look a little funny at first, but keep stirring until you see no streaks. Then, zap it for just 30 seconds more and stir again until it’s glossy and completely combined—that’s how you make a successful microwave peanut butter fudge base!
Incorporating Powdered Sugar for Thickening
This is where the magic of thickening happens! Dump in about one cup of your sifted powdered sugar—sifting is key, trust me!—and stir hard until it disappears into the mix. Continue this process, adding the sugar gradually, about a cup at a time. As you get closer to the end, it’s going to feel like you’re mixing cement. That’s exactly what you want!
Don’t panic when it gets stiff; it means it’s working! Once all the sugar is mixed in, scrape the entire stiff batter into your parchment-lined pan. Grab a spatula—or the back of a spoon—and just press it down firmly and evenly across the bottom. Make it look pretty because this is the last time you’ll see it before it chills!
Tips for Success with Your peanut butter fudge recipe
Even though this is such a simple peanut butter fudge recipe, there are a couple of little secrets that will take your results from good to absolutely show-stopping. Since we rely on just three ingredients, every little step matters in ensuring that smooth, beautiful texture we are aiming for.
Sifting Sugar for a Smoother Finish
Seriously, don’t skip sifting that powdered sugar! This is my biggest authority tip for any quick fudge. Powdered sugar clumps up—it loves to do that—and if you dump those clumps in, you end up with little gritty pockets in your otherwise velvety smooth fudge. Trust me, it’s no fun when you bite into a chunk of pure, dry powdered sugar!
Give it a good run through a fine-mesh sieve right before you add it, even if the bag claims it’s pre-sifted. A light hand while stirring during incorporation is way better than dealing with lumps later on. This small effort ensures your final product is pure, smooth bliss.
Cooling and Setting the Microwave Peanut Butter Fudge
Patience is what makes this microwave peanut butter fudge truly shine. Once that fudge is pressed into the pan, you need to leave it alone! The instructions say at least two hours in the refrigerator, and I stand by that minimum time.
If you try to rush it—say, after 45 minutes because you’re excited—you’ll inevitably pull it out and try to cut it, and the whole thing will smear all over the knife. We want sharp, clean edges for that classic look. That chilling time is necessary for the fats and sugars to stabilize completely. Don’t cheat the chill time, or you’ll end up with a giant, delicious puddle!
Making This peanut butter fudge recipe a Holiday Candy Favorite
This simple peanut butter fudge recipe is practically begging to be wrapped up and gifted! Since it’s a no bake fudge, it travels really well once it’s set, making it a fantastic addition to bake sales or neighbor gifts. Once you’ve lifted that beautiful, firm block out of the pan, the real fun begins: decorating!
For maximum wow factor, skip the plain squares and try drizzling the top with melted semi-sweet chocolate. A thin zig-zag looks incredibly fancy. Or, dust the soft surface with festive holiday sprinkles before it goes into the fridge to set. You instantly elevate this from a quick snack to genuine holiday candy.
When you cut it, aim for small squares—this fudge is rich! Use those parchment paper handles to lift it onto a pretty platter lined with cupcake liners. Tie a small cellophane bag around a few squares with a bright ribbon, and you’ve got instant, effortless holiday cheer! Everyone loves a homemade treat, especially one this easy.
Storage and Keeping Your Easy Peanut Butter Fudge Fresh
Now that you’ve gone to the trouble of making this perfect, easy peanut butter fudge, you’re probably wondering how long you can actually keep it around. Don’t worry; this recipe is a real keeper, which is why it’s so great for making ahead of time!
The great thing about this fudge, thanks to that high sugar content from the condensed milk and powdered sugar, is that it’s quite stable. You can store the finished, cut squares in an airtight container at room temperature for up to a full week. I generally keep mine in a cookie tin on the counter, and it stays perfectly fudge-like and soft.
If you are trying to make this ahead for a big holiday event and you need it to last longer—maybe two or three weeks—then the refrigerator is your best friend. Storing it in the fridge will keep it solid for quite a bit longer. However, I have a little tip:
If you refrigerate it, you absolutely must pull it out about 20 minutes before you plan to serve it. When it’s cold, this 3 ingredient fudge can be a little harder than you want. Letting it sit on the counter even for a short time brings it back to that perfect, soft, melt-in-your-mouth texture that lets everyone enjoy the best part of this no bake fudge!
Frequently Asked Questions About This 3 Ingredient Fudge
I get so many messages asking about tweaks and troubleshooting, which is totally normal when you’re dealing with something simple like this wonderful 3 ingredient fudge! Since we rely on a perfect balance of fat and sugar, sometimes the ingredients you have on hand need a little coaxing.
Can I use natural peanut butter in this peanut butter fudge recipe?
This is the million-dollar question! While I strongly recommend the shelf-stable creamy kind for that guaranteed smooth texture in this peanut butter fudge recipe, you *can* use natural peanut butter. But here’s the catch: natural peanut butter has separated oils. You absolutely must stir it until the oil is fully reincorporated before you even think about melting it with the condensed milk. If you don’t, that excess oil can prevent your fudge from setting correctly later on. If you stir it well and it still seems weepier than usual, just be extra vigilant about that chilling time!
What if my fudge mixture is too stiff before chilling?
Don’t panic if your mixture feels a little too tough to work with once you’ve added that last cup of powdered sugar—it’s usually a sign you’re doing things right! But if you genuinely can’t get your spatula to move, it means you need the barest splash of moisture. I mean tiny, like a teaspoon, of regular milk or even water. Add it one drop at a time while stirring gently until you can press it into the pan without needing Hulk-level strength. This little bit of liquid won’t ruin the chemical reaction, but it will make pressing it into the corners much easier.
Is this truly a no bake fudge that sets up firm?
Yes, I promise you this is legitimate no bake fudge! There is zero cooking involved, just microwaving to melt and combine. However, the setting part is entirely up to your refrigerator! This recipe relies on cold temperatures to firm up correctly. If you try to slice it before it’s had a solid two hours of chilling time, you’ll just end up with a sticky mess all over your cutting board.
The chilling process stabilizes the mixture wonderfully. Once it’s fully firm, you can follow the storage instructions and keep it nice and stable at room temperature for up to a week. But that initial, patient chill is non-negotiable for getting those perfect squares you see in the photos!
We take data security seriously here at Julia Meal. For information on how we protect your privacy, please check out our privacy policy.
Estimated Nutritional Data for This peanut butter fudge recipe
I always like to include a breakdown of what you’re digging into, even though this is pure treat territory! Because this peanut butter fudge recipe relies on simple ingredients, tracking the nutrition is fairly straightforward. Please remember that these numbers are just an estimate based on a standard 16-ounce jar of peanut butter and our recommended serving size of one small square.
- Serving Size: 1 square
- Calories: 180
- Sugar: 18g
- Fat: 10g
- Protein: 4g
If you cut the fudge into smaller pieces than the estimated 36 squares, those numbers per serving go down, which is always a nice bonus! Enjoy every bite!
Share Your Experience Making This Easy Peanut Butter Fudge
Now, honestly, the best part of sharing a recipe like this truly easy peanut butter fudge is hearing from all of you! It makes my day when you tell me how quickly you whipped it up, or how your kids devoured it faster than you could cut the last square.
Don’t just leave with the recipe; please come back and tell me how it went! Did you try adding sprinkles? Did you manage to keep any leftover past the first hour? Drop a rating down below—five stars if it set perfectly for you! I cherish all your feedback because it helps us keep making sure these recipes, just like the ones Julian learned about family connection, are truly special.
If you snapped a picture, I would absolutely love to see your final results on social media! Tag us so we can admire your handiwork. If you have any lingering questions or just want to say thanks, feel free to reach out using the contact page. Happy Fudging!
Print3-Ingredient Microwave Peanut Butter Fudge
Make nostalgic, old fashioned peanut butter fudge quickly using only three ingredients in the microwave. This no bake fudge sets perfectly and is great for holiday candy.
- Prep Time: 10 min
- Cook Time: 1 min
- Total Time: 130 min
- Yield: 36 small squares 1x
- Category: Dessert
- Method: Microwave
- Cuisine: American
- Diet: Vegetarian
Ingredients
- 1 (16 ounce) jar creamy peanut butter
- 1 (14 ounce) can sweetened condensed milk
- 3 cups powdered sugar
Instructions
- Line an 8×8 inch baking pan with parchment paper, leaving an overhang for easy removal.
- In a large microwave-safe bowl, combine the peanut butter and sweetened condensed milk.
- Microwave on high for 60 seconds. Stir well until smooth.
- Microwave for another 30 seconds. Stir again until the mixture is completely combined and smooth.
- Gradually add the powdered sugar, about one cup at a time, mixing thoroughly after each addition until fully incorporated. The mixture will become stiff.
- Press the fudge mixture evenly into the prepared pan. Use a spatula or the back of a spoon to smooth the top.
- Refrigerate for at least 2 hours, or until firm.
- Lift the fudge out of the pan using the parchment paper overhang. Cut into small squares before serving.
Notes
- For a smoother texture, sift the powdered sugar before adding it to the mixture.
- You can substitute creamy peanut butter with crunchy peanut butter for added texture.
- Store the finished fudge in an airtight container at room temperature for up to one week, or refrigerated for longer storage.
Nutrition
- Serving Size: 1 square
- Calories: 180
- Sugar: 18
- Sodium: 75
- Fat: 10
- Saturated Fat: 3
- Unsaturated Fat: 7
- Trans Fat: 0
- Carbohydrates: 22
- Fiber: 1
- Protein: 4
- Cholesterol: 5