
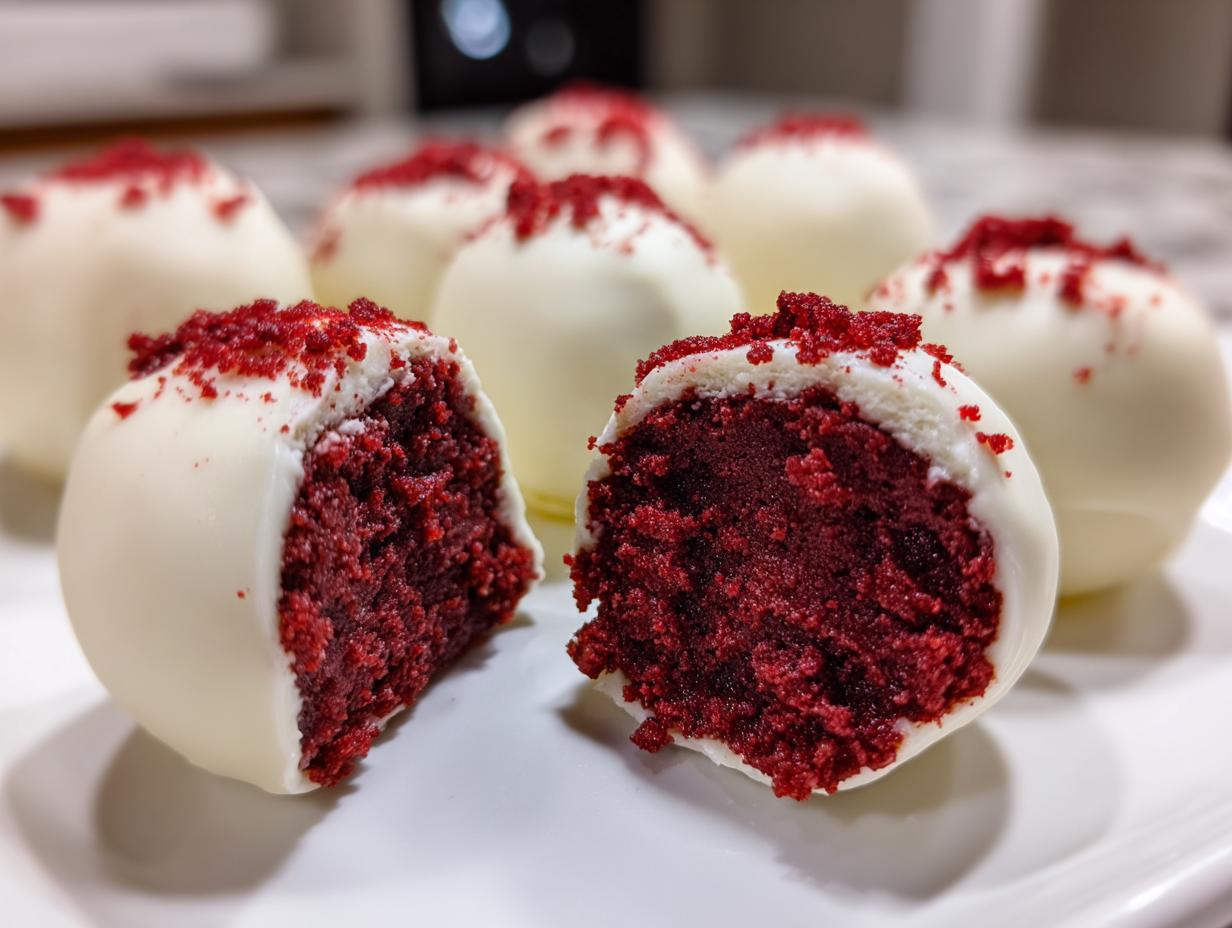
Okay, let’s talk about the real MVP of holiday baking, especially when you need something stunning fast: Red Velvet Cake Balls! Forget those complicated, fussy desserts. Julian Maxwell always believed making amazing American classics should be joyful and simple, and these little bites nail that philosophy perfectly. This is honestly the ultimate, super easy, no-bake recipe you are going to absolutely rely on year after year. We’re using the tried-and-true method of starting with a cake mix, which keeps things wonderfully accessible for every beginner out there. They look fancy, they taste like pure richness, and they take almost no time!
I use these festive confections for everything—Valentine’s Day, potlucks, or just when I need a Quick Sweet Treat. Don’t overthink it; just trust the process. If you’re searching for the best simple, delicious desserts that always disappear first, you found them right here. Time to get rolling on these amazing little treasures!
- Why You Will Love These Red Velvet Cake Balls
- Essential Ingredients for Perfect Red Velvet Cake Balls
- Step-by-Step Instructions for Making Red Velvet Cake Balls
- Tips for Success with Cream Cheese Frosting Desserts
- Variations on Classic Red Velvet Cake Balls
- Serving and Storing Your Red Velvet Cake Balls
- Frequently Asked Questions About Red Velvet Cake Balls
- Nutritional Estimate for Red Velvet Cake Balls
- Share Your Festive Confections
Why You Will Love These Red Velvet Cake Balls
Trust me, these little bursts of red velvet goodness are instant winners. They fit into every need you have when you’re looking for something spectacular but simple. Here’s exactly why I keep whipping these up for every holiday and get-together:
- Truly No-Bake Assembly: Once the initial cake bakes and cools, the rest of the construction is just mixing and rolling! Perfect for busy days.
- Incredibly Easy Cake Mix Base: We lean on boxed mix for ultimate speed and consistency. It cuts down the prep time significantly for these red velvet cake mix cookies (or balls, in this case!).
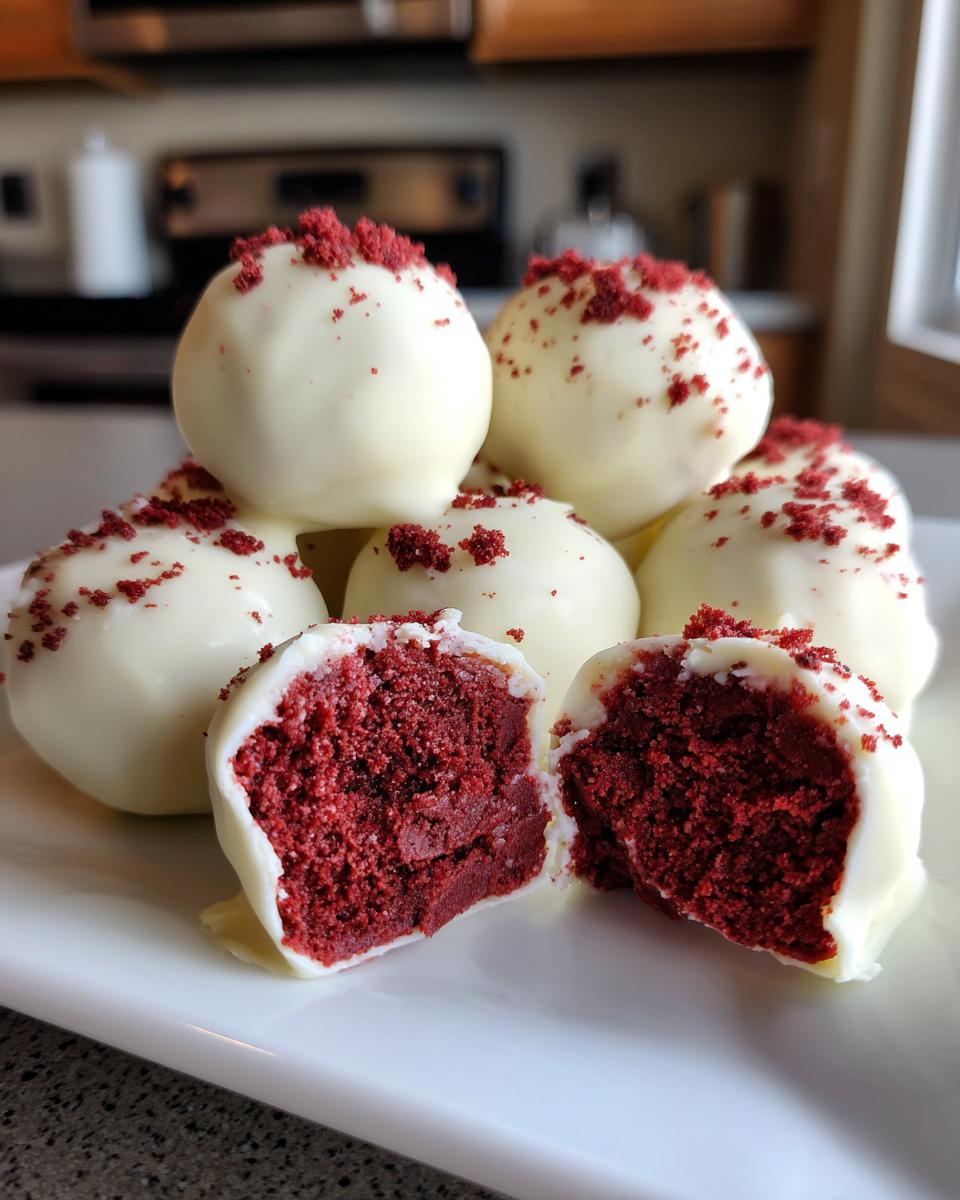
- Perfect Party Food Ideas: They are perfectly bite-sized and handle being moved around really well, making them ideal for any dessert table display.
- Signature Cream Cheese Flavor: The cream cheese frosting isn’t just there to bind! It gives that essential, slightly tangy depth that balances the sweetness perfectly.
- Fast Chilling Time: They only need about half an hour in the fridge to be firm enough for dipping. No all-day waiting involved here.
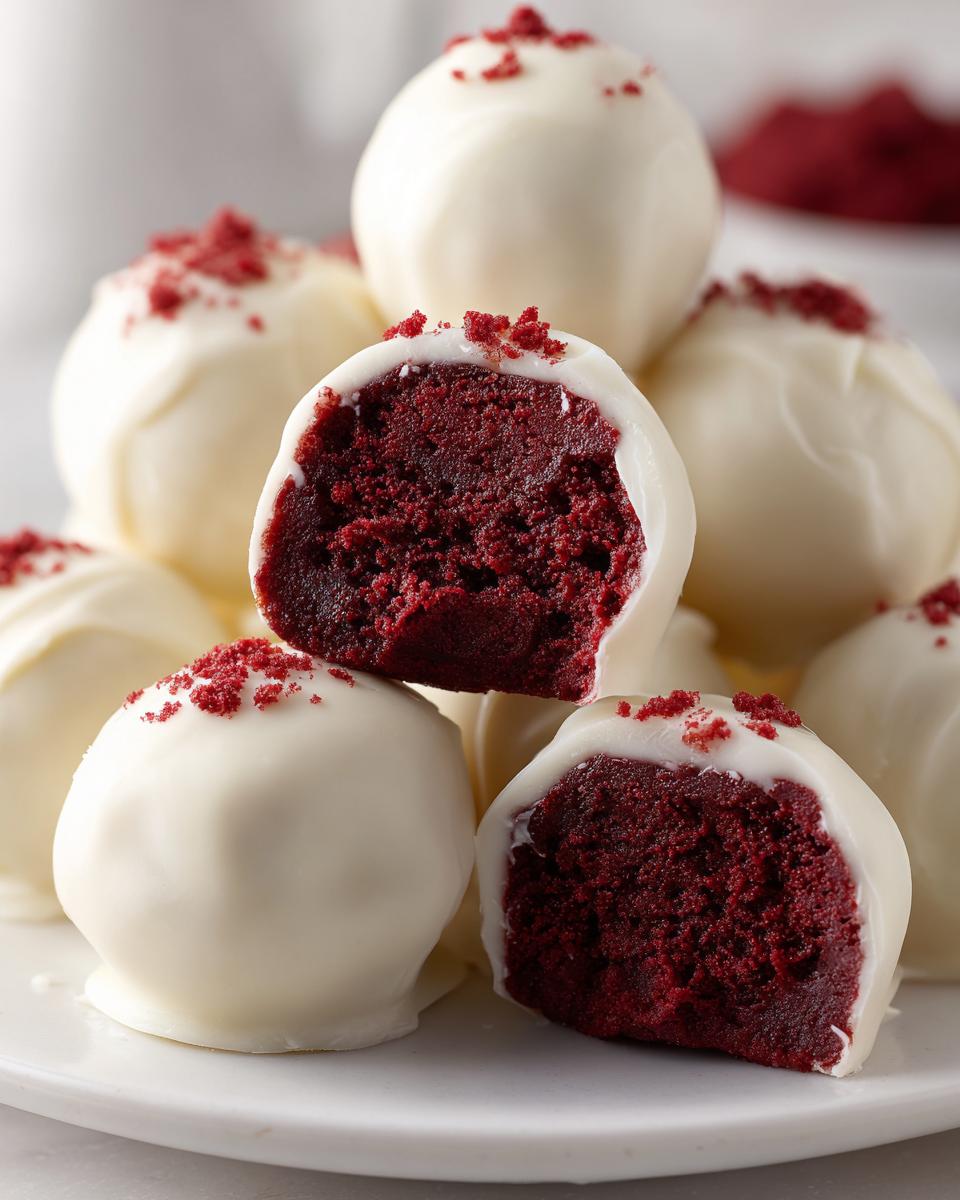
- They Look Way More Impressive Than They Are: When you dip these smooth little wonders in that glossy white chocolate, people think you slaved over them for hours—your secret is safe!
Essential Ingredients for Perfect Red Velvet Cake Balls
Alright, let’s talk supplies. Because we are going for easy here, we are relying on a few key short cuts, but don’t think that means we compromise on that rich, classic red velvet flavor! Julian’s whole mission was getting this authentic taste to your table without the fuss, and these items make that happen. The most important thing to remember is that your frosting needs to be soft—room temperature is your best friend for blending this dough!
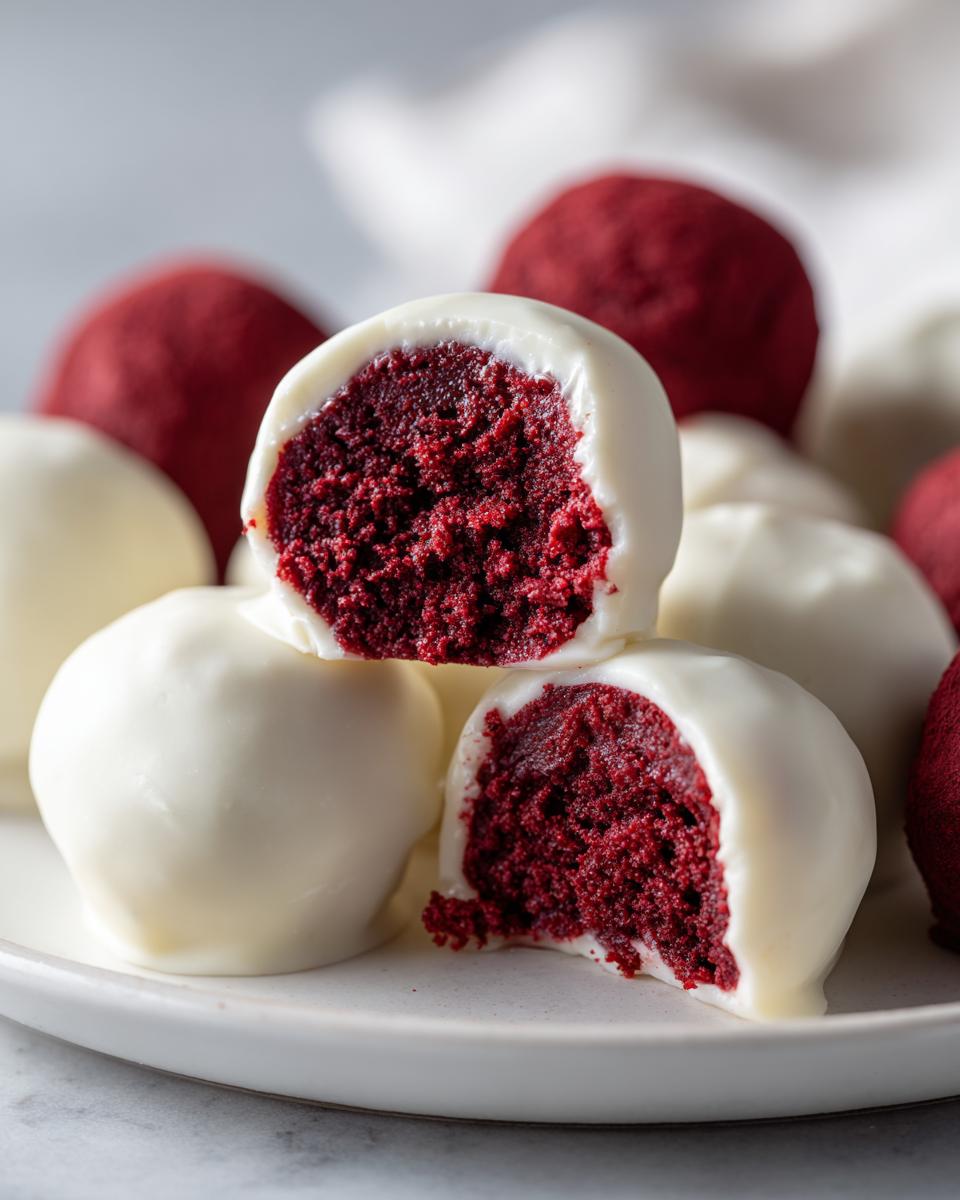
We are essentially making homemade truffles, so the quality of the coating really matters for that smooth finish.
For the Red Velvet Cake Base
For the cake part, grab one box of your favorite red velvet cake mix. You’ll also need the usual items the box calls for, which are typically water, oil, and eggs. Don’t feel guilty using the mix; that’s how we keep these as quick sweets! Then, for the binding magic, grab a full 16-ounce container of store-bought cream cheese frosting. Seriously, use the whole thing. It gives that perfect tangy structure so these become sturdy little treats.
For the White Chocolate Coating
For that professional-looking shell—because yes, presentation counts!—you’ll need about 12 ounces of good quality white chocolate melting wafers or chips. I highly recommend wafers over standard chips; they melt much smoother. If you find your chocolate is too thick for dipping, which happens sometimes, have one tablespoon of vegetable shortening on hand. Just a tiny bit stirred in helps thin out the chocolate so you get that beautiful, thin coat over your cake mix cookies base.
Step-by-Step Instructions for Making Red Velvet Cake Balls
Putting these together is like putting together a simple puzzle. When you follow these steps, you avoid the dreaded sticky mess, and I promise you’ll end up with gorgeous, perfect little treasures. Keep your workspace clean, and remember that chilling is your best friend in this process!
Baking and Crumbing the Cake
First up, bake that red velvet cake mix according to the box directions, making sure to include the water, oil, and eggs it calls for. It needs to bake completely—don’t try to sneak it out early! Once it’s done, place the cake on a wire rack and let it cool down entirely. I mean *totally* cool. If you try to crumble warm cake, you’ll end up with a sticky, hot mess that will never form proper balls.
Once it’s cool, tear the cake into pieces and crumble it finely into a big bowl. If you have any super dark, crusty edges from the bottom or sides, just toss those out—we only want that lovely red interior for the base of these simple, delicious desserts.
Forming the No Bake Desserts Dough
Now for the magic binding step! Dump that entire container of cream cheese frosting right onto your cake crumbs. Use a sturdy spoon or your hands to really work it all together. You need to mix until it looks like one uniform, ridiculously thick dough. If it seems too crumbly, add a dollop more frosting, just a tiny bit at a time.
Take small amounts of the dough—about a tablespoon—and roll them tightly between your palms to make neat, 1-inch balls. These are your gorgeous No Bake Desserts foundations! Line them up on a baking sheet covered with parchment paper and get them into the refrigerator for at least 30 minutes. They need to chill until they are firm so they don’t fall apart when dipped.
Coating Your Red Velvet Cake Balls
While those are chilling, slowly melt your white chocolate wafers, usually in the microwave in 30-second bursts, stirring in between. If the chocolate stiffens up too much when you start dipping, stir in just a teaspoon of that vegetable shortening we talked about—it’s the secret to thin, glossy Chocolate Covered Balls. Take the chilled balls one at a time, and using a dipping tool or a fork, completely submerge the ball in the chocolate. Lift it out, gently tap the fork against the side of the bowl to let the excess coating drip off, and place it back onto the parchment paper.
Don’t fuss with them after that! Let them set up completely at room temperature, or pop the tray into the fridge for a few minutes if you’re impatient like me. They’ll harden into beautiful, smooth orbs!
Tips for Success with Cream Cheese Frosting Desserts
Listen, since these amazing little guys rely on that cream cheese frosting to hold everything together, texture is everything. You want consistency so they don’t crumble when you dip them, right? This is where you stop being a recipe follower and start being a cook—feel the dough!
Achieving the Right Dough Consistency
If your dough feels too dry when you’re mixing it up, don’t panic! Just warm up your hands a little—the heat helps—and then add maybe a half-teaspoon of extra frosting at a time until it just comes together. Too wet, though? That means you chill them longer. Don’t roll until those balls look firm enough to handle a little jostling in the chocolate bath.
Mastering the Chocolate Dip
When it comes to the coating, skip the standard chocolate chips; melting wafers are your best friend for getting that clean, shiny finish that makes these look like professional homemade truffles. If the melting wafers get too thick—and they will, sometimes—just stir in that little bit of shortening or coconut oil. It smooths it right out! You want the chocolate thin enough to coat easily but thick enough that it doesn’t run right off the chilled ball.
Variations on Classic Red Velvet Cake Balls
Now, while I think this specific version is absolutely divine, part of the fun of baking is mixing things up! If you’re up for leveling up your game, there are some fantastic Red Velvet Variations you can definitely try next time. These little changes keep things exciting!
For starters, if you want that extra layer of decadence, think about making Red Velvet Cheesecake Balls. Instead of just using cake crumbs and frosting, you mix softened cream cheese *into* the crumbs along with the frosting. It makes the center unbelievably creamy. Just make sure you chill those extra long!
Another winner, especially if you love Oreos like my kids do, is swapping out half of the cake crumbs for crushed Oreo cookies. That combination of the bright red velvet against the dark, crunchy chocolate cookie is just stellar. Trust me, once you try these alternatives, you’ll have a whole arsenal of quick sweets ready for any party!
And don’t forget the coating! Instead of white chocolate, try dipping them in dark chocolate and adding a little sprinkle of flaky sea salt on top. Even a simple swap changes the whole flavor profile of these Red Velvet Bundt Cake adjacent bites.
Serving and Storing Your Red Velvet Cake Balls
These little treats are amazing because you really can make them ahead! That’s a lifesaver when you’re prepping for a big gathering. Good news: they freeze like a dream. You can definitely make them days, even weeks, in advance. Just pop those finished, chocolate-coated balls into a sturdy, airtight container.
I usually put a single sheet of wax paper between the layers if I’m stacking them, just to make sure that beautiful white chocolate coating doesn’t stick to its neighbor. They thaw out perfectly on the counter in maybe an hour, or you can leave them in the fridge overnight. They taste fantastic chilled, too, so you don’t even have to worry about letting them warm up before serving! Check out my recipe for easy dill dip recipe quick creamy for other make-ahead party snacks!
Frequently Asked Questions About Red Velvet Cake Balls
I get so many questions when people make these for the first time, which is great! It just shows how excited everyone is to try these wonderful little bites. Here are the things folks ask me most often when they’re prepping these for parties or holidays.
Can I use homemade cream cheese frosting instead of store-bought for these red velvet cake balls?
Absolutely, you can! If you make your own frosting, that’s fantastic. Just give it a really good whip to make sure it’s stiff and thick—almost pasty. You need that dense texture, like the canned frosting, to properly bind the cake crumbs together so you can roll them easily into perfect homemade truffles. If your homemade frosting is too fluffy or loose, your balls will smear when chilling!
What is the best way to decorate these simple dessert bites?
Oh, decoration is the fun part! You need to work fast right after you dip them. As soon as the wet chocolate is on the ball, you can press on festive sprinkles, or maybe some crushed pecans if you want a crunch. For a more complicated look, let the white chocolate set completely, and then melt a tiny bit of dark chocolate or another color of candy melt, put it in a piping bag (or even a Ziploc bag with the corner snipped off!), and drizzle away. These are wonderful Party Food Ideas for any celebration!
Are these cake balls considered no oven desserts?
That’s a tricky one! I always call them assembled desserts rather than strictly “no-bake.” The assembly—the mixing, rolling, chilling, and dipping—is absolutely done without turning the oven on, which is wonderful. However, since we start by baking the cake mix from the box, they are technically “minimal bake.” They are still way easier than traditional cookies, though!
Nutritional Estimate for Red Velvet Cake Balls
Now listen, I am a cook, not a nutritionist—Julian always says we focus on flavor and family connection first! But since people always ask, I wanted to give you a general idea of what you’re looking at per little treat, based on the ingredients listed in the recipe above.
We use a boxed mix and frosting, so these are richer than, say, a piece of fruit! If you are feeding a crowd, remember these are estimates only, as the exact nutrition will wildly change depending on what brand of cake mix or frosting you end up using. But here’s the ballpark for one of these beauties:
- Serving Size: 1 ball
- Calories: Around 250
- Sugar: Roughly 25g (Hey, it’s a holiday confection, what do you expect!)
- Fat: About 16g total
- Protein: A small boost at 3g
Just keep this handy reference in mind! These are meant to be enjoyed as a wonderful little treat, not an everyday food. That’s the joy of making these simple dessert bites for special occasions!
Share Your Festive Confections
And there you have it! You’ve got everything you need to whip up these incredible, foolproof Red Velvet Cake Balls. Honestly, they are the perfect way to bring a little *wow* factor to any table without stressing yourself out in the kitchen. Julian taught me that watching someone enjoy something you’ve lovingly made is the best part of cooking, so please, enjoy the smiles!
I would be absolutely thrilled if you gave these a try. When you make a batch of these maple brown sugar cookies soft chewy recipe alternatives, please come back and leave a rating. Five stars tells me you loved them, and it helps others find this simple recipe!
Tag me on social media when you share your gorgeous finished bites! I love seeing how everyone decorates their Holiday Sweet Treats. Happy baking—or, well, happy assembling!
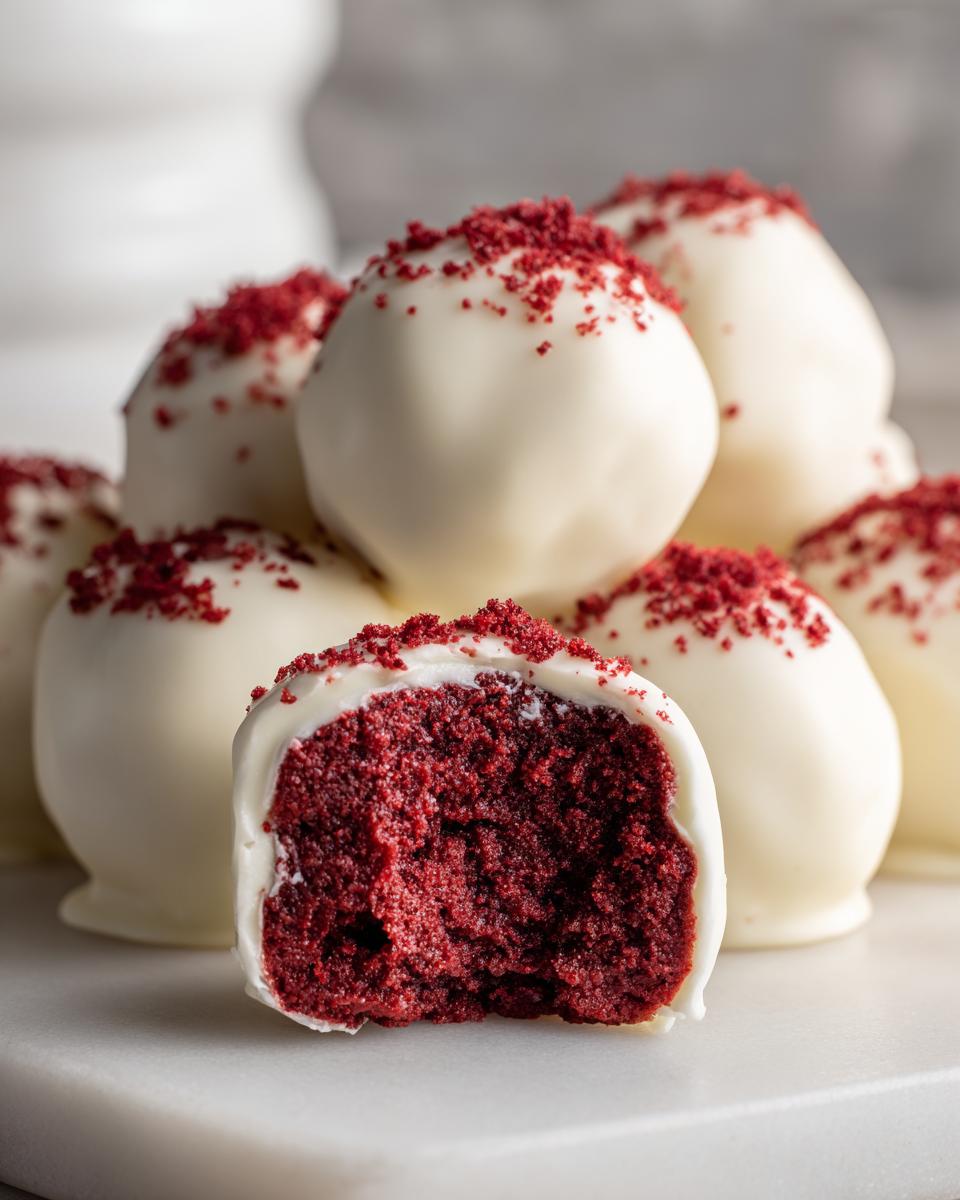
PrintEasy No-Bake Red Velvet Cake Balls with Cream Cheese Filling

Make simple, bite-sized red velvet cake balls using cake mix and cream cheese frosting, coated in smooth white chocolate. This no-bake recipe is perfect for parties and holidays.
- Prep Time: 30 min
- Cook Time: 30 min
- Total Time: 1 hour 10 minutes
- Yield: 24 servings 1x
- Category: Dessert
- Method: No Bake (after initial cake baking)
- Cuisine: American
- Diet: Vegetarian
Ingredients
- 1 box red velvet cake mix
- Ingredients required by cake mix box (usually water, oil, eggs)
- 1 container (16 oz) cream cheese frosting
- 12 oz white chocolate melting wafers or chips
- 1 tablespoon vegetable shortening (optional, for thinning chocolate)
Instructions
- Prepare the red velvet cake according to the box directions, using the required water, oil, and eggs.
- Bake the cake completely. Let the cake cool fully on a wire rack.
- Crumble the cooled cake into fine crumbs in a large bowl. Discard any overly browned edges.
- Add the entire container of cream cheese frosting to the cake crumbs. Mix well until a uniform, thick dough forms.
- Roll the dough into uniform balls, about 1 inch in diameter. Place the balls on a parchment-lined baking sheet.
- Chill the cake balls in the refrigerator for at least 30 minutes to firm them up.
- Melt the white chocolate wafers according to package directions, adding shortening if needed to reach a smooth consistency for dipping.
- Dip each chilled cake ball into the melted white chocolate, ensuring full coverage. Tap off excess chocolate.
- Return the coated balls to the parchment-lined sheet.
- Allow the chocolate coating to set completely at room temperature or speed up the process in the refrigerator.
Notes
- For a richer flavor, you can use leftover red velvet cake instead of baking a fresh one.
- If you want a thinner chocolate coating, add a teaspoon of coconut oil or vegetable shortening to the melted chocolate.
- These cake balls freeze well for future serving. Store them in an airtight container.
Nutrition
- Serving Size: 1 ball
- Calories: 250
- Sugar: 25g
- Sodium: 150mg
- Fat: 16g
- Saturated Fat: 8g
- Unsaturated Fat: 8g
- Trans Fat: 0g
- Carbohydrates: 25g
- Fiber: 1g
- Protein: 3g
- Cholesterol: 30mg