
When the air gets crisp and you just want that warm-from-the-oven feeling without fussing over complicated pastry, dessert needs to be simple, right? That’s when I turn to these incredible baked pears. Seriously, if you think baking fruit is hard, you haven’t met this winner yet! This recipe is hands-down the easiest, most flavorful way to get that delicious, caramelized fruit flavor profile going in under an hour.
Here at Julia Meal, Julian is obsessed with recipes that *always* work—the kind of classic, reliable home cooking that stands the test of time. These pears embody that philosophy. They are naturally sweet, incredibly tender, and they make your whole kitchen smell like autumn magic. Forget fiddly desserts; these sweet, spiced beauties are what cozy nights are made of.
- Why Our Easy Baked Pears Recipe Stands Out
- Gathering Ingredients for Classic Baked Pears
- Step-by-Step Caramelized Pears Tutorial
- Tips for Success with Baked Pears
- Serving Suggestions: From Healthy Baked Fruit Dessert to Appetizer
- Storage and Reheating Instructions for Baked Pears
- Frequently Asked Questions About Baked Pears
- Estimated Nutritional Data for Baked Pears
- Share Your Simple Fall Desserts Experience
Why Our Easy Baked Pears Recipe Stands Out
Honestly, you don’t need ten steps or weird ingredients to make something spectacular, and this recipe proves it. We focus on hitting all the sweet spots you’re looking for when you search for an easy baked pears recipe. You get deep caramelization with almost zero effort!
- It’s fast! Prep takes maybe ten minutes max.
- It’s versatile—serve it hot, warm, or room temperature.
- It achieves that perfect texture every single time.
Perfect Tender Baked Pears Instructions
Trust me, the goal here is tender but never mushy. We want the fruit to collapse just a little bit when poked with a fork. The secret to keeping them happy and preventing scorching? We always add a little splash of water to the bottom of the baking dish. That trapped steam keeps our baked pears wonderfully soft on the inside while the tops get sticky and gorgeous.
Flavor Profile: Cinnamon Honey Baked Fruit
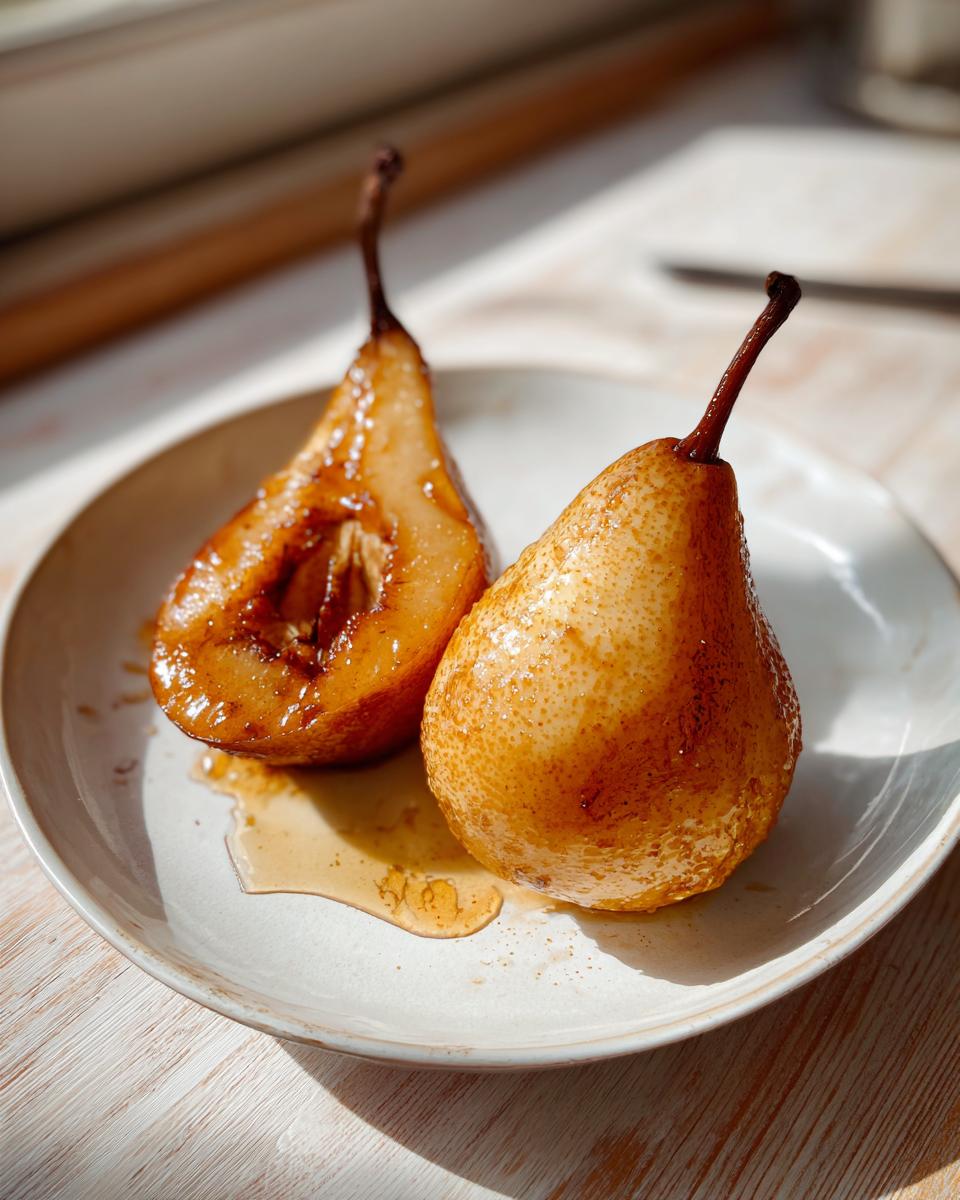
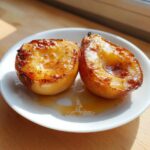
If you love that warm spiced dessert feeling, this is your go-to. The combination of rich honey and sharp cinnamon is just unbeatable. It hits all the cozy notes you want when the weather turns chilly. This cinnamon honey baked fruit glaze seeps right into the core where the seeds used to be, creating the best little layer of syrupy goodness right on top of our amazing baked pears.
Gathering Ingredients for Classic Baked Pears
Okay, let’s talk about what you need. Since these are simple baked pears, we don’t need a huge list, but the quality really matters here! We need firm pears—and I mean firm—so they keep their shape while they bake. Grab your honey, butter, and the necessary warm spices. When I see a recipe list ingredients, I want clarity, and I want to know I can easily swap things if I’m missing one tiny thing in the pantry.
Ingredient Notes and Substitution Options
When you’re shopping, look specifically for Bosc or Anjou pears. They bake up beautifully without turning into soup. If you are out of honey, maple syrup is a fantastic swap—it gives a slightly different but equally delicious caramelized flavor to your baked pears! If you’re feeling adventurous and want to dip your toe into the savory baked pears appetizer world, try skipping the cinnamon and nutmeg entirely. Instead, pop a tiny dollop of goat cheese or feta right in that cored-out spot before baking. It is surprisingly good!
Step-by-Step Caramelized Pears Tutorial
Alright, this is where the magic happens! Making these caramelized pears is incredibly straightforward, but we need a little structure so everything bakes evenly. Before we even touch the honey, we need that oven humming at 375°F (190°C) and a little dish ready to catch all those delicious juices. Don’t forget to lightly grease your pan, it makes cleanup a breeze!
Preparing the Pears and Glaze
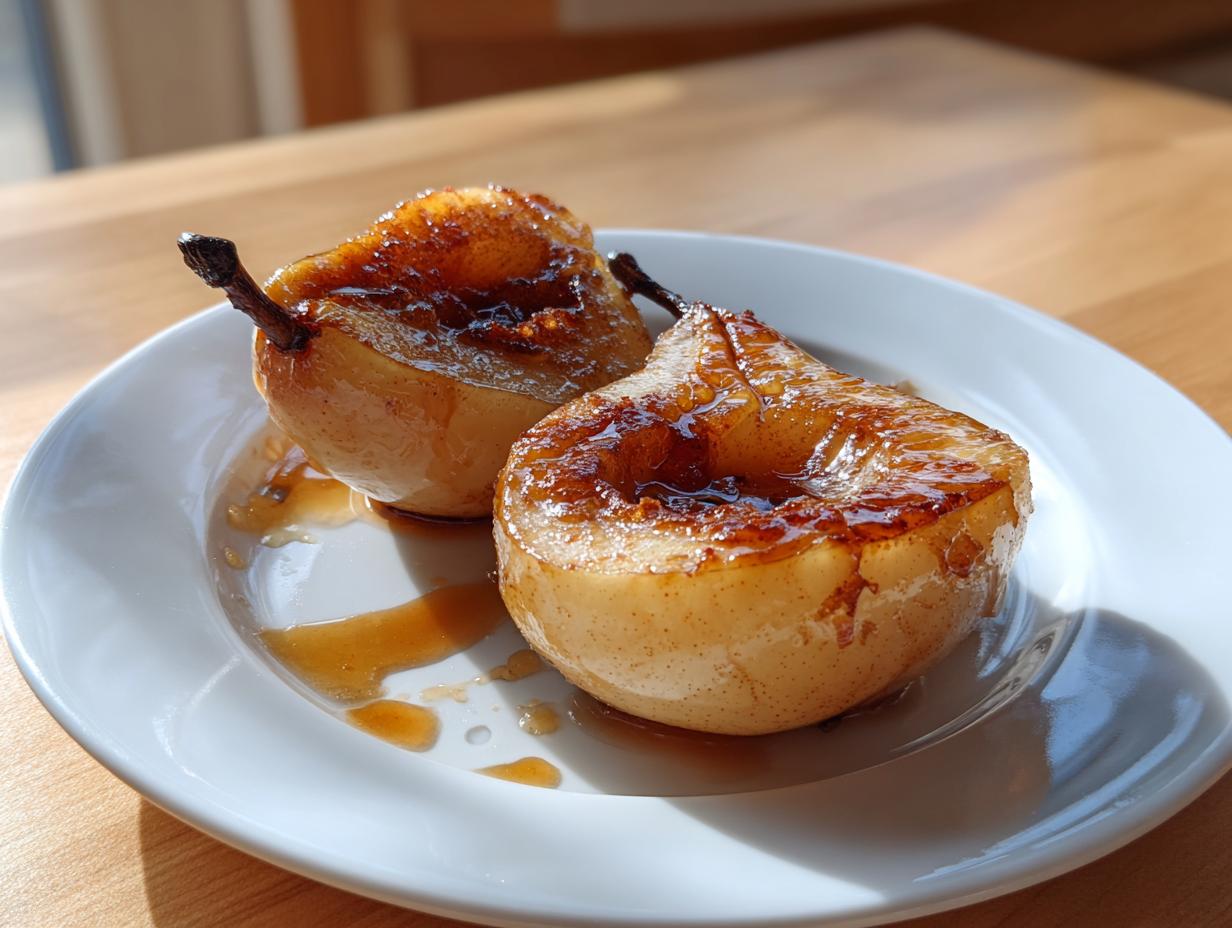
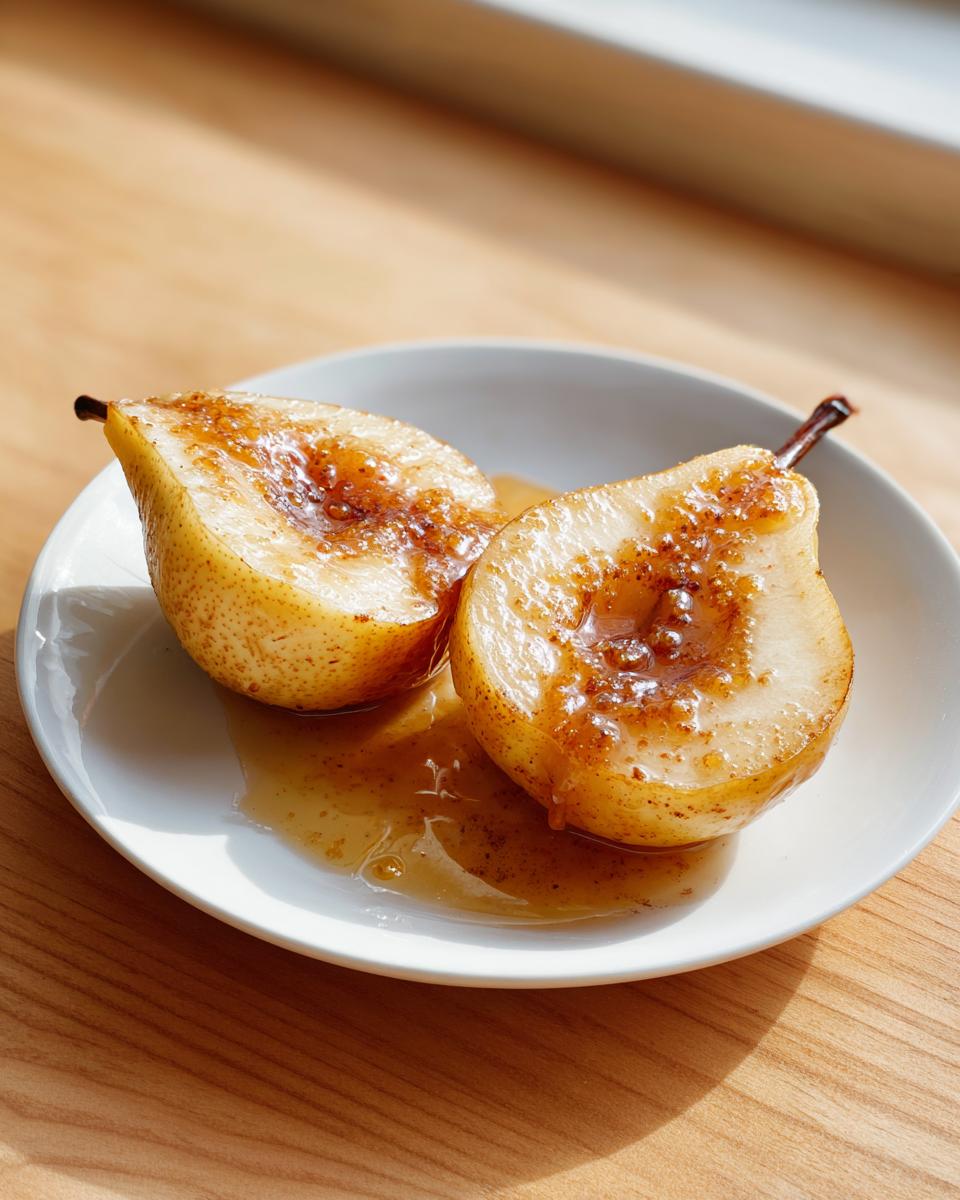
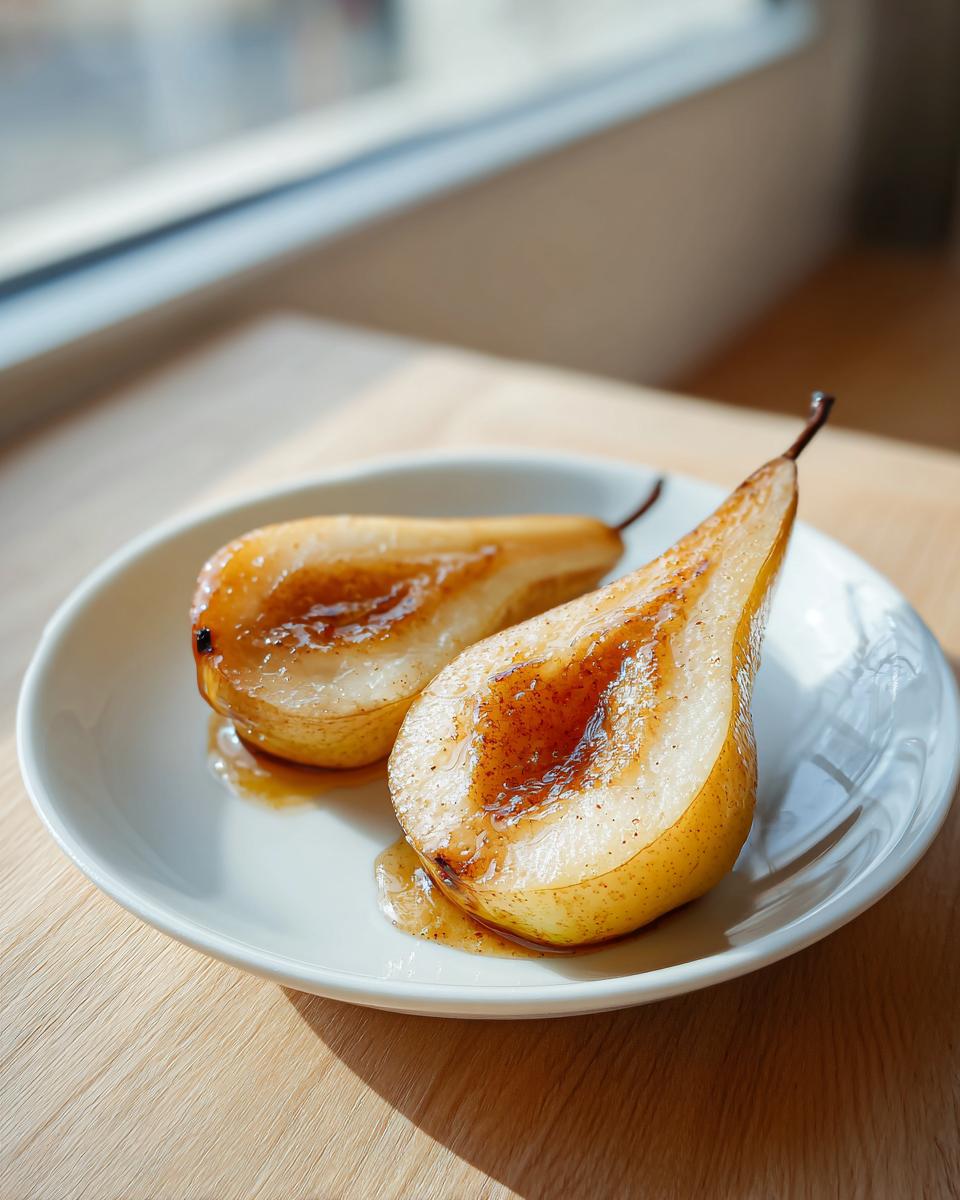
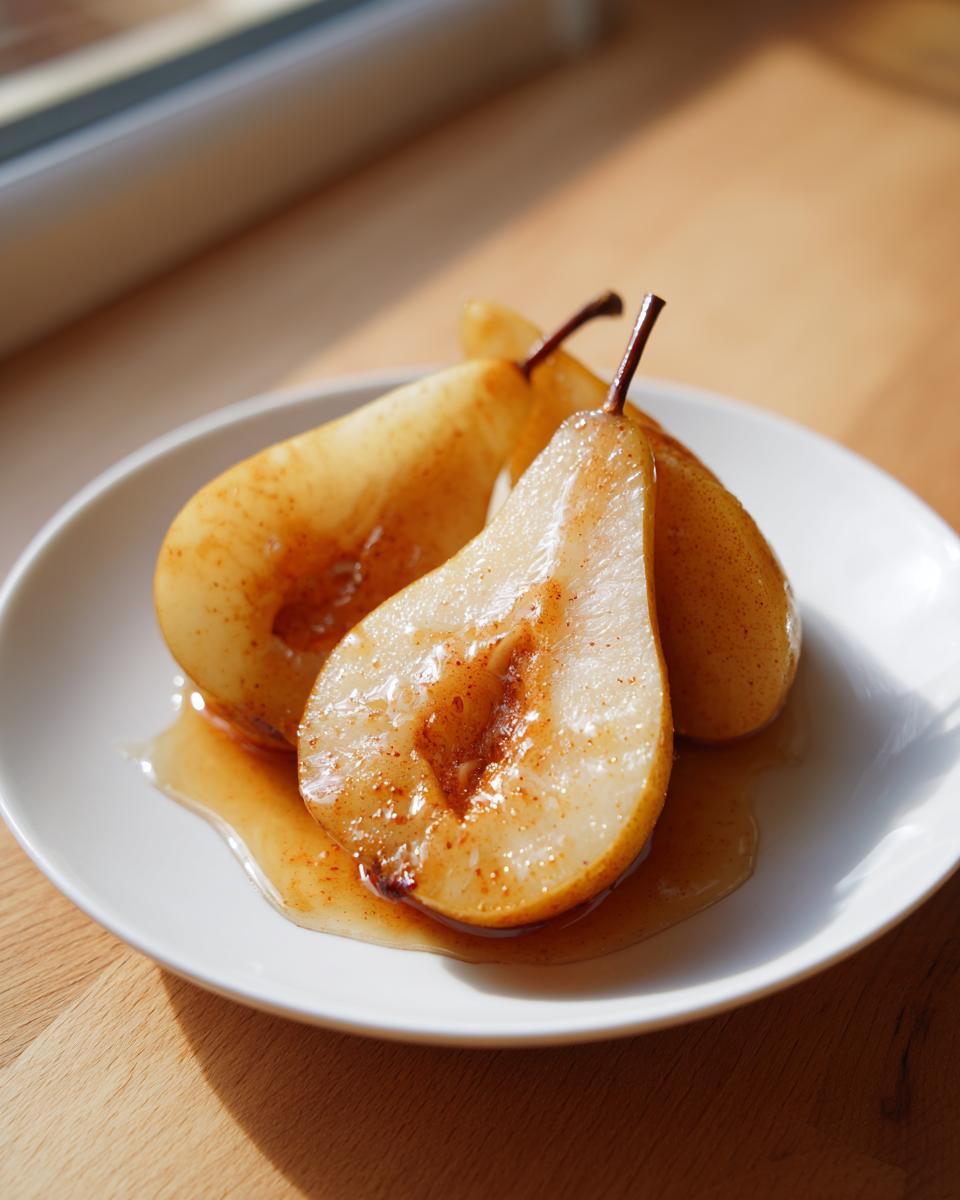
First, wash those perfect pears, but then you need to scoop out the core. I use a tiny spoon or a melon baller for this—you just want a nice little divot where the seeds were. Place them cut-side up in that prepared dish. While they wait, whisk up our star mixture: honey, melted butter, that warm cinnamon, and the nutmeg. Mix it until it’s fully combined. Now, be generous! Spoon that sweet coating right over the cut surface of *every single pear half*. Make sure some of that glaze pools right into the empty core spot.
Baking Time and Achieving Tenderness
Remember that water I mentioned? Pour about a quarter cup of water into the bottom of the dish, around the pears, not over them. This keeps things humid so your baked pears don’t dry out while they bake—it’s essential for that tender baked pears instructions success! Pop them in the oven for about 30 to 40 minutes. They’re done when you can easily slide a fork right through the flesh without much resistance. If you want them extra syrupy, you can check out more tips for simple delicious desserts like this one!
Tips for Success with Baked Pears
Even though this is an easy recipe, a few insider tips can take your fruit from just ‘good’ to absolutely show-stopping. The biggest pitfall I see people run into is using pears that are too ripe; they just melt away! Remember, we want firm fruit so they hold that beautiful shape throughout the baking time. Consistency is key in my kitchen, and these baked pears follow that rule.
If you want to go the extra mile for that dark, sticky caramelization that looks amazing, try this trick: when the pears are just tender, turn your oven up to broil for just 60 seconds. Seriously, watch them like a hawk! That blast of top heat really concentrates the honey and butter mixture into a gorgeous, deep syrup. You can check out how they layer textures with a walnut crumble over at the USA Pears site for inspiration if you like a little crunch in your baked pears with walnut crumble topping.
Creating a Baked Pears with Crumble Topping Variation
While the simple drizzle is lovely, sometimes you just need texture, right? This is where our optional nuts come into play! If you want that satisfying crunch—making it a more substantial warm spiced dessert—you can easily turn this into a quick crumble topping. Just grab those chopped walnuts or pecans you set aside. Sprinkle them heavily over the honey mixture on top of the pears about five minutes before they are completely done baking. They toast up beautifully right there on the fruit, giving you a fantastic textural contrast against the soft, tender fruit underneath.
Serving Suggestions: From Healthy Baked Fruit Dessert to Appetizer
The beauty of these tender baked pears is that they truly aren’t just for dessert! I love how versatile they are. If you’re looking for that perfect healthy baked fruit dessert after dinner, you can’t go wrong serving them warm with a cold contrast. Seriously, a small scoop of high-quality vanilla ice cream melts right into all those cinnamon honey juices. If you’re keeping things a bit lighter, a dollop of thick Greek yogurt is fantastic—it adds a nice tanginess that cuts through the sweetness.
But hold onto your apron, because this is also one of my favorite elegant appetizers for holiday gatherings! If you didn’t try the savory swap during baking, you can easily add a sprinkle of flaky sea salt and maybe some toasted pecans on top after they come out of the oven. For a truly impressive starter, check out how others dress up combinations involving cheese, like those baked pears with goat cheese, honey, and cranberries. It’s a flavor combination that just stops people in their tracks!
No matter how you dress them up, these pears are wonderful. If you’re looking for another simple, sweet treat to grace your table—maybe something that showcases vanilla flavor—I’ve got some fantastic, fluffy cupcake recipes waiting for you, too. You can find those easy easy vanilla cupcakes linked right here if you want another crowd-pleaser!
Storage and Reheating Instructions for Baked Pears
Nobody wants to see these beauties go to waste! If you end up with leftovers—which is rare in my house, believe me—storing them is super simple. Just let the pears cool down completely, then tuck them into an airtight container. They stay great in the fridge for about three days. When you want to reheat them, skip the microwave if you can! The oven or toaster oven is your best friend. A few minutes at 300°F will bring them right back to that warm, tender state without turning them into mush.
Frequently Asked Questions About Baked Pears
I always get a ton of questions after the first time people try this recipe because they realize how easy it is to mix things up! It’s funny, the best recipes often spark the most curiosity. People want to know how to make sure their **baked pears** turn out perfectly tender every time, or how they can turn this simple fall dessert into something amazing for a party. Here are the most common things I get asked about regarding crisp texture and flavor variations. If you’re looking for other fuss-free ideas, I have some quick and easy weeknight dinners that might fit the bill too!
What is the best type of pear for baking?
This is a crucial question! You absolutely need a firm pear. If you use something too soft, like an overripe Bartlett, it’s just going to melt into sweet mush when you bake it. For the best results, stick to Bosc or Anjou pears. They have that lovely structure and handle the heat beautifully, ensuring you get those recognizable, tender baked pears instructions you’re aiming for—not a puddle of fruit sauce!
Can I make this a savory baked pears appetizer?
Oh, you totally can! I mentioned the goat cheese swap earlier, but let’s expand on that because it’s such a game-changer. To turn this into an elegant savory baked pears appetizer, just skip the honey and cinnamon entirely. Instead, drizzle the cut surface with just a little melted butter and a tiny sprinkle of good sea salt and black pepper. When you place the pear in the baking dish, fill that core cavity with a dollop of soft goat cheese or crumbled feta, maybe toss in a couple of dried cranberries if you have them. Serve it warm, maybe with a drizzle of balsamic glaze, and people will think you spent hours!
How long can I store leftovers?
Like most fruit desserts, these are definitely best fresh from the oven, but they hold up really well! Once they’ve cooled down completely, store the baked pears in a container that seals tightly in the refrigerator. Keep them covered, and they should be perfectly delicious for up to three days. Remember what I said about reheating? A quick warm-up in a low oven will bring back the texture beautifully!
Estimated Nutritional Data for Baked Pears
Now, I know some of you are looking at these warm, sticky baked pears and maybe wondering about the health factor. That’s fair! Because this recipe focuses on natural sweetness from honey and fruit, it’s actually a wonderful option for a healthier indulgence. Remember, these numbers are just my best guess based on the ingredients listed—your actual values might shift slightly depending on how big your pears were or exactly how much honey made it onto the fruit!
But generally speaking, when split among four servings, you are looking at pretty reasonable figures for a lovely, warm spiced dessert. It’s much better than a heavy cake, that’s for sure!
- Serving Size: 1 pear half
- Calories: Around 240 (Wow, not bad for dessert!)
- Fat: About 7g total
- Sugar: Roughly 40g (This comes mostly from the natural fruit and the honey, naturally.)
- Fiber: A solid 7g—that fruit is working hard for you!
The best part is the minimal sodium content. Since we aren’t adding a ton of processed ingredients, this dish keeps things simple and clean. Enjoying these easy baked pears is a sweet treat you don’t have to feel guilty about!
Share Your Simple Fall Desserts Experience
I truly hope you take a moment to whip up a batch of these easy baked pears soon! They are such a beautiful, warming centerpiece, especially as we move into cooler weather and start thinking about those simple fall desserts. The smell alone is worth the ten minutes of prep work, I swear.
Once you try Julian’s tried-and-true method for achieving perfectly tender, caramelized fruit, I really want to hear about it! Did you stick with the classic cinnamon honey glaze, or did you try adding the savory goat cheese twist we talked about? Don’t be shy—jump down to the comments below. Let me know how they turned out for you, and please, leave a star rating!
Your feedback helps guide other home cooks tackling these recipes for the first time. If you have any questions or want to share a picture of your beautiful plate, you can always reach out to us directly through the contact page too. Happy baking, friend, and enjoy every warm, spicy bite!
PrintEasy Cinnamon Honey Baked Pears
Make tender, caramelized baked pears drizzled with a sweet cinnamon-honey glaze. This simple recipe is perfect as a healthy dessert or a warm, comforting treat.
- Prep Time: 10 min
- Cook Time: 35 min
- Total Time: 45 min
- Yield: 4 servings 1x
- Category: Dessert
- Method: Baking
- Cuisine: American
- Diet: Vegetarian
Ingredients
- 4 firm pears (like Bosc or Anjou)
- 4 tablespoons honey
- 2 tablespoons unsalted butter, melted
- 1 teaspoon ground cinnamon
- 1/4 teaspoon ground nutmeg
- 1/4 cup water
- Optional: 1/4 cup chopped walnuts or pecans for topping
Instructions
- Preheat your oven to 375°F (190°C). Lightly grease a small baking dish.
- Wash the pears. Cut each pear in half lengthwise and use a melon baller or small spoon to carefully remove the core and seeds.
- Place the pear halves cut-side up in the prepared baking dish.
- In a small bowl, whisk together the honey, melted butter, cinnamon, and nutmeg.
- Spoon the honey mixture evenly over the cut surface of each pear half.
- Pour the 1/4 cup of water into the bottom of the baking dish around the pears to create steam and prevent sticking.
- Bake for 30 to 40 minutes, or until the pears are tender when pierced with a fork. Baking time depends on the ripeness of your pears.
- If using, sprinkle the chopped nuts over the pears during the last 5 minutes of baking.
- Serve the baked pears warm, spooning any remaining pan syrup over them.
Notes
- For an elegant presentation, serve with a small scoop of vanilla ice cream or Greek yogurt.
- If you prefer a savory twist, substitute the cinnamon and nutmeg with a pinch of sea salt and a small crumble of goat cheese placed in the core cavity before baking.
- To achieve a deeper caramelization, you can briefly broil the pears for the last minute, watching closely to prevent burning.
Nutrition
- Serving Size: 1 pear half
- Calories: 240
- Sugar: 40g
- Sodium: 5mg
- Fat: 7g
- Saturated Fat: 4g
- Unsaturated Fat: 3g
- Trans Fat: 0g
- Carbohydrates: 45g
- Fiber: 7g
- Protein: 1g
- Cholesterol: 15mg