
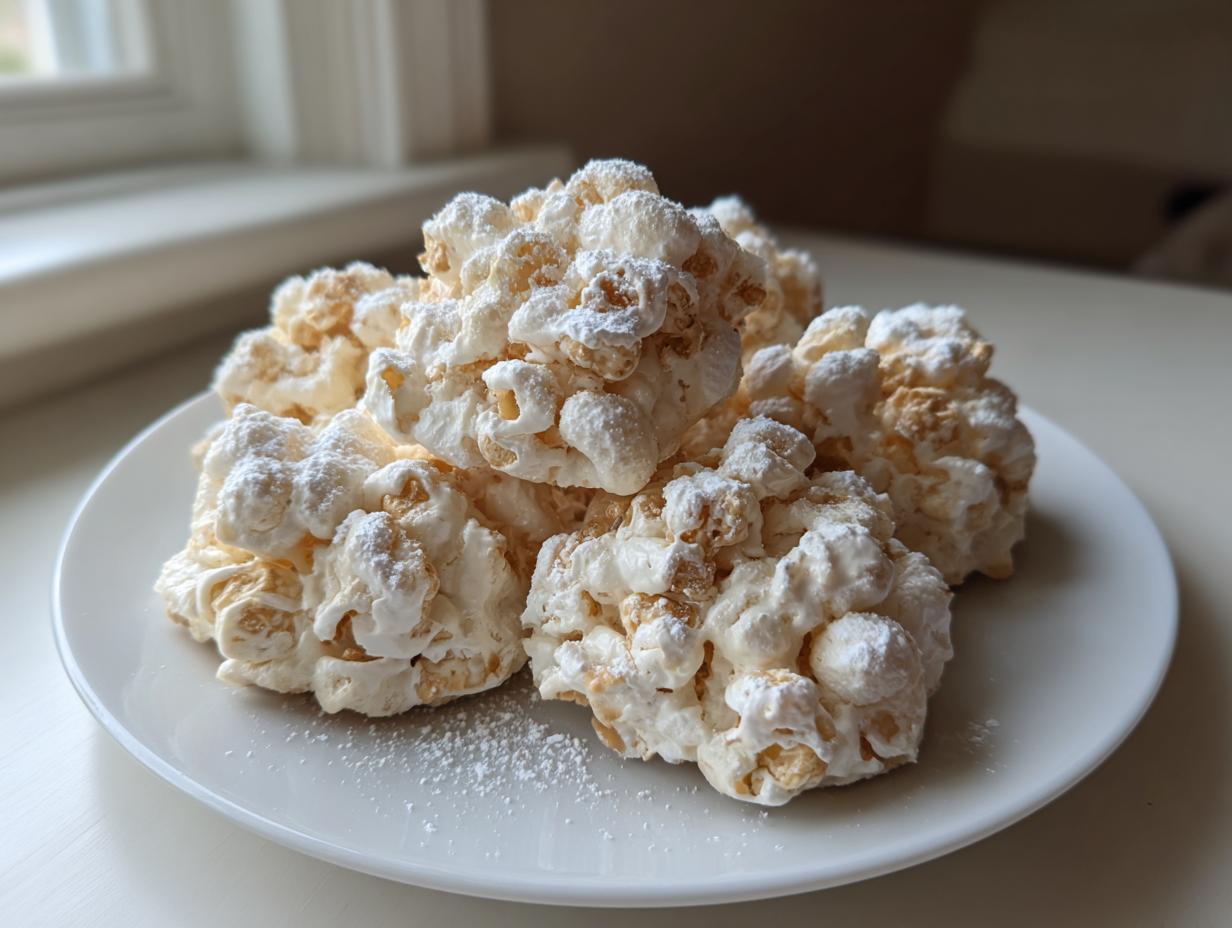
You know those days when a massive, sweet craving hits, and you just *cannot* wait for something to bake? I remember those afternoons vividly from my childhood in Ohio; sometimes, all you needed was a quick burst of comforting sugar. That memory is exactly what fueled my need to perfect the ultimate grab-and-go sweet, and folks, I’ve done it. Forget the oven, forget scraping sticky bowls clean—we’re making the easiest, absolute best **avalanche cookies** you will ever taste. These are no-bake clusters of magic, coming together faster than you can decide what to watch on TV. If you need phenomenal results with minimal fuss, pulling this recipe together is the answer.
We learned long ago in the test kitchen that the best easy dessert recipes are those that bridge the gap between that essential craving and immediate satisfaction. Trust me on this one; these **avalanche cookies** are going to be a staple on your kitchen counter, especially around the holidays when you need something last-minute for the platter.
- Why You Will Make These Easy No-Bake avalanche cookies First (E-E-A-T)
- Gathering Ingredients for Your avalanche cookies
- Mastering the No-Bake avalanche cookies Method
- Setting and Finishing Your avalanche cookies
- Ingredient Notes and Substitutions for avalanche cookies
- Tips for the Best Crunchy Marshmallow Cookies
- Storage and Serving Suggestions for Your avalanche cookies
- Frequently Asked Questions About avalanche cookies
- Share Your avalanche cookies Creations
Why You Will Make These Easy No-Bake avalanche cookies First (E-E-A-T)
When I talk about recipes that really work for home cooks—the kind that earn you serious brownie points with zero fuss—these **avalanche cookies** top the list. They deliver massive flavor payoff for tiny effort. Since my goal here at Julia Meal is efficiency and joy, these fit perfectly.
- They are truly no-bake! You don’t even need to preheat the oven. I love being able to whip these up when the house is already warm.
- Total prep time barely cracks 15 minutes. They move directly from the mixing bowl to the fridge. Hello, 15 minute recipes!
- They are absolute showstoppers on any tray. These make phenomenal **Quick Holiday Treats** because they look complicated but aren’t one bit.
- Everyone loves them. Seriously, these **Bake Sale Favorites** disappear faster than anything else on the table.
Gathering Ingredients for Your avalanche cookies
To make these **avalanche cookies** work their quick magic, you need to have everything measured out and ready to go before you even touch the microwave. This is crucial because once the peanut butter and white chocolate melt, time is your enemy before things start to harden up! Precision here really builds trust in the final product, so don’t eyeball these measurements, okay?
Here is exactly what you’ll need for about two dozen perfect clusters. I always buy the big bag of crispy rice cereal because these go fast:
- 12 ounces of good quality white chocolate chips. Don’t skimp here; the melting chocolate is the glue!
- 1 cup of creamy peanut butter. I stick to the regular Jif or Skippy style, nothing too oily.
- 6 cups of crispy rice cereal—the good, crunchy stuff. That’s what gives us the “avalanche” texture.
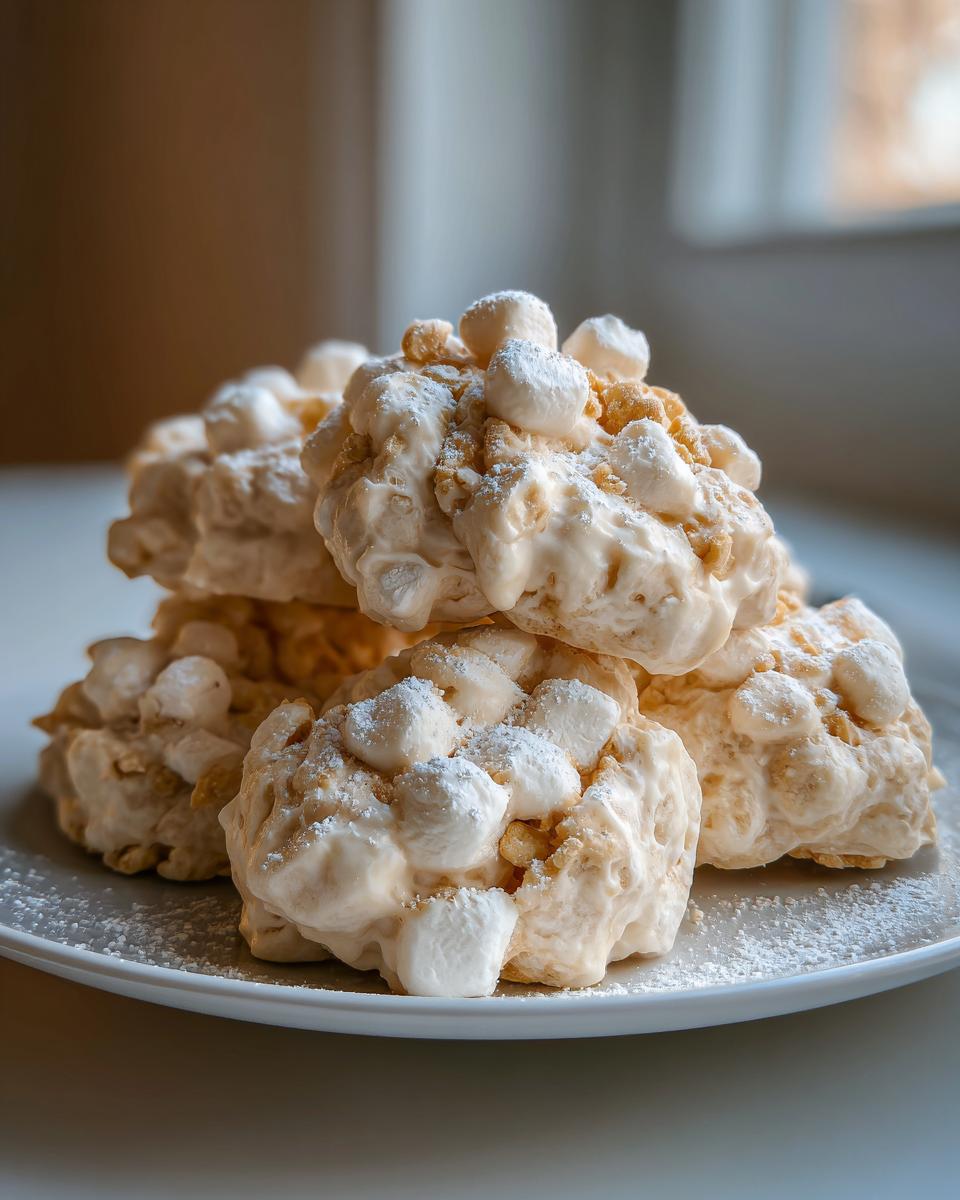
- 3 cups of mini marshmallows. They must be mini so they integrate cleanly into the base.
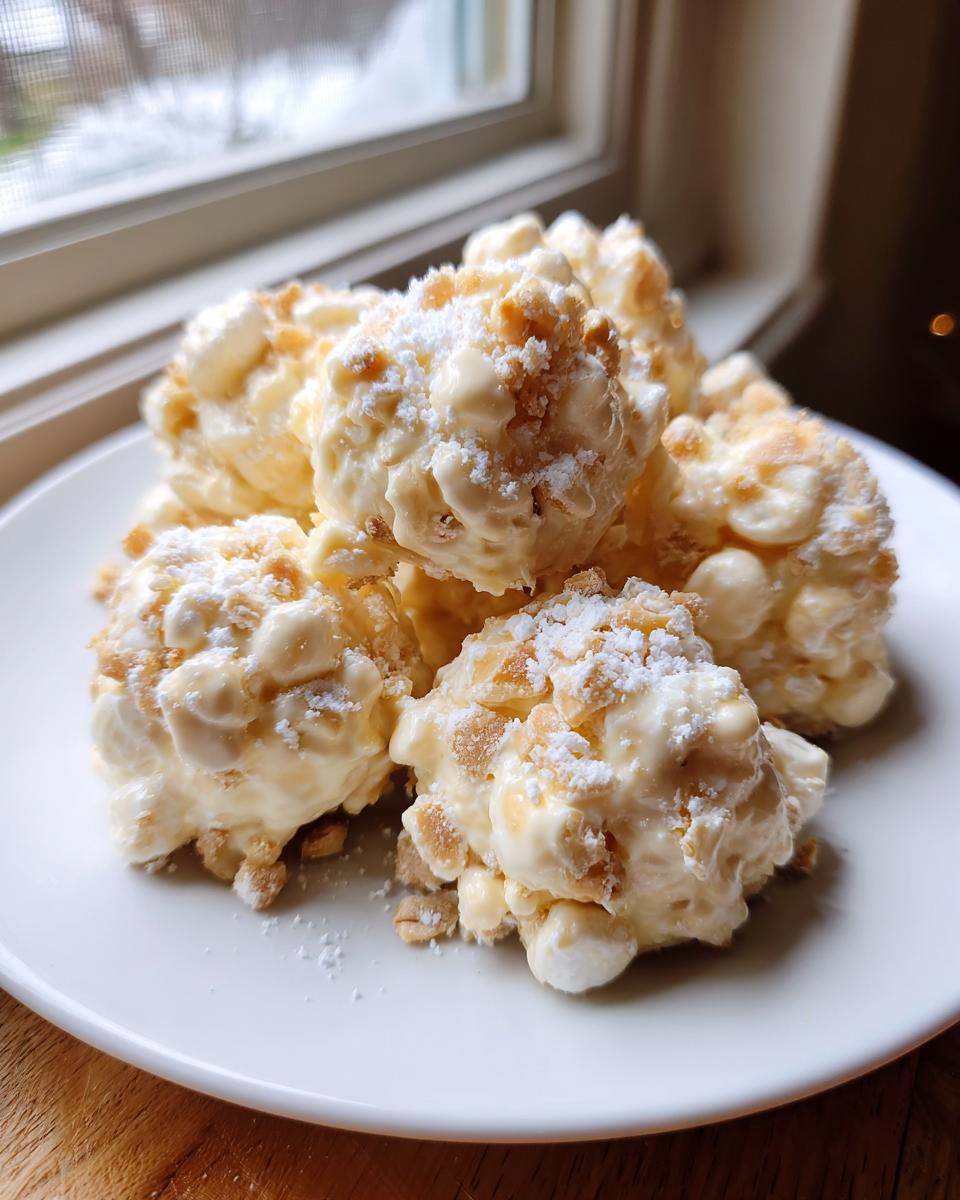
- And just to make them look extra special, 1 cup of powdered sugar for dusting, if you want that beautiful, snowy finish.
If you love exploring other fantastic peanut butter no bake recipes, this base can be adapted wonderfully, but for the classic version, these exact measurements really nail it.
Mastering the No-Bake avalanche cookies Method
Now we get to the fun part—the actual assembly! Since this is one of those amazing quick easy dessert recipes, speed is important, but not so fast that you rush the base. If you get the base right, the rest is just mixing! We skip the double boiler entirely because, frankly, who has time for that?
Preparing the Base for Perfect avalanche cookies
Grab a big, microwave-safe bowl. We’re popping in the 12 ounces of white chocolate chips and that full cup of creamy peanut butter. Think of this as the creamy cocoon holding everything together. Microwave this combination in 30-second bursts. Don’t just nuke it for a minute straight! After every 30 seconds, take it out and stir it vigorously, even if it still looks chunky. You have to keep stirring! This prevents the white chocolate from overheating and seizing up—nobody wants hard, grainy lumps in their wonderful **white chocolate peanut butter candy**.
Folding in the Crunch: Creating the avalanche cookies Clusters
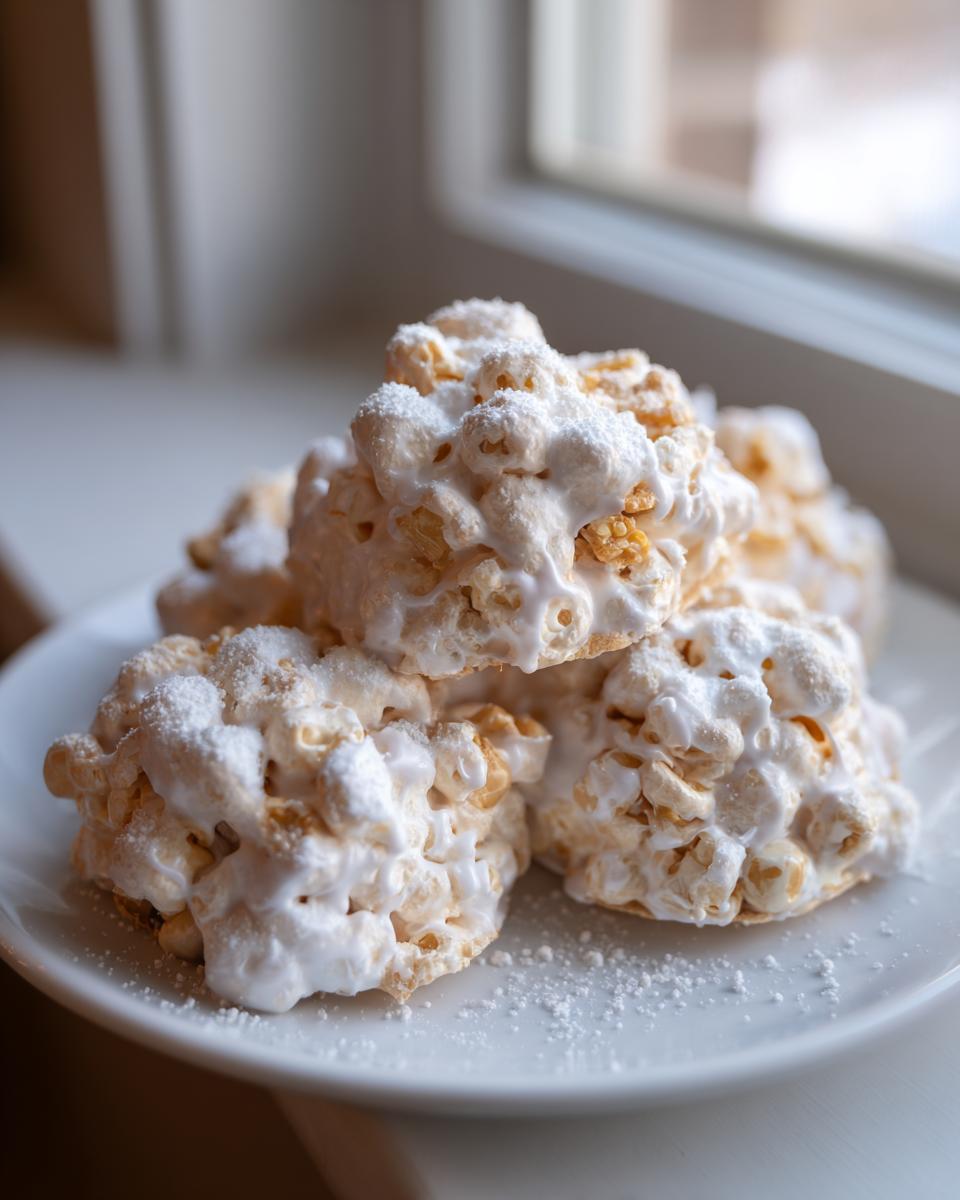
Once that base is silky smooth, you need to move fast without being rough. Dump in all 6 cups of cereal and those 3 cups of mini marshmallows all at once. The melted mixture is not going to stay liquid for long, so grab a sturdy spatula. You need to gently fold everything over itself. You aren’t mixing dough; you are coaching the cereal and marshmallows to get cozy with the chocolate coating. Keep folding until every single piece looks coated. This delicate approach is key for the final texture of these **simple candy clusters**.
Setting and Finishing Your avalanche cookies
You’ve got your big bowl of coated goodness, and now we have to work fast before it turns into one giant, beautiful, but immovable block! This is where we confirm these are truly the ultimate **no oven desserts**. We are just guiding these clusters into their final shape.
Get a sturdy baking sheet—the one you showed me earlier works perfectly—and lay down a sheet of parchment paper. Don’t skip this, or you’ll be chipping these beauties off the pan later! Using a spoon or a small cookie scoop, drop rounded tablespoonfuls onto the parchment. Don’t worry about perfect circles; these are supposed to look rustic, like they’ve just tumbled down a mountain! I always use a silicone spatula to help guide them off the spoon.
If you want that signature snowy look that just screams holiday magic, this is the moment to grab your powdered sugar. A very light dusting across the top mimics a fresh snowfall. It tastes amazing, too, balancing that rich peanut butter flavor slightly. Speaking of finishing touches, while these don’t need frosting like my vanilla buttercream frosting recipe, that dusting really elevates these simple candy clusters!
Then, they need a good long bake, right? Nope! They head straight into the fridge for at least 30 minutes until they are fully firm and ready to pop off the paper easily. That quick chill solidifies everything perfectly.
Ingredient Notes and Substitutions for avalanche cookies
One of the things I love most about these **avalanche cookies** is how forgiving they are, even though the base ratio is super important. When you have a recipe that’s mostly melting and mixing, it’s easy to want to switch things up, and I’m here to tell you what works best based on my testing. Remember, the goal is maintaining that satisfying crunch and preventing separation. This ensures they remain the reliable **peanut butter no bake** treat we both adore.
If you try to use natural, drippy peanut butter, you’ll end up struggling with the melting part, so stick to the creamy stuff that holds its shape a bit better. That said, sometimes you just don’t want the full white chocolate experience. As a classic swap, you can introduce some deeper flavors easily. Feel free to swap out half of the white chocolate chips with milk chocolate chips. It gives the clusters a slightly richer, less intensely sweet base. It’s a game-changer if you’re serving these to folks who think white chocolate is a little too sweet!
And talk about texture! If you want to lean into that “avalanche” effect, you need variety in your crunch. My favorite variation for a real punch of flavor is adding half a cup of crushed pretzels right in with the cereal. The saltiness cuts through all that sweetness from the chocolate and peanut butter so beautifully. Nuts are totally welcome too—chopped peanuts work great if you don’t have allergy concerns, or even some chopped pecans for a richer flavor profile. Just remember, whatever you add, make sure it’s completely dry!
If you’re looking for other super fast options, I have an amazing easy fluffy pancake recipe for breakfast that is just as fast, but these cookies? These are pure, unadulterated sweet chaos, and I wouldn’t have it any other way!
Tips for the Best Crunchy Marshmallow Cookies
Just melting and stirring is one thing, but getting that perfect, textbook texture in your **avalanche cookies** takes just a couple of extra considerations. I’ve ruined batches by using stale marshmallows, and trust me, it’s a textural nightmare—they end up chewy cement instead of delightfully pillowy bits inside the crunch. That’s the secret to making these truly great **crunchy marshmallow cookies**!
First, check your marshmallows! If your bag has been in the cupboard since last summer, toss them. We want marshmallows that are super fresh and springy. Stale marshmallows won’t hold their shape as well when coated in the melted chocolate and peanut butter base, and they’ll get tough once chilled. They need to be soft enough to yield slightly when you poke them, so they melt just a touch inside the cookie cluster.
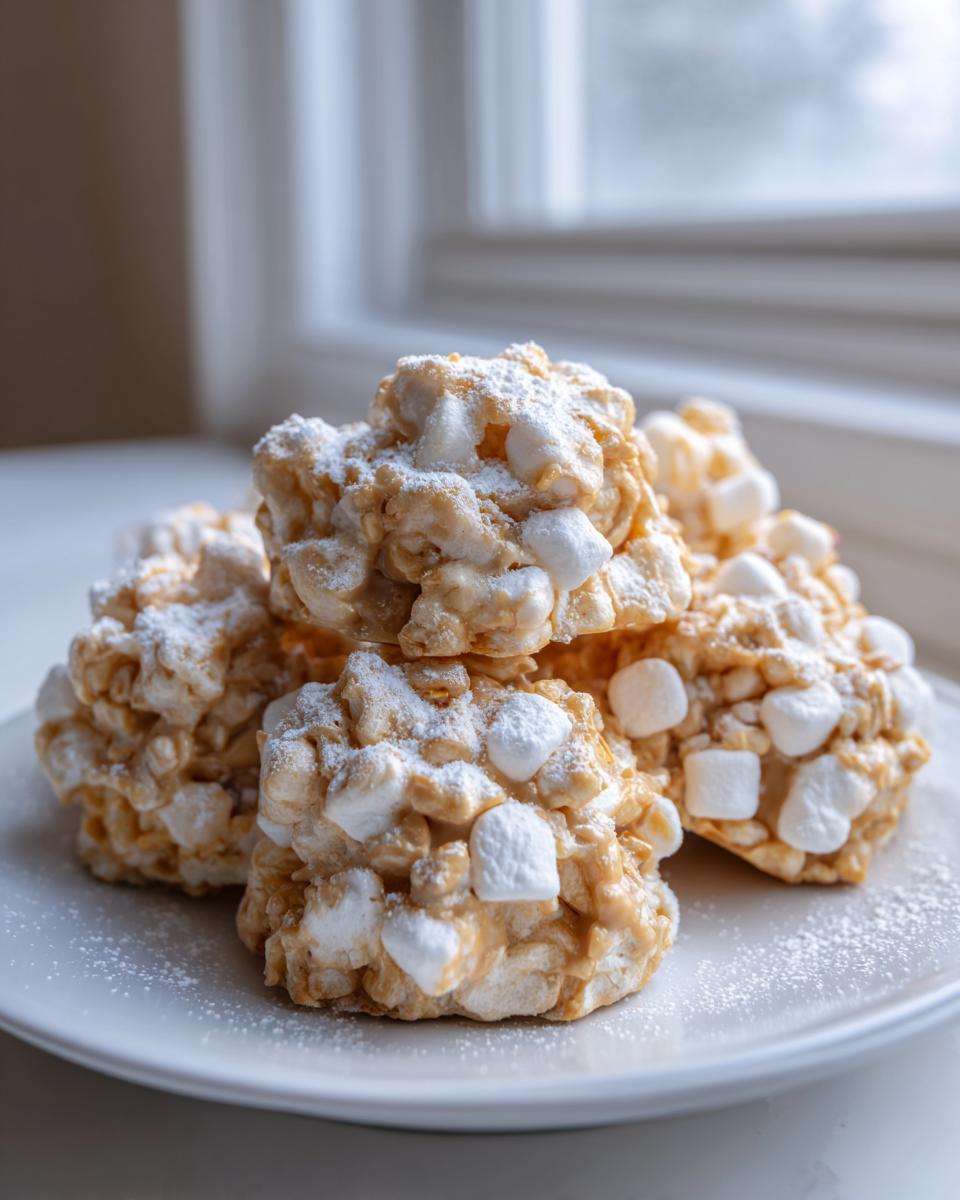
Next up is portioning. If you want your **simple sweet snacks** to look neat enough for a formal holiday feast, consistency matters. I absolutely rely on a small cookie scoop, usually the 1.5-tablespoon size. It sounds fussy, but using the same tool for every drop ensures that all your cookies cool evenly and look cohesive on the final platter. They become perfect little snowballs that way.
My final, absolute must-do tip for these **marshmallow treats**? Work fast once the cereal goes in, but be gentle! Don’t squash the mixture down in the bowl trying to mix; you want that light, airy quality from the cereal and marshmallows to remain intact. If you press too hard, you lose all that air, and your cookies become dense, almost like bars. We want clusters, not bricks, remember? A light hand creates the fluffiest, crunchiest results!
Storage and Serving Suggestions for Your avalanche cookies
Okay, you’ve successfully navigated the melting and folding, and now you have perfect little piles of what I like to call edible snowdrifts. The great news about these amazing **avalanche cookies** is that they are exceptionally easy to store, which makes them ideal for preparing ahead of time—a real lifesaver when you’re scrambling to finish up **Christmas Cookie Trays**.
Because of that melted white chocolate and peanut butter base, these guys *love* the cold. They firm up beautifully in the refrigerator and stay that way. Do not leave these out on the counter uncovered, especially if your kitchen is warm! They need to maintain that solidified structure that gives them their crunch. Store them in an airtight container. Seriously, use a good quality container with a tight seal. If they are exposed to air for too long, the cereal can start to get a tiny bit stale, and we absolutely do not want that.
If you keep them refrigerated, these **simple candy clusters** honestly stay delicious for at least a week, maybe even ten days. I often make a huge batch right after Halloween specifically to have on hand for casual snacking or last-minute party needs. When you pull them out, if they seem *too* hard right away—which happens, especially if you chilled them for longer than an hour—just let them sit on the counter for about 10 minutes before you try to eat them. That little bit of time brings back that perfect soft-yet-crunchy bite.
Serving them is simple too! They look fantastic simply arranged on a platter on their own, maybe with a light dusting of that powdered sugar we talked about earlier. However, they also pair wonderfully next to something tart or acidic if you need balance on your dessert table, kind of like how a sharp homemade Reuben bake cuts through richness in a savory meal. For gifting, just stack a few in small cellophane bags, tie them with a pretty ribbon, and you’ve got the easiest, most satisfying homemade gift ready to go!
Frequently Asked Questions About avalanche cookies
I get so many messages after people try these quick sweets for the first time, which is always so exciting! Most questions boil down to timing and substitution—totally normal when you’re working with melt-and-mix treats. I hope these answers clear up anything that might pop up when you’re whipping up your own batch of these fantastic **avalanche cookies**. Remember, if you can melt something gently, you can master this crowd-pleasing candy.
Can I make these avalanche cookies without white chocolate?
That’s a great question, especially since white chocolate can sometimes be fussy! Yes, you absolutely can substitute it, but you’ll change the flavor profile quite a bit. If you want to speed things up for one of those **15 minute recipes**, using almond bark or vanilla wafers works really well. They melt beautifully and set hard. If you use semi-sweet chocolate chips instead, you’ll end up with a totally different, but still delicious, dark cluster. Just follow the same melting instructions—30-second bursts and stir!
Why are my No Bake Cookies turning out too soft?
This usually signals one of two things, and I’ve definitely been there when rushing! The most common culprit is not giving them enough cool-down time. These **no bake cookies** need that 30 minutes minimum in the fridge; room temperature in the summer is just too warm for the binder to set properly. The other reason is getting the ratio wrong. If you added too much peanut butter relative to the chocolate volume, the mixture stays softer. Next time, make sure you’re scraping the peanut butter out of the measuring cup thoroughly so you have the exact amount needed to properly coat everything.
If you want to see another incredibly simple recipe that also requires zero oven time, you might want to check out the steps over at this site—it’s excellent for baseline comparisons!
Share Your avalanche cookies Creations
Alright, that’s it! You’ve tackled the melting, you’ve folded with care, and now you have a beautiful tray of **avalanche cookies** setting up in the fridge. The best part of cooking, truly, is sharing what you’ve made. This is the core of what we do here at Julia Meal—taking something simple and turning it into a moment of connection. I talk a lot about the stories told around the dinner table, and these simple, perfect treats are certainly going to inspire some great stories!
So, after you pull those clusters out and they are firm and ready to eat, I really, really want to hear from you. Did they set perfectly? Did someone sneak one before you could put them away? Drop a rating below! Your feedback helps every other home cook who comes along looking for reliable **easy dessert recipes** like this one.
And please, if you snapped a picture—because these really do look gorgeous clustered together—share it! You can tag me on social media, or even better, use the contact form right here—reach out to me here—to share some kitchen stories. I love seeing how you’ve adapted these recipes or just how quickly you devoured your first batch. Happy sweet-making, friends!
PrintEasy No-Bake Avalanche Cookies
Make these simple, no-bake avalanche cookies using white chocolate, peanut butter, and crispy cereal. This quick dessert comes together fast and is perfect for holiday trays or immediate cravings.
- Prep Time: 15 min
- Cook Time: 0 min
- Total Time: 45 min
- Yield: About 24 cookies 1x
- Category: Dessert
- Method: No Bake
- Cuisine: American
- Diet: Vegetarian
Ingredients
- 12 ounces white chocolate chips
- 1 cup creamy peanut butter
- 6 cups crispy rice cereal
- 3 cups mini marshmallows
- 1 cup powdered sugar (for dusting, optional)
Instructions
- Line a baking sheet with parchment paper. Set aside.
- In a large, microwave-safe bowl, combine the white chocolate chips and peanut butter.
- Microwave in 30-second intervals, stirring well after each interval, until the mixture is completely smooth and melted. This usually takes 1 to 1.5 minutes total.
- Gently fold in the crispy rice cereal and mini marshmallows until all the dry ingredients are evenly coated with the melted mixture. Work quickly before the chocolate sets.
- Drop rounded tablespoons of the mixture onto the prepared baking sheet, forming cookie clusters.
- If desired, lightly dust the tops of the cookies with powdered sugar for a snowy look.
- Refrigerate the cookies for at least 30 minutes, or until firm.
- Store the finished avalanche candy recipe clusters in an airtight container in the refrigerator.
Notes
- For a richer flavor, you can substitute 1/2 cup of the white chocolate chips with milk chocolate chips.
- If you prefer a less sweet cookie, reduce the amount of marshmallows slightly.
- You can add 1/2 cup of chopped pretzels or nuts for extra crunch in these simple candy clusters.
Nutrition
- Serving Size: 1 cookie
- Calories: 210
- Sugar: 18g
- Sodium: 110mg
- Fat: 12g
- Saturated Fat: 6g
- Unsaturated Fat: 6g
- Trans Fat: 0g
- Carbohydrates: 25g
- Fiber: 1g
- Protein: 4g
- Cholesterol: 5mg