
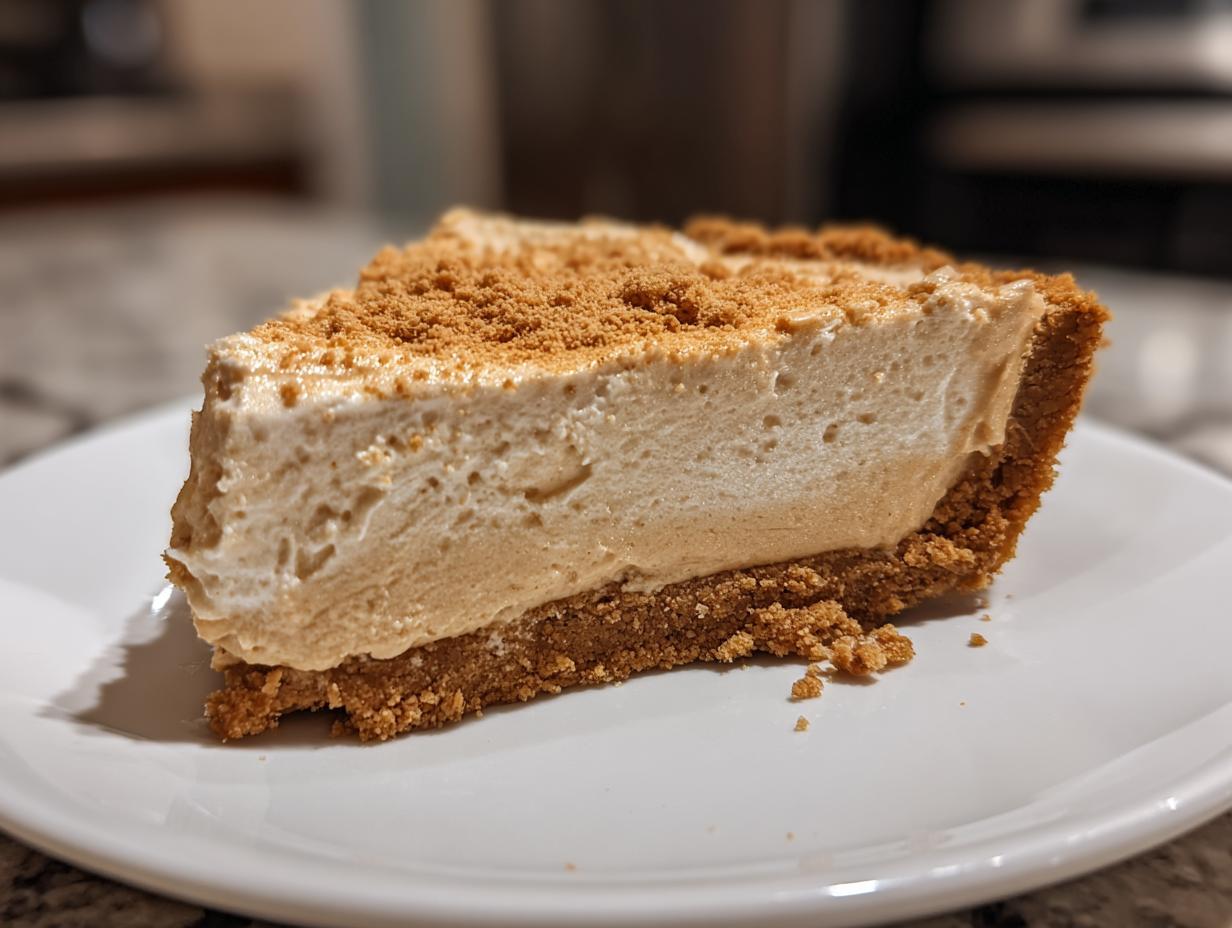
If you’ve ever got that deep, inescapable craving for something truly decadent, something that tastes like pure nostalgia but doesn’t require you sacrificing your afternoon to the oven gods, I have the answer: the Peanut Butter Pie. This isn’t some fussy, layered monstrosity; this is the ultimate crowd-pleasing dessert. When I developed this version, my goal, as always here at Julia Meal, was simple: make something spectacular that felt achievable for every home cook. We’re talking rich, creamy filling, a crunchy base, and zero baking required. It’s truly the best quick dessert idea when company is showing up sooner than you planned.
- Why This Easy Peanut Butter Pie Recipe Works for Everyone
- Gathering Ingredients for Your Perfect Peanut Butter Pie
- Step-by-Step Instructions for the No Bake Peanut Butter Pie
- Tips for the Best Peanut Butter Pie Success
- Storage and Make Ahead Pies Instructions for Your Peanut Butter Pie
- Serving Suggestions for Your Creamy Peanut Butter Dessert
- Frequently Asked Questions About This Easy Peanut Butter Pie Recipe
- Nutritional Estimates for Your Peanut Butter Pie Slice
- Share Your Experience Making This Peanut Butter Pie
Why This Easy Peanut Butter Pie Recipe Works for Everyone
Honestly, this is my go-to when I know I need a showstopper dessert without the stress. Why do I call this the best peanut butter pie? Simple: It delivers that incredible, rich dessert flavor without ever needing to preheat the oven. That’s right, this is pure simple Thanksgiving dessert magic.
It hits every mark, which is why it’s a family favorite, especially around the holidays:
- Zero baking means less heat in the kitchen—hello, no oven desserts!
- The filling is unbelievably creamy, almost like a cheesecake without the fuss.
- It’s incredibly fast to assemble; you are done in under 20 minutes active time.
- It sets up perfectly in the fridge, making it an ideal make ahead pie option for a busy week.
Quick Dessert Ideas: Minimal Active Time
If you’re looking at your clock and realizing you need something amazing fast, this is your recipe. Seriously, grabbing the ingredients and mixing the crust takes maybe ten minutes. By the time you’ve got your dishes washed, the filling is already ready to go into the pie plate. Twenty minutes of work for a dessert that tastes like you slaved over it all day? That wins every time.
Gathering Ingredients for Your Perfect Peanut Butter Pie
Alright, let’s talk what you need. Since this is a no bake peanut butter pie, the quality of what goes in really shines through. When I make this decadent treat, I’m fanatical about texture, so pay close attention to those specific states—like making sure your cream cheese is truly softened or your butter is melted. This is how we guarantee that gorgeous, unbelievably creamy peanut butter dessert.
Don’t just grab anything! Getting these specifics right lets us skip the oven and still achieve that rich flavor we crave. If you’re looking for more simple recipes that follow this ethos, you check out my notes on peanut butter bars for comparison.
Crust Components for Your Graham Cracker Crust Pie
We start with that sturdy, buttery base. If you skip the next step, your crust might crumble when you try to serve it later, and trust me, nobody wants a messy slice! Here’s what you’ll need for the bottom layer:
- 1 1/2 cups graham cracker crumbs
- 1/4 cup granulated sugar
- 6 tablespoons unsalted butter, melted
Crafting the Creamy Peanut Butter Dessert Filling
This is where the magic really starts. Everything in this section needs to be fully incorporated until smooth before we even think about folding in the airy topping. Smoothness is non-negotiable for that cheesecake-like texture!
- 1 (8 ounce) package cream cheese, softened
- 1 cup creamy peanut butter
- 1 1/2 cups powdered sugar
- 1 teaspoon vanilla extract
- 1 (12 ounce) container frozen whipped topping, thawed
Finishing Touches for the Chocolate Peanut Butter Dessert Topping
This final drizzle really elevates the whole thing from ‘great’ to ‘Oh my gosh, what is this?’ Make sure you melt that top layer of peanut butter gently so it drizzles beautifully over the cold filling!
- 1/2 cup creamy peanut butter, melted
- 1/4 cup chocolate chips
Step-by-Step Instructions for the No Bake Peanut Butter Pie
Okay, you’ve got your ingredients lined up—fantastic! Now we move into the actual assembly, and trust me, this simple process is why this Peanut Butter Pie Recipe is a lifesaver. We need precision here, not speed, especially with the chilling times. Don’t try to rush the fridge; that’s how you end up with soup instead of a sliceable dessert. If you need a reminder on timing for other desserts, I cover my favorite quick dessert ideas on another post!
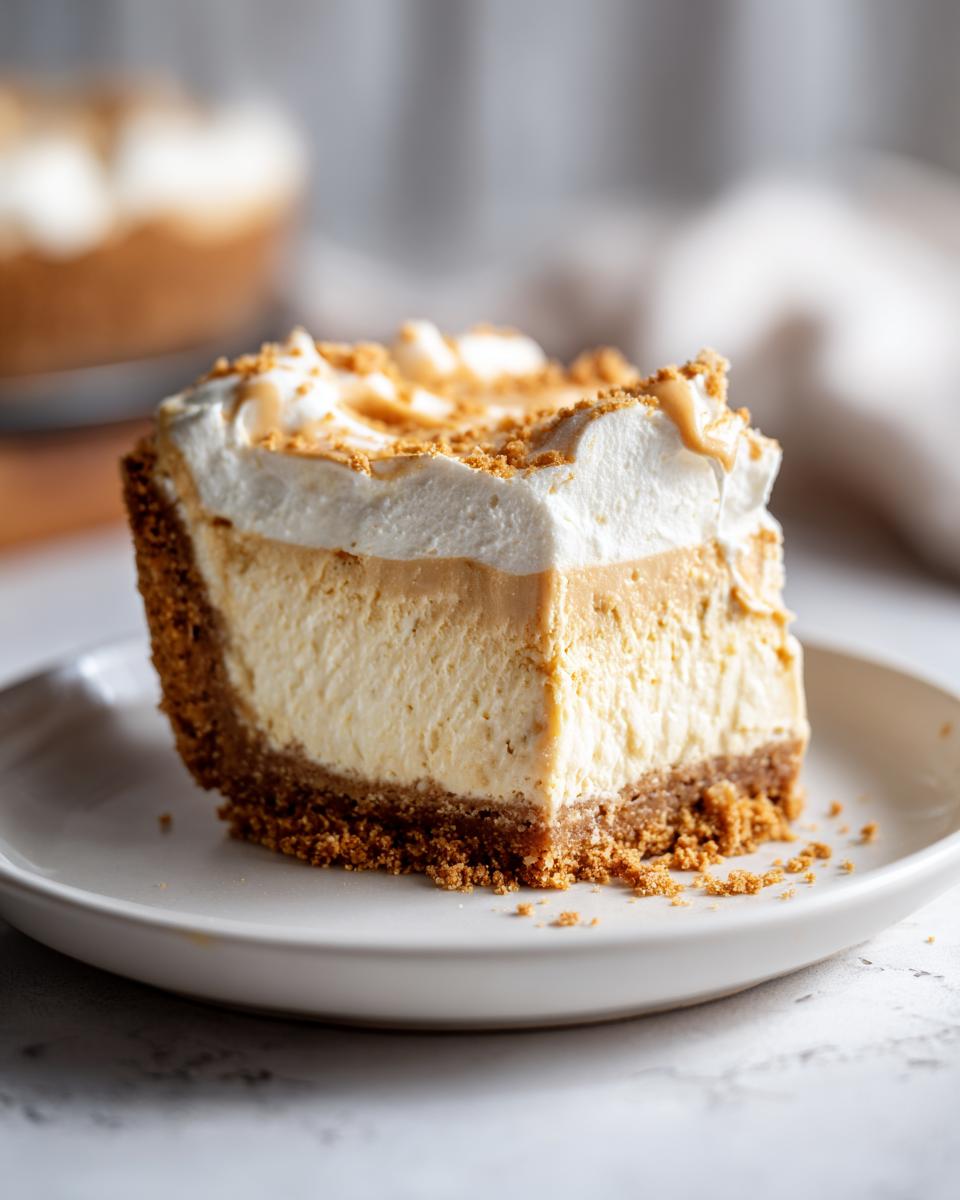
Preparing the Graham Cracker Crust Pie Base
First things first: the base. Take those graham cracker crumbs, the sugar, and the melted butter we prepped. Mix them in a bowl until it looks like wet sand—you should be able to squeeze a handful and have it hold its shape. Now grab that 9-inch pie plate. You need to press this crumb mixture *really* firmly into the bottom and all the way up the sides. Don’t be shy! Once it’s packed tight, immediately pop that beauty into the freezer while we focus on the filling.
Mixing the Homemade Peanut Butter Filling
Grab your big mixing bowl for the main event. The secret to a super smooth texture is Step 2: Beat that softened cream cheese until it is absolutely lump-free and silky smooth. I mean it, no chunks allowed! Once it’s perfect, then beat in the cup of creamy peanut butter, the powdered sugar, and vanilla. Keep mixing until everything is totally combined. Your last step for the filling is gentle—take your thawed whipped topping and *gently* fold it in. We don’t want the air beaten out of it, so fold just until you don’t see streaks anymore.
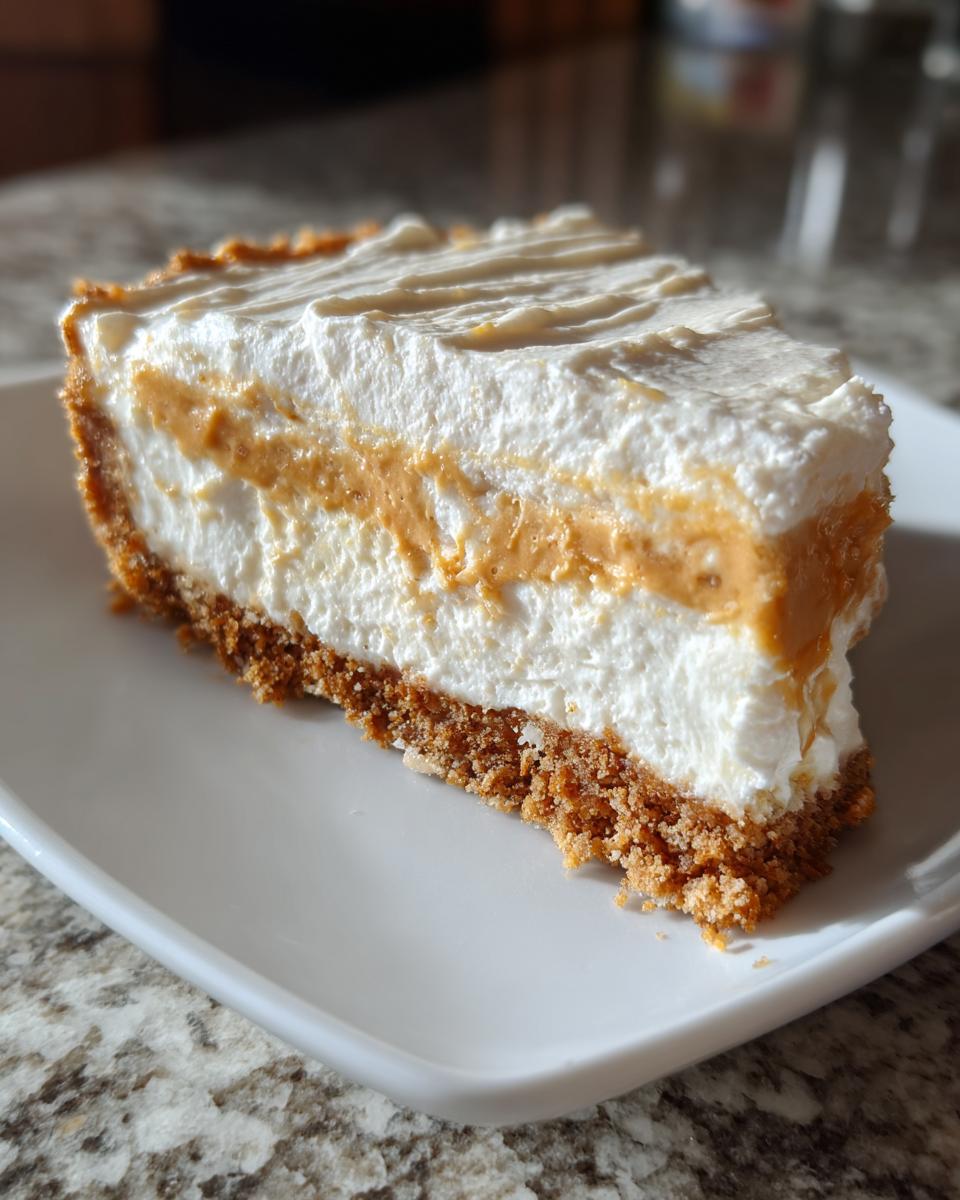
Assembling and Chilling Your Crowd Pleasing Pie
Now you pull that chilled crust out of the freezer. Spoon that fluffy peanut butter mixture right into your crust. Use an offset spatula or the back of a spoon to smooth out the top nicely. This pie needs time now—this is the most important part of any no bake peanut butter pie. Cover it loosely with plastic wrap and let it chill in the refrigerator for a minimum of four hours. I always aim for six, or even overnight, to ensure it’s firm enough for slicing.
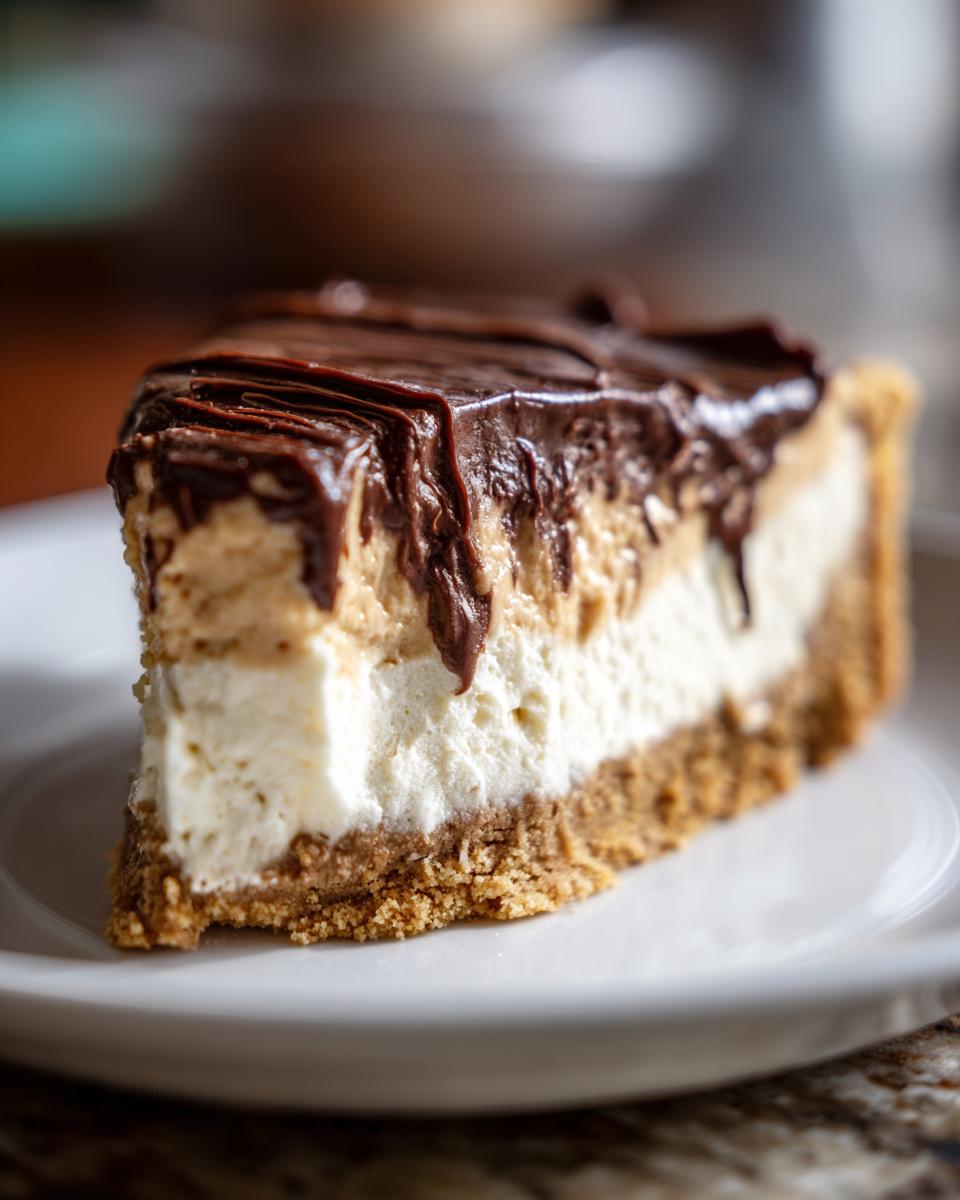
Creating the Final Chocolate Drizzle for Your Peanut Butter Pie
While the pie is chilling, get your topping ready. Melt that extra half-cup of peanut butter with the chocolate chips. You’ll pulse this in the microwave in 20-second bursts, stirring well in between, until it flows like lava. As soon as the pie is fully set, pull it out and drizzle that warm chocolate mess all over the top. Seriously, make it messy, make it drizzly! Then, back in the fridge for just 30 more minutes so that chocolate topping just barely firms up before you slice into this crowd pleasing pie.
Tips for the Best Peanut Butter Pie Success
You’ve got the filling made, and that’s the big hurdle conquered! But trust me, making small tweaks to the crust or the topping can take this Peanut Butter Pie from great to legendary. Since we’re all about making things easy without sacrificing flavor, I’ve gathered the best little tricks from my baking notebook here. If you’re feeling adventurous, check out my recipe for no-bake chocolate-dipped goodies for another fun treat!
Crust Variations: Oreo Crust Pie Options
While the graham cracker crust is the classic choice for a reason—that salty-sweet crunch is perfect—sometimes you just need chocolate! If you want to pivot to an Oreo crust pie, it’s super simple. Just swap out the graham cracker crumbs and use about 2 cups of finely crushed Oreo cookies instead. You still use the same amount of sugar and melted butter to bind it. Voila! Instant chocolate upgrade without changing anything else.
Making This an Impressive Reese’s Peanut Butter Pie
If you *really* want to go all out, especially for a gathering, you need to address the topping. Forget just melting chips! If you want that unmistakable, intense chocolate and peanut butter punch, use what I suggest in the notes: melt down a full cup of Reese’s Peanut Butter Cups. I usually add just a tiny dash of coconut oil when melting them down—it helps them stay a little softer and glossier when they set up on the cold pie. It turns this into a true Reese’s Peanut Butter Pie experience!
Storage and Make Ahead Pies Instructions for Your Peanut Butter Pie
One of the biggest reasons I love this No Bake Peanut Butter Pie so much is its reliability. If you are planning for a big holiday meal, like Thanksgiving, you can absolutely make this the day before. That really takes the pressure off, right? Just make sure that chocolate topping hasn’t fully set before you cover it.
Store any unfinished peanut butter pie tightly covered in the refrigerator. Because it’s so rich and full of dairy, it really keeps beautifully for three to four days. The crust stays nice and firm, and the creamy filling somehow gets even better after it has time to fully settle overnight. It’s the ultimate make-ahead win!
Serving Suggestions for Your Creamy Peanut Butter Dessert
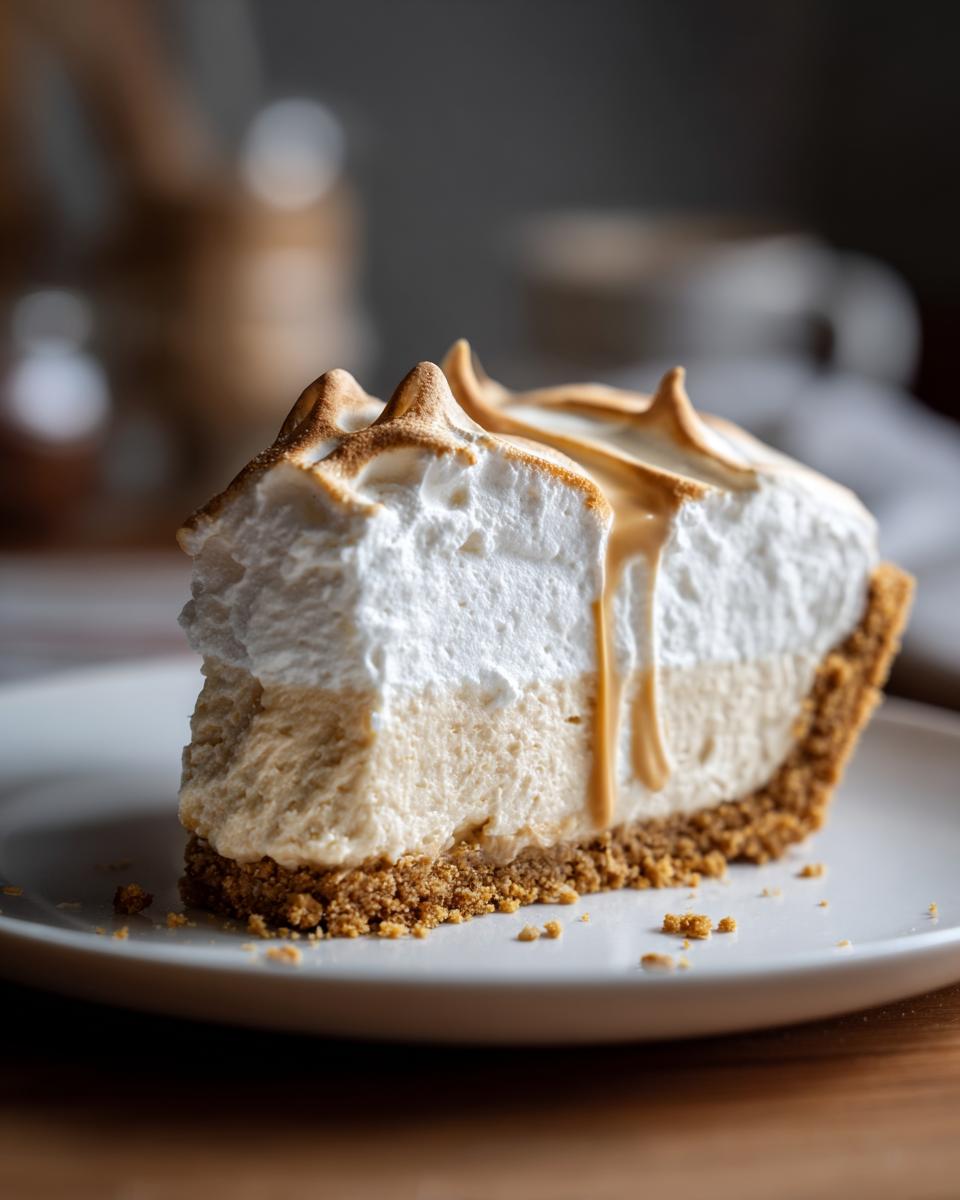
Once your glorious, chilled Peanut Butter Pie is set, the final presentation makes all the difference, especially if you’re bringing this out for a big event. This is a true showstopper, perfect for any Holiday Dessert Recipe lineup.
To make it look extra special, I love swirling a little bit more melted peanut butter right on top before the chocolate hardens. A quick sprinkle of finely chopped salted peanuts gives such a wonderful crunch. If you want to keep it exceptionally clean, serve slices slightly warm so they glide right off the plate, like my friends over at Handle the Heat recommend!
Frequently Asked Questions About This Easy Peanut Butter Pie Recipe
I know when you pull something delicious like this out of the fridge, you’re itching to dig in, but hold on a second! People always have little questions about texture and timing when it comes to a no bake peanut butter pie, which is totally understandable. My goal is to make sure your results are always spot-on, just like the recipes I use with my family. If you need inspiration for other quick meals while you wait for this to set, check out my thoughts on easy french toast!
Can I use crunchy peanut butter in this No Bake Peanut Butter Pie?
You absolutely can! If you prefer a bit more texture in your filling, crunchy peanut butter works just fine in place of the creamy. Just know that crunchier bits will replace some of that super smooth, almost mousse-like mouthfeel we get from the creamy version. It doesn’t change the baking time or structure at all, so go with what you love!
How long does this Creamy Peanut Butter Dessert need to chill?
This is the most crucial non-cooking step. You need a minimum of four hours for this creamy peanut butter dessert to firm up enough to hold its shape when you slice it. If you go less than four hours, you’re essentially serving a delicious peanut butter dip in a crust! For the best sliceable texture, try leaving it in the fridge overnight. That extra time allows everything to settle perfectly.
What is the best way to serve this Crowd Pleasing Pie?
Because this pie is so cold and dense, cutting it requires a little technique. Don’t just jam a knife in there! Dip a long, sharp knife into a glass of very hot water, wipe it completely dry, and then slice. You only need to clean and reheat the knife between cuts. This keeps the graham cracker crust from shattering and gives everyone a beautiful slice of this crowd pleasing pie.
Nutritional Estimates for Your Peanut Butter Pie Slice
Now, I know what you’re thinking when you look at this rich beauty: *how bad is this for me?* Ha! I completely get that. I wanted to give you a rough idea of what you’re diving into, so I ran the numbers based on the ingredients we used. Keep in mind, these are just my estimates for one generous slice from the full pie, using the recipe as written. For my thoughts on other easy, comforting meals, you can always check out my favorite one-pot chicken and dumplings recipe!
- Serving Size: 1 slice
- Calories: 450
- Total Fat: 30g
- Carbohydrates: 40g
- Protein: 10g
- Sugar: 35g
Like I always say, everything in moderation, especially when it tastes this much like a hug in a pie crust!
Share Your Experience Making This Peanut Butter Pie
Well, that’s it! We turned simple ingredients into what I truly think is one of the best peanut butter pie recipes out there—and we didn’t even turn on the stove! Now, the best part of sharing these recipes is hearing back from you. Did you serve this at your Thanksgiving gathering? Did the kids devour the chocolate topping before you could drizzle it?
I put my heart into making sure these recipes work perfectly in your home kitchen, just like they do in mine. So please, when you’ve finished chilling that gorgeous pie and taken that first, magnificent bite, come back here and leave a rating and tell me all about it in the comments below. Every comment, every success story, builds the community we’re creating here at Julia Meal—a place where we celebrate shared meals and memories.
If you have any specific questions while you’re waiting for it to set, or if you want to share a photo of your masterpiece, don’t hesitate to reach out through my contact page. Happy baking (or rather, no-baking!)!
PrintEasy No-Bake Peanut Butter Pie
You can make this rich, creamy peanut butter pie with a simple graham cracker crust. It requires no oven time and is a perfect crowd-pleasing dessert for any gathering.
- Prep Time: 20 min
- Cook Time: 0 min
- Total Time: 4 hours 20 min
- Yield: 8 servings 1x
- Category: Dessert
- Method: No Bake
- Cuisine: American
- Diet: Vegetarian
Ingredients
- 1 1/2 cups graham cracker crumbs
- 1/4 cup granulated sugar
- 6 tablespoons unsalted butter, melted
- 1 (8 ounce) package cream cheese, softened
- 1 cup creamy peanut butter
- 1 1/2 cups powdered sugar
- 1 teaspoon vanilla extract
- 1 (12 ounce) container frozen whipped topping, thawed
- 1/2 cup creamy peanut butter, melted (for topping)
- 1/4 cup chocolate chips (for topping)
Instructions
- Prepare the crust: In a medium bowl, mix the graham cracker crumbs, granulated sugar, and melted butter until the mixture resembles wet sand. Press the mixture firmly and evenly into the bottom and up the sides of a 9-inch pie plate. Place the crust in the freezer while you prepare the filling.
- Make the filling base: In a large bowl, beat the softened cream cheese until smooth. Add 1 cup of creamy peanut butter, powdered sugar, and vanilla extract. Beat until the mixture is fully combined and creamy.
- Fold in whipped topping: Gently fold the thawed whipped topping into the peanut butter mixture until just combined. Do not overmix.
- Assemble the pie: Spoon the peanut butter filling evenly into the chilled graham cracker crust. Smooth the top with a spatula.
- Chill the pie: Cover the pie loosely with plastic wrap and refrigerate for at least 4 hours, or until the filling is firm. This is a key step for a perfect no bake peanut butter pie.
- Prepare the topping: In a small microwave-safe bowl, combine the 1/2 cup melted peanut butter and chocolate chips. Microwave in 20-second intervals, stirring in between, until smooth.
- Finish and serve: Drizzle the warm chocolate peanut butter topping over the chilled pie. Return the pie to the refrigerator for 30 minutes to allow the topping to set slightly before slicing and serving your crowd pleasing pie.
Notes
- For an Oreo crust pie, substitute 2 cups of finely crushed Oreo cookies for the graham cracker crumbs.
- You can use a store-bought graham cracker crust to save even more time on this quick dessert idea.
- If you want a richer topping, use a full cup of peanut butter cups, melted with a teaspoon of coconut oil, for a Reese’s peanut butter pie finish.
Nutrition
- Serving Size: 1 slice
- Calories: 450
- Sugar: 35g
- Sodium: 280mg
- Fat: 30g
- Saturated Fat: 10g
- Unsaturated Fat: 20g
- Trans Fat: 0g
- Carbohydrates: 40g
- Fiber: 2g
- Protein: 10g
- Cholesterol: 35mg