
Oh, those mornings, right? You know the drill—alarm goes off, you hit snooze twice, and suddenly you have about ten minutes before you actually need to be out the door! When breakfast feels like a race against the clock, you need reliability. That’s why this recipe is my absolute favorite go-to for making the ultimate easy french toast. Forget flimsy, soggy slices. We’re talking fluffy inside, perfectly golden outside, and done in under 15 minutes flat. Here at Julia Meal, we promise food that’s tested and true for the home cook because we believe great memories don’t need complicated steps. This is comfort without commitment!

This recipe cuts straight to the good stuff. We skip the overnight soaks and complicated flavor additives because sometimes, you just need straightforward, delicious results today. Let me show you how we get that perfect texture while keeping things incredibly simple. We focus on technique, not fuss, so you can enjoy your weekend morning breakfast without stress.
- Why This Is the Ultimate Easy French Toast Recipe
- Essential Ingredients for Easy French Toast
- Step-by-Step Instructions for Classic French Toast
- Tips for Making the Best French Toast Ever
- Variations on Easy French Toast
- Serving Suggestions for Your Homemade French Toast
- Storage and Reheating Instructions for Easy French Toast
- Frequently Asked Questions About Easy French Toast
- Share Your Easy French Toast Creations
Why This Is the Ultimate Easy French Toast Recipe
When I say this is the ultimate easy french toast, I really mean it. This isn’t about cutting corners to the point where it tastes like sad, boiled bread, either! We focus on making sure the few steps we *do* take are the right ones. That’s what building trust in the kitchen is all about—guaranteeing a delicious result even when you’re in a rush.
Why buy a mix or rely on a complicated method when this standard version works so perfectly? Here’s the quick breakdown of what makes this recipe a winner, especially for those frantic weekday mornings:
- It’s shockingly fast. Seriously, you can be sitting down to eat before the toaster oven even finishes its job on a piece of toast!
- The required ingredients are things I always have on hand—no specialized trips to the store required.
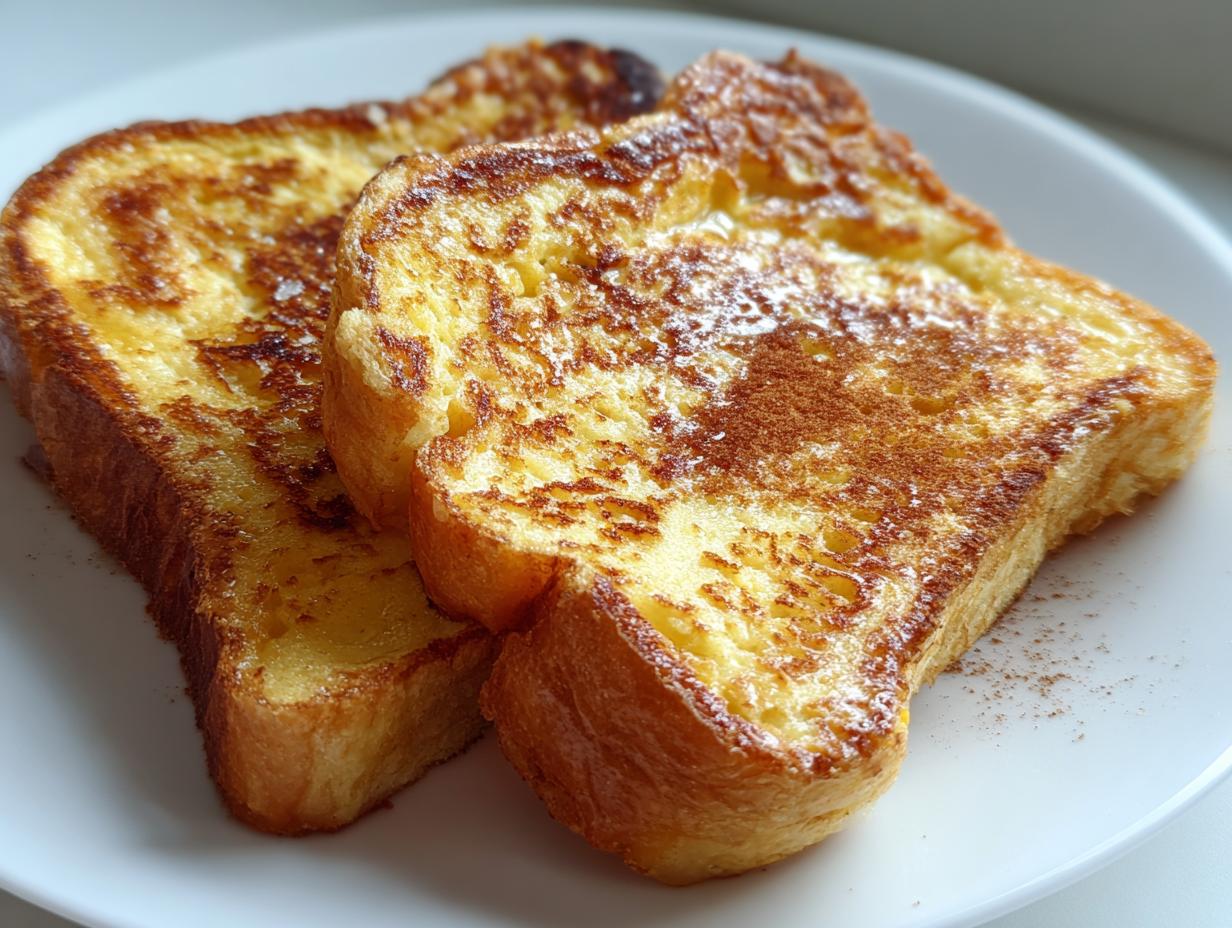
- It nails the texture every single time: golden brown crust on the outside, rich and custardy inside. That’s the magic we are aiming for! You can explore other quick breakfast ideas later, but this is your reliable base.
Speed: A True 15 Minute Breakfast
We clock in at only five minutes of prep time—that’s mixing the batter and getting the skillet hot. Then, we only spend about ten minutes cooking. Yep, you read that right: we’ve got a full, delicious breakfast on the table in just 15 minutes total. It’s the perfect solution when you need a **15 Minute Breakfast** that actually feels special before running out the door.
Texture Goals: Achieving Fluffy French Toast
The texture is everything, isn’t it? Nobody wants French toast that’s heavy or dense. This batter mixture is designed specifically to create an incredible interior. We balance the soaking time just right so the bread absorbs enough of that eggy vanilla flavor to become **Fluffy French Toast**, but not so much that it turns limp when it hits the heat. Trust me, you want that slight contrasting bite between the crispy edges and the soft middle.
Essential Ingredients for Easy French Toast
The beauty of making incredible French toast at home is that you usually don’t need anything fancy. This is one of those meals where simple, quality ingredients shine through. If you’re looking for **French Toast with Simple Ingredients**, you’ve come to the right place. I keep these things stocked at all times because you never know when that spontaneous brunch craving is going to hit!
We rely on basic pantry staples, but I have one main rule for maximizing texture. That rule is all about the bread. For this recipe, I strongly suggest using thick-cut bread. Seriously, stop right there if you’re reaching for those thin sandwich slices! Good options are brioche or Texas toast—they are sturdy enough to handle the egg bath. This thickness is key because it prevents sogginess and helps us achieve that gorgeous, light, custardy result we are aiming for inside when we cook it up.
Don’t forget the vanilla and cinnamon—those are the flavor workhorses that make it smell amazing while cooking!
Step-by-Step Instructions for Classic French Toast
Okay, now we get to the fun part! Cooking is simple, but the technique is what separates the good French toast from the Best French Toast Ever. I promise, if you follow these steps exactly, especially paying attention to the timing, you’re going to nail that perfect texture we talked about. It’s all about managing the heat and not letting the bread get waterlogged. We’re making a real, honest-to-goodness breakfast here, not just throwing bread in a pan.
We’re using a standard skillet or a nice big griddle for this batch. If you need inspiration for other great dishes that come together fast, check out my tips for creamy fluffy scrambled eggs—another weekday hero!
Preparing the Custard Base for Easy French Toast
First up, we need that delicious soaking mixture. Grab a shallow dish—a pie plate works perfectly for this. Whisk those two eggs together really well before you add anything else. You want zero streaks of just egg white floating around! Then, pour in your milk, that splash of vanilla, your cinnamon, and that tiny pinch of salt. You have to whisk this until everything is completely unified. This even mixture is what guarantees you don’t have bland spots or spots that are too eggy—it keeps that **Custardy Interior French Toast** dream alive!
The Perfect Soak and Griddle Technique
Now for the moment of truth where most people go wrong! Get your skillet heating over medium heat. Medium is important; too high and you burn the outside before the inside sets up, too low and it gets dry. Add your butter or oil and let it melt right across the surface.
When you grab a slice of bread, dip it quickly—I mean 15 to 20 seconds on the first side, then 15 to 20 on the second. That’s it! If you let it sit for a minute, it starts trying to become soup, and we don’t want sad, soggy bread. You need to pull it out when it’s saturated but still structurally sound.
Lay the soaked slice onto that hot, buttered griddle. Let it sizzle happily for about three to four minutes until it’s deeply golden brown. Flip it gently with a spatula—see how nicely it releases? Cook the second side for the same amount of time. Listen for that gentle sizzle, that’s the sound of success for your **easy french toast**!
Tips for Making the Best French Toast Ever
Even though this is our **easy french toast** recipe, there are definitely a few secrets I picked up over the years that take it from good to, well, the Best French Toast Ever. When you are aiming for that perfect crunch on the outside and tender center, a few small details make a huge difference. Trust me on these; they are game-changers for your weekend breakfast!
Bread Selection for Easy French Toast
I keep mentioning it because it’s that important: the bread choice dictates your final texture. If you have day-old bread, use it! Stale bread is your best friend for this recipe. It’s slightly dried out, so it can soak up all that glorious egg-milk bath without immediately falling apart on you. That absorption process is what gives you that fantastic, deep, **Fluffy French Toast** interior.
If you are using fresh brioche, you might need to cut your soaking time down by just a few seconds. If the bread is super soft when you pick it up, it’s going to be mush when you cook it. Heavy, thick-cut bread—Brioche or Texas toast—is simply easier to handle!
Troubleshooting Common Issues
I hear from folks sometimes saying, “Mine burned before it was cooked inside!” and usually, I know exactly what happened. Nine times out of ten, it’s the heat. You must resist the urge to crank the temperature to high! If the skillet is smoking hot, the outside crisps up instantly, but the cold custard layer deep inside never has time to set. Keep it at medium heat, maybe slightly above if your pan runs cool, but never crank it up.
Another common snag is sogginess. If your final product feels wet or heavy rather than custardy, you soaked it too long, or you used very thin bread. If it feels too soggy coming out of the pan, just let the next slice hang out of the mixture for five seconds less before it hits the heat. A little practice with the timing, and you’ll be a pro at this classic French toast technique!
Variations on Easy French Toast
While I absolutely adore the classic flavor profile—it’s perfect for a reason—sometimes you just need to shake things up a little, especially if you’re serving the same meal twice in one week! The great thing about this easy french toast base is how adaptable it is. We are using simple ingredients, so adding a flavor boost is super fast and doesn’t add much fuss to your cooking time at all.
Think of the batter as a blank canvas, ready for its next masterpiece. This lets you pivot from a family favorite to a special treat in just a few extra seconds!
Cinnamon French Toast Upgrade
If you want a stronger spice pop, go right ahead and make this a true **Cinnamon French Toast** by doubling the spice in the batter! I personally love coming off the griddle, while the toast is still hot and slightly sticky, and giving the slices a quick toss in a bowl of granulated sugar mixed really well with extra cinnamon. If you want a real textural surprise, you can even toss it in sugar mixed with finely crushed cornflakes—they get delightfully crunchy, way better than just plain toast!
Making Easy Brunch Recipes with Baked French Toast Casserole Easy
If you’re making French toast for a whole crew, I totally get it—flipping dozens of slices is nobody’s idea of a relaxing Sunday. While this pan-fried recipe focuses on speed for smaller batches, if you’re cooking for a crowd, this technique is the stepping stone to making an **Easy Baked French Toast Casserole Easy** the night before. It gives you those same incredible flavors but bakes up all at once. Check out my recipe for cinnamon roll pancakes for another idea on making those big **Easy Brunch Recipes** feel totally effortless when you need them!
Serving Suggestions for Your Homemade French Toast
Making the **easy french toast** is only half the battle, right? Now we have to talk about what goes on top! Since we kept the cooking process fast, we want the toppings to be just as quick. Nothing fancy or fussy needed here—we’re aiming for delicious satisfaction in seconds so you can get to eating!
The absolute classic has to be real maple syrup. Heat it up slightly if you can! It just melts so much better into the nooks and crannies of that bread. A little dusting of powdered sugar makes it look really pretty, like you actually spent time on it, even though we just made this in 15 minutes.
For a really satisfying meal that turns this into a full-on **Quick Morning Meal Idea**, serve it with some sliced bananas or fresh berries. And if you’re feeling wild, pair it with my recipe for candied millionaire bacon—sweet, salty, and the perfect counterpoint to the soft toast!
Storage and Reheating Instructions for Easy French Toast
Life happens, and maybe you didn’t devour every single glorious slice of that **easy french toast**. Don’t worry! This recipe is still a fantastic **Simple Breakfast Idea** for tomorrow, provided you store it the right way. The key here is remembering how we achieved that perfect balance—we want to reheat it gently so it doesn’t dry out or turn rubbery. We are aiming to resurrect that soft, custardy interior, not turn it into dry crackers!
Storing is easy: let the leftovers cool completely on a rack first. Once they are room temperature, stack them up with small pieces of parchment paper or wax paper between each slice. This stops them from sticking together in a sad, floppy pile. Pop that stack into an airtight container or a zip-top bag. This simple setup should keep them tasting great in the fridge for about three days max.
Now, reheating is where people mess up! Please, please, please do not microwave your French toast if you want to keep that texture intact! The microwave is the enemy of crispy edges and custardy centers; it just steams everything until it gets chewy. If you want to keep the texture closest to when it was freshly made, pop the slices directly onto a baking sheet in the toaster oven or a standard oven set to about 350 degrees Fahrenheit. Ten minutes is usually perfect for warming them right through. If you’re just doing one slice, a quick minute or so in the toaster slot works wonders too, giving you that lovely little bit of crunch back!
Frequently Asked Questions About Easy French Toast
Even after sharing all my favorite tricks, I know you home cooks sometimes have super specific questions! It’s good to ask! We want to make sure this recipe works absolutely perfectly for your family, whether you’re whipping it up on a Tuesday or enjoying a slow **Weekend Morning Breakfast**. Here are a few things I hear all the time about making this delicious breakfast happen.
Can I use regular white bread for this Quick French Toast Recipe?
Oh, absolutely you can! If that’s what you have, use it! But I need you to listen carefully here: the soaking time changes completely if you use thin slices. Regular white bread is like a sponge that’s had too much coffee—it absorbs liquid way too fast. If you use thin bread, only dip it for about five to ten seconds per side, maximum! If you soak it like you would the thick brioche, it’s just going to deflate and become total mush on the griddle. This is a key part of our **Quick French Toast Recipe** success!
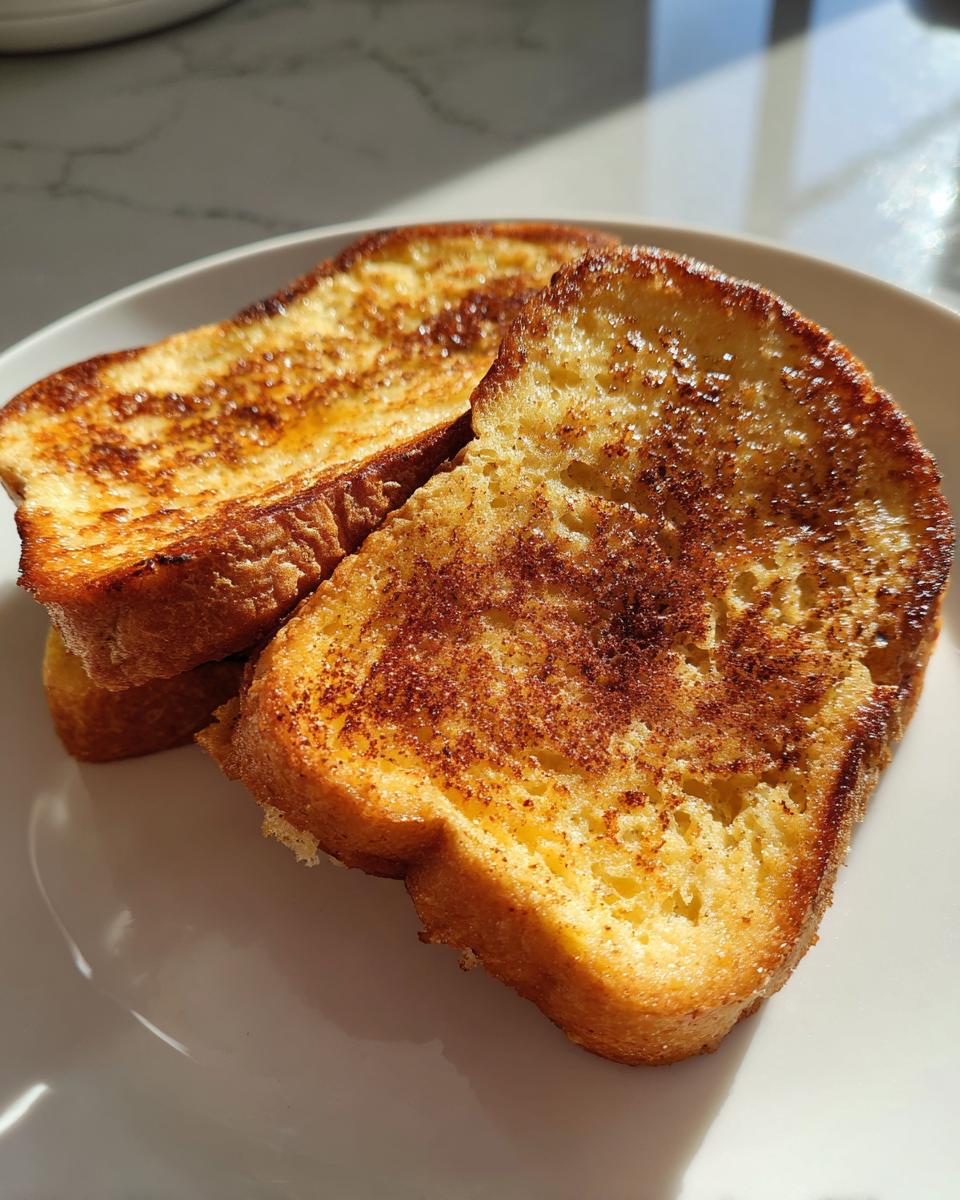
How do I get that perfect Custardy Interior French Toast?
This is the holy grail, isn’t it? That creamy center is what lets you know you’ve made the Best French Toast Ever. It all comes down to the bread thickness and the heat control. First, use bread that’s at least an inch thick—that gives the heat time to penetrate the middle before the outside gets dark. Second, make sure your custard base has a good ratio of egg to milk—I never skimp on the eggs! Finally, keep that heat locked in at medium. If you cook it slowly and gently, the egg mixture sets slowly, creating that lovely tender center instead of just cooking the outside hard.
Is this recipe suitable for a Weekend Morning Breakfast?
It’s definitely fast enough for a **Weekend Morning Breakfast**, but if you’re hosting more than four people, flipping piece after piece can get tedious. That’s when you pivot! Since this is such a reliable base recipe, you can make the exact same custard batter, pour it over pieces of bread arranged in a greased 9×13 pan, and pop it in the oven for a **Baked French Toast Casserole Easy**! You can even prep the whole thing the night before. That way, breakfast is ready to go when everyone stumbles downstairs!
If you need more inspiration for easy meals, check out my favorite simple toast toppings!
Share Your Easy French Toast Creations
Now listen, making this easy french toast should bring a little bit of joy to your morning, whether it’s a solo weekday treat or a huge family event. I put my heart into developing these simple recipes, and nothing makes me happier than hearing that they worked perfectly for you!
So, once you’ve made your batch—whether you went classic or tried boosting that cinnamon flavor—I really want to know how it went! Leave a little star rating right below this section. That feedback is huge, truly. It lets other home cooks know they can trust this recipe, even when they are rushing out the door.
And please, tell me about your toppings! Did you stick to butter and syrup, or did you go totally wild? Snap a picture if you can, because I love seeing how you bring these recipes from my kitchen right into yours. If you have any lingering questions that I didn’t cover, feel free to send them my way through my contact page. Happy cooking, friends!
PrintThe Ultimate Easy French Toast: Fluffy Inside, Golden Outside in Under 15 Minutes

Make perfect, classic French toast quickly. This simple recipe yields golden, fluffy slices with custardy centers using basic ingredients, ideal for busy mornings or weekend brunch.
- Prep Time: 5 min
- Cook Time: 10 min
- Total Time: 15 min
- Yield: 3 servings 1x
- Category: Breakfast
- Method: Skillet Cooking
- Cuisine: American
- Diet: Vegetarian
Ingredients
- 6 slices thick bread (Brioche or Texas toast recommended)
- 2 large eggs
- 1/2 cup milk (whole or 2%)
- 1 teaspoon vanilla extract
- 1/2 teaspoon ground cinnamon
- Pinch of salt
- 1 tablespoon butter or oil for the griddle
Instructions
- In a shallow dish, whisk together the eggs, milk, vanilla extract, cinnamon, and salt until fully combined. This is your custard base.
- Heat a large skillet or griddle over medium heat. Add the butter or oil and let it melt and coat the surface.
- Dip one slice of bread into the egg mixture, allowing it to soak for about 15 to 20 seconds per side. Do not over-soak, or the bread will become soggy.
- Place the soaked bread onto the hot griddle. Cook for 3 to 4 minutes per side, until the French toast is golden brown and cooked through.
- Repeat with the remaining slices, adding more butter to the griddle as needed between batches.
- Serve immediately with your preferred toppings.
Notes
- For a custardy interior, use slightly thicker bread. Thin bread cooks too fast and dries out.
- If you want extra crispy edges, increase the heat slightly during the last minute of cooking on each side.
- You can prepare the batter ahead of time and store it in the refrigerator for up to 24 hours.
Nutrition
- Serving Size: 2 slices
- Calories: 280
- Sugar: 8
- Sodium: 350
- Fat: 12
- Saturated Fat: 5
- Unsaturated Fat: 7
- Trans Fat: 0
- Carbohydrates: 30
- Fiber: 1
- Protein: 14
- Cholesterol: 140