
There honestly isn’t anything quite like a slow Saturday morning, right? The house is quiet, the coffee is brewing, and you get to make something truly special. For me—and I’ve learned this through years of experimenting—that special thing has to be a stack of truly magnificent, tall, and fluffy pancakes. Forget those thin, quick ones you make on a Tuesday; this recipe is for the weekend. I’ve taken everything I learned in bustling restaurant kitchens and boiled it down to the soul of home cooking: this is my ultimate fluffy old-fashioned buttermilk pancakes from scratch recipe. It’s the best way to start any celebration, big or small. You’re going to love watching these rise!
- Why This Is the Best Pancake Recipe for Tall Fluffy Stacks
- Gathering Ingredients for Old Fashioned Pancakes From Scratch
- Essential Tips for Perfect Pancakes: Mastering the Scratch Pancake Batter
- Step-by-Step Instructions for Easy Homemade Pancakes
- Serving Suggestions for Your Classic Breakfast Favorite
- Storing and Reheating Your Fluffy Pancakes
- Frequently Asked Questions About Making Pancakes
- Estimated Nutrition for These Delicious Pancakes
- Share Your Ultimate Fluffy Pancake Experience
Why This Is the Best Pancake Recipe for Tall Fluffy Stacks
I’ve made hundreds of batches of pancakes, trying every trick out there, and I can tell you right now: this particular combination—using real buttermilk and letting the batter rest—is the secret sauce. This isn’t just another simple stovetop pancakes attempt; this is truly the best pancake recipe for delivering those cloud-like, nostalgic breakfast favorites. Other recipes might rely on extra whipping, but we get our lift naturally, making these thick and moist pancakes achievable even when you’re half-asleep on a Sunday morning.
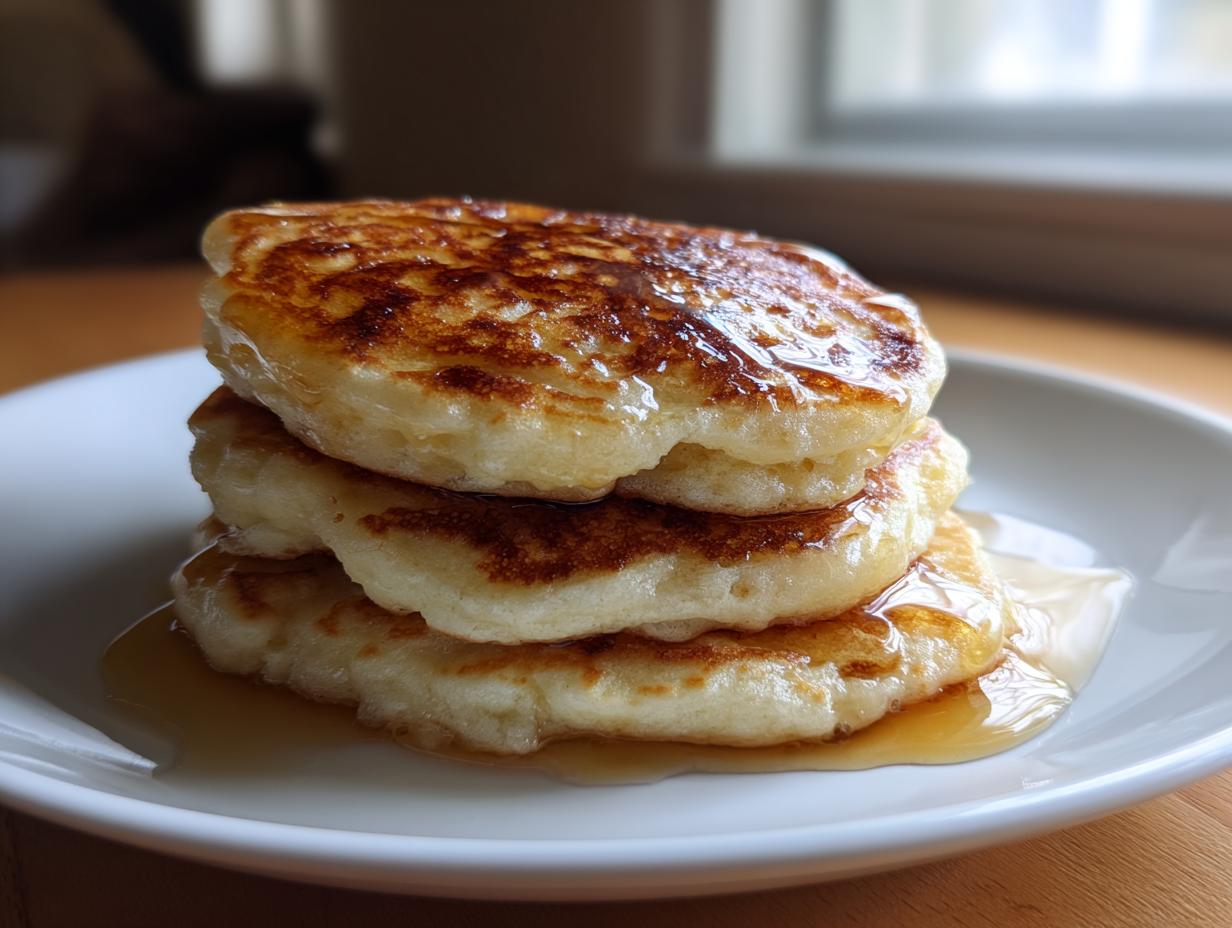
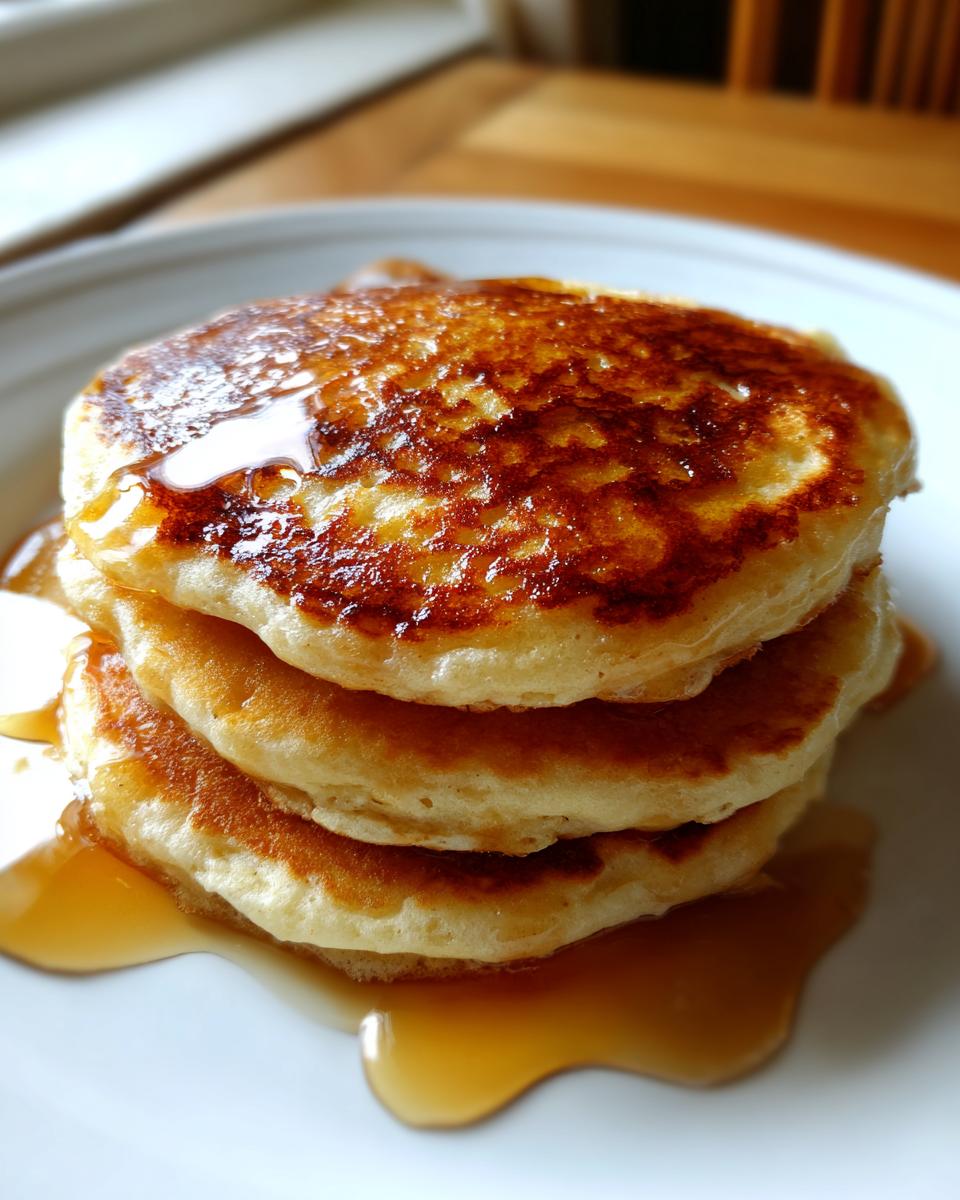
The results speak for themselves: you get those beautiful, tall fluffy pancake stacks that barely stay within the borders of your plate. This is what homemade pancakes should be. Trust me, once you try these old fashioned pancakes from scratch, you won’t look back at the box mix again.
The Science Behind Fluffy Pancakes Recipe Success
It all comes down to a perfect, gentle reaction in the bowl. We use baking powder for general lift, but the real powerhouse here is the baking soda reacting with the lactic acid in the buttermilk. When they meet, they create carbon dioxide bubbles immediately releasing lots of gas. Allowing that scratch pancake batter to rest for just a moment lets those bubbles grow strong, ensuring you get maximum height and that light, airy pancake texture when they hit the griddle.
Gathering Ingredients for Old Fashioned Pancakes From Scratch
Okay, listen up, because I need you to raid your pantry and make sure you have the honest-to-goodness stuff ready before we start mixing. We aren’t cutting any corners here. The quality of these simple building blocks determines whether you get a decent breakfast or the most perfect pancakes of your life. These components are what make them true old fashioned pancakes from scratch that taste like pure comfort.
Buttermilk Pancakes Recipe Ingredient Breakdown
- 2 cups all-purpose flour
- 2 tablespoons granulated sugar
- 4 teaspoons baking powder
- 1/2 teaspoon baking soda
- 1/2 teaspoon salt
- 1¾ cups buttermilk
- 2 large eggs
- 2 tablespoons unsalted butter, melted
- 1 teaspoon vanilla extract
Essential Tips for Perfect Pancakes: Mastering the Scratch Pancake Batter
If you want to know how to make perfect pancakes, you need to understand this: treating the batter gently is non-negotiable. I see folks mash and beat these ingredients together like they are trying to start a fire, but that creates tough, heavy disks! We want light, airy pancakes, remember? Stop mixing the second you see the dry parts disappear into the wet. A few streaks of flour in your scratch pancake batter are actually a good sign—they show you respected the gluten development process. Don’t worry, those lumps cook out perfectly fine on the griddle.
And please, please, please—don’t skip the rest period! Just ten minutes on the counter lets the magic happen. That gentle resting time lets those chemical reactions we talked about really pump up the volume before they even see heat.
Ingredient Notes and Substitutions for Buttermilk Pancakes
Now, real buttermilk is best, but I know life happens, and sometimes you run out. If you’re starring at an empty carton, don’t panic! You can easily make a substitute buttermilk right in your measurement cup. Just take your regular milk—I used 1¾ cups—and stir in one tablespoon of white vinegar or fresh lemon juice. Let it sit for about five minutes until it looks a little curdled. Perfect!
Also, if you’re making a huge batch and can’t eat them all right away, I have a great trick for keeping them warm. Arrange your finished pancakes in a single layer on a baking sheet, and pop that tray into a very low oven—around 200°F. They stay incredibly warm and won’t steam themselves into rubbery sadness while you finish up the next batch.
Step-by-Step Instructions for Easy Homemade Pancakes
Now that we’ve respected the batter and let it rest completely—that’s the real key to easy homemade pancakes—it’s time to cook! Getting the pan temperature right is honestly half the battle when you’re aiming for those thick, golden edges. You want medium heat, not blazing inferno, especially for these simple stovetop pancakes.
First things first: heat up your griddle or your favorite big nonstick skillet over medium heat. If you’re using butter to grease it, wait until the little sizzle lasts more than a second. A fun trick? Drip a tiny bit of water onto the surface. If it beads up and dances right away, you’re perfect! If it vanishes instantly, the pan needs a minute more heat.
Next, we portion them out. I find that about a quarter-cup of batter per pancake is the sweet spot for getting that nice height we’re aiming for. Pour gently onto the prepared surface.
The critical sign that it’s time to flip is non-negotiable: you must see lots of bubbles forming across the entire surface, and the edges should genuinely look dry and matte. Don’t peek too soon! That’s usually about two to three minutes on the first side. Once you flip, they only take another minute or two to catch up and get that beautiful golden-brown finish on the second side. Stack ’em high and get ready to eat!
Serving Suggestions for Your Classic Breakfast Favorite
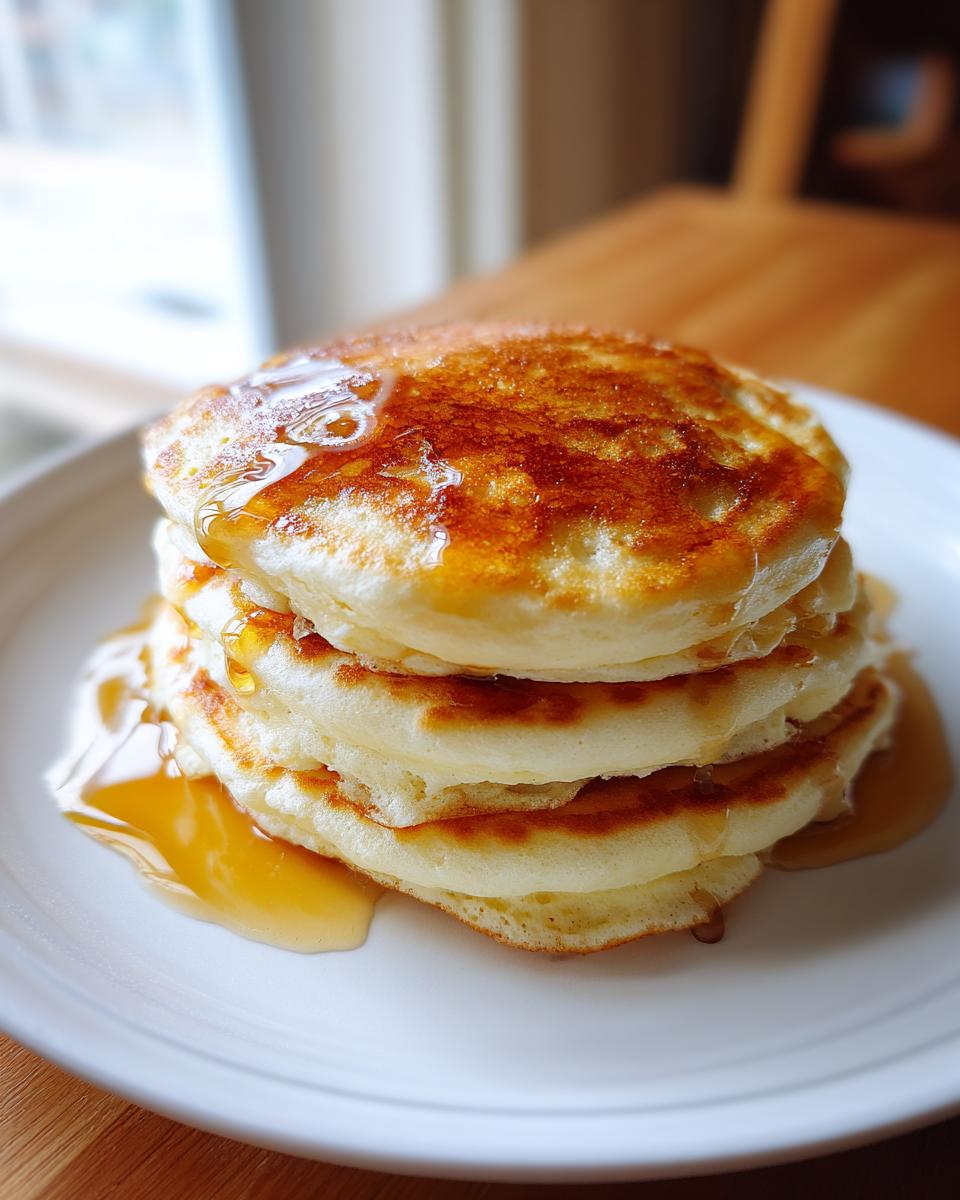
Okay, you’ve made the fluffiest stack known to humanity—don’t let it down by just using old, sticky syrup! These buttermilk pancakes are robust enough for hearty toppings, making them the star of any serious weekend brunch recipes spread. Maple syrup is classic, yes, but we can do better!
My favorite way to dress these up is a simple but elegant combination. A pat of good, salty butter melting slowly, followed by a generous helping of fresh, slightly tart berries—think raspberries or blueberries that pop with every bite. If you’re feeling decadent, a big dollop of fresh whipped cream on top makes them feel immediately special, like you’re serving dessert for breakfast.
If you’re feeling adventurous, try substituting plain yogurt mixed with a little honey instead of standard syrup. It adds a nice tanginess that cuts through the richness of the batter. Honestly, these thick and moist pancakes are so good they almost don’t need anything, but toppings just make the experience feel more like a celebration!
Storing and Reheating Your Fluffy Pancakes
One of the great things about this classic breakfast favorite is that these pancakes reheat beautifully, provided you store them correctly. If you have leftovers—which usually means my kids raided the warming oven too soon—let them cool completely first. Never store warm pancakes in a tight container, or you’ll steam that beautiful fluff right out of them!
You can store the completely cooled pancakes in an airtight container in the fridge for about three to four days. When you’re ready for seconds, save the microwave for reheating soup, okay? The microwave just makes things chewy and sad.
For the best results, lay them out on a baking sheet and warm them up in a 350°F oven for about five to seven minutes. That dry heat gently warms them through and restores that lovely, soft exterior we worked so hard to achieve. They’ll be almost as good as fresh off the griddle!
Frequently Asked Questions About Making Pancakes
I know we covered a lot of ground making these perfect, but sometimes you just need a quick answer about texture or timing! I always get asked the same few things when people first try to elevate their breakfast game beyond the standard mix. Here are a few last-minute tips to ensure your next batch of pancakes comes out absolutely perfect.
Can I make this scratch pancake batter ahead of time?
This is where it gets tricky! Because we rely on the reaction between the baking powder/soda and the buttermilk for that lift, the batter really needs to be used quickly. If you mix it up way ahead, the baking soda essentially spends all its energy before it even hits the heat, leaving you with flat pancakes. For the absolute fluffiest results—the kind that earn the title of the best pancake recipe—mix right before you plan to cook. If you *must* wait, mix the dry ingredients separately, and only mix the wet ingredients into the dry ones right before cooking.
What if I totally forgot to buy buttermilk?
Don’t worry about it! I told you how to make that buttermilk substitute earlier, but honestly, if you’re in a true pinch, you can use regular whole milk instead of buttermilk in a pinch. Just know this: if you use regular milk, they won’t achieve that specific slight tang or the incredible height we get when baking soda reacts with the acid. They will still be *easy homemade pancakes*, but they won’t be quite the same signature fluffy pancakes recipe.
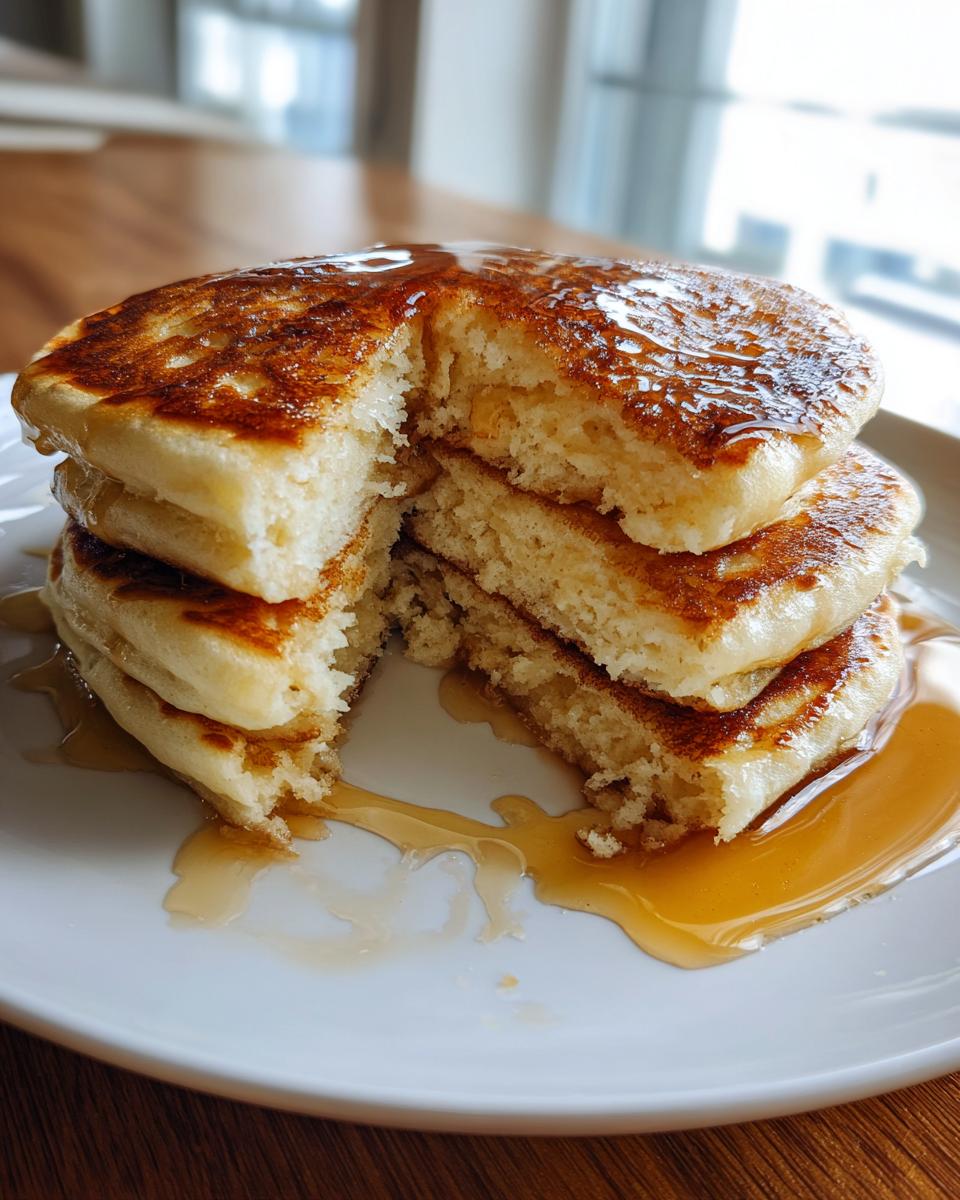
How do I guarantee those impossibly thick and moist pancakes?
It’s a two-fold answer based on what we’ve already discussed! First, make sure you stick to the 10-minute rest period, but if you want even more thickness, let that batter sit for a full 15 to 20 minutes instead. Second, when you pour the batter onto the griddle, use a measuring spoon or a small ladle to ensure every pancake gets exactly the same amount—about ¼ cup. Pouring less batter means they spread thinner, and we are aiming for glorious height here!
Do I have to use a cast iron skillet?
Not at all! While cast iron holds heat incredibly well, which is great, any large nonstick skillet or a dedicated griddle will work just fine for these American pancakes recipe. The most important thing isn’t the pan material; it’s the heat management. Medium heat kept steady is the secret to cooking the middle through without burning the beautiful, golden-brown base.
Estimated Nutrition for These Delicious Pancakes
When you’re whipping up a batch of these incredible buttermilk pancakes, you’re focusing on the flavor and the fluffy texture, and that’s how it should be! But just so you know what’s on your plate, I’ve run the numbers for you. Please remember that these values are estimates based on the standard recipe ingredients listed above, meaning they don’t account for how much syrup you drown them in—but hey, that’s part of the joy!
- Serving Size: 1 pancake
- Calories: 180
- Sugar: 4g
- Sodium: 350mg
- Fat: 5g
- Carbohydrates: 29g
- Protein: 6g
It’s a wholesome, family-friendly breakfast that looks way more complicated than it actually is, and I’m happy to report it keeps the sugar content pretty reasonable if you go easy on the toppings!
Share Your Ultimate Fluffy Pancake Experience
Making these pancakes really brings me back to that warm, busy kitchen from my childhood. I sincerely hope that making this classic breakfast favorite fills your home with as much joy and good smells as it fills mine.
Now that I’ve shared my tried-and-true method for the fluffiest stacks imaginable, I really want to hear from you! Did you try the buttermilk trick? Did you manage to stop yourself from overmixing the batter? Get in the kitchen and give this a whirl this weekend.
When you do, please come back here and drop me a rating—I always shoot for five stars, of course! If you took a picture of your beautiful, tall stack before someone devoured it, share it in the comments or tag me on social media. I look forward to seeing your success stories and reading about how this became your new go-to recipe. Cooking is all about sharing, and I can’t wait to see what you create!
PrintThe Ultimate Fluffy Old-Fashioned Buttermilk Pancakes From Scratch
Make the best homemade breakfast with these old-fashioned buttermilk pancakes. This easy recipe yields tall, fluffy stacks with a tender crumb, perfect for your weekend brunch.
- Prep Time: 10 min
- Cook Time: 20 min
- Total Time: 30 min
- Yield: About 12 pancakes 1x
- Category: Breakfast
- Method: Stovetop
- Cuisine: American
- Diet: Vegetarian
Ingredients
- 2 cups all-purpose flour
- 2 tablespoons granulated sugar
- 4 teaspoons baking powder
- 1/2 teaspoon baking soda
- 1/2 teaspoon salt
- 1¾ cups buttermilk
- 2 large eggs
- 2 tablespoons unsalted butter, melted
- 1 teaspoon vanilla extract
Instructions
- In a large bowl, whisk together the flour, sugar, baking powder, baking soda, and salt. This is your dry mix.
- In a separate medium bowl, whisk together the buttermilk, eggs, melted butter, and vanilla extract. This is your wet mix.
- Pour the wet ingredients into the dry ingredients. Gently whisk until just combined. Do not overmix; a few lumps in the batter are fine. Overmixing develops gluten and results in tough pancakes.
- Let the scratch pancake batter rest at room temperature for 10 minutes. This allows the baking powder to activate, leading to light, airy pancakes.
- Heat a griddle or large nonstick skillet over medium heat. Lightly grease the surface with butter or cooking spray. The pan is ready when a drop of water sizzles immediately.
- Pour ¼ cup of batter onto the hot griddle for each pancake. Cook for 2 to 3 minutes per side. You know it is time to flip when bubbles appear on the surface and the edges look set.
- Flip the pancakes and cook for another 1 to 2 minutes until golden brown.
- Serve immediately with syrup for tall fluffy pancake stacks.
Notes
- For extra thick and moist pancakes, let the batter rest for 15 to 20 minutes.
- If you do not have buttermilk, mix 1¾ cups of regular milk with 1 tablespoon of white vinegar or lemon juice and let it sit for 5 minutes before using.
- Keep finished pancakes warm in a single layer on a baking sheet in a 200°F oven while you cook the remaining batter.
Nutrition
- Serving Size: 1 pancake
- Calories: 180
- Sugar: 4
- Sodium: 350
- Fat: 5
- Saturated Fat: 3
- Unsaturated Fat: 2
- Trans Fat: 0
- Carbohydrates: 29
- Fiber: 1
- Protein: 6
- Cholesterol: 55