
Sometimes you’re craving something truly decadent, something that tastes like it took hours of professional whisking, but you only have about fifteen minutes before company arrives. I get it; the kitchen should be joyful, not stressful! That’s why I landed on what I truly believe is the best chocolate mousse you can make without ever turning on the oven. This Easy 3-Ingredient Silky Chocolate Mousse is pure magic. It’s creamy, light, and honestly feels like cheating because it’s so impossibly simple. Forget complicated steps; we’re getting straight to that rich, melt-in-your-mouth reward. Trust me, this will be your new go-to simple delicious dessert.
- Why This Easy 3-Ingredient Chocolate Mousse Recipe Works (E-E-A-T Focus)
- Gathering Ingredients for Your 3 Ingredient Chocolate Mousse
- Step-by-Step Instructions for Silky Chocolate Mousse
- Tips for the Best Homemade Mousse Recipe
- Serving Suggestions for Your Decadent Chocolate Treat
- Make Ahead Dessert: Storing Your Chocolate Mousse
- Troubleshooting Common Chocolate Mousse Issues
- Frequently Asked Questions About This Quick Chocolate Mousse
- Estimated Nutritional Data for Your Chocolate Mousse
- Estimated Nutritional Data for Your Chocolate Mousse
Why This Easy 3-Ingredient Chocolate Mousse Recipe Works (E-E-A-T Focus)
When I was experimenting with the perfect chocolate mousse, I tried every classic technique out there—those that called for tempering eggs or cooking yolks over a double boiler. Way too much stress for a Tuesday night treat! This recipe skips all that fuss because we rely on the natural structure of heavy whipping cream. It’s a total game-changer for getting that luxurious mouthfeel.
It’s the combination of high-quality melted chocolate with perfectly whipped cream that gives us our results. This method ensures you get that beautiful, simple delicious dessert every single time, making it the best quick chocolate mousse option for beginners. It’s a true minimal ingredient dessert success story we’ve tested countless times!
Achieving Silky Chocolate Mousse Texture Without Baking
So, how do we get that incredible lift and silky chocolate mousse texture without needing eggs or an oven? It’s simple physics, really! When you heat the cream just right and melt the chocolate into it, you create a rich ganache base. Then, when you fold in the separately whipped heavy cream, those tiny air pockets you created in the cream get suspended in the chocolate mixture.
That’s the secret! The fat in the cream holds the air beautifully, giving you that light, airy feeling that melts instantly on your tongue. Since we aren’t baking, we don’t risk any toughness; it just sets up perfectly cold for that signature smooth finish.
Gathering Ingredients for Your 3 Ingredient Chocolate Mousse
Okay, let’s talk ingredients. Because this is a 3 ingredient chocolate mousse (plus the optional sugar, which I usually skip but you do you!), the quality of what you use makes a huge difference. Don’t skimp here! When you’re working with so few components for your chocolate mousse, every single one needs to pull its weight.
Here is what you need to have ready before you start melting anything:
- 1 cup heavy whipping cream, super cold—I mean, bowl-in-the-freezer cold!
- 6 ounces semi-sweet or dark chocolate, finely chopped—this is crucial.
- 1 tablespoon granulated sugar (this is totally optional. I often leave it out!)
Ingredient Notes and Substitution Options
My biggest piece of advice on ingredients centers around the chocolate. If you want that truly rich, decadent flavor for your homemade mousse recipe, trust me on this: use the good stuff. Aim for a semi-sweet or dark chocolate that is 60% cacao or higher. If it’s waxy or tastes like a candy bar, your mousse texture will suffer, so splurge a little!
Secondly, temperature is non-negotiable for the cream. It absolutely has to be cold when you whip it, or you’ll just end up with chocolate soup instead of a light, whipped chocolate mousse. If you’re worried about the sugar, the recipe notes mention you can use a few drops of liquid stevia instead if you’re cutting carbs, though I haven’t tested that for a keto chocolate mousse variation myself—it’s something you could certainly play with!
Step-by-Step Instructions for Silky Chocolate Mousse
Alright, let’s get down to the fun part—making this incredible chocolate mousse! I’ve broken this process into two main stages. Timing is everything here, especially when dealing with hot chocolate and cold cream, so follow these steps closely. If you nail these timings, you’ll have that perfect light and airy mousse every time.
Making the Rich Chocolate Base
First things first, you need to chop your chocolate as finely as you possibly can. Seriously, chop it like you mean it! Put that finely chopped chocolate in a heat-safe bowl. Next, take half of your cold heavy cream—that’s one half-cup—and heat it on the stove until you see just a few tiny bubbles forming around the edges. Don’t let it roll into a boil! Pour that hot cream right over the chocolate.
Now, here is my secret timing move: Walk away! Let that bowl sit completely undisturbed for five full minutes. This allows the residual heat to melt the chocolate completely without scorching it. After five minutes, whisk the mixture until it’s glossy and smooth, like velvet. If you’re adding that optional sugar, whisk it in now. IMPORTANT: Set this chocolate ganache aside and let it cool all the way down to room temperature. If it’s even a little warm, it’ll melt your whipped cream later, and we can’t have that!
Folding Technique for Whipped Chocolate Mousse
While the chocolate cools, take your *other* half-cup of cold cream and whip it up until you get those lovely soft peaks. You want it airy but not stiff! Once the chocolate mixture is cool, we start the folding process. This is the most important technique for a great homemade chocolate pudding recipe!
Take one big scoop of that whipped cream and fold it into the chocolate base. You don’t have to be gentle here; the goal is just to lighten up that thick chocolate. Once that’s incorporated, gently fold in the remaining whipped cream in two additions. Use a large spatula and cut straight down the middle, sweep along the bottom, and fold over. Keep doing this until *just* combined. Stop mixing the second you see no more white streaks. That’s how you keep your whipped chocolate mousse light and luxurious!
Tips for the Best Homemade Mousse Recipe
You’ve done the delicate work of folding, and now your beautiful chocolate mousse is portioned out. Don’t touch it! The hardest part is waiting for it to properly set. This homemade mousse recipe needs patience, but it pays off in texture. I know the temptation is strong, but you need a minimum of two hours in that cold refrigerator for the cream structure to firm up properly.
When you think it’s ready, give it a gentle poke. It should feel light and springy, not liquidy underneath. If you’re using high-quality dark chocolate, as I recommend, it might firm up a bit more solidly, which is fine! Keep in mind that this recipe is fantastic because it’s a great make ahead dessert; the flavor actually deepens overnight if you can resist eating it right away. For reference, you can check out how others make their quick versions over at Celebrating Sweets.
Serving Suggestions for Your Decadent Chocolate Treat
When you’ve put in the minimal effort to create such a decadent chocolate treat, you want to make sure the presentation sings! The beauty of this chocolate mousse is that it looks incredibly sophisticated with almost no extra work. Since the recipe itself is so rich, I always stick to garnishes that provide a nice visual contrast or a tiny pop of flavor.
Forget complicated piping techniques! A simple dusting is often the most elegant choice. Grab a fine-mesh sieve and dust the top lightly with unsweetened cocoa powder right before you serve. It adds a beautiful matte finish against the glossy mousse. It reminds me of the fancy French style, but without any of the fuss.
If you want a little color, fresh raspberries or thinly sliced strawberries are my absolute favorite pairing; the slight tartness cuts through the richness perfectly. For something savory, a tiny sprinkle of flaky sea salt on top elevates the whole experience—it brings out the dark notes in the chocolate, honestly! If you like pairing desserts with something warm, these mousse cups go wonderfully alongside a fresh homemade coffee smoothie.
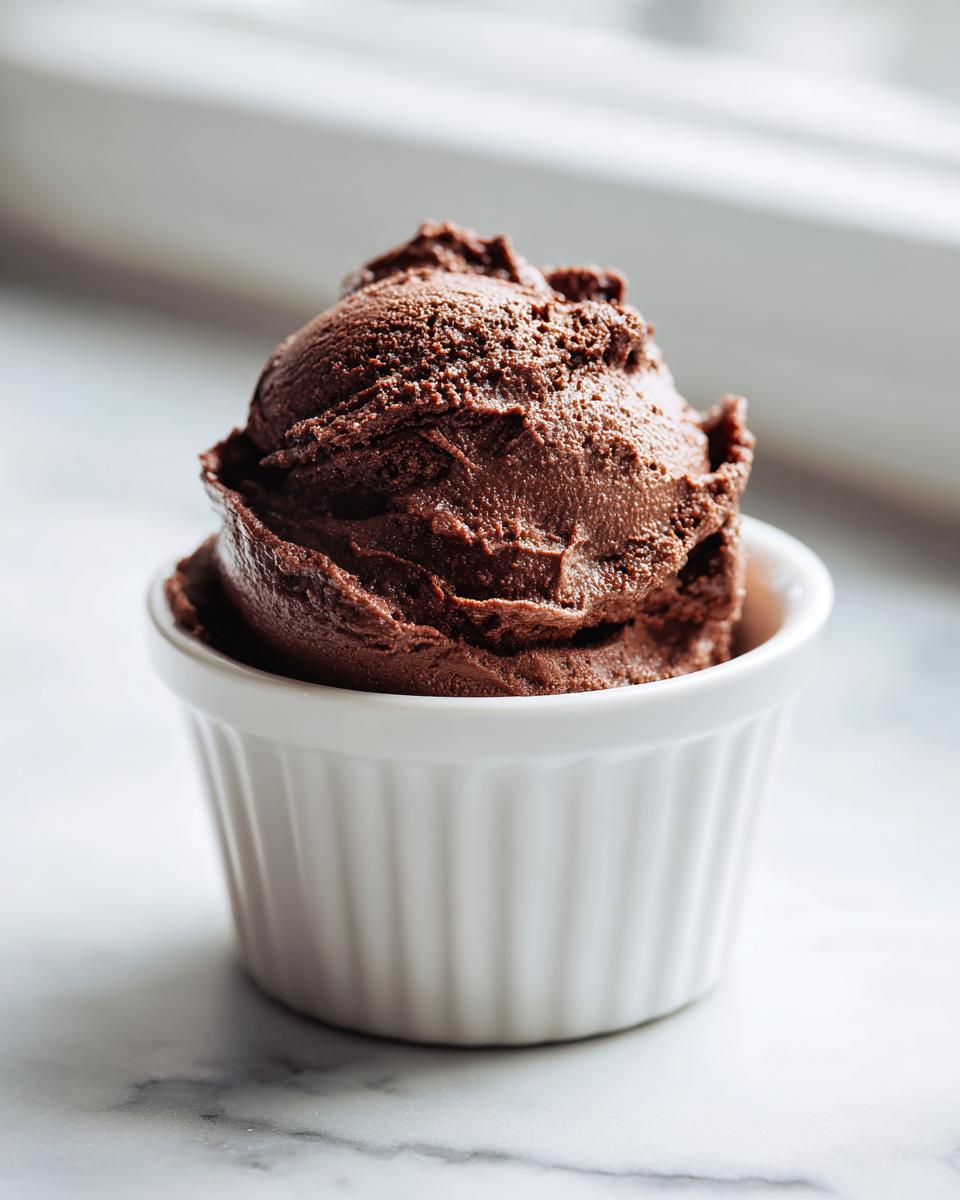
Also, serving it in small, clear glasses or ramekins is key. You want people to see those beautiful layers of airy texture you worked so hard to create when folding in the cream. It really shows off what a phenomenal easy chocolate mousse recipe this is!
Make Ahead Dessert: Storing Your Chocolate Mousse
This is truly the ultimate party saver because this chocolate mousse is a fantastic make ahead dessert. Seriously, you can whip this baby up the day before your big dinner, and it tastes even better the next day! That chilling time doesn’t just firm it up; it lets those rich chocolate flavors really marry together. It’s the quiet confidence of knowing dessert is done two days out, I tell ya!
The best way to store your individual mousse servings—whether they are in small glasses or cute little ramekins—is covered tightly. I always use plastic wrap, pressing it gently right onto the surface of the mousse. Why? Because if the plastic wrap touches the surface, you won’t get that weird, slightly dry skin that can sometimes form on top overnight. Keep it covered in the refrigerator up to three days, though honestly, mine never lasts that long!
If you decide to prepare this recipe in a larger batch, say in a big serving bowl, you need to be extra careful when serving. Once it’s out of the fridge, the whipped cream structure starts to warm up faster than when it’s divided into smaller portions. Don’t let it sit on the buffet table for hours uncovered!
If you’re prepping for a busy week, you can even make your chocolate base (that ganache part) ahead of time. Just let it cool completely, cover it, and keep it in the fridge for up to 24 hours. Then, when you’re ready, whip your cream and fold it all together right before serving. It makes the final assembly move so quickly that you’ll be free to focus on your easy lunch meal prep instead of panicking about dessert later!
Troubleshooting Common Chocolate Mousse Issues
Even with an incredibly easy recipe like this chocolate mousse, things can occasionally go a little sideways—and that’s okay! That’s part of cooking! The key to becoming a confident cook is knowing what to do when things don’t look perfect right away. Since this is a wonderful beginner friendly mousse, spotting and fixing these minor hiccups is easy once you know the signs.
The most common problem I hear about is a mousse that stays far too liquidy even after chilling. Nine times out of ten, this comes down to one of two things: either you didn’t whip your cream long enough to reach soft peaks, or, more commonly, you deflated the air out when you were folding in the final step.
If it’s still looking too loose after the recommended two hours in the fridge, cover it and give it another hour. Seriously, sometimes the ambient temperature of your kitchen just changes things! If you suspect you overmixed the fold, don’t panic; just put it in the fridge immediately and let the cold work its magic to stabilize the structure a bit longer. You might trade a little airiness for stability, but it will still taste amazing!
The other big issue is the melted chocolate base seizing up, turning grainy, or looking clumpy. This nearly always happens if the cream you poured over the chocolate was actually boiling instead of just simmering, or if you whisked the chocolate base before it had five minutes to rest. Hot cream cooks the cocoa solids instantly, causing them to tighten up. If this happens, don’t throw it out! Try whisking in one teaspoon of room-temperature milk or cream at a time until it loosens up and smooths back out. It might not be quite as dreamy as the perfectly silky version, but it will still be a rich, decadent dessert!
Frequently Asked Questions About This Quick Chocolate Mousse
I know when you find a recipe that promises the world—like a quick chocolate mousse that’s ready in minutes—you’ve got questions! That’s smart. We want to make sure this easy chocolate mousse recipe delivers that luxurious experience you deserve. Here are the things folks ask me most often when they’re about to dive in.
Can I use milk instead of heavy cream for this chocolate mousse recipe?
Oh, I really, really wouldn’t recommend it for this specific dish. This is why that heavy cream is underlined twice in my mind! Heavy cream has a high fat content—around 36% fat or more—and that fat is what traps all those little air bubbles when you whip it. That’s the magic that creates the light, airy, yet still rich structure of a great chocolate mousse.
If you swap in lower-fat milk, it just won’t whip up adequately. You’ll end up with a thick, chocolatey liquid instead of that beautiful, creamy dessert idea you are hoping for. Stick to the heavy cream for the best results every time!
How does this compare to a traditional French chocolate mousse recipe?
That is a wonderful question! A true, classic chocolate mousse you find in really fancy French pastry shops usually relies on incorporating whipped egg whites to get that incredibly delicate lift. They are lighter, often using egg yolks whisked with sugar, and then folded with whipped egg whites and melted chocolate.
Our recipe is definitely more of a modern, home-cook shortcut, and I love it for its simplicity. We are swapping the egg whites for heavy cream. The result is a denser, though still wonderfully soft and silky chocolate mousse, that is far more stable and doesn’t require the precision needed when working with raw eggs. It’s less fuss, zero cooking, and still tastes undeniably rich chocolate dessert quality!
Since this is so straightforward, it’s perfect for anyone looking for a beginner friendly mousse, but if you’re ever feeling ambitious, maybe we can tackle the traditional French version later! For now, this whipped cream method is foolproof.
If you’re looking for more simple ideas to utilize your fridge space effectively, checking out my guide on easy lunch meal prep can help you manage your kitchen better!
Estimated Nutritional Data for Your Chocolate Mousse
Now, I always tell people that when you’re making something this purely decadent, maybe don’t dwell too long on the numbers, okay? Enjoy the moment! But because I believe in being fully transparent about what we’re serving up in the Julia Meal kitchen—even for our glorious chocolate mousse—here is the estimated breakdown. Remember, these are just estimates based on standard pantry staples and the recipe as written, not accounting for any optional sugar or fancy add-ins.
- Serving Size: 1 serving
- Calories: 350
- Fat: 30g
- Carbohydrates: 20g
- Protein: 5g
The majority of your calories and fat here come straight from that heavy cream and the chocolate, which is what gives us that incredible, satisfying, and decadent chocolate treat texture. Balance is key in life, folks!
PrintEasy 3-Ingredient Silky Chocolate Mousse (No-Bake)
Make this incredibly easy 3-ingredient chocolate mousse for a decadent, silky, and light dessert. This no-bake recipe is perfect for beginners and creates an impressive treat quickly.
- Prep Time: 15 min
- Cook Time: 0 min
- Total Time: 2 hours 15 min
- Yield: 4 servings 1x
- Category: Dessert
- Method: No-Bake
- Cuisine: American
- Diet: Vegetarian
Ingredients
- 1 cup heavy whipping cream, cold
- 6 ounces semi-sweet or dark chocolate, finely chopped
- 1 tablespoon granulated sugar (optional, for extra sweetness)
Instructions
- Place the finely chopped chocolate in a medium, heat-safe bowl.
- Heat half of the heavy whipping cream (1/2 cup) in a small saucepan over medium heat until it just begins to simmer around the edges. Do not let it boil rapidly.
- Pour the hot cream over the chopped chocolate. Let it sit undisturbed for 5 minutes to allow the chocolate to melt completely.
- Whisk the chocolate and cream mixture until it is completely smooth and glossy. If using sugar, whisk it in now. Set this mixture aside to cool to room temperature. It must not be warm when you fold in the remaining cream.
- In a separate, chilled bowl, whip the remaining 1/2 cup of cold heavy whipping cream until soft peaks form. If you are using the optional sugar, add it halfway through whipping.
- Gently fold about one-third of the whipped cream into the cooled chocolate mixture to lighten it.
- Carefully fold in the remaining whipped cream until just combined. Avoid overmixing to keep the mousse light and airy.
- Spoon the silky chocolate mousse into individual serving dishes or ramekins.
- Chill the chocolate mousse in the refrigerator for at least 2 hours, or until firm enough to serve.
Notes
- For a richer flavor, use high-quality dark chocolate (60% cacao or higher).
- This is a great make-ahead dessert; it keeps well in the refrigerator for up to 3 days.
- If you want a lighter texture, you can substitute the sugar with a few drops of liquid stevia for a low-carb option, though the texture may vary slightly.
Nutrition
- Serving Size: 1 serving
- Calories: 350
- Sugar: 18
- Sodium: 35
- Fat: 30
- Saturated Fat: 18
- Unsaturated Fat: 12
- Trans Fat: 0
- Carbohydrates: 20
- Fiber: 2
- Protein: 5
- Cholesterol: 95