
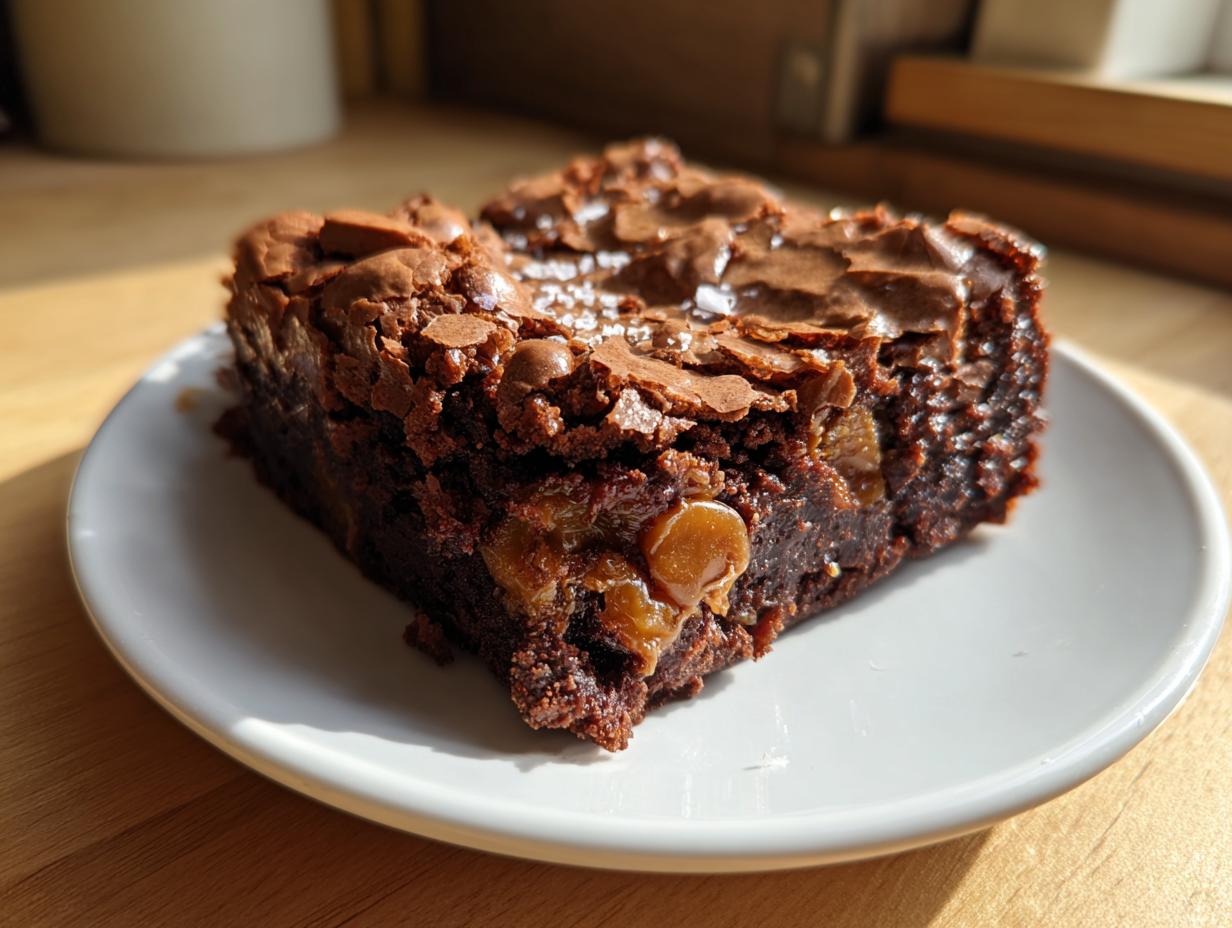
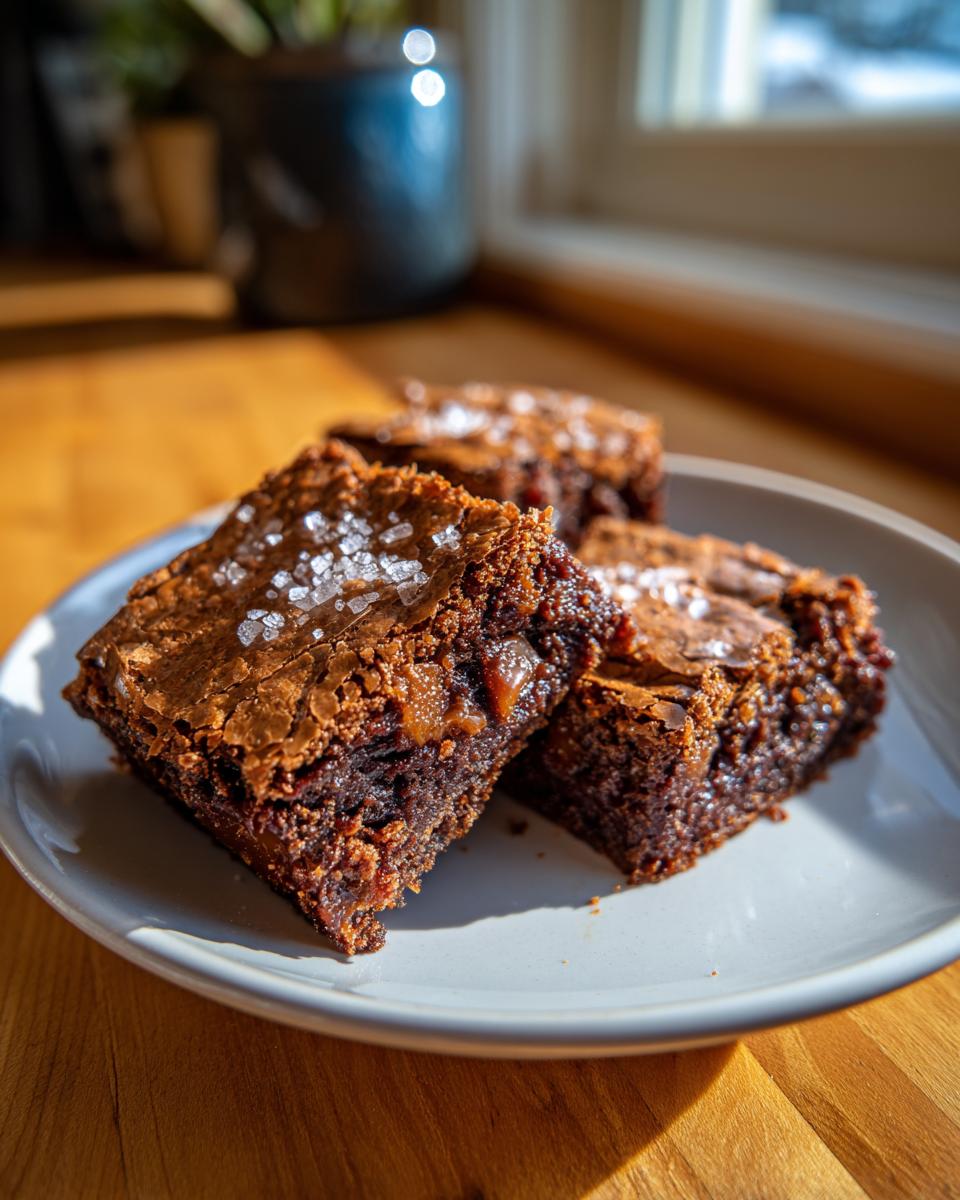
When we think about real comfort food, we often go straight back to those simple, sweet bars from childhood, right? Well, it’s time to reclaim that memory and turn it into something frankly spectacular. Today, we’re taking that old-fashioned treat and making it a modern indulgence by focusing on texture. I’m talking about the ultimate Homemade butterscotch brownies—the kind that are impossibly soft and gloriously chewy throughout.
The secret sauce, if you can call it that, is getting that deep, nutty flavor from brown butter. I’m Julian, and here at Julia Meal, I believe that great cooking comes from honoring those true American classics while perfecting the technique. Like my brown butter sugar cookies, these brownies require that little bit of extra effort that pays off huge dividends. You aren’t just getting a recipe here; you’re getting my promise that these bars will hit that sweet spot between nostalgia and absolute, buttery luxury.
- Why You Will Crave These Homemade Butterscotch Brownies
- Essential Ingredients for Rich Homemade Butterscotch Brownies
- Mastering Brown Butter for Your Homemade Butterscotch Brownies
- Step-by-Step Instructions for Easy Dessert Bars
- Tips for Success with Old Fashioned Treats
- Storage and Reheating Homemade Butterscotch Brownies
- Serving Suggestions for These Easy Dessert Bars
- Frequently Asked Questions About Homemade Butterscotch Brownies
- Estimated Nutritional Snapshot for Homemade Butterscotch Brownies
Why You Will Crave These Homemade Butterscotch Brownies
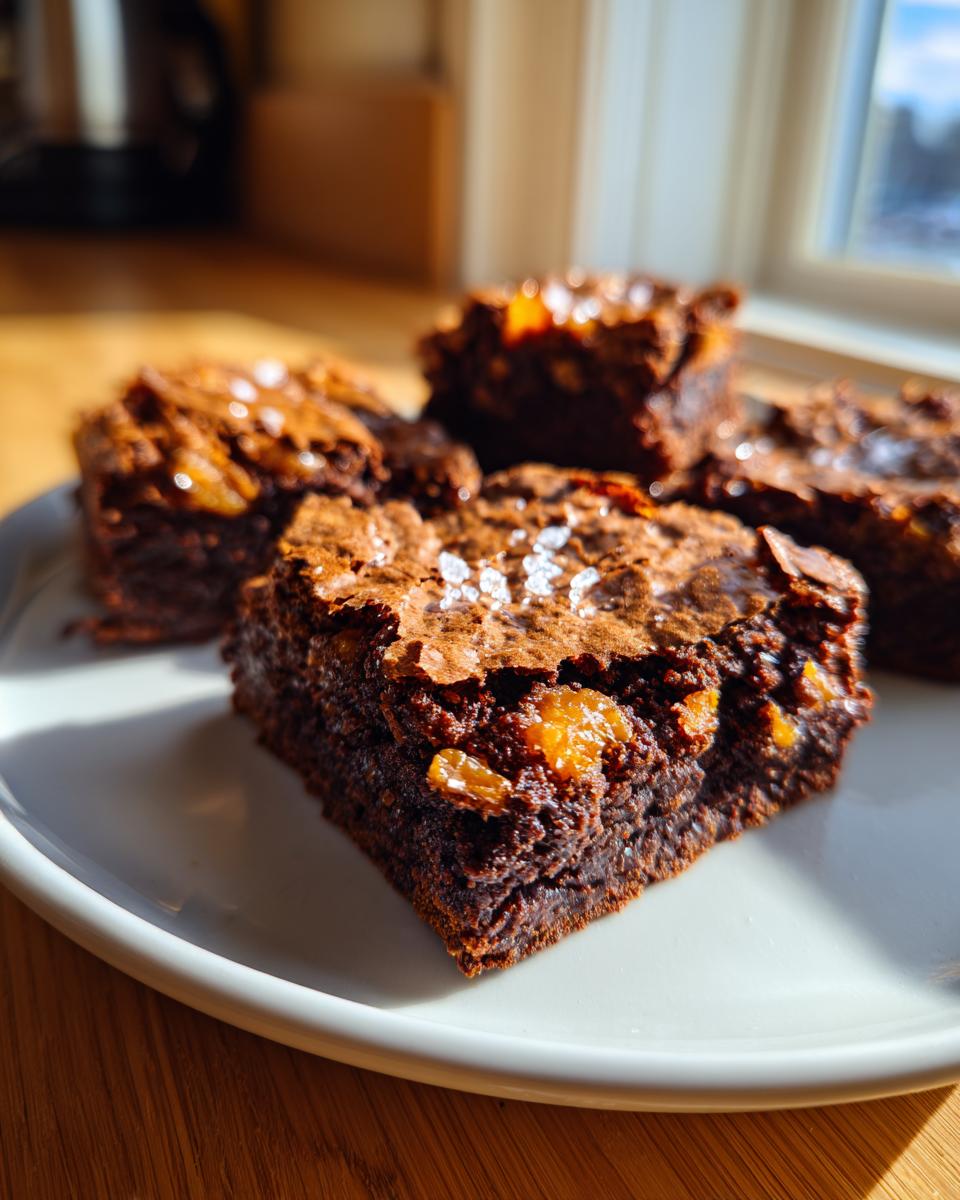
Honestly, I make these brownies when I need a proper mental vacation back to my grandmother’s kitchen. They are pure, deep comfort in a square. You aren’t just getting sweet; you’re getting layers of flavor that only come from quality fats, making them feel rich and homemade, not just sugary.
- They offer that deep, toffee-like richness because of the brown butter—it just smells like home!
- The texture is exactly what you hope for: incredibly soft edges giving way to a dense, totally chewy middle.
- These are the definition of an absolute indulgence without being fussy to make.
Achieving the Perfect Chewy Blondie Recipe Texture
If you want that satisfying chewiness that makes you close your eyes after the first bite, you have to pay attention to the basics of a good chewy blondie recipe. It comes down to the ratio: we’re using a high amount of sugar and fat relative to the flour. That helps keep the structure tender and prevents it from ever turning cakey. Remember: when you mix those dry ingredients in, go easy! Overmixing is the enemy of chewiness, trust me on this one.
Essential Ingredients for Rich Homemade Butterscotch Brownies
For these brown butter brownies to really sing, you have to treat the ingredients like treasure. I’ve listed everything out below, but pay close attention to the details—that’s where the magic in these bars hides. We need two full sticks of unsalted butter; don’t skimp with substitutes here; we need that pure fat content for the texture.
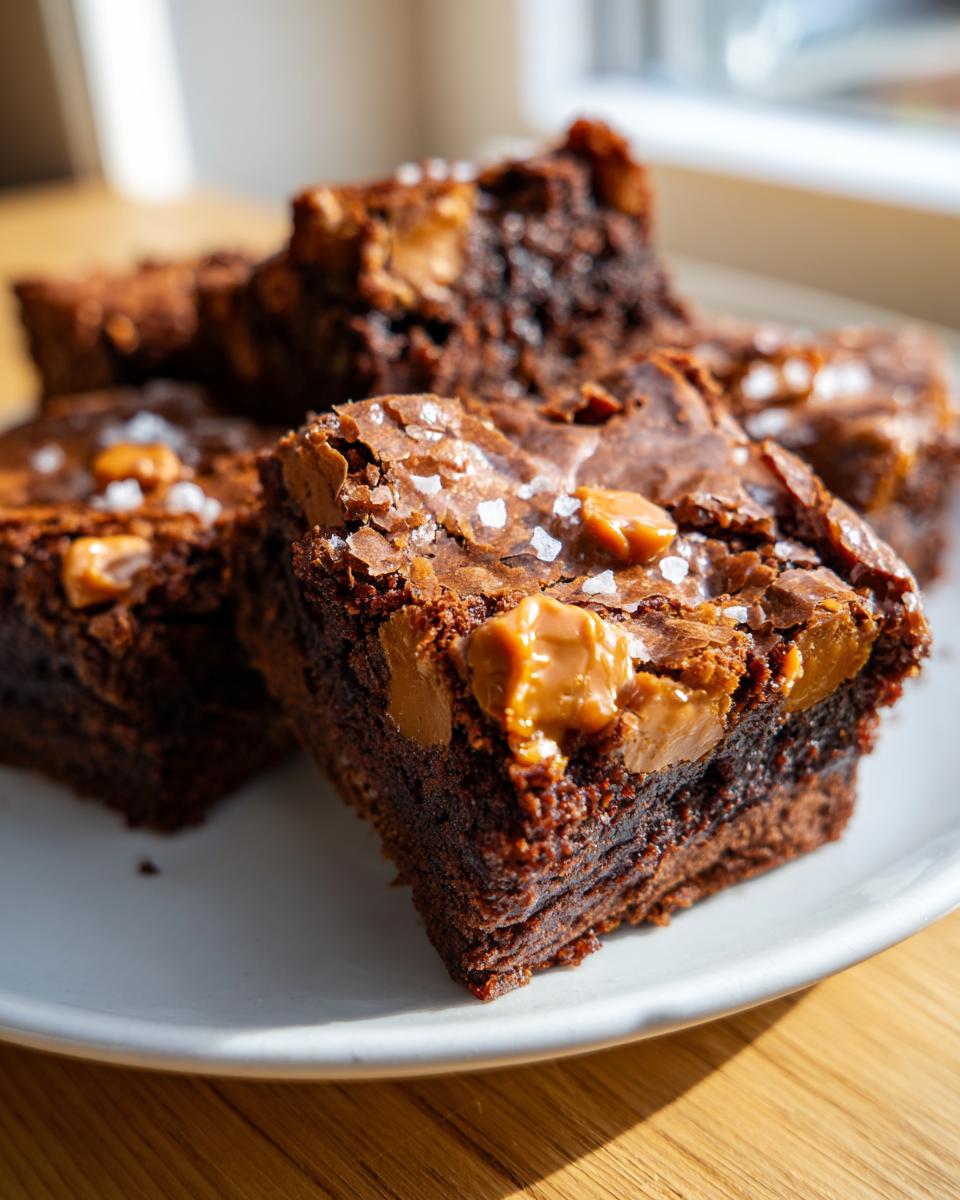
Make sure your two large eggs are at room temperature; they incorporate so much better that way. And please, use light brown sugar that is truly packed into the cup, giving us that crucial molasses moisture. Finally, don’t grab just any chips! For the best result, hunt down a good quality brand of butterscotch chips. They hold their shape slightly better and melt beautifully.
Ingredient Notes and Substitutions for Salted Butterscotch
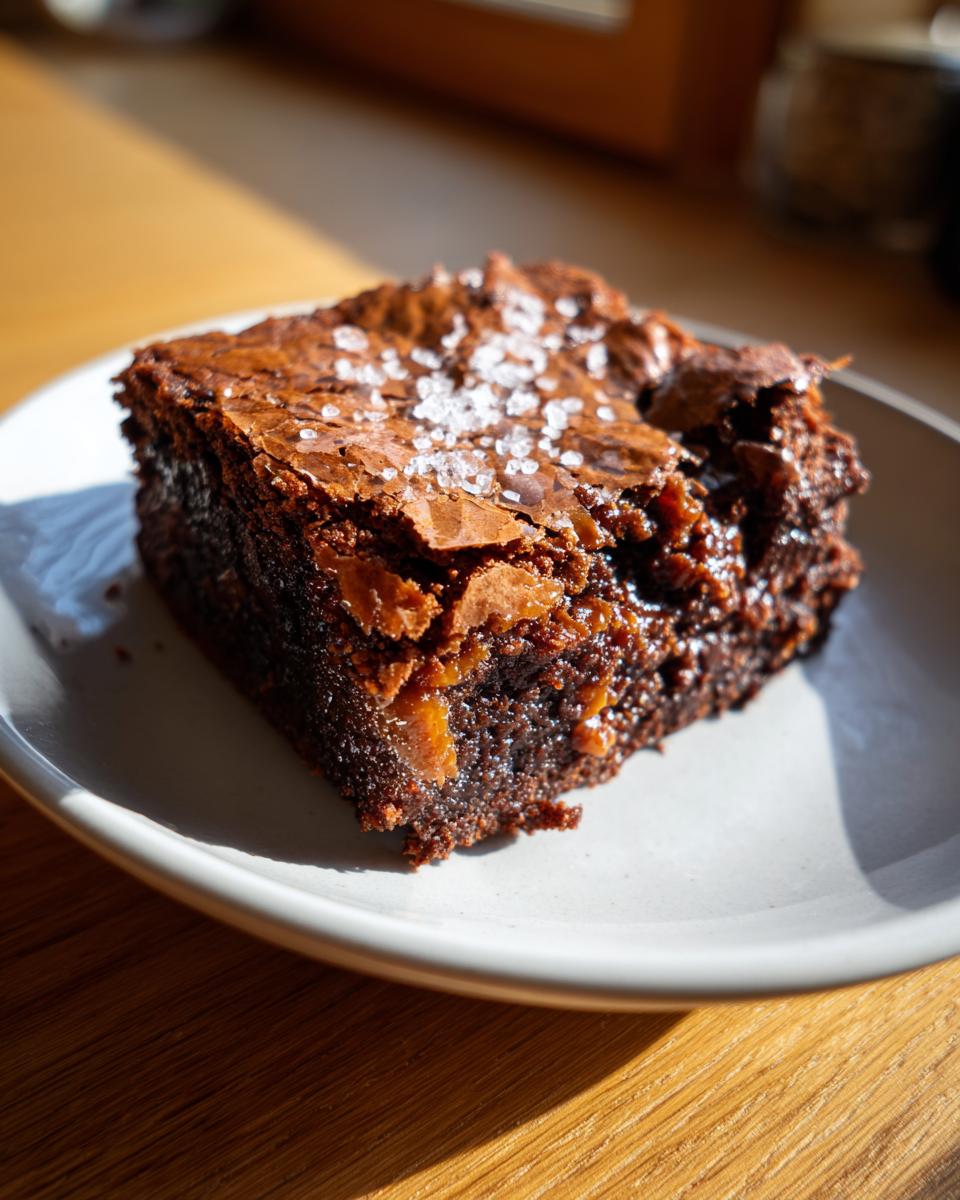
The real star here is the butter, which we are turning into liquid gold through browning. This step is non-negotiable for that complex, nutty flavor that elevates these from simple bars to a decadent experience. If you absolutely, positively cannot find butterscotch chips, you can swap them out for high-quality white chocolate, but know you’ll lose that classic toffee note. For the topping, that flaky sea salt is crucial for balance. It cuts through the richness of the salted butterscotch perfectly, so don’t default to regular table salt up there!
Mastering Brown Butter for Your Homemade Butterscotch Brownies
Okay, listen close, because this is the foundation of everything wonderful about these bars. Browning the butter isn’t just throwing it in a pan; it’s coaxing out a deep, nutty flavor that regular melted butter just can’t deliver. You want a light-colored saucepan so you can actually see what’s happening. Melt that whole cup of butter over medium heat. It’s going to foam up like crazy at first, and that’s fine, just keep stirring.
The real indication that you’re close is when that foam starts to subside. You’ll see little tiny brown specks forming at the bottom of the pan—those are the milk solids toasting, and they release that incredible aroma. That smell is your timer! As soon as it smells nutty, pull it off the heat immediately. Seriously, take it completely off the burner.
My biggest warning? Don’t walk away for even a second once you see those bits forming, or you’ll go from nutty perfection to burnt sludge in a blink. I’ve totally scorched a batch doing that, and you can’t save that bitter flavor! Once you pour that beautifully browned liquid into your mixing bowl, you’ve locked in the complex flavor that makes these brown butter brownies so sophisticated. It’s worth the attention, I promise!
Step-by-Step Instructions for Easy Dessert Bars
Alright, time to put it all together! Since we want these to be really simple easy dessert bars, we’re keeping the mixing straightforward. First things first: oven at 350°F, and you absolutely must line that 9×9 pan with parchment paper. Make sure you leave an overhang—that’s your handle for lifting them out later when they are perfectly set!
Once your butter is browned and poured into a large bowl, you whisk in both the light and granulated sugars right while it’s still warm. This is where you need patience! You MUST let that mixture cool for about ten minutes before you do the next step. If it’s too hot, you’ll scramble those eggs, and we absolutely don’t want that. We’re building fudginess, not scrambled eggs!
After it cools down a bit, whisk in the eggs one by one until everything looks smooth and glossy. Then, stir in the vanilla. In another small dish, just quickly whisk your flour, baking powder, and salt together—this saves time and ensures even distribution. Now, add those dry ingredients to the wet mixture slowly. Mix only until you see no more white streaks of flour. Seriously, stop mixing! Overmixing develops gluten, and gluten makes things tough, not chewy.
Finally, fold in those glorious butterscotch chips. Spread the batter evenly into your pan. They bake up fast, usually between 28 and 32 minutes. Don’t walk away!
Baking and Cooling Homemade Butterscotch Brownies
When you test them, forget the clean toothpick! We are aiming for fudgy, remember? The toothpick should come out with moist, soft crumbs clinging to it—not wet goo, but definitely not dry either. You know they’re ready when the edges look set and you can gently press the center and it springs back just a bit. But here’s the hardest part of the recipe: Cooling! You have to let these cool completely in the pan before you even think about slicing. If you cut them warm, they’ll fall apart into a sticky mess. Wait until they are fully cooled, lift them out using those parchment handles, salt the top with flaky sea salt, and then slice!
Tips for Success with Old Fashioned Treats
Even when making these wonderful old fashioned treats, a few pro moves can make all the difference between good and legendary. I’ve learned these lessons the hard way, so you don’t have to repeat my mistakes!
First, trust the brown butter. That deep flavor is what separates these from any box mix. Watch it like a hawk, pull it off the heat right when you smell the nuts—that’s flavor development, not burning. Secondly, the biggest mistake people make with chewy bars is overbaking. You want those moist crumbs on the toothpick. If it comes out clean, you’ve baked too long, and you’re losing that soft center we worked so hard for.
Also, if you want a little flavor variety, don’t be scared to mix in some white chocolate chips along with the butterscotch. It just brightens up the richness slightly. And remember that cooling time; it’s essential for structure!
Storage and Reheating Homemade Butterscotch Brownies
Because these bars are so wonderfully rich and high in fat, they actually stay incredibly moist for days! Once they are totally cool and sliced, just pop them into an airtight container. I usually put down a layer of parchment paper on the bottom and on top of the brownies before sealing the lid. This keeps them from sticking together.
They are best eaten right at room temperature, but if you’ve had them in the fridge, give them about 30 minutes to come back up. If you need a quick warm-up hit, zap one square for just 10 or 15 seconds in the microwave. That heat will make the butterscotch chips nice and gooey again—but be careful not to overheat them, or they might get a little oily!
Serving Suggestions for These Easy Dessert Bars
These easy dessert bars are so rich, they really shine all on their own, especially with that hint of flaky sea salt on top. But if you’re serving them up after a big meal, you know I always believe in a little accompaniment!
The absolute classic pairing, and my personal favorite, is a scoop of good quality vanilla bean ice cream, maybe just slightly softened so it just starts to melt down the sides of the warm brownie. That contrast of warm, salty, and cold is just perfection. It’s that kind of simple pairing that just lets the butterscotch flavor shine through.
If you’re having this for an afternoon treat, they go wonderfully with a strong cup of black coffee. The slight bitterness of a good brew really grounds the sweetness. If you’re looking for something a little cooler, I have a great coffee smoothie recipe that would be an unexpected but delicious partner for these bars!
Frequently Asked Questions About Homemade Butterscotch Brownies
I always get so many questions once people realize how good these bars are! Baking is all about troubleshooting, so let’s clear up a few things about making these the best homemade butterscotch brownies you’ve ever had.
Can I skip browning the butter?
Oh, you technically can, but I really wouldn’t recommend it if you want this specific flavor profile. Using regular melted butter will give you a nice bar—a good basic bar—but it won’t have that deep, nutty, toffee complexity that we associate with the best brown butter brownies. Browning it is the whole point here; it transforms the flavor completely!
How do I ensure these are truly chewy blondie recipe bars and not cakey?
It’s all in the mix, darling! Make sure you cool the butter and sugar mixture for those crucial 10 minutes before adding eggs. Also, the folding stage is make-or-break. As soon as you stop seeing streaks of flour, STOP mixing. Seriously. That light hand keeps the structure tender and wonderfully chewy, which is what you want in a great chewy blondie recipe.
How do I know when my brownies are fudgy enough?
Forget the clean toothpick test! For fudgy bars, look for moist crumbs clinging to the toothpick, especially around the edges. If you bake until the toothpick comes out spotless, you’ve overbaked them, and they’ll firm up too much as they cool. You want them slightly underdone when they leave the oven.
How important is the flaky sea salt topping?
It’s essential for that perfect salted butterscotch finish! The rich sweetness of the butterscotch and brown sugar needs that sharp pop of salt to keep things interesting. It balances the whole bar beautifully. Sprinkle it on right after they come out of the oven so it adheres to the warm surface.
Estimated Nutritional Snapshot for Homemade Butterscotch Brownies
Now, I know we aren’t making these bars because we’re counting every single carb—we’re making them because they taste like heaven! But for those of you who like to keep an eye on things, I’ve put together a basic snapshot of what you can expect from one glorious square of these homemade butterscotch brownies.
Keep in mind that everything changes based on the brand of butterscotch chips you use or exactly how much you pack that brown sugar. These numbers are based on my meticulous testing, but consider them a guide, not gospel. We are definitely leaning into the richness here, thanks to the brown butter!
- Serving Size: 1 square
- Calories: 280
- Sugar: 35g
- Sodium: 150mg
- Fat: 15g (This is where the flavor lives!)
- Carbohydrates: 36g
- Protein: 3g
When you see that sugar count, just remind yourself that you also have three grams of protein and a whole lot of happiness packed into that single bite. That’s the trade-off we make for these rich, unforgettable easy dessert bars!
PrintBrown Butter Salted Butterscotch Brownies
Make chewy and soft homemade butterscotch brownies using brown butter for a rich, modern take on an old-fashioned treat.
- Prep Time: 15 min
- Cook Time: 30 min
- Total Time: 45 min
- Yield: 16 squares 1x
- Category: Dessert
- Method: Baking
- Cuisine: American
- Diet: Vegetarian
Ingredients
- 1 cup (2 sticks) unsalted butter
- 1 1/2 cups packed light brown sugar
- 1/2 cup granulated sugar
- 2 large eggs, room temperature
- 1 tablespoon vanilla extract
- 1 1/4 cups all-purpose flour
- 1/2 teaspoon baking powder
- 1/2 teaspoon salt
- 1 cup butterscotch chips
- 1/2 teaspoon flaky sea salt, for topping
Instructions
- Preheat your oven to 350°F (175°C). Line a 9×9 inch baking pan with parchment paper, leaving an overhang on two sides for easy removal.
- Melt the butter in a light-colored saucepan over medium heat. Continue cooking, stirring often, until the butter foams, then subsides, and brown bits form at the bottom, giving off a nutty aroma. This takes about 5 to 8 minutes. Remove from heat immediately and pour the brown butter into a large heatproof bowl.
- Whisk the brown sugar and granulated sugar into the warm brown butter until fully combined. Let this mixture cool for 10 minutes.
- Whisk in the eggs one at a time until the batter is smooth. Stir in the vanilla extract.
- In a separate small bowl, whisk together the flour, baking powder, and salt.
- Gradually add the dry ingredients to the wet ingredients, mixing only until just combined. Do not overmix.
- Fold in the butterscotch chips.
- Spread the batter evenly into the prepared baking pan.
- Bake for 28 to 32 minutes. The edges should look set, and a toothpick inserted near the center should come out with moist, fudgy crumbs attached, not wet batter.
- Let the brownies cool completely in the pan on a wire rack before lifting them out using the parchment overhang.
- Sprinkle the top evenly with flaky sea salt before slicing into squares.
Notes
- Browning the butter is key to developing the deep, complex flavor in these brownies. Watch it closely to prevent burning.
- For the chewiest results, do not overbake. The center should remain slightly underdone when you remove them from the oven.
- You can substitute half of the butterscotch chips with good quality white chocolate chips if you prefer a different flavor balance.
Nutrition
- Serving Size: 1 square
- Calories: 280
- Sugar: 35
- Sodium: 150
- Fat: 15
- Saturated Fat: 9
- Unsaturated Fat: 6
- Trans Fat: 0
- Carbohydrates: 36
- Fiber: 1
- Protein: 3
- Cholesterol: 55