
So many home bakers think the sugar cookie is just… fine. A little flat, maybe a bit boring, right? Hogwash! I’m Julian Maxwell, and I spent years chasing the soul of classic American baking, and I figured out that sugar cookies deserve more respect. That’s why I’m sharing this recipe for the ultimate brown butter sugar cookies. We’re skipping the tedious dough chilling step entirely, but we are unlocking incredible depth with that nutty, toasted flavor from browned butter. Trust me, these cookies are the perfect alchemy: delightfully chewy centers wrapped up in perfectly crisp edges. Prepare to seriously upgrade your dessert game with this simple technique!
- Why These Brown Butter Sugar Cookies Are a Gourmet Sugar Cookie Upgrade
- Essential Ingredients for Perfect Brown Butter Sugar Cookies
- How to Brown Butter for Cookies: The Flavor Secret
- Step-by-Step Instructions for Brown Butter Sugar Cookies
- Tips for Success with Brown Butter Baking
- Storage and Reheating Instructions
- Variations: Making Your Brown Butter Sugar Cookies Your Own
- Frequently Asked Questions About Brown Butter Sugar Cookies
- Nutritional Snapshot of These Rich Flavored Cookies
Why These Brown Butter Sugar Cookies Are a Gourmet Sugar Cookie Upgrade
I know what you might be thinking: sugar cookies are simple. Why tinker? Because that simple foundation is the perfect canvas for incredible flavor! Browning the butter is the absolute secret to transforming a standard cookie into a batch of truly rich flavored cookies. When you brown real butter, you are toasting the milk solids, which deepens the flavor into something nutty, complex, and almost caramel-like. It’s a total gourmet sugar cookie upgrade without adding any extra work!
This technique, which I talk about often when teaching my favorite simple, delicious desserts, delivers immediate results. You get:
- An unbeatable, deep nutty flavor that regular cookies just can’t touch.
- A beautiful textural contrast in every single bite.
- The added bonus that you totally skip the whole, messy dough chilling requirement!
Achieving Chewy Centers and Crispy Edge Cookies
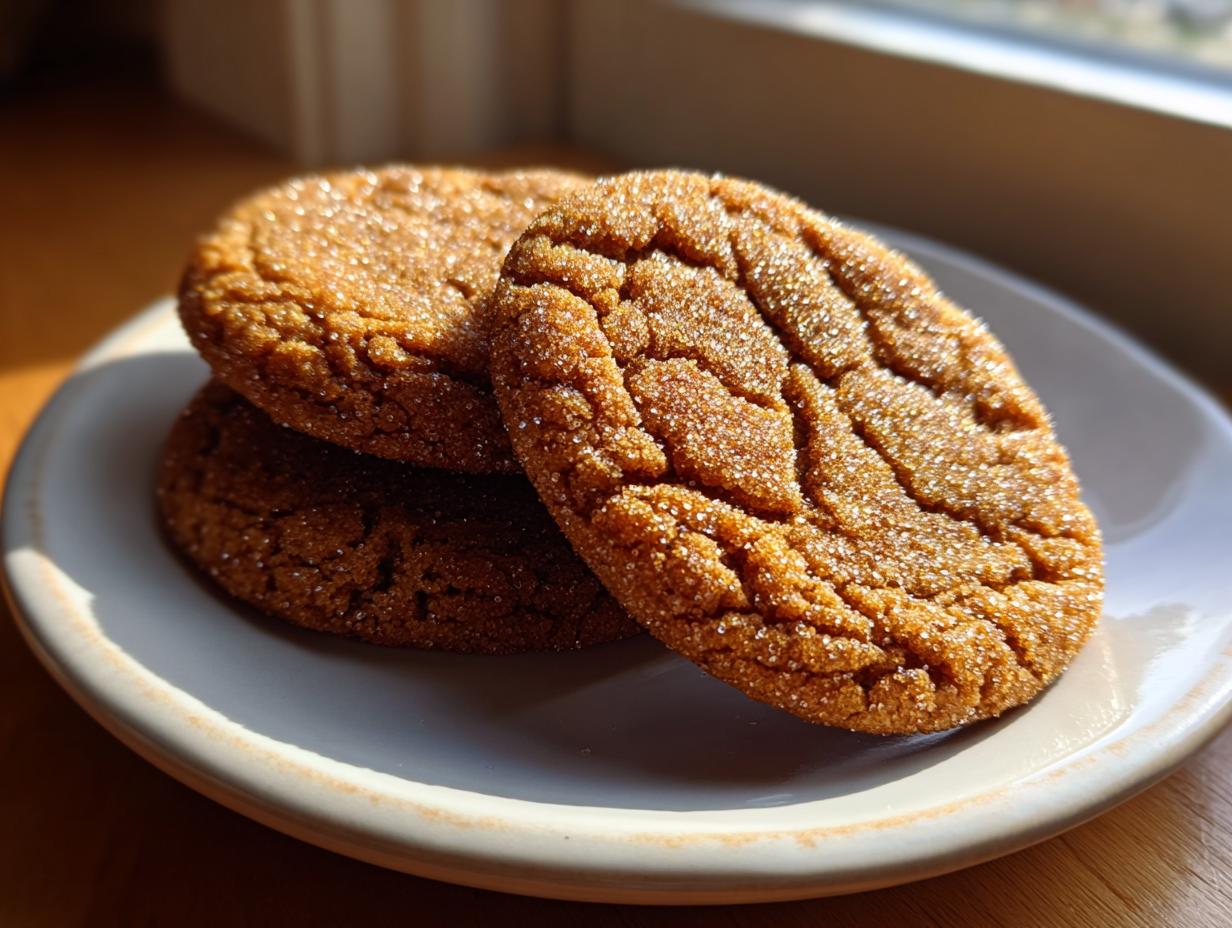
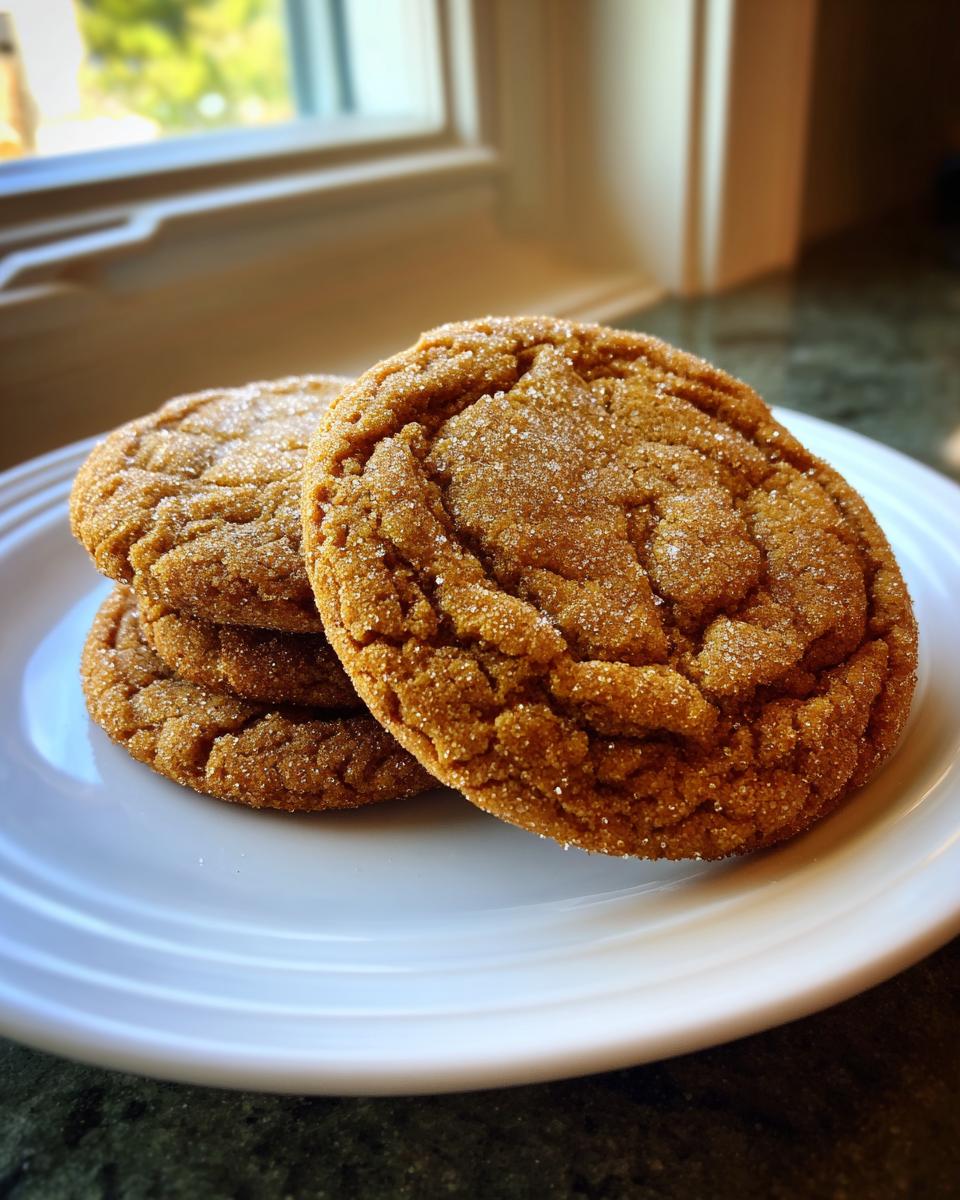
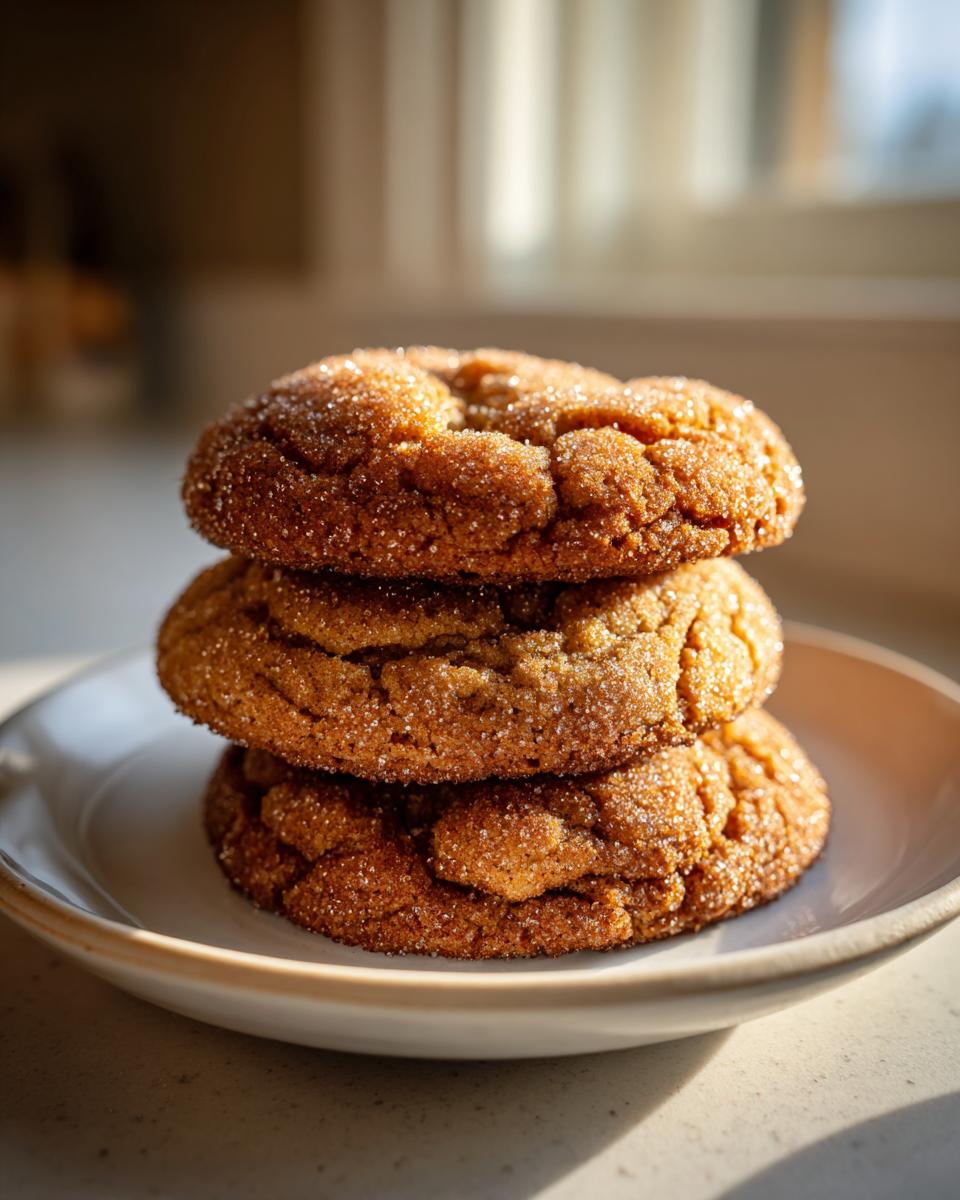
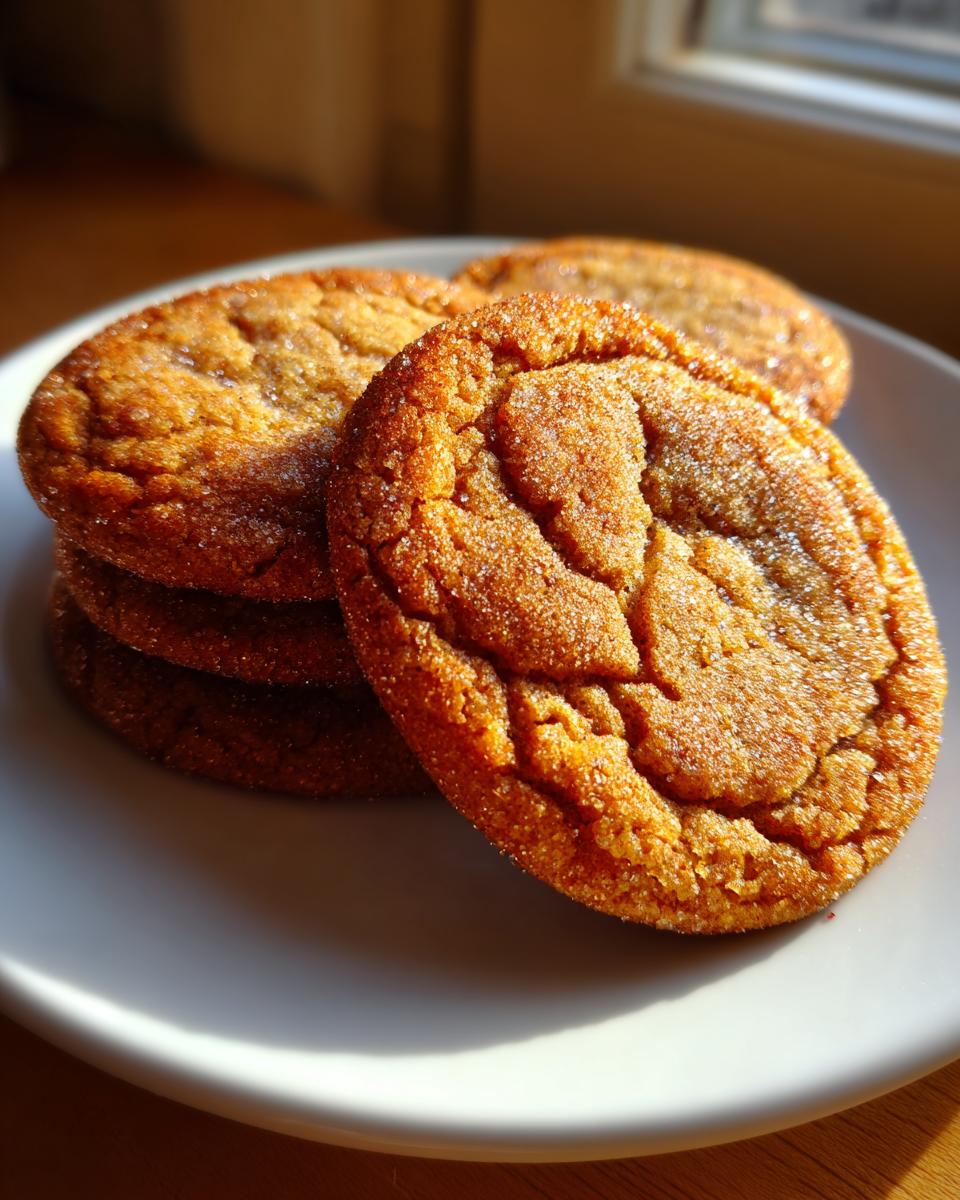
That texture contrast—that’s what separates a good cookie from a showstopper. Because we are whipping the slightly cooled brown butter with sugar, we build a great base. When you flatten the dough balls just a bit with a glass before baking, you encourage those necessary thin edges. That’s what gives you those perfect crispy edge cookies. Paired with the slightly under-baked centers, you nail that amazing chewy sugar cookies recipe we all crave. Honestly, these taste like genuine bakery style sugar cookies, but they come from your oven!
Essential Ingredients for Perfect Brown Butter Sugar Cookies
When the star of the show is the butter, you have to treat it right! For these brown butter sugar cookies, the ingredients must be simple so the nutty flavor can shine. Don’t even think about skimping here—freshness matters massively when you strip the recipe down this lean. You need high-quality butter to get those gorgeous brown bits when we start cooking it down.
Ingredient Notes and Substitutions
Here’s the quick list. Remember, we’re using standard all-purpose flour here because we want the texture to be delicate, not dense. Always use unsalted butter so I can control precisely how salty the final cookie is—that’s key for balancing the sweetness. Make sure that one large egg is at room temperature; it mixes in so much smoother when it’s not ice-cold, giving you a uniform dough. And finally, you need extra granulated sugar reserved just for rolling because that coating is what gives us the necessary crunch on the exterior.
How to Brown Butter for Cookies: The Flavor Secret
Okay, buckle up, because this next part is where the magic happens. Learning how to brown butter for cookies is the single best thing you can do for your baking game. Seriously, ditch the idea that melting butter is the same—it’s not!
Grab a light-colored, heavy-bottomed saucepan. I use light so I can actually see the color change; that’s crucial! Pour in your butter and set the heat to medium. It’s going to melt, then it’s going to start foaming like crazy. This is the water evaporating out. Keep swirling the pan—don’t walk away! After a few minutes, the foaming calms down, and you’ll see tiny brown specks start forming at the bottom. You’ll smell it too; that rich, toasted, almost hazelnut smell is exactly what we’re looking for. Stop cooking the second those bits look deep brown, and immediately pour the whole glorious mess—butter and all those toasted bits—into a bowl. If you leave it in the hot pan, it keeps cooking and will burn fast!
Now for the important waiting game. You HAVE to let that brown butter cool down for about 15 minutes. It should still be liquid, but definitely not sizzling hot, or you’ll scramble that egg later! Cooling slightly thickens it up just enough to mimic the texture of soft butter, which helps everything emulsify beautifully later. When it’s ready, you can click over and see how others make these nutty treats extra special at this great recipe, but I promise mine is perfect for that chewy texture!
Step-by-Step Instructions for Brown Butter Sugar Cookies
Alright, now that you have your perfectly cooled, nutty brown butter, we bring everything together. This is fast, which is why I love these for last-minute baking sessions. First things first: turn your oven up to 350°F (175°C). While that heats up, line those baking sheets with parchment paper—never skip the parchment, especially with cookies that spread a bit!
In a large bowl, you’ll introduce that slightly cooled brown butter to the granulated sugar. Whisk them together until they look happy and combined. Then, beat in your room-temperature egg and that teaspoon of vanilla. It should be smooth, glossy, and smelling amazing.
In a separate bowl, I quickly whisk the dry stuff: flour, baking soda, and salt. This ensures everything is evenly distributed before it hits the wet base. Now, add the dry mixture to the wet mixture slowly, mixing everything on low speed. Stop mixing the second it all comes together. Overmixing ruins the texture we worked so hard for in that butter!
Time for the fun outside part. Scoop your dough into little balls—about a tablespoon and a half works great for me. Roll those balls generously in extra granulated sugar. This exterior coating is what helps create those signature crispy edges. Place them about two inches apart on the sheet, and here’s a small trick: gently press the top of each ball with the bottom of a glass. Don’t push it flat, just a gentle press. This ensures they spread just right. Want great guidance on making other classics? Check out my advice for best butter cookies.
Baking Time and Visual Cues for Texture
Bake these gems for just 9 to 11 minutes. This is critical for getting that chewy center! You want to look for the edges to be set and just starting to turn a faint golden brown. The center of the cookie should still look slightly soft and maybe even a little under-baked—don’t panic! Pull the trays out as soon as you see those cues. That soft center sets up beautifully as the brown butter sugar cookies cool down on the hot pan for five minutes before you move them to a wire rack. That resting time solidifies those crispy edge cookies while locking maximum moisture into the middle!
Tips for Success with Brown Butter Baking
The success of these brown butter sugar cookies really hinges on watching that butter carefully. When you’re deep into the brown butter baking process, pay close attention once the foam dies down. That’s when the milk solids sink and start toasting. You need to watch those tiny specks—they go from lovely toasted brown to actual charcoal dust in about ten seconds flat! Pull that pan off the heat when they reach a rich, deep brown color, not black.
Another little tip that I learned while perfecting my own batch is that baking time is really about your oven and how much you want that chew. If you pull them out a minute early—say at 10 minutes instead of 11—you guarantee those melt-in-your-mouth centers. If you’re worried about them being too soft, just give them that extra minute, but remember, soft centers cool to perfect chewiness! You can always refresh a cookie later, but you can never un-bake one that’s gone too far. For more techniques on making rich desserts, take a peek at my guide on creamy eggnog—it uses similar principles of building flavor!
Storage and Reheating Instructions
Keeping these nutty sugar cookies tasting fresh is fortunately very simple, which is why I love them for gift-giving! Once they are completely cool, which takes a little patience, stack them in layers separated by sheets of parchment paper. Store them in a truly airtight container at room temperature. They hold up beautifully this way for about four or five days.
If you happen to notice they’ve firmed up a bit on day six, don’t worry! Just pop a cookie onto a microwave-safe plate for about seven or eight seconds. Seriously, that short burst is all it takes. It melts the butter just enough to bring back that delightful center chewiness right away. Enjoy!
Variations: Making Your Brown Butter Sugar Cookies Your Own
While I firmly believe that these basic brown butter sugar cookies are perfect just as they are—that nutty flavor speaks for itself—I know you home cooks love to customize things! It’s satisfying to take a great classic and put your own signature on it. When it comes to these butter cookies from scratch, keep the browned butter technique the star, but feel free to play with the supporting roles.
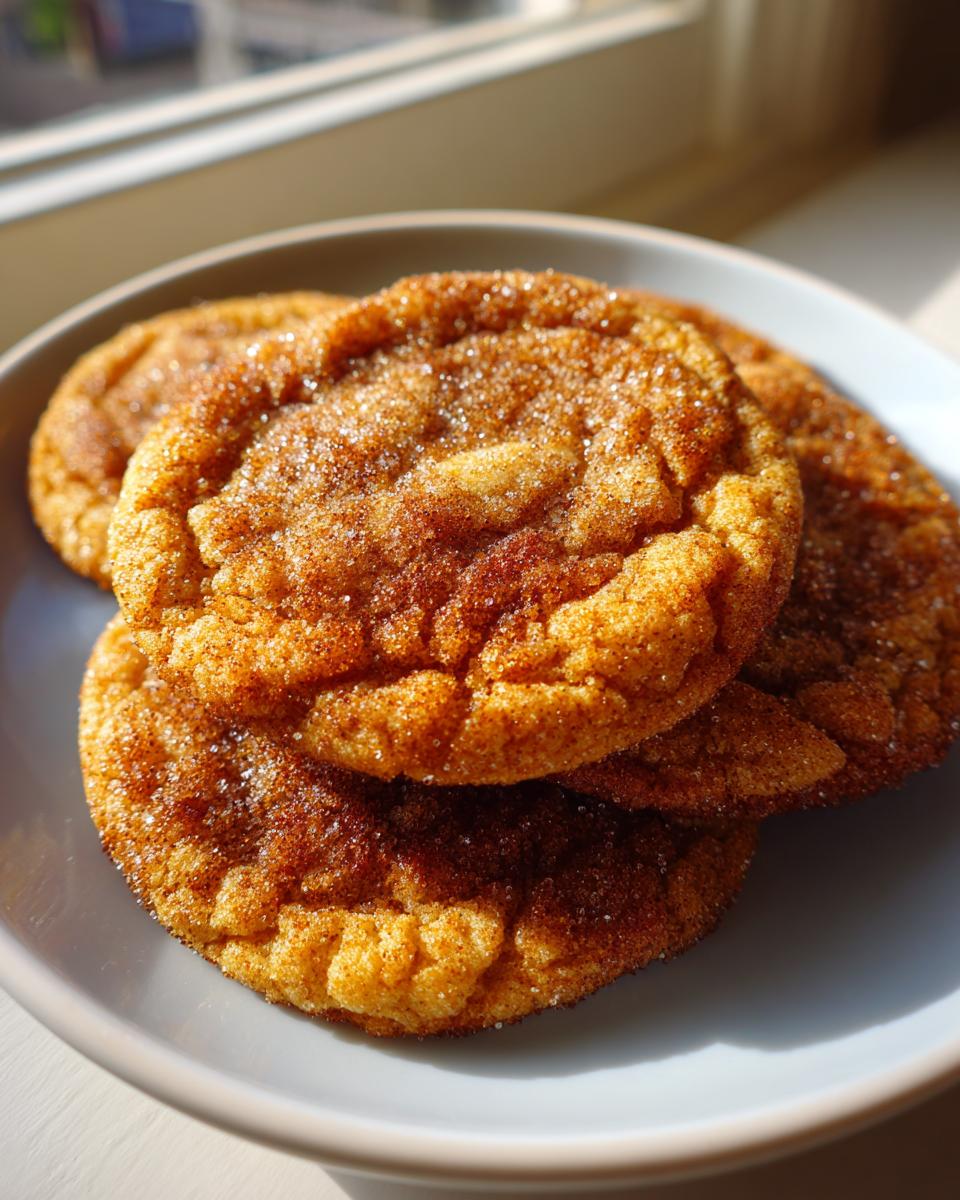
One of my favorite small adjustments, especially if I’m leaning into a cozy fall holiday vibe, is adding a tiny bit of spice into the dry ingredients. Just a small pinch—maybe 1/4 teaspoon of cinnamon or a tiny grating of fresh nutmeg mixed in with your flour does wonders! It doesn’t overpower the butter, it just warms it up.
For the outside coating, forget the plain white sugar sometimes. Try rolling the dough balls in turbinado sugar before baking. It’s coarser, which gives you an even crunchier, almost crystallized edge, which I absolutely adore! If you want to see how I handled a similar flavor profile with maple, check out my notes on maple brown sugar cookies; it uses some similar textural goals.
And speaking of presentation, if these cookies are going on a platter instead of straight into my mouth (which is rare, admittedly), a glaze is fun. It’s optional, of course! A simple powdered sugar glaze mixed with a little milk and maybe a drop of almond extract pours beautifully over the cooled cookies. It dries clear and shiny, giving you that beautiful, elevated presentation without fighting the incredible flavor we worked so hard to develop!
Frequently Asked Questions About Brown Butter Sugar Cookies
I know when you’re trying out a new technique like browning butter, you end up with a few lingering thoughts. That’s totally normal! I’ve gathered up the questions I get asked most often about transforming these into the best brown butter sugar cookies.
What do I do if my brown butter solidifies before I can mix it?
It happens! If your butter chills too much after you’ve done the initial browning, you just need to gently warm it back up. Put the bowl back over the saucepan (off the heat!) or pop it in the microwave for just 2 or 3 seconds. You want it liquid again so it creams properly with the sugar. If you skip this step, you won’t get the right texture for these chewy sugar cookies recipe expectations.
Can I use salted butter in this recipe?
I strongly recommend sticking to unsalted butter for this specific recipe. When we brown butter baking, the solids toast and intensify in flavor, and that includes the salt. If you use salted butter, your cookies might end up tasting aggressively salty! Since we use a smaller amount of salt in the dry ingredients to enhance the nutty flavor, controlling the salt via the butter is best. If you only have salted, cut the added half-teaspoon of salt down to just a quarter teaspoon.
How exactly do I know if I asked ‘how to brown butter for cookies’ correctly?
You’ll know! The smell is your biggest giveaway—it transforms from a standard milky scent to a deep, toasted, nutty perfume. Visually, wait until the foam subsides, and you see those little dark amber specks forming at the bottom. That’s pure flavor gold! If you see smoke or it smells burnt, you went too far. Remember, pulling the pan off the heat right when it looks perfectly brown is the trick to getting those rich flavored cookies.
Do I really need to coat the dough balls in sugar?
Yes, absolutely! That exterior coating of granulated sugar is vital for two reasons related to texture. First, it helps the cookie spread just a tiny bit more while baking, which creates those desirable thin edges. Second, the sugar crystals toast on the outside, giving you that signature delicate crunch that contrasts with the soft middle. It really seals the deal on making these elevated classic cookies!
For more essential tips on temperature sensitivity in baking, feel free to check out my guide on creamy eggnog; controlling ingredient temperature is everything!
Nutritional Snapshot of These Rich Flavored Cookies
I always say that when you’re baking something this indulgent, checking the nutrition isn’t the main event, but it’s good to know what you’re enjoying! Since these rich flavored cookies use real butter and are rolled in sugar, they are definitely a treat. Please remember these figures are estimates based on my standard ingredient measurements, so yours might vary slightly based on how much sugar you pack onto the outside!
- Serving Size: 1 cookie
- Calories: 170
- Fat: 9g
- Carbohydrates: 21g
- Protein: 2g
- Sugar: 14g
The Ultimate Brown Butter Sugar Cookies: Perfectly Chewy Centers & Crispy Edges (No Chill Option Included)
Learn to make superior sugar cookies by browning the butter first. This technique adds a deep, nutty flavor, resulting in cookies with delightfully chewy centers and crisp edges. You can bake these immediately; no chilling required.
- Prep Time: 15 min
- Cook Time: 10 min
- Total Time: 25 min
- Yield: 20 cookies 1x
- Category: Dessert
- Method: Baking
- Cuisine: American
- Diet: Vegetarian
Ingredients
- 1 cup (2 sticks) unsalted butter
- 1 cup granulated sugar, plus more for rolling
- 1 large egg
- 1 teaspoon vanilla extract
- 2 1/4 cups all-purpose flour
- 1 teaspoon baking soda
- 1/2 teaspoon salt
Instructions
- Place the butter in a light-colored saucepan over medium heat. Cook, swirling the pan often, until the butter melts, foams, and then begins to brown. Small brown bits will form at the bottom and the butter will smell nutty. This takes about 5 to 8 minutes. Immediately pour the brown butter into a heatproof bowl, scraping in the browned bits. Let it cool for 15 minutes until it is no longer hot but still liquid.
- In a large bowl, whisk together the slightly cooled brown butter and the 1 cup of granulated sugar until combined.
- Beat in the egg and vanilla extract until the mixture is smooth.
- In a separate bowl, whisk together the flour, baking soda, and salt. Gradually add the dry ingredients to the wet ingredients, mixing on low speed until just combined. Do not overmix.
- Preheat your oven to 350°F (175°C). Line baking sheets with parchment paper.
- Scoop the dough into balls, about 1.5 tablespoons each. Roll each ball in the extra granulated sugar until fully coated.
- Place the dough balls 2 inches apart on the prepared baking sheets. Gently press down on the top of each ball with the bottom of a glass to flatten slightly.
- Bake for 9 to 11 minutes. The edges should look set and lightly golden, but the centers will still look slightly soft. This contrast creates the chewy center and crispy edge.
- Let the cookies cool on the baking sheet for 5 minutes before transferring them to a wire rack to cool completely.
Notes
- To achieve the best brown butter flavor, watch the milk solids carefully as they toast; stop cooking right when they turn deep brown.
- For extra crisp edges, press the dough balls slightly flatter before baking.
- If you prefer a softer cookie overall, reduce the baking time by 1 minute.
Nutrition
- Serving Size: 1 cookie
- Calories: 170
- Sugar: 14g
- Sodium: 95mg
- Fat: 9g
- Saturated Fat: 5g
- Unsaturated Fat: 4g
- Trans Fat: 0g
- Carbohydrates: 21g
- Fiber: 0g
- Protein: 2g
- Cholesterol: 30mg