

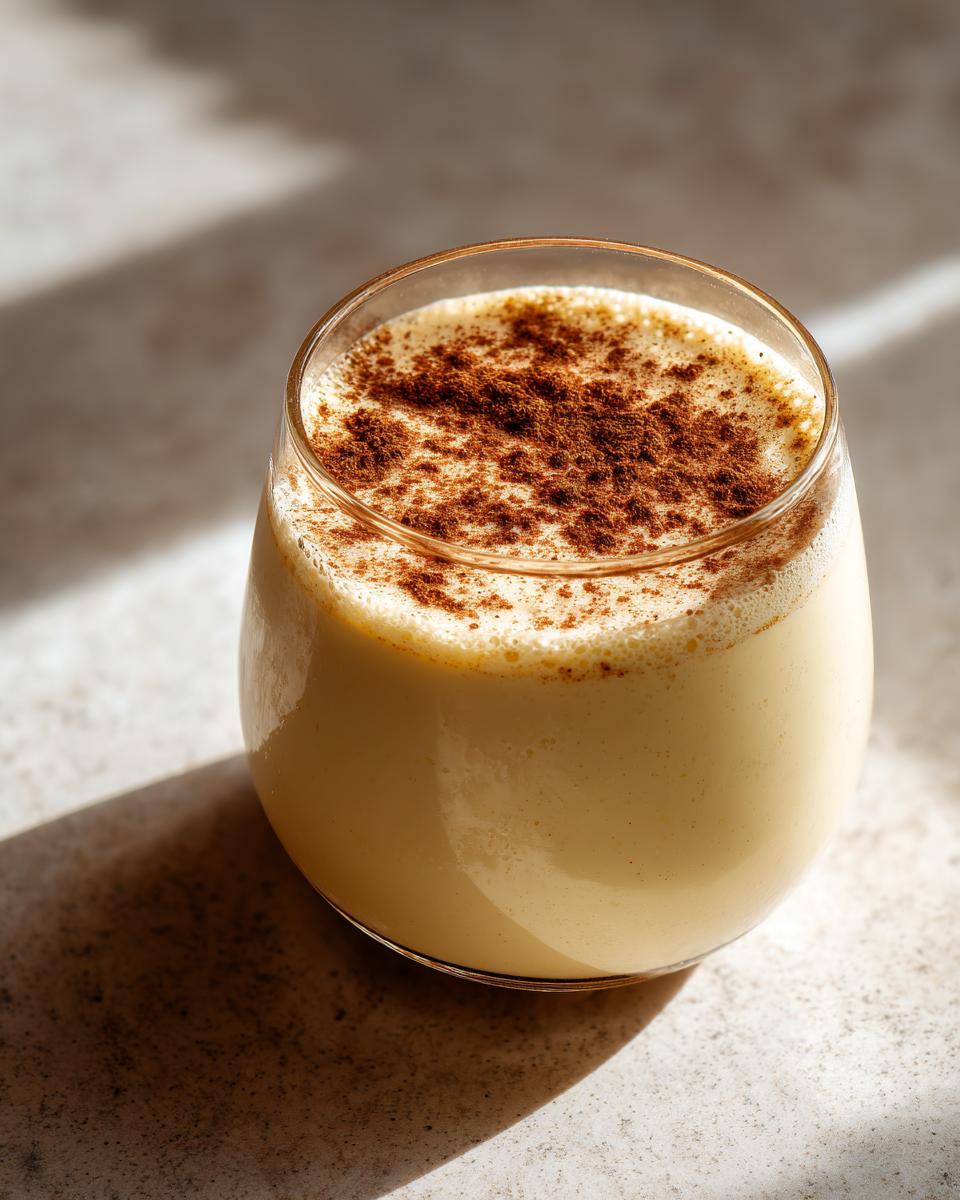
If you think the holiday season isn’t truly official until you’ve had a glass of that rich, spiced beverage, then I’m here to tell you that it’s time to ditch the cartons for good. Store-bought stuff is fine when you’re in a pinch, but it simply can’t hold a candle to a truly Best Easy Homemade Creamy Eggnog. That’s where my passion comes in. My goal here at Julia Meal is always to take those classic, soulful techniques I picked up years ago—the ones that make professional kitchens hum—and adapt them so they feel completely joyful and accessible right here in your home kitchen. This eggnog recipe is that philosophy in a glass: creamy, warm with spice, and surprisingly quick to make from scratch. Follow along, because this homemade eggnog recipe is the one you’ll be making every December.

- Why This Homemade Eggnog Recipe is Your New Tradition
- Ingredients for Rich, Creamy Eggnog
- Stovetop Eggnog Preparation: Mastering the Custard Base
- Chilling and Serving Your Classic Eggnog
- Tips for the Best Homemade Eggnog Experience
- Frequently Asked Questions About Eggnog
- Nutritional Data for This Festive Winter Beverage
- Share Your Homemade Eggnog Creations
Why This Homemade Eggnog Recipe is Your New Tradition
Honestly, once you taste this velvety goodness, you won’t go back to the plastic carton, trust me on this. This isn’t just another holiday drink recipe; it’s an experience. We achieve that spectacular mouthfeel—that signature, rich, creamy holiday drink texture—using a simple stovetop custard. It tastes like holidays in a glass, miles away from that overly sweet, thin stuff you find on the shelves. This is hands-down the best homemade eggnog because you control the spice and the richness, starting from simple milk and cream. If you already make amazing things like my quick, easy homemade BBQ sauce, you know I believe in elevating the familiar!
Quick Preparation for Classic Eggnog From Scratch
I know you’re busy during the holidays, which is why I obsessed over making this easy. While it involves stirring on the stove, the active prep time is only about 15 minutes! We are making a real classic eggnog from scratch, but without any fussy steps that professional chefs use just to show off. You get a rich, velvety beverage ready for chilling so fast. It’s all about efficient technique, not complex ingredients.
Making Alcohol-Free Eggnog or Adding Spirits
This is what I love most about this recipe: it works for everyone at the table. We build the base flavor first, so whether you’re serving little helpers or your favorite grown-ups, the core spiced custard is perfect. If you are aiming for an alcohol-free eggnog, just skip the liquor step! If you want to make it boozy, you just stir in the bourbon or rum right at the end. Simple as that!
Ingredients for Rich, Creamy Eggnog
When you’re making a special spiced custard beverage like this, you have to start with good stuff. Don’t fuss over complicated additions; just fresh, quality dairy and eggs make all the difference here. I always keep my ingredients measured out before I start simmering, which is called mise en place—it saves you from that panicked moment when the milk starts steaming before you’ve whisked your sugar!
Here’s exactly what you need for about six servings of this luscious drink. It’s amazing how few components are involved, isn’t it? If you’re looking for great snack ideas to serve alongside this festive drink, check out my recipe for easy oven-baked candied pecans.
- 6 large egg yolks (These are the core of the custard, don’t scale back!)
- 3/4 cup granulated sugar
- 1/4 teaspoon salt
- 1/4 teaspoon ground nutmeg (Get the good stuff, it makes a difference!)
- 1/4 teaspoon ground cinnamon
- 1/4 teaspoon vanilla extract
- 2 cups whole milk
- 1 cup heavy cream
- Optional: 1/2 cup bourbon, rum, or brandy (Pick your favorite!)
Stovetop Eggnog Preparation: Mastering the Custard Base
Okay, this next part is where we make magic happen, and frankly, it’s the step that makes real stovetop eggnog preparation miles better than anything you just pour out of a jug. We are creating a true English-style custard base here, and if you’re nervous about eggs cooking, don’t be! I’m going to walk you through it slowly. This is how we guarantee that signature richness and silky texture in our eggnog.
First, whisk those yolks, sugar, salt, and spices until they look pale and beautiful in your mixing bowl. Now, heat up your milk until it’s steaming hot but not outright boiling—you’ll see those tiny bubbles hugging the edges of the pan. Patience is key! This careful start prevents us from having scrambled egg soup, which, trust me, I have done before when I rushed it!
The Critical Step: Tempering Eggs for Smooth Eggnog
This is the showstopper instruction, so listen up! While you are whisking the egg mixture *constantly*—and I mean non-stop whisking—you need to drizzle in about a cup of the hot milk very, very slowly. We call this tempering. We are gently raising the temperature of the yolks so they don’t seize up when they hit the heat. If you pour it all in at once, oops! Scrambled eggs! Once that initial cup is blended smoothly, you pour that warm mixture back into the saucepan with the rest of the milk. Cook it low and slow, stirring until it thickens enough to coat the back of your wooden spoon—that’s usually right around 160°F if you’ve got a thermometer. That thick coating means your custard is safe and perfect.
Achieving Perfect Nutmeg Vanilla Holiday Flavor
We’ve already whisked most of our flavorings in with the initial yolk mix, which is great because the heat coaxes out the essential oils from the spices. When we finish cooking that custard base and take it off the heat, that’s the moment to stir in that pure vanilla extract for brightness. If you want that fantastic nutmeg vanilla holiday flavor to really sing, make sure you use freshly grated nutmeg whenever you garnish later. That fresh aroma hitting your nose right before you sip is unbeatable.
Chilling and Serving Your Classic Eggnog
We are almost there! After all that careful cooking, we have to make sure the final texture is absolutely flawless. Before moving this precious liquid to the fridge, you *must* strain it. Grab a fine-mesh sieve and pour your beautiful, just-cooked eggnog right through it into a clean bowl. I always say this: straining catches any tiny bit of egg that might have gotten ambitious and tried to solidify too fast. That tiny extra step guarantees that cloud-like, smooth finish we are looking for in a traditional Christmas recipe.
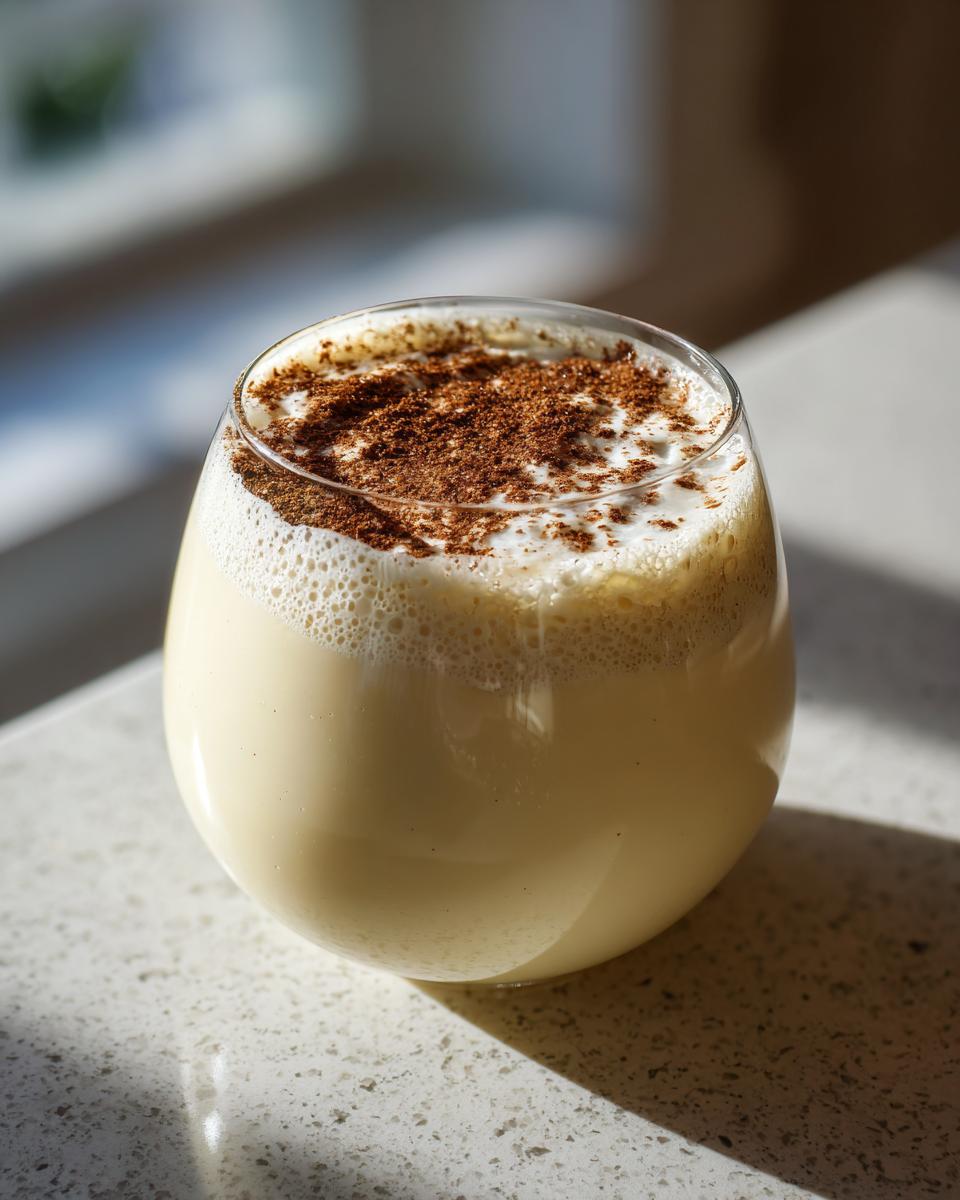
Now for the hardest part: waiting! This homemade eggnog needs time for those spices—cinnamon, nutmeg, and vanilla—to truly marry into the dairy. While you *can* drink it after four hours in the fridge, if you truly want the depth of flavor this drink deserves, cover the surface directly with plastic wrap (to stop that dreaded skin from forming!) and let it chill overnight. It transforms. Serve it ice cold, of course, with a generous, fresh dusting of nutmeg right on top. It’s heavenly!
Tips for the Best Homemade Eggnog Experience
Now that you’ve mastered the stovetop technique, let me give you a few pointers from my own testing days. This is how we turn a great glass of eggnog into the absolute best. I learned early on that these little details matter, much like how proper soaking time makes my overnight oats perfect. The best part? This is the ultimate make ahead holiday drink preparation!
If you are feeling overwhelmed by Christmas day prep, start this on December 23rd. It actually gets better as it ages slightly in the back of the fridge. Seriously, the spices deepen and the texture settles into something unbelievably velvety. It’s a true gift to yourself to have this ready to pour on a busy holiday morning!
Storage and Reheating Instructions for Eggnog
Since this is a dairy and egg custard, we have some strict rules for storage, but luckily, it keeps really well! You can safely store your leftover homemade eggnog in an airtight container in the refrigerator for up to five full days. And please, promise me you won’t try to reheat it! This is meant to be served ice cold—that chill is part of what makes it such a refreshingly rich winter warmer. Just give it a quick shake before you pour.
Frequently Asked Questions About Eggnog
I always get so many questions after I post this recipe, usually about the eggs—which makes sense! People are worried about cooking them, or they wonder if they can skip them altogether. I’ve pulled my favorite questions here, just in case you have the same thoughts while you’re prepping your ingredients. If you are looking for some quick meal ideas for the evenings when you aren’t stirring custard, check out my secrets for quick, easy weeknight dinners!
Can I make this eggnog recipe without eggs?
Oh, honey, no. You really can’t! If you skip the yolks, you end up with sweet, spiced milk, not true eggnog. The yolks are what transform the milk and cream into that velvety, thick dairy based holiday treat. They are our emulsifier, and they are essential for building that beautiful richness when we cook it slowly on the stovetop. Without them, you lose the body and the classic texture we’re aiming for.
What is the best alcohol to add to homemade eggnog?
This is up to personal preference, of course, but I stick to what was traditional when I first learned this recipe. Bourbon gives it a warm, oaky depth that pairs beautifully with the spices. Dark rum adds a touch of molasses sweetness, and brandy feels a bit smoother and more classic. You can even mix two! The spirit you choose defines whether your drink is purely comforting or turns into a proper, amazing rich winter warmer!
Nutritional Data for This Festive Winter Beverage
When you are whipping up a batch of this indulgent festive winter beverage, I always want to be upfront about what goes into that rich, creamy base. Now, I’m not a certified nutritionist—I’m a home cook who loves sharing what works! So, please take these numbers as a very good estimate based on the ingredients list. It’s definitely a treat!
- Serving Size: 1 cup
- Calories: 350
- Fat: 22g
- Sugar: 30g
- Protein: 9g
Because we use whole milk and heavy cream, the fat content is naturally higher, which is exactly what gives us that fantastic texture. Enjoy every bit of this holiday classic responsibly!
Share Your Homemade Eggnog Creations
I genuinely hope this recipe brings as much cozy joy to your holidays as it does to mine. If you gave this eggnog a try—especially if you nailed that tricky tempering step—please come back and let me know! Drop a comment below telling me if you went boozy or kept it family-friendly! When you share your stunning glasses on social media, tag me so I can see your beautiful results. If you ever need to get in touch about technique or scaling, just use the contact form. Happy sipping!
PrintThe Best Easy Homemade Creamy Eggnog (Alcoholic & Non-Alcoholic Options)

Make rich, creamy eggnog from scratch using this simple stovetop preparation. This classic holiday drink tastes far better than store-bought versions and you can easily make it family-friendly or add spirits.
- Prep Time: 15 min
- Cook Time: 15 min
- Total Time: 30 min
- Yield: 6 servings 1x
- Category: Dessert Drink
- Method: Stovetop Cooking
- Cuisine: American
- Diet: Vegetarian
Ingredients
- 6 large egg yolks
- 3/4 cup granulated sugar
- 1/4 teaspoon salt
- 1/4 teaspoon ground nutmeg
- 1/4 teaspoon ground cinnamon
- 1/4 teaspoon vanilla extract
- 2 cups whole milk
- 1 cup heavy cream
- Optional: 1/2 cup bourbon, rum, or brandy
Instructions
- In a medium bowl, whisk the egg yolks, sugar, salt, nutmeg, and cinnamon until the mixture is pale yellow and thick.
- Pour the whole milk into a medium saucepan and heat over medium heat until small bubbles form around the edges. Do not boil.
- Slowly temper the eggs: While whisking constantly, pour about one cup of the hot milk mixture into the egg yolk mixture. Continue whisking until combined.
- Pour the tempered egg mixture back into the saucepan with the remaining milk.
- Cook over medium-low heat, stirring constantly with a wooden spoon or heatproof spatula, until the mixture thickens enough to coat the back of the spoon (reaching 160°F on a thermometer). Do not let it boil. This step creates the smooth custard base.
- Remove the saucepan from the heat immediately. Stir in the heavy cream and vanilla extract.
- If making the alcoholic version, stir in your choice of bourbon, rum, or brandy now.
- Strain the eggnog through a fine-mesh sieve into a clean bowl to ensure a smooth texture.
- Cover the surface directly with plastic wrap to prevent a skin from forming. Chill in the refrigerator for at least 4 hours, or preferably overnight, to allow the flavors to fully develop.
- Serve cold, garnished with an extra sprinkle of fresh nutmeg.
Notes
- For the best flavor, chill the eggnog for 24 hours before serving.
- If you prefer an alcohol-free eggnog, simply omit the spirits in step 6.
- You can make this ahead of time; it keeps well in the refrigerator for up to 5 days.
- For a richer flavor, substitute some of the whole milk with evaporated milk.
Nutrition
- Serving Size: 1 cup
- Calories: 350
- Sugar: 30
- Sodium: 110
- Fat: 22
- Saturated Fat: 13
- Unsaturated Fat: 9
- Trans Fat: 0.5
- Carbohydrates: 32
- Fiber: 0
- Protein: 9
- Cholesterol: 210