
When I think about true comfort food, I don’t picture fancy techniques thrown together. I see something slow-cooked, something that smells like my grandmother’s kitchen warming up on a chilly afternoon. That’s exactly what this rice pudding recipe delivers—it’s the absolute creamiest, old-fashioned goodness you can achieve right on your stovetop. After years of testing different methods in my restaurant days and back in home kitchens, I finally unlocked the secret to this luxurious texture. This isn’t about shortcuts; it’s about honoring the process of making a truly classic, homemade pudding. If you’re looking for that perfect, thick, sweet rice dessert, trust me, this is the one you need. You can read more about my journey from professional cook back to the home kitchen roots that inspired this very recipe right here on my about page.
- Why This Old Fashioned Rice Pudding Recipe Delivers Comfort
- Ingredients for Your Creamy Rice Pudding Recipe
- Tips for Success with This Stovetop Rice Pudding Recipe
- Step-by-Step Instructions for the Best Rice Pudding Recipe
- Serving Suggestions for Your Classic Rice Pudding
- Storage and Reheating This Homemade Pudding
- Frequently Asked Questions About Our Rice Pudding Recipe
- Nutritional Estimates for This Sweet Rice Dessert
- Share Your Experience with This Classic Rice Pudding Recipe
Why This Old Fashioned Rice Pudding Recipe Delivers Comfort
This isn’t just some quick fix; it’s the real deal that brings that nostalgic warmth right back to your table. I promise you, once you try this version of the classic rice pudding recipe, you’ll understand why we keep making it the old-fashioned way.
- It achieves a truly creamy texture thanks to that long, slow simmer—no strange thickeners needed!
- We only use simple ingredient pantry staples. Nothing fancy, just pure comfort.
- The traditional stovetop approach is foolproof once you know the gentle heat trick.
It just tastes like coming home, and that’s what makes it a superior Comfort Food Dessert.
Achieving the Creamiest Rice Pudding Texture
Okay, the secret to getting that unbelievably smooth result lies in two things: using short-grain rice—it releases starch naturally, which is the magic thickener—and committing to that slow simmer with whole milk. You have to let that milk reduce gradually over the heat, stirring often. Don’t rush it! That slow infusion process is what makes the rice break down just enough to create that velvety blanket texture around every grain. That’s how you get the Thick Creamy Dessert everyone dreams about.
Ingredients for Your Creamy Rice Pudding Recipe
When I pull out my ingredients for this Classic Rice Pudding, I always feel like I’m about to make gold with basic things everyone has on hand. This entire batch comes together in about 70 minutes total and yields us about 6 perfect servings. If you’re scaling up for a big family gathering, just remember to use a much bigger, heavier pot—we don’t want any scorching!
Here is everything you need for this incredibly Creamy Rice Pudding Recipe:
- 1 cup short-grain white rice (This is key! Don’t swap it for long-grain unless you want a different texture.)
- 4 cups water
- 1/2 teaspoon salt (Don’t skip the salt; it really makes the sweetness pop.)
- 4 cups whole milk (Yes, whole milk! This is non-negotiable for that rich flavor.)
- 1/2 cup granulated sugar
- 1 teaspoon vanilla extract
- 1/4 teaspoon ground cinnamon (Plus, you’ll want extra cinnamon ready for sprinkling later!)
- 2 tablespoons unsalted butter
See? So simple. These are the foundation for a wonderfully nostalgic, comforting sweet rice dessert.
Tips for Success with This Stovetop Rice Pudding Recipe
Making a perfect pot of this rice pudding recipe is all about managing the heat and understanding your ingredients. The biggest fear in any stovetop pudding is that dreaded scorched bottom, right? I learned early on, even back when I was just starting out, that low and slow is the way to go when simmering milk. You have to stir frequently, especially in the last 20 minutes, to scrape up anything that tries to cling to the bottom of the pan. If you want to check out another simple one-pot wonder that requires similar heat management, take a peek at my rice pilaf recipe—same principle applies: respect the heat source!
Also, remember that pudding thickens up a good bit after it comes off the heat. If you cook it until it looks perfectly done in the pot, it might be too stiff once it cools down. Keep that in mind when you’re deciding when to pull it off the burner.
Ingredient Notes and Substitutions for Your Rice Pudding
For truly next-level creaminess, you absolutely must try Arborio rice if you happen to have it! It’s the same rice used for risotto, and it releases far more starch than the standard short-grain white rice we call for here. Either works beautifully, but Arborio gives you an extra layer of indulgence.
If you are a fruit person—and I totally understand if you are—don’t mix in raisins upfront with the milk. They need time to soften, but if they cook too long, they can get tough. I suggest tossing in some golden raisins or dried cranberries during the last 10 minutes of cooking. That gives them just enough time to plump up without losing their texture.
And don’t forget that butter at the end! Stirring in the cold butter right off the heat gives the pudding a beautiful, glossy finish and a richer mouthfeel. It’s a small thing, but it makes the whole dessert taste more intentional.
Step-by-Step Instructions for the Best Rice Pudding Recipe
Alright, time to get serious about that creamy goodness! This process is incredibly intuitive once you see it laid out, but I want you to treat this pot with respect—we are not making scorched milk here! We move through distinct phases. First, we soften the rice in water. Then, we introduce the milk slow and steady. Finally, we dedicate some patient time to the slow simmer where the magic happens.
It starts with combining the rice, water, and salt in a heavy-bottomed pot—heavy bottom is really important, by the way! Bring that up to a boil and let it run for about 10 minutes until the water is mostly gone. This pre-cook step ensures the grains are ready before they start lazily soaking up all that rich milk.
Next, we pour in the whole milk and the sugar and give it a good stir. Now, this is where you need to stick around. We want a gentle simmer over medium-low heat. You will need to stir frequently—and I mean it! Don’t just walk away for 15 minutes. Stirring often prevents that pesky rice from sticking and burning on the bottom, which ruins the entire batch. You are looking for about 40 to 50 minutes of this gentle cooking until it thickens up wonderfully. If you’re looking for another classic, slow-cooked dessert that requires this kind of focus, check out my homemade chocolate pudding recipe for comparison!
The Critical Simmering Phase for Creamy Rice Pudding
Listen, the milk and sugar simmering stage is where this Easy Stovetop Rice Pudding finally becomes exceptional. Never let it hit a rolling boil once the milk is in there. A rolling boil breaks down the milk proteins awkwardly and increases your chance of scorching exponentially. Think gentle bubbles, not an angry bubbling mass!
Keep your hand close to that spoon and stir every few minutes. You need to gently scrape the bottom of the pan as you stir to ensure no rice grains are hugging the hot metal. This constant, gentle movement is what encourages the starch to release smoothly, binding the liquid into that famous thick, luscious sauce without needing any stabilizers. If you see steam rising nicely and the pudding starting to cling just a tiny bit to the back of your spoon, you’re close!
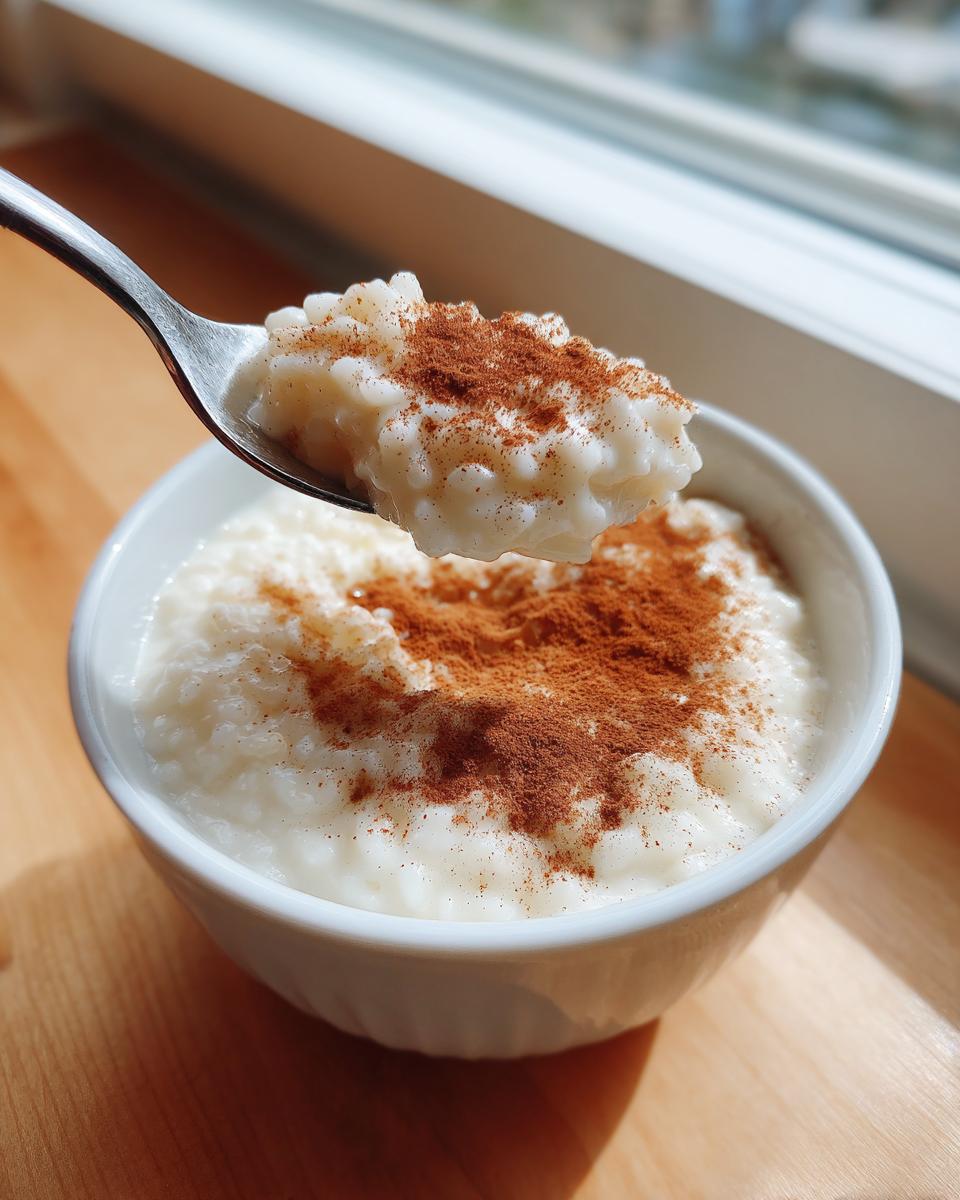
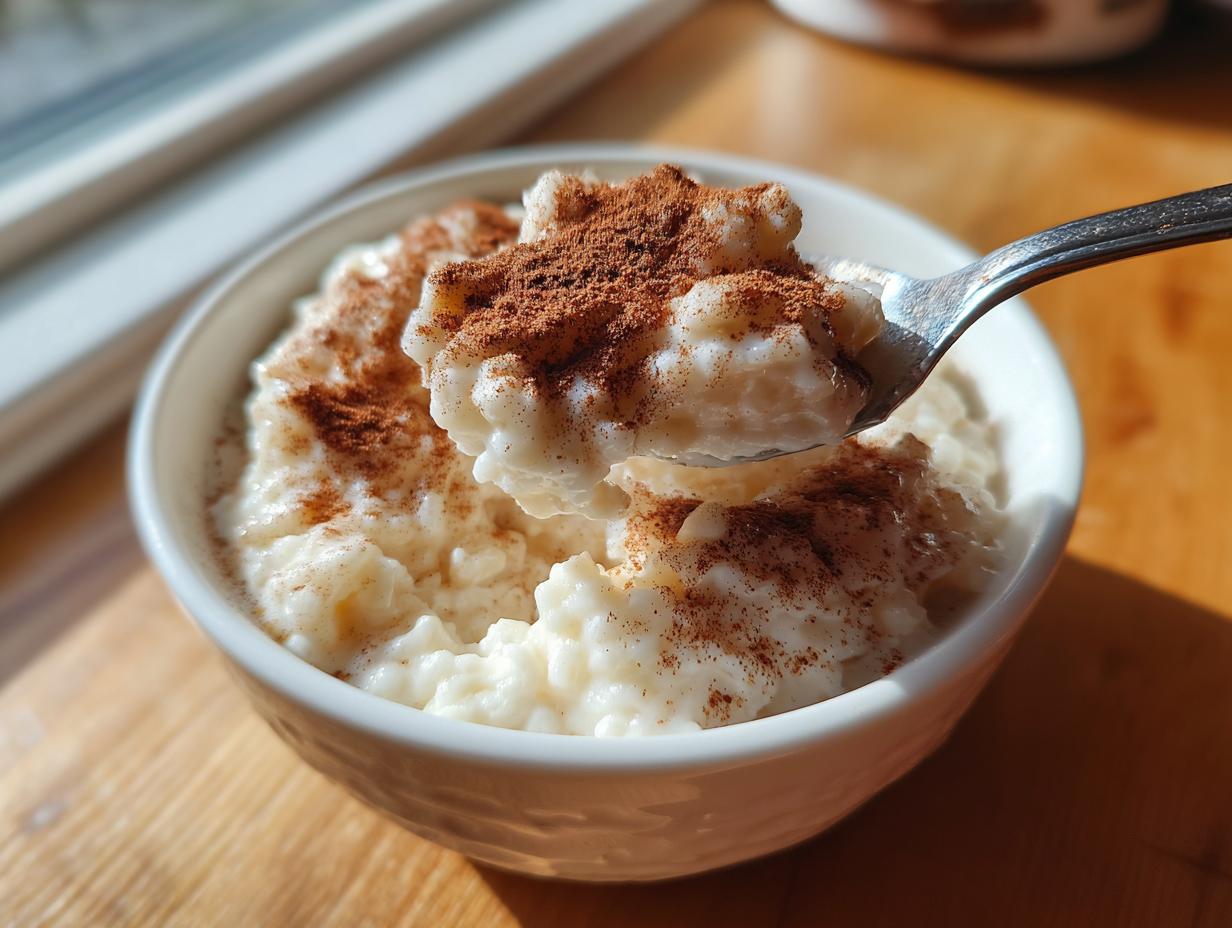
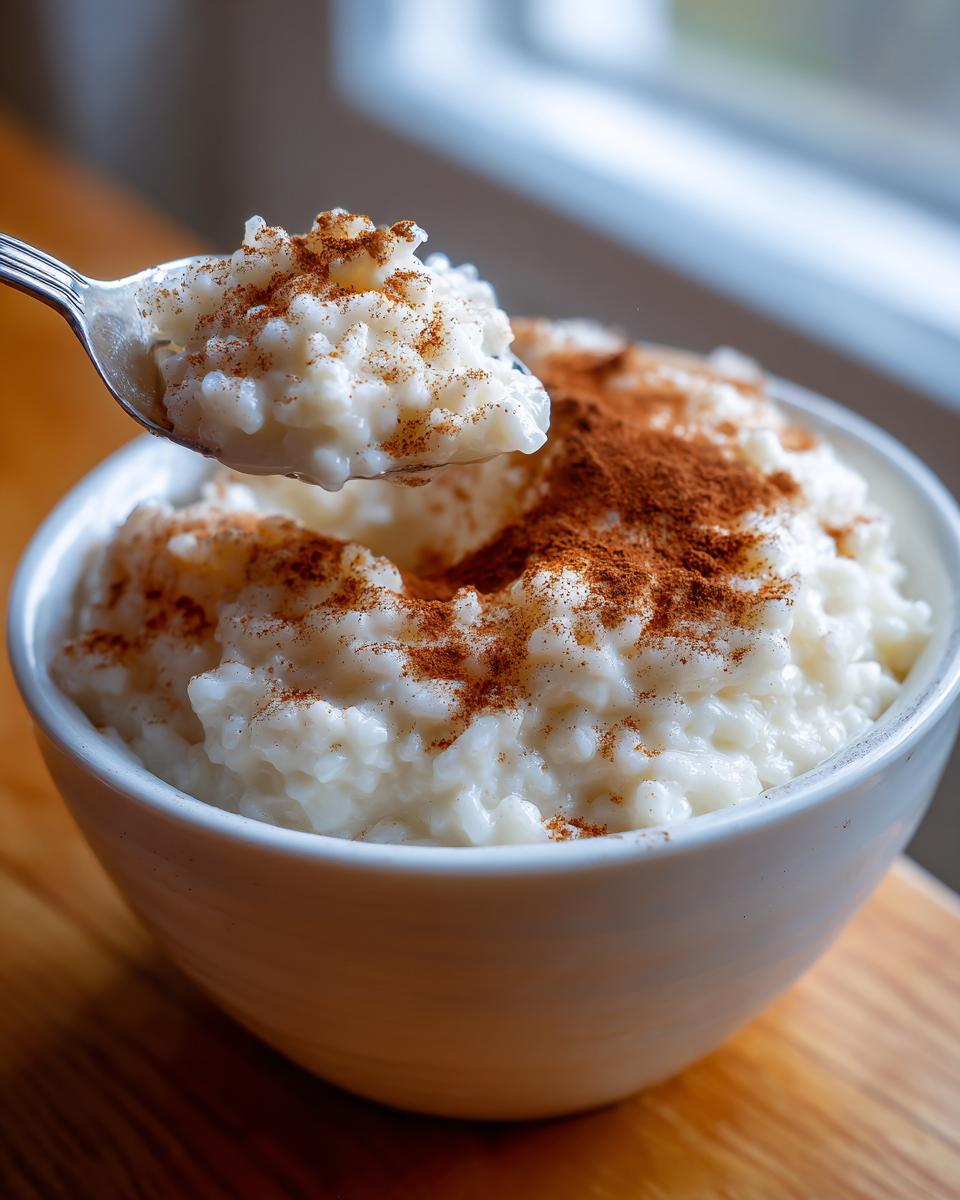
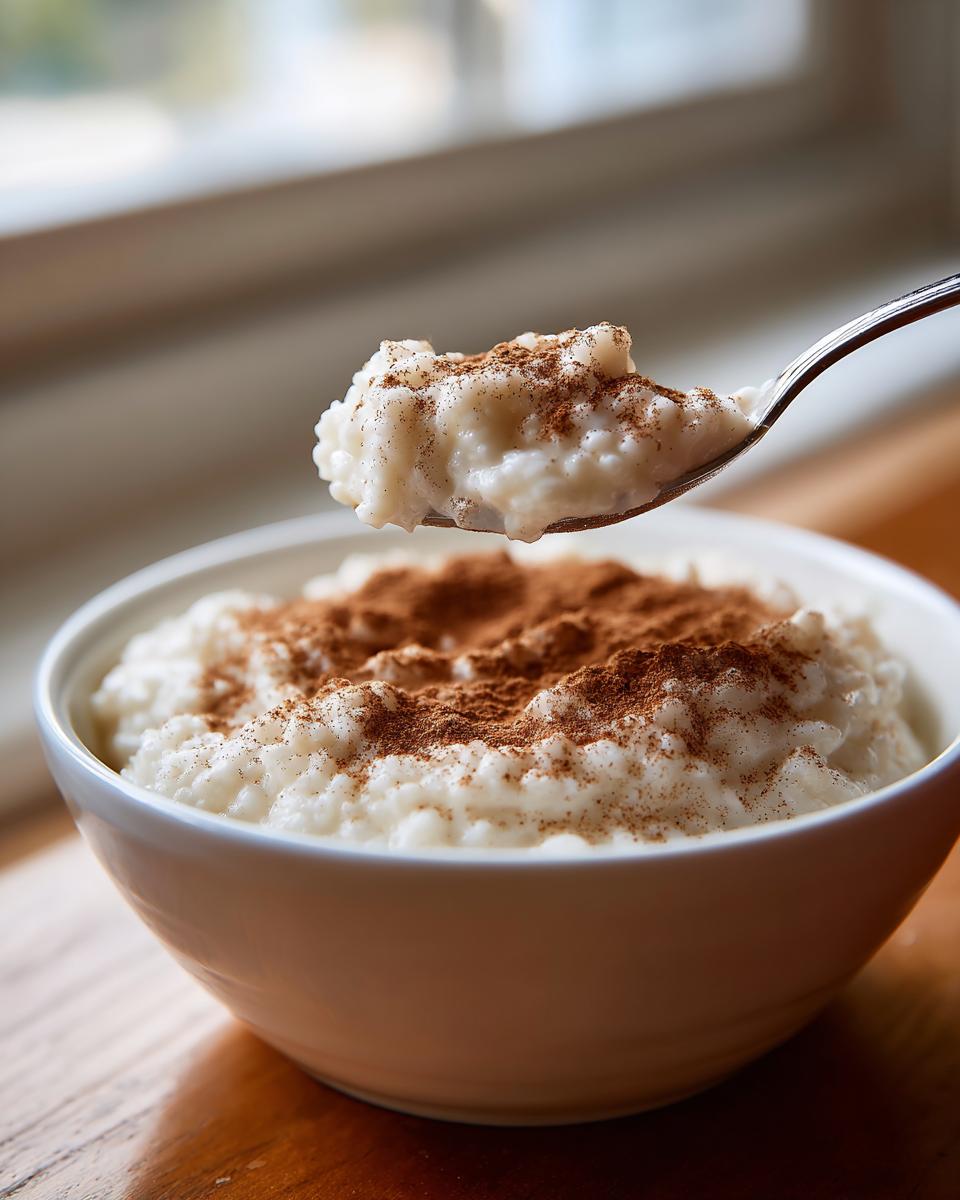
Serving Suggestions for Your Classic Rice Pudding
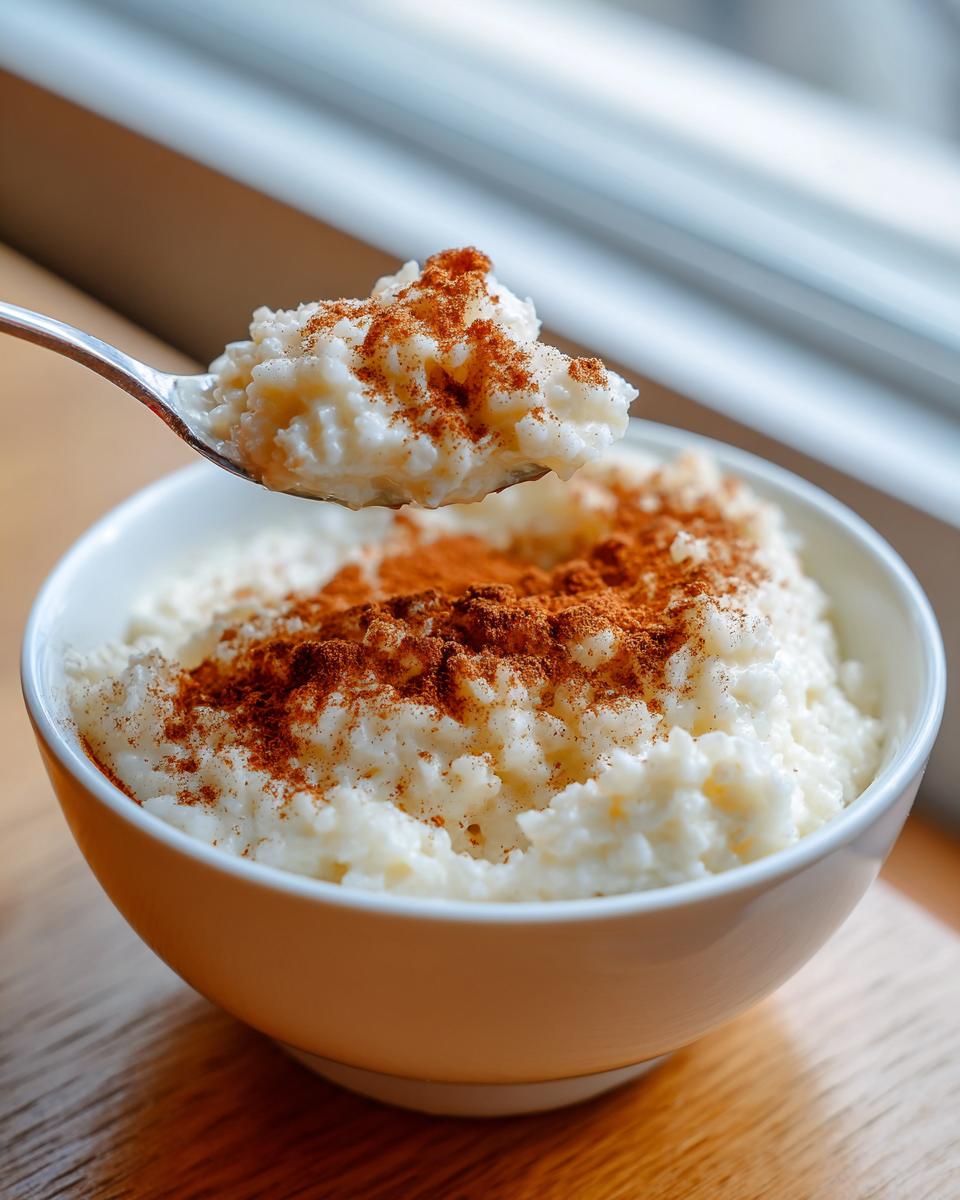
So, you’ve made this unbelievably creamy pudding! Are you eating it right now, steaming hot out of the pot? I know I usually sneak a spoon while it’s still warm because that’s pure bliss. But honestly, this rice pudding recipe shines either way. Serving it warm with a dusting of extra cinnamon or maybe a dash of nutmeg is just classic comfort. If you want something that borders on breakfast elegance, I sometimes pair a small bowl with my cinnamon apple cobbler topping for an extra fruity layer. Or, let it chill overnight—it sets up thicker and makes an amazing cold dessert for the next day!
Storage and Reheating This Homemade Pudding
One of the best things about this Old Fashioned Rice Pudding is that it tastes just as good the next day, maybe even better once those cinnamon and vanilla flavors have really settled in overnight! But you have to take care of it properly, or it turns into a brick overnight. That’s no good for anyone.
When you’re done eating, just let the pudding cool on the counter for about 30 minutes—don’t put scalding hot dairy directly into the fridge, please! Then, scoop it into an airtight container. I prefer glass containers these days; they just seem to seal better. Make sure you press a piece of plastic wrap directly onto the surface of the pudding before closing the lid. This simple step is crucial; it stops that skin from forming on top, which nobody wants when they are reaching for that comforting spoonful in the morning.
It keeps perfectly well in the fridge for about 3 to 4 days. Now, about reheating it—this is where people sometimes panic. Yes, it will be much thicker, sometimes surprisingly stiff, after chilling. Don’t worry! Just scoop the amount you want into a small saucepan over low heat. Slowly stir in a splash of milk—maybe a tablespoon at first—while it warms up. Keep stirring gently until it loosens up and returns to that beautiful, creamy consistency we worked so hard to achieve. If you’re in a huge rush, the microwave works too, just stop and stir every 30 seconds to make sure it heats evenly and doesn’t start bubbling too aggressively in the center.
Frequently Asked Questions About Our Rice Pudding Recipe
I get so many questions about making this Classic Rice Pudding—and that’s wonderful because it proves how much people love this dessert! Here are some of the things I hear most often about achieving that perfect batch.
Can I make this Rice Pudding Recipe using cooked rice?
That’s a great question! This specific rice pudding recipe is definitely formulated for uncooked short-grain rice because we need that starch to release during the 50-minute simmer to develop the ultimate creamy base. If you only have leftover cooked rice, you’ll definitely be able to make a *quicker* version—maybe closer to that 25-minute dessert window you see online—but it won’t have the deeply mellowed flavor and texture profile this stovetop method provides. For this recipe’s classic outcome, stick to uncooked rice, but if you’re in a total rush, a quick version with already cooked rice is possible!
How long does it take to make this Easy Stovetop Rice Pudding?
For the absolute best creamy rice pudding, you are looking at about 70 minutes total time—10 minutes for the initial water absorption, and then a solid 40 to 50 minutes for the slow simmer with the milk. Why so long? Honestly, that slow cooking time is your best friend! That’s the time it takes for the rice to gently soften and release its starches to naturally thicken the milk into that luscious, velvety sauce. Rushing that part just means you end up with grainy, watery pudding instead of homemade perfection.
I know everyone wants Quick Rice Pudding sometimes, and you certainly can speed things up, but the flavor development in this slow infusion process is what elevates it to the top tier of Comfort Food Desserts. You can find links to some faster cooking resources if you need something truly speedy on my main recipes page, but for this classic, patience is the ingredient you can’t skip!
Nutritional Estimates for This Sweet Rice Dessert
Now, I have to give you the usual disclaimer here because, let’s be real, I’m cooking with love, not running a lab! The values below are just estimates based on the ingredients for this particular rice pudding recipe, serving about 6 people. If you use a brand of milk that’s lighter or sneak in some extra raisins, those numbers will tick up or down slightly.
- Serving Size: 1 cup
- Calories: 310
- Fat: 8g (5g Saturated Fat)
- Carbohydrates: 52g
- Protein: 10g
- Sugar: 25g
- Sodium: 180mg
Even with the sugar content, remember this is an indulgent, traditional treat. Enjoy it slowly!
Share Your Experience with This Classic Rice Pudding Recipe
That’s it! You’ve done the stirring, you’ve waited patiently, and now you have a bowl of true, old-fashioned comfort in your hands. Whether you ate yours warm, sprinkled with cinnamon, or you tucked it away to enjoy as a chilled snack the next morning, I truly hope this rice pudding recipe brought a little warmth to your table. It’s one of those sacred dishes that tastes different when you make it with care, don’t you think?
Now, I absolutely live to hear how things turn out in your kitchen! Please, stop by the comments below and let me know what you thought. Did you use Arborio rice? Did you add those raisins I mentioned? Don’t be shy—rate this recipe so others searching for the Best Rice Pudding can find it, and if you snapped a picture of your creamy masterpiece, tag me on social media! Seeing your homemade puddings is seriously the best part of my day a joy that rivals even the first taste of a perfect, warm dessert. If you loved this, check out more of my simple, feel-good simple delicious desserts.
If you want to see how one of my favorite food writers made their version, you can check out their classic take right here using this link. Happy cooking, everyone!
PrintOld-Fashioned Creamy Rice Pudding Recipe

Make this classic, comforting rice pudding on the stovetop. It uses simple ingredients to achieve a rich, smooth texture perfect for a cozy dessert.
- Prep Time: 10 min
- Cook Time: 60 min
- Total Time: 70 min
- Yield: 6 servings 1x
- Category: Dessert
- Method: Stovetop
- Cuisine: American
- Diet: Vegetarian
Ingredients
- 1 cup short-grain white rice
- 4 cups water
- 1/2 teaspoon salt
- 4 cups whole milk
- 1/2 cup granulated sugar
- 1 teaspoon vanilla extract
- 1/4 teaspoon ground cinnamon (plus extra for topping)
- 2 tablespoons unsalted butter
Instructions
- Combine the rice, water, and salt in a heavy-bottomed saucepan. Bring to a boil over medium-high heat, then reduce heat to low, cover, and simmer for 10 minutes until most of the water is absorbed.
- Add the whole milk and sugar to the saucepan. Stir well.
- Return the mixture to a gentle simmer over medium-low heat, stirring frequently to prevent sticking and scorching on the bottom.
- Continue to cook for 40 to 50 minutes, stirring often, until the rice is tender and the pudding has thickened to your desired creamy consistency. The pudding will thicken more as it cools.
- Remove the saucepan from the heat. Stir in the vanilla extract, ground cinnamon, and butter until the butter melts completely.
- Serve the creamy rice pudding warm, or chill it completely for a cold dessert. Sprinkle with extra cinnamon before serving.
Notes
- For an even creamier texture, use Arborio rice instead of standard short-grain rice.
- If the pudding becomes too thick upon cooling, stir in a splash of milk to reach your preferred consistency.
- You can substitute raisins or dried cranberries during the last 10 minutes of cooking if you prefer fruit in your dessert.
Nutrition
- Serving Size: 1 cup
- Calories: 310
- Sugar: 25g
- Sodium: 180mg
- Fat: 8g
- Saturated Fat: 5g
- Unsaturated Fat: 3g
- Trans Fat: 0g
- Carbohydrates: 52g
- Fiber: 1g
- Protein: 10g
- Cholesterol: 25mg