
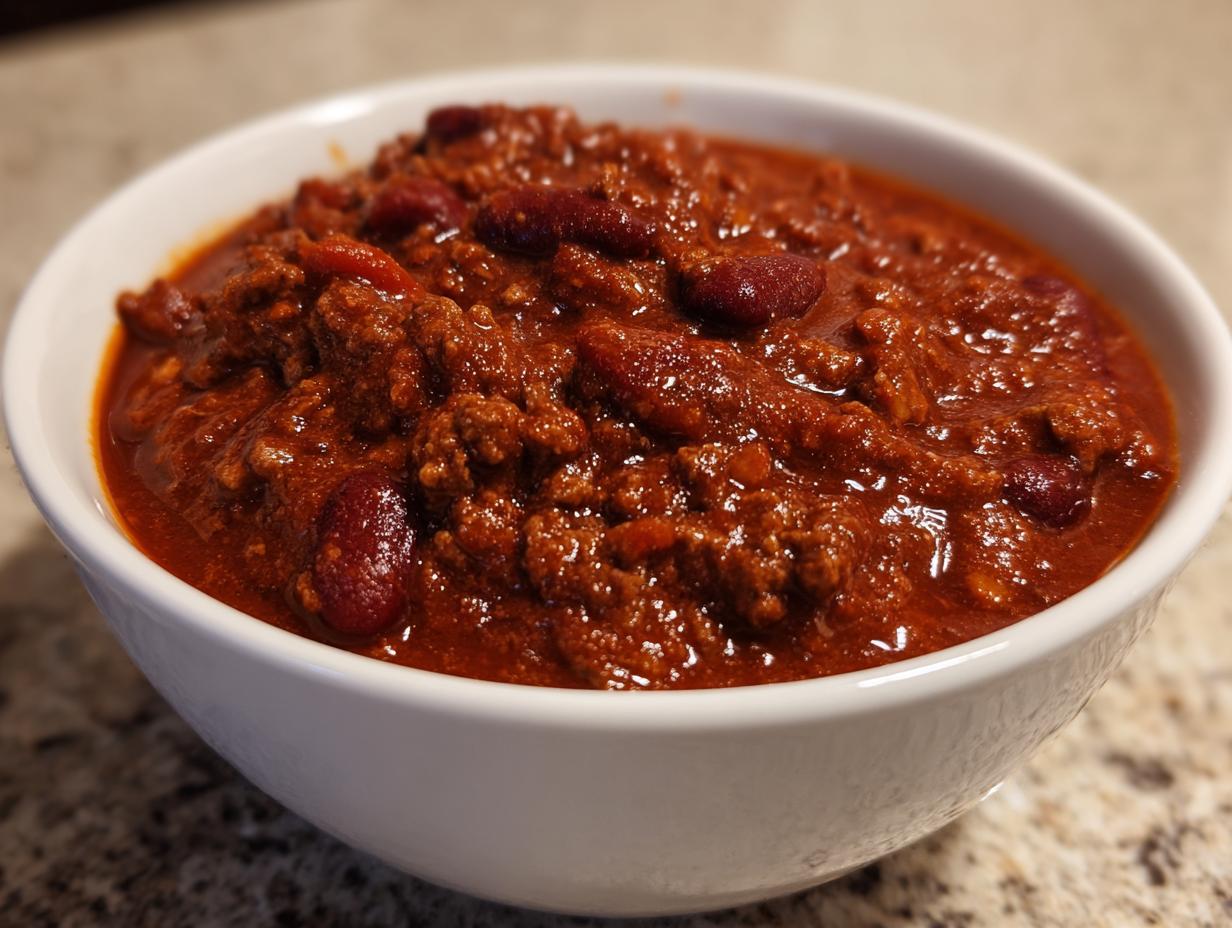
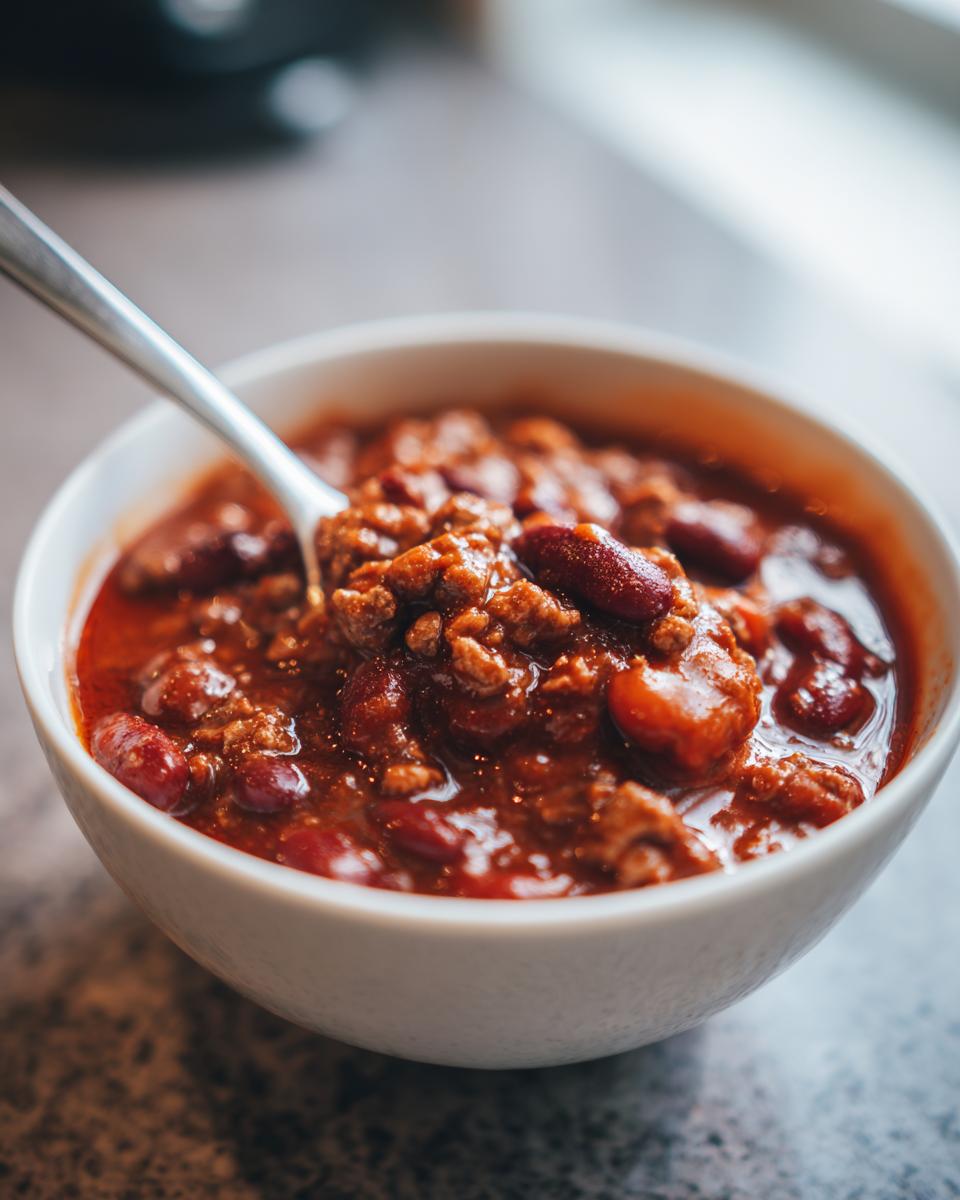
There is nothing, and I mean *nothing*, that warms up a house or satisfies a deep hunger quite like a massive, slow-simmered bowl of truly great comfort food. I spent years chasing that perfect taste in my **chili**—the kind you smell from down the street that makes everyone gather eagerly around the kitchen island. Folks, after testing countless spice blends and techniques learned from roadside diners to fancy kitchens, I cracked the code. This recipe for The Best Ever Classic Homemade Beef Chili uses shockingly simple ingredients, but the flavor profile hits that elusive award-winning mark. It’s the culmination of my culinary journey, bottled up for your cozy game nights or a simple hearty family dinner. If you love that deep, savory comfort, you’ll adore this approach, which is similar in spirit to how I build flavor in my popular one-pot beef pasta recipes!
- Why This Classic Beef Chili Recipe Delivers Award Winning Chili Flavor
- Simple Ingredients for the Hearty Chili Recipe
- How to Prepare the Best Homemade Chili (Stovetop Instructions)
- Alternative Cooking Methods for Your One Pot Chili
- Tips for the Perfect Thick Chili Recipe
- Serving Suggestions for this Classic Beef Chili
- Storing and Reheating Your Chili for Easy Weeknight Chili Dinners
- Frequently Asked Questions About Making Chili
- Estimated Nutrition Facts for This Chili
- Share Your Award Winning Chili Experience
Why This Classic Beef Chili Recipe Delivers Award Winning Chili Flavor
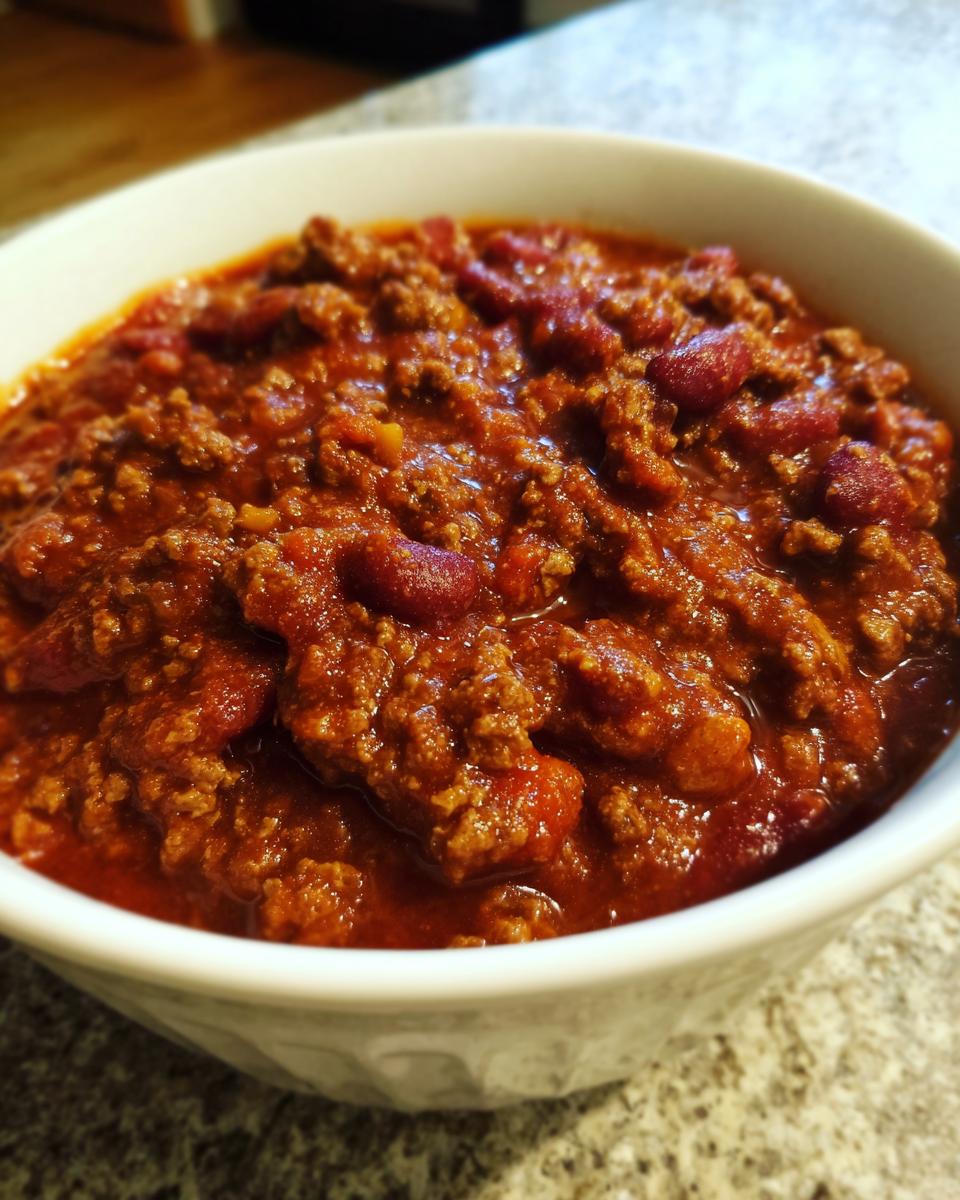
Honestly, what separates a decent bowl of chili from something you chase around all year is technique, not fancy ingredients. When I tell you this is the key to getting that famed award winning chili flavor, you have to trust me! So many people just toss spices in with the liquid, but you need to wake those spices up first. That one minute of cooking them in the hot fat with the beef and veggies is absolutely essential for building real depth. It makes such a difference in the final result when you focus on texture, too; this recipe is designed to be a wonderfully thick chili recipe, not some watery soup.
The Secret to Deep, Rich Chili Flavor
Okay, here’s the absolute game-changer, the thing that makes people ask what I do differently: unsweetened cocoa powder. Don’t panic! You won’t taste chocolate, I promise. It’s like adding a darker brown sugar; it just deepens the savory, earthy notes from the chili powder and cumin, giving it a lovely, mysterious complexity. I keep my recipe for homemade hot cocoa for dessert, but a teaspoon of the unsweetened stuff goes right into the pot with all the other dry seasonings right after I sauté the onions. Bloom those spices together, and you’ve already won half the battle!
Simple Ingredients for the Hearty Chili Recipe
The beauty of this best homemade chili is that it relies on pantry staples. You don’t need to run to specialty stores for this classic bowl of comfort; these are honest, straightforward simple chili ingredients. A good chili is built layer by layer, and having everything prepped and ready is half the battle, which is why I write out the instructions so clearly for you. Please listen to Julian on this front—prep matters!
Here is exactly what you need gathered before you even think about turning on the stove:
- 2 pounds ground beef (I use 85/15 for the best flavor foundation)
- 1 large onion, finely chopped
- 1 green bell pepper, chopped—don’t skip the pepper, it adds a nice brightness!
- 3 cloves garlic, minced super fine
- 2 (14.5 ounce) cans diced tomatoes, make sure they are undrained! That liquid is gold.
- 1 (16 ounce) can kidney beans, rinsed and thoroughly drained
- 1 (16 ounce) can pinto beans, rinsed and thoroughly drained
- 1 (15 ounce) can tomato sauce
- 1 cup water
- 2 tablespoons chili powder (use a high-quality one, please!)
- 1 tablespoon ground cumin
- 1 teaspoon smoked paprika (this gives that BBQ depth without actual smoking!)
- 1 teaspoon dried oregano
- 1 teaspoon salt
- 1/2 teaspoon black pepper
- 1/2 teaspoon cayenne pepper (only if you like a little kick, feel free to skip it)
- 1 teaspoon cocoa powder (our secret weapon, remember?)
If you want to make this even heartier, you can always stir in a side of my stovetop cheesy rice right on top when serving!
How to Prepare the Best Homemade Chili (Stovetop Instructions)
Alright, let’s get this best homemade chili moving! Since we are making this on our stovetop today, this is the best way to maximize flavor quickly. Getting the browning right at the start sets the tone for the entire pot. We’re aiming for deep flavor, and by sticking to these steps, you’ll have the richest stovetop chili imaginable. Grab your biggest, sturdiest Dutch oven or heavy pot—this recipe makes enough to feed a crowd, perfect for game day!
Browning Meat and Sautéing Vegetables for Your Chili
First things first: Step 1 is getting that ground beef gorgeous. Brown your meat right over medium heat. You want it nice and crumbly. Now, here’s a pro tip I picked up in my restaurant days: drain off almost all that fat! If you leave too much in there, your chili ends up tasting greasy instead of rich. Once that’s done, toss in your chopped onion and green pepper. Let those cook down until they start looking soft and happy, which usually takes about 5 to 7 minutes. We want them tender before the garlic hits the heat!
Simmering the Chili for Maximum Flavor Development
Once your veggies are soft, go ahead and sprinkle in everything from the chili powder all the way down to that secret cocoa powder. Cook it for just 60 seconds, stirring like mad! This is blooming the spices, which is key to that award winning flavor we talked about earlier. After that minute of spicy magic, dump in all your tomatoes, sauces, water, and those rinsed beans. Bring the whole glorious mess to a boil, and then—this is important—immediately knock that heat down to a low simmer. Patience pays off here, my friends. You need to let that simmer, covered, for at least one whole hour, but seriously, if you can push it to two or even three hours, the flavors meld together so beautifully. You can try my other favorite comfort meals while you wait!
Alternative Cooking Methods for Your One Pot Chili
I call this a one-pot recipe, and most of the time, I make it right on the stovetop, just like I showed you. But look, sometimes life is just too busy, or maybe you want that amazing set-it-and-forget-it ease, right? That’s why I included instructions for using the slow cooker. This same recipe makes a truly phenomenal slow cooker chili or crockpot chili. Don’t worry about losing that intense flavor; we did the hard work of browning the meat and blooming the spices on the stovetop first, which keeps the flavor integrity top-notch!
Making Hearty Chili Recipe in the Slow Cooker
If you’re pivoting to the slow cooker—and honestly, I don’t blame you sometimes—the process is super simple after you do those first two steps on the stovetop. You’ll do your browning, drain the fat, and sauté the onions, pepper, and garlic right in a skillet just like normal. Then, you stir in all those amazing spices and cook them for that critical minute. After that explosion of fragrance, you just transfer everything—the meat mixture, the beans, the tomatoes, all of it—right into your crockpot. It’s so easy, and it means your house will smell incredible all day long.
Now for timing, because low and slow is the secret here: Cook your hearty chili recipe on LOW for about 6 to 8 hours. If you’re pressed for time and need dinner ready sooner, you can switch it to the HIGH setting, but you’ll only need about 3 to 4 hours. Either way, when you get home, your deep, savory chili is waiting for you. It’s a huge time saver, and that slow cooking really coaxes out every bit of flavor. You can find tips for getting other great results from your slow cooker over on my crock pot angel chicken recipe post too!
Tips for the Perfect Thick Chili Recipe
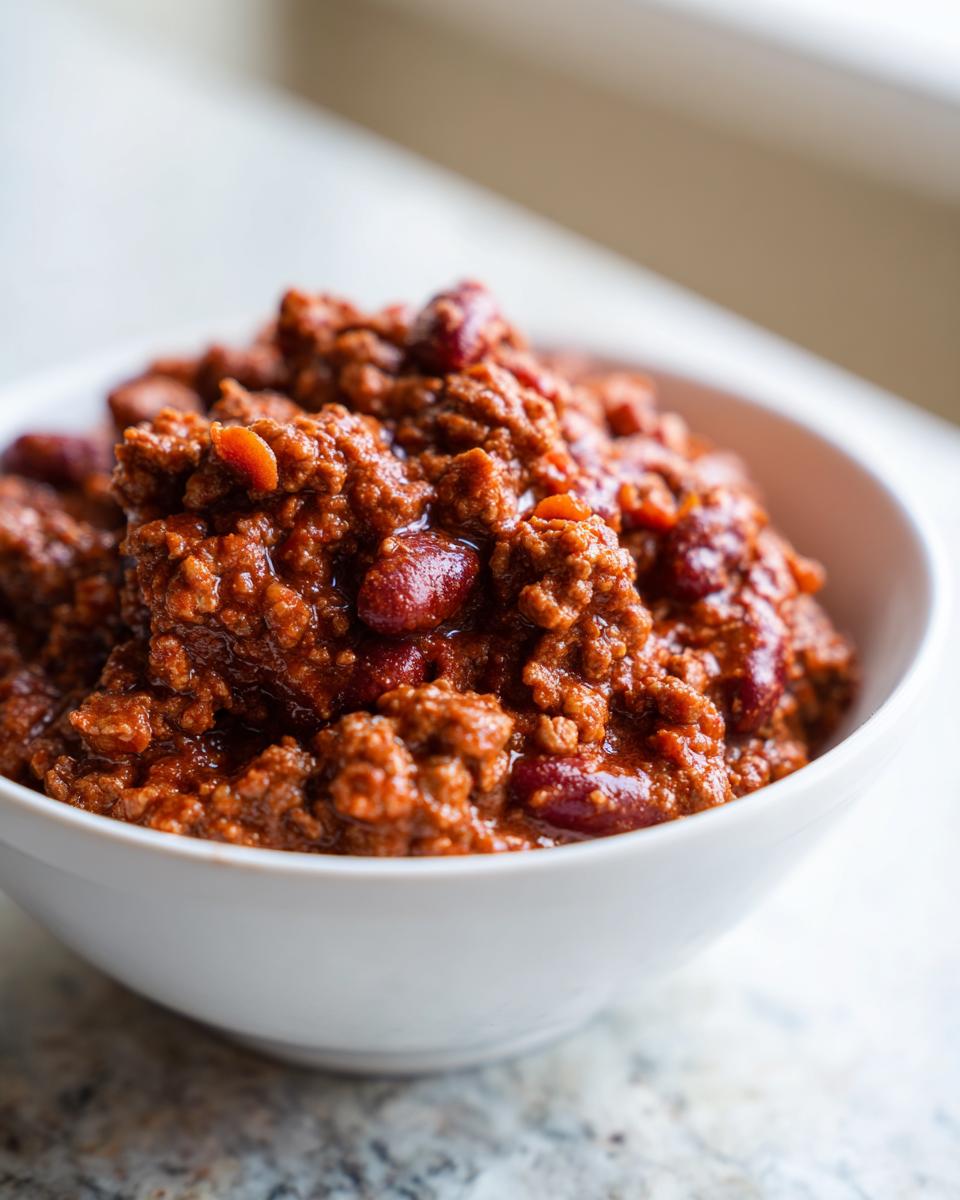
We’ve got the flavor locked down thanks to that cocoa powder trick, but let’s be real—a chili that runs all over the bowl just isn’t satisfying, is it? Every good cook needs to understand texture. Achieving that ideal, robust consistency for this thick chili recipe is just as important as getting the spices right. It’s all about adjusting things near the end, once everything else is singing beautifully together. This is where you customize it to be exactly what *you* want for your hearty family dinner.
Adjusting Heat and Consistency in Your Chili
So, you’re tasting your chili after that long, lazy simmer and you have two potential issues: maybe it’s a touch too runny, or maybe you want to crank up the dial for a real spicy chili option. Don’t worry, fixing either one is easy at this stage because the main cooking is done!
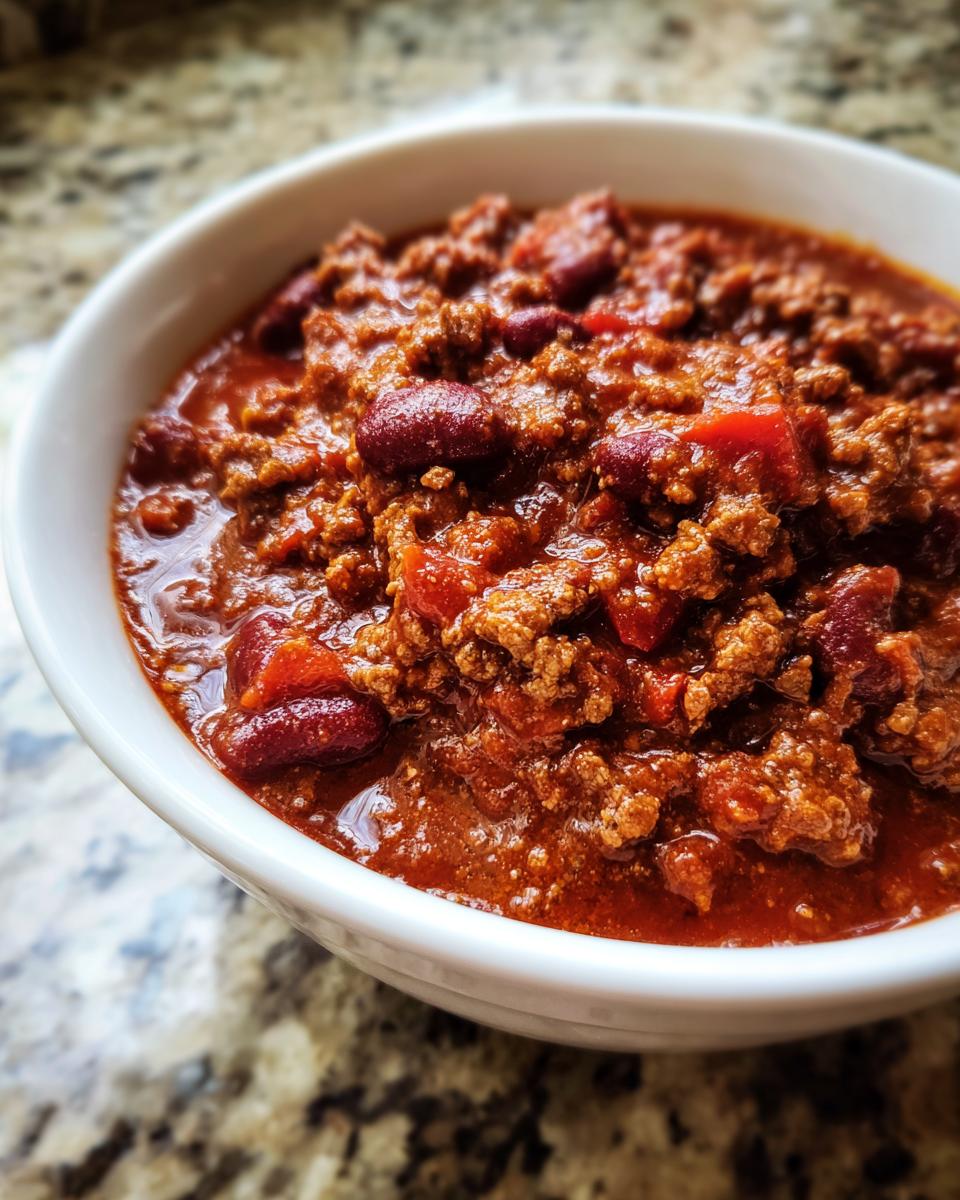
If you need it thicker, the absolute best way to do it is to take the lid off the pot. Yes, really! Let it simmer uncovered for the last 20 to 30 minutes. As that steam escapes, the liquid naturally reduces, concentrating those amazing flavors and thickening the sauce beautifully. Just watch it closely so it doesn’t scorch on the bottom!
Now, for the heat. I usually add just a hint of cayenne initially because I like a warming spice, not a scorching one. But if you’re feeling bold or your guests like things fiery, this is the moment to add more. You can sprinkle in a little extra cayenne pepper, or, my favorite technique for immediate, adjustable heat, just stir in a dash or two of your favorite vinegary hot sauce right before you serve it. That way, people who want extra kick can add it to their own bowls, but the main pot is balanced for everyone. Speaking of creamy comfort, if you ever want something different after chili night, you have to check out my recipe for creamy chicken enchilada soup!
Serving Suggestions for this Classic Beef Chili
You’ve simmered it, you’ve seasoned it—now comes the fun part! This comfort food chili really shines when it gets all dressed up. Chili is just a canvas; the toppings are the artwork, honestly. You can go simple, or you can go wild! I always feel like having a spread of toppings on the counter makes the whole meal feel more celebratory, even if it’s just a Tuesday night dinner.
For me, nothing beats that classic, cool contrast against the warm, smoky heat. You absolutely must have good, sharp cheddar cheese grated fresh—none of that pre-shredded stuff that comes coated in anti-caking agents. It melts way better and tastes superior. Sour cream or plain Greek yogurt is non-negotiable to temper the heat, too. We are aiming for balance here!
Here are my go-to additions that make this classic beef chili truly memorable:
- Cheese: Freshly grated sharp cheddar or Monterey Jack.
- Cooling Agents: A dollop of sour cream or plain Greek yogurt.
- Crunch & Freshness: Chopped white onion, maybe some fresh cilantro if you’re feeling fancy.
- Heat Boosters: Sliced jalapeños or your favorite bottled hot sauce on the side.
- The Essential Sidekick: You absolutely need something sturdy to scoop all that glorious thick sauce onto or into. My homemade buttermilk biscuits are incredible for soaking up the last drops, but honestly, a good slice of sweet cornbread works wonders too!
Storing and Reheating Your Chili for Easy Weeknight Chili Dinners
One of the best features of making a big batch of this chili is knowing you have future meals lined up! Seriously, this is where the magic of leftovers comes in for the ultimate easy chili dinner convenience. I always make a double batch when I have the energy because I know that perfectly seasoned, thick chili actually tastes much better on day two, maybe even day three! All those spices have time to really get acquainted overnight, deepening the overall profile.
When you store it, make sure it’s completely cooled down before it goes into the fridge. I use sturdy, airtight plastic or glass containers to keep it fresh. It’ll hang out safely in the refrigerator for a solid four to five days. But honestly, if you have way more than that, you should absolutely freeze the extra portions. Chili freezes like a dream!
For freezing, I prefer breaking it down into single-serving or two-serving portions. This way, you just grab what you need without having to thaw a massive clump later. Wrap those containers tightly, or use heavy-duty freezer bags, squeezing out as much air as possible. This hearty chili recipe will keep beautifully in the freezer for up to three months. It’s my secret weapon for when I need a satisfying meal ready in minutes. I often prep these freezer packs during my batch cooking sessions!
The Best Way to Reheat That Flavor-Packed Chili
Reheating is simple, but the method affects the texture, so choose wisely! If you are going straight from the fridge, the stovetop is my preferred method. Pour it into a pot, put it over medium-low heat, and let it warm slowly, stirring every so often. Slow warming prevents the bottom from scorching, which is especially important since this is such a thick chili recipe.
If you are thawing it from frozen, give it 24 hours in the fridge to thaw first—never rush that step by microwaving a rock-solid block! Once thawed, reheat gently on the stovetop. If you’re using the microwave, use short 60-second bursts, stirring well between each interval until it’s steaming hot all the way through. Because the consistency concentrates as it cools, you might need to stir in just a splash of water or beef broth when reheating to get that perfect, pourable texture back. Trust me, that extra minute of gentle warming is worth every second for that incredible flavor explosion!
Frequently Asked Questions About Making Chili
I always get so many great questions after I post a recipe this classic! It shows everyone truly cares about getting that perfect bowl. Whether you’re looking to tweak the ingredients for your preference or wondering how this stacks up against regional styles, here are some of the common queries I hear about my best homemade chili.
Can I make this chili Texas Style (without beans)?
Oh, that’s a classic question! Texas chili purists absolutely skip the beans, and that’s totally fine. If you want a true Texas-style chili, simply omit both the kidney beans and the pinto beans listed in the recipe. You might want to add a bit more browned ground beef or perhaps a little extra diced tomato to make up for the volume they provide. It will definitely be a richer, more meat-forward experience!
What makes this chili recipe hearty enough for a family dinner?
This recipe is built for a hearty family dinner, truly. We start with a full two pounds of ground beef, which gives us that robust base. Then, we load it up with two different types of beans—kidney and pinto—which add great fiber, texture, and staying power. When you let it simmer, those beans really plump up and soak up all that rich, spiced tomato sauce. It’s a thick, satisfying meal that sticks to your ribs, not something that disappears in five minutes!
What’s the difference between this stovetop chili and using a Cincinnati (Skyline) recipe style?
That’s a fun one because they are worlds apart! Cincinnati chili isn’t really like what we made above; it’s a very wet, finely ground, distinctly spiced meat sauce (often featuring ingredients like cinnamon or allspice) that’s traditionally served over spaghetti with cheese—what they call a 3-Way. Our recipe is a classic American, thick, scoopable comfort food chili, meant to be eaten in a bowl with toppings. If you are looking for something totally different, you might want to search specifically for a Cincinnati chili recipe, but for tonight, stick with this rich beef version!
Estimated Nutrition Facts for This Chili
Now, I always want to be upfront, especially when we talk about what’s going into our bodies. Food is love, but it’s also fuel, right? The numbers I’ve compiled here are just estimates for this absolute powerhouse of a meal. These numbers are based on the 2-pound beef measure and the full inclusion of both cans of beans, divided across 6 generous servings. If you use leaner beef or skip the beans for a true Texas-style bowl, those stats will shift!
I always recommend you take these guidelines as just that—a guide. But for reference, here is what a standard serving of this hearty chili recipe looks like:
- Serving Size: 1.5 cups (a good, satisfying scoop!)
- Calories: 450
- Fat: 20g
- Saturated Fat: 8g
- Protein: 35g
- Carbohydrates: 35g
- Fiber: 10g
- Sodium: 650mg (This can vary a lot depending on the salt added and the salt content of your canned tomatoes!)
See all that protein and fiber? That’s what makes this chili such a fantastic, filling meal for Game Day or any chilly evening where you need something substantial. It truly is the foundation of a magnificent comfort food chili!
Share Your Award Winning Chili Experience
Look, I’ve shared my secrets—that little touch of cocoa, the required spice bloom—to help you make the best homemade chili you’ve ever had. Now it’s your turn to bring your creativity to the table! Food is meant to be shared, and when you all test these recipes, you help me build even more trust and authority here at Julia Meal.
Did you try the stovetop method? Did you let it simmer for the full three hours like I sometimes do? Maybe you decided that you needed a serious spicy chili option and added extra cayenne—tell me how much you used! I absolutely live to read about the happy chaos that happens when you take a classic recipe and make it your family’s legend.
Please, if you made this award winning chili recipe, take a moment to leave a rating right here on the page. A quick star rating tells other home cooks that my methods work for them, too. And if you have any modifications—maybe you swapped the ground beef for turkey, or perhaps you tried serving it over hot dogs like a proper chili dog setup—drop all the details in the comments below. I read every single one! Let’s keep the conversation going, connecting all the amazing home cooks out there. Come say hello and tell me about your bowl, or peep over to my About Page to learn more about our whole food philosophy!
PrintThe Best Ever Classic Homemade Beef Chili (One-Pot/Stovetop)

This hearty, award-winning flavor chili recipe uses simple ingredients to create a thick, satisfying meal perfect for family dinners or game day.
- Prep Time: 15 min
- Cook Time: 1 hour 15 min
- Total Time: 1 hour 30 min
- Yield: 6 servings 1x
- Category: Dinner
- Method: Stovetop
- Cuisine: American
- Diet: Vegetarian
Ingredients
- 2 pounds ground beef
- 1 large onion, chopped
- 1 green bell pepper, chopped
- 3 cloves garlic, minced
- 2 (14.5 ounce) cans diced tomatoes, undrained
- 1 (16 ounce) can kidney beans, rinsed and drained
- 1 (16 ounce) can pinto beans, rinsed and drained
- 1 (15 ounce) can tomato sauce
- 1 cup water
- 2 tablespoons chili powder
- 1 tablespoon ground cumin
- 1 teaspoon smoked paprika
- 1 teaspoon dried oregano
- 1 teaspoon salt
- 1/2 teaspoon black pepper
- 1/2 teaspoon cayenne pepper (optional, for heat)
- 1 teaspoon cocoa powder (secret ingredient for depth)
Instructions
- In a large pot or Dutch oven over medium heat, brown the ground beef. Drain off excess fat.
- Add the chopped onion, green bell pepper, and minced garlic to the pot with the beef. Cook until the vegetables soften, about 5 to 7 minutes.
- Stir in the chili powder, cumin, paprika, oregano, salt, pepper, cayenne (if using), and cocoa powder. Cook for 1 minute, stirring constantly, until the spices are fragrant.
- Add the diced tomatoes (undrained), kidney beans, pinto beans, tomato sauce, and water to the pot. Stir everything together well.
- Bring the mixture to a boil, then immediately reduce the heat to low. Cover the pot and let the chili simmer for at least 1 hour, stirring occasionally. For deeper flavor, simmer for 2 to 3 hours.
- Taste the chili and adjust salt or cayenne pepper as needed before serving.
- Serve hot with your favorite toppings.
Notes
- For a slow cooker option, combine all ingredients in the crockpot after browning the beef and sautéing the vegetables. Cook on low for 6 to 8 hours or on high for 3 to 4 hours.
- This thick chili recipe tastes even better the next day.
- If you prefer a spicier chili, increase the cayenne pepper or add a dash of hot sauce during the last 30 minutes of simmering.
Nutrition
- Serving Size: 1.5 cups
- Calories: 450
- Sugar: 8
- Sodium: 650
- Fat: 20
- Saturated Fat: 8
- Unsaturated Fat: 12
- Trans Fat: 0
- Carbohydrates: 35
- Fiber: 10
- Protein: 35
- Cholesterol: 85