
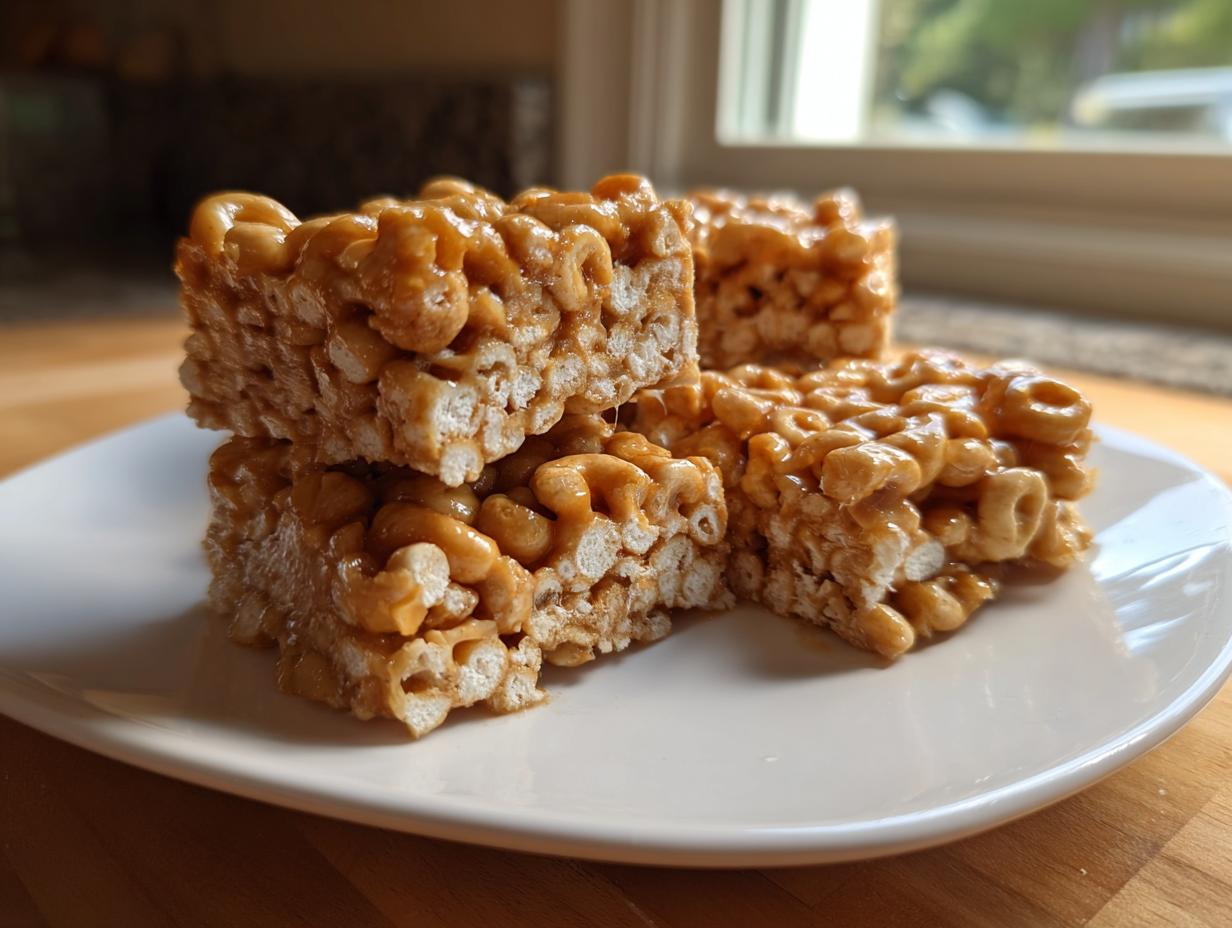
Sometimes you just need a win in the kitchen, right? We’ve all been there—staring down an empty afternoon pantry, needing something satisfying that doesn’t involve turning the oven on. That is exactly when these unbelievably easy, three-ingredient, peanut butter cheerio bars save the day. This recipe embodies the whole reason I started Julia Meal: making incredible, family-approved food accessible without all the fuss. We keep the ingredient list tight and the cleanup minimal, proving that even the quickest snacks can have deep flavor. Trust me, these chewy little squares are the shortcut you’ve been looking for, perfect for packing in lunchboxes or grabbing as a fast on-the-go breakfast. You can see how vital simple preparation is when you check out some of my thoughts on easy lunch meal prep too!
- Why You Will Love These No-Bake Cheerio Bars
- Essential Ingredients for Perfect Cheerio Bars
- Simple Steps to Make Your Cheerio Bars
- Expert Tips for Perfect Cheerio Bars Every Time
- Storage and Making Ahead Your Cheerio Bars
- Variations on Classic Peanut Butter Cheerio Bars
- Frequently Asked Questions About Cheerio Bars
- Nutritional Estimate for Homemade Cheerio Bars
- Share Your Experience Making These Easy Cereal Bars
Why You Will Love These No-Bake Cheerio Bars
When I need a guaranteed winner, these No Bake Snacks are my first call. They are the definition of fuss-free, and they always disappear instantly. You can whip these up faster than the microwave heats your coffee!
- They are genuinely 3 Ingredient Desserts—that’s it!
- Perfect for satisfying that sweet craving without turning on the oven.
- They are absolutely fantastic Kid Friendly Snacks that even the pickiest eaters approve of.
Essential Ingredients for Perfect Cheerio Bars
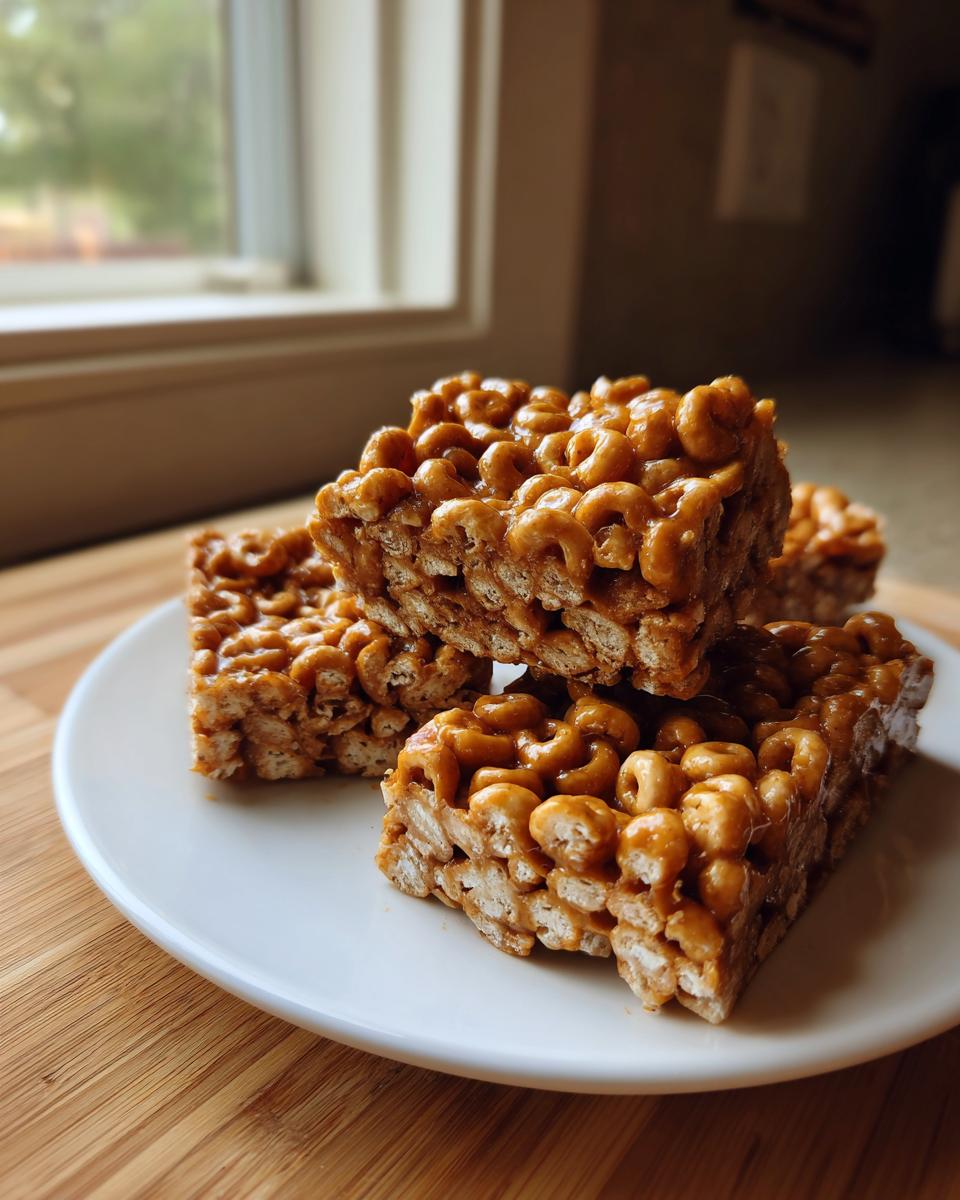
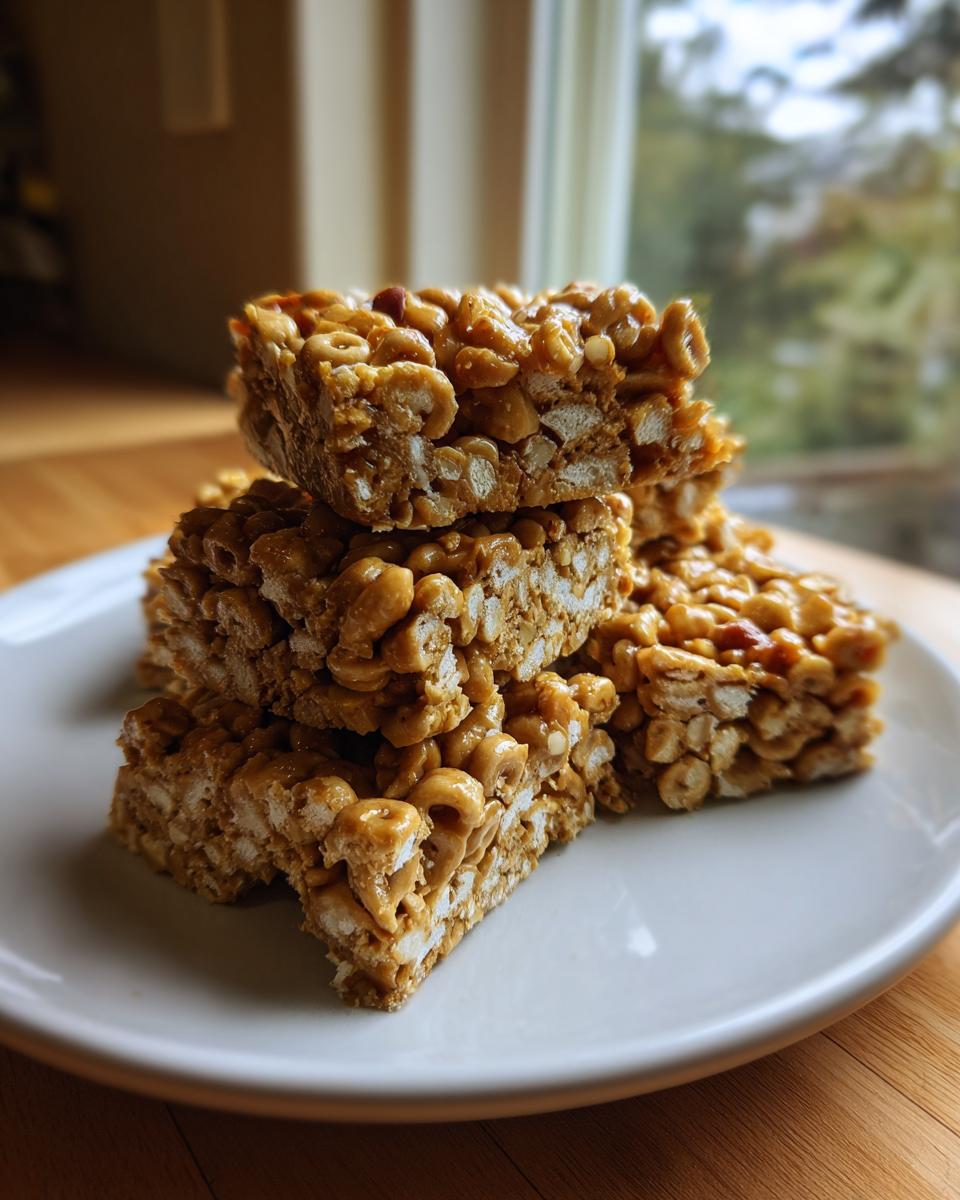
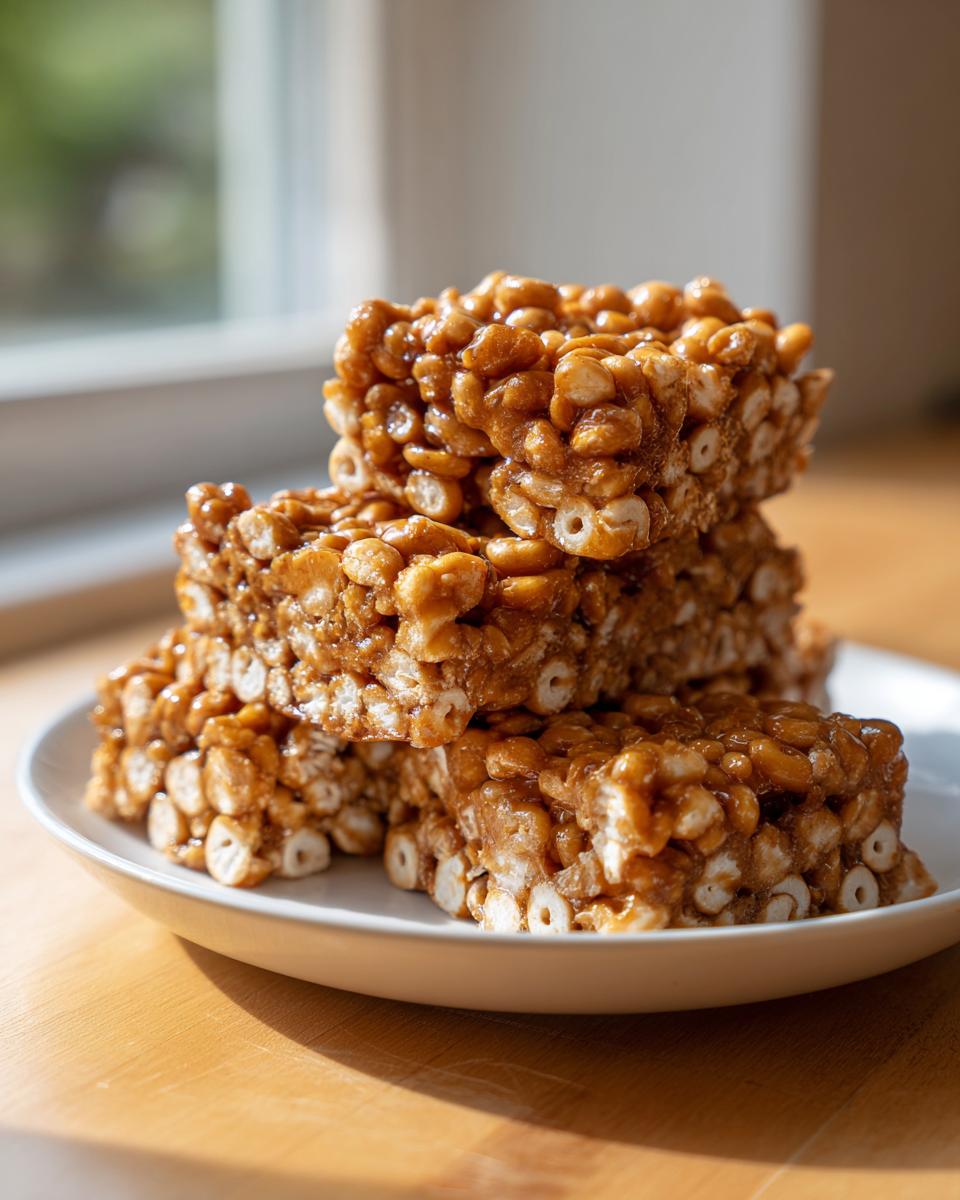
Building deep flavor starts right here with simplicity; we only need three core components to make these Peanut Butter Treats stick perfectly. You’ll need exactly three cups of your favorite Cheerios cereal—I usually reach for the plain kind, but feel free to experiment! The binder is crucial: one full cup of creamy peanut butter is non-negotiable for that classic, chewy texture, and one cup of honey rounds out the list.
Now, a quick note on the honey and the cereal: if you decide to use Honey Nut Cheerios instead, you might want to ease back on the honey slightly, just because those sweetened flakes pack an extra punch of sweetness. Getting these proportions right ensures you have one of the best Quick Dessert Recipes that sets up just right. If you’re looking for more balanced starts to your day, check out my thoughts on healthy breakfast ideas!
Simple Steps to Make Your Cheerio Bars
Making these cheerio bars couldn’t be easier, honestly. Since we’re skipping the oven entirely, the key is getting that sticky binder perfectly smooth before we introduce the cereal. The whole process moves fast once you have your pan ready, so don’t wait around!
Preparing the Pan and Binding Mixture
First thing’s first: grab an 8×8 inch pan. I always line mine with parchment paper and make sure I leave a good overhang on two sides—this acts like a sling, letting you lift the whole slab out later without any drama. Now for the microwave step, which is where we get that lovely gooey texture. In a large, microwave-safe bowl, whisk together the peanut butter and the honey. Pop it into the microwave for just 30 to 45 seconds. You aren’t trying to boil it, just warm it enough so the honey melts into the peanut butter and they stir into one incredibly smooth, shiny sauce. Be careful when taking it out; that bowl will be hot!
Combining and Setting the Cheerio Bars
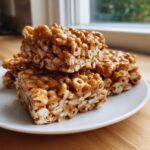
Once your binder is smooth, dump in those three cups of Cheerios right away. You have to work a little quickly here. Stir everything together vigorously until every single piece of cereal is coated in that peanut butter-honey goodness. Then, transfer the whole sticky mess into your prepared pan. This is the most important part for getting sturdy Chewy Cereal Bars: press it down! Use the back of a measuring cup or a piece of wax paper to really compact the mixture firmly and evenly into the corners. If you don’t press hard, they will crumble when you cut them. Pop that pan into the fridge for at least one hour—longer is better to ensure they are totally set—then lift them out using the paper and slice away. If you want to explore other simple delicious desserts, I’ve got a few favorites waiting for you at my recipe index!

Expert Tips for Perfect Cheerio Bars Every Time
Look, even the simplest recipes can go sideways if you rush them. To make sure these cheerio bars are perfectly chewy and hold together like a dream, there are a few pointers I always follow. First off, make sure your honey isn’t too cold when you mix it. If it’s room temperature, it combines with the peanut butter much faster and smoother, which means less time microwaving and less risk of overheating those healthy fats.
Remember that little note about Honey Nut Cheerios? If you use those, definitely cut back on the honey a tiny bit; they can get super sweet really fast. And if you want those slices to be razor-sharp, don’t skip the extra chill time. I usually let mine sit in the fridge for an extra 30 minutes past the initial hour. If you’re looking to drizzle something amazing on top later, check out my recipe for an easy homemade chocolate syrup recipe—it makes a fantastic topping!
Storage and Making Ahead Your Cheerio Bars
One of the best things about these cheerio bars is that they are true Easy Make Ahead Treats. You don’t have to serve them the second they come out of the fridge! Once they are fully chilled and set, just slide them into an airtight container. I keep mine right on the counter at room temperature, and they stay perfectly fresh for up to a whole week. That’s a whole week of effortless On The Go Breakfast Bars ready when you need them!
Because they hold their chewy shape so well, they are fantastic for tossing into lunchboxes or sticking in your gym bag. It’s so handy to have these simple sweet snacks ready to grab when you need a boost. If you’re interested in more simple meals you can prepare ahead, you should definitely look at my tips on overnight oats easy make ahead breakfast for another simple win!
Variations on Classic Peanut Butter Cheerio Bars
While this three-ingredient classic stands on its own—it’s truly perfect—I always love tweaking things just a little bit for variety. Sometimes the kids get bored, or maybe I just have an afternoon craving for something chocolatey! A super easy way to change these up is by folding in about a half cup of milk chocolate chips right when you mix the cereal in. They melt ever so slightly when you press the bars, giving you those wonderful pockets of chocolate goodness.
If you absolutely must avoid peanut butter for some reason, these still work well using almond butter or cashew butter, but be warned—those alternatives tend to be runnier, so you might need to chill your bars a little longer to get that perfect set. When baking, I always say that flexibility is key to keeping things interesting, and that’s why I love offering variations on our favorite Peanut Butter Treats. For something richer next time, you might want to check out my peanut butter fudge recipe!
Frequently Asked Questions About Cheerio Bars
I always get questions when I post these super easy squares because people don’t believe how few ingredients they actually take! Honestly, I love fielding your questions because it means you’re trying them out in your kitchens. These snacks are so versatile, so let’s tackle some of the things I hear most often about these super simple cheerio bars.
Can I substitute the honey in these Cheerio bars?
You certainly can! Maple syrup works in a pinch if you’re out of honey, but it changes the flavor profile just a touch—it’s delicious, but different. The challenge is that maple syrup might keep things a little softer than honey does, so you might need an extra 15 minutes in the fridge. It still works great for a quick snack, though, and remember, every great home cook needs a backup plan! If you have other cooking questions down the line, please don’t hesitate to reach out via our contact page.
Are these 3 Ingredient Desserts safe for toddlers?
Yes, they are very popular as Toddler Approved Treats because they use simple ingredients most parents already have on hand. However, since they are bar-shaped, you just need to be mindful. Make sure you press them down extremely firmly and cut them into smaller, manageable pieces for tiny mouths. If you are serving them to a very new eater, maybe slightly mash a small piece first.
How do I prevent my peanut butter Cheerio bars from crumbling?
This is all about binding and pressure! The biggest mistake people make is not mixing the honey and peanut butter until that mixture is completely smooth and liquefied in the microwave—it has to be liquid enough to fully coat every surface of the cereal. Then, when you move it to the pan, you have to press down *hard*. Really compact that mixture into the pan; that’s what locks everything in place so you get those perfect, clean cuts!
Nutritional Estimate for Homemade Cheerio Bars
Here’s the quick breakdown of what you can expect from one of these easy bars, based on the standard recipe measurements. While these cheerio bars are delightfully simple, remember that exact values can shift depending on the brand of peanut butter or honey you use.
Generally, one bar comes out to around 185 calories, with about 6 grams of protein and 10 grams of fat. These figures are just an estimate, of course, but they show you’re getting a satisfying, quick energy boost!
Share Your Experience Making These Easy Cereal Bars
Now that you’ve got the recipe for these fantastic, fast cheerio bars, I really want to hear about them! Did you try them plain, or did you sneak in some chocolate chips? Did they make a perfect post-practice snack for soccer practice, or did they disappear as soon as they hit the counter?
Please take a moment to leave a star rating right here on the recipe card—it helps other busy cooks know this simple recipe is a keeper. I love seeing how you adapt things for your own family tables, so share your photos and stories!
It brings me so much joy knowing that my exploration into accessible, heartwarming American cooking, which you can read more about on my About Page, is finding its way into your hustle-and-bustle routines. Happy snacking, everyone!
PrintEasy No-Bake Peanut Butter Cheerio Bars
Make these simple, chewy peanut butter Cheerio bars with just three ingredients. They require no baking and are perfect for quick snacks, lunch boxes, or an on-the-go breakfast.
- Prep Time: 10 min
- Cook Time: 0 min
- Total Time: 70 min
- Yield: 16 servings 1x
- Category: Snack
- Method: No-Bake
- Cuisine: American
- Diet: Vegetarian
Ingredients
- 3 cups Cheerios cereal
- 1 cup creamy peanut butter
- 1 cup honey
Instructions
- Line an 8×8 inch baking pan with parchment paper, leaving an overhang for easy removal.
- In a large microwave-safe bowl, combine the peanut butter and honey. Microwave on high for 30 to 45 seconds, or until the mixture is smooth and easily stirrable.
- Pour the Cheerios into the peanut butter and honey mixture. Stir well until the cereal is completely coated.
- Press the mixture evenly into the prepared baking pan. Use a piece of wax paper or the back of a measuring cup to press it down firmly.
- Refrigerate the bars for at least 1 hour, or until completely set.
- Lift the bars out of the pan using the parchment paper overhang. Cut into squares or bars.
Notes
- If you use Honey Nut Cheerios, you may reduce the amount of honey slightly for a less sweet bar.
- For cleaner cutting, chill the bars for an extra 30 minutes before slicing.
- These bars store well in an airtight container at room temperature for up to one week.
Nutrition
- Serving Size: 1 bar
- Calories: 185
- Sugar: 10
- Sodium: 85
- Fat: 10
- Saturated Fat: 2
- Unsaturated Fat: 8
- Trans Fat: 0
- Carbohydrates: 22
- Fiber: 2
- Protein: 6
- Cholesterol: 0