

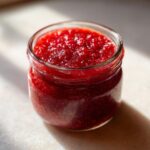
Oh, the holidays! Nothing quite sets the scene like those warm, spicy aromas drifting from the kitchen, right? Forget complicated baking; I’m here to show you how to make the absolute star of your holiday breakfast board: a gorgeous, easy-to-can strawberry-cranberry Christmas jam.
Seriously, this recipe is my secret weapon for edible presents. It comes together fast, it makes enough half-pint jars for your whole list, and it’s completely safe for the water-bath canner. It’s the perfect blend of sweet strawberry sunshine and tart cranberry sparkle, just kissed with cinnamon. Trust me, giving homemade jam is my favorite way to spread holiday cheer!
- Why This Spiced Strawberry Cranberry Christmas Jam is a Holiday Must-Make
- Gathering Ingredients for Your Christmas Jam Recipe
- Essential Equipment for Canning Christmas Jam
- Step-by-Step Instructions for Making Your Cranberry Strawberry Jam
- Tips for Success When Canning Christmas Jam
- Storing and Serving Your Spiced Christmas Preserve
- Frequently Asked Questions About This Holiday Jam
- Estimated Nutritional Data for This Festive Jam
- Share Your Homemade Gift Jam Experience
Why This Spiced Strawberry Cranberry Christmas Jam is a Holiday Must-Make
I love making jams, but during the holidays, I need things to be reliable and bright. This recipe for a spiced Christmas jam hits every single mark. You get that beautiful, festive color and the best balance of sweet and tart. It’s the kind of preserve that makes people ask for the recipe immediately!
- It’s water-bath safe, so you don’t have to stress about complicated sterilizing methods.
- The flavor is perfectly spiced—just enough warmth without overpowering the fruit.
- It yields about six beautiful half-pint jars, which is the perfect amount for checking off your gift list.
Perfect for Festive Jam Gifts
When I’m looking for something meaningful for neighbors or teachers, this recipe is my go-to homemade gift jam. Six jars means I can keep a couple for myself (hello, toast!) and still have plenty to wrap up beautifully. Everyone loves getting something handmade that they can enjoy slowly over the New Year.
Gathering Ingredients for Your Christmas Jam Recipe
I always lay out my ingredients before I even turn on the stove. It keeps me calm, especially when I’m dealing with the heat of a boiling jam mixture! Making good preserves is all about precision, and that starts right here with knowing exactly what you need. We are aiming for that perfect set and that signature holiday taste, so don’t let curiosity tempt you into swapping out these exact measurements.
We need a good balance of the sweet strawberries and the tart cranberries to counteract all that sugar we’re adding. Keep in mind, this recipe is written for a standard water-bath process, so every measurement matters because we are sealing these up safely for later!
- 2 cups fresh or frozen strawberries, halved or quartered
- 2 cups fresh or frozen cranberries
- 4 cups granulated sugar
- 1/2 cup water
- 1 tablespoon lemon juice
- 1 teaspoon ground cinnamon
- 1/4 teaspoon ground cloves
Ingredient Notes and Substitutions for Holiday Jam
Okay, listen up about the fruit. Whether you use fresh or frozen berries here, it really doesn’t matter much since we cook them down so much, which is fantastic for holiday planning! Just make sure if you use frozen, you toss them in the pot straight from the freezer—no pre-thawing!
The lemon juice is non-negotiable. It brings the acid level up just enough so that when we hit that 220-degree mark, the pectin sets perfectly. If you skip it, you might end up with a runny syrup instead of a glorious spiced Christmas preserve. And that cinnamon and clove combo? That’s the magic that screams “Christmas” without being overwhelming. It really makes this holiday jam unforgettable.
Essential Equipment for Canning Christmas Jam
Before we even think about boiling anything, we need to make sure our setup is ready to go. Since we are water-bath canning this strawberry cranberry preserve, having the right tools isn’t just helpful; it’s critical for safety and success. I learned the hard way years ago that trying to jam things into a regular stockpot just doesn’t cut it!
You absolutely must have a large water-bath canner—one deep enough to cover those jars by at least an inch of water. Also, grab your half-pint jars; make sure they are clean and already hot! And please, please use a heavy-bottomed, non-reactive pot for cooking the jam itself. The acid in the fruit can react with cheap aluminum, and nobody wants that funky taste in their christmas jam.
- Water-bath canner with a rack
- Large, stainless steel or enamel-coated pot (non-reactive)
- Candy or deep-fry thermometer (to properly test the set)
- Jar lifter and funnel
- Clean, hot half-pint Mason jars with new lids and bands
Step-by-Step Instructions for Making Your Cranberry Strawberry Jam
Alright, now that we have our fragrant ingredients ready and our jars humming hot in the canner, it’s time for the fun part—cooking! Cooking jam is really fast once you get to the really hot stage, so you must have all your ducks in a row. Remember, we are aiming for shelf stability here, so following the sequence is crucial. It connects nicely to what I learned about precision when I was first getting into preserving, something I often reflect on when I think about the foundational knowledge we share here at Julia Meal.
- First things first, that canner needs to be ready! Make sure those half-pint jars, lids, and bands are sterilized and kept piping hot in that water bath canner.
- In your big, non-reactive pot, toss in the strawberries, cranberries, and the half-cup of water. Get this going over medium-high heat. We need to stir this often so those cranberries don’t stick and burn on the bottom.
- Once it hits a boil, turn the heat down a bit. Let it simmer for about 10 minutes. You’ll start hearing little pops as the cranberries release their juices—that’s exactly what you want!
- Time to sweeten things up! Dump in all that granulated sugar, whisk in the lemon juice for acid, and sprinkle in the cinnamon and cloves. Keep stirring until every single grain of sugar has completely disappeared into the fruit bath.
- Now, crank the heat back up! Bring this mixture to what we call a “rolling boil”—the kind you can’t stir down. You have to boil hard and keep stirring constantly until your thermometer hits 220 degrees Fahrenheit. This stage is so important for a proper set in your christmas jam!
- Once it hits that magic temperature, pull the whole thing off the heat. If you see any gross-looking foam floating on top, skim it right off with a metal spoon; it just looks messy otherwise.
- Ladle that beautiful, hot jam into your waiting hot jars. Look for 1/4 inch of headspace at the top—not a millimeter more or less, please!
- Now, clean the rims! Use a damp paper towel and wipe off any sticky jam residue. If the lids stick to sticky stuff, they won’t seal right. Center the lids, and screw the bands on until they are just fingertip tight.
- Carefully lower the jars into the canner, make sure they’re covered by water, and process them for exactly 10 minutes. If you live somewhere high up, you must remember to adjust that time for altitude!
- Finally, take them out gently and set them on a thick towel, away from drafts, for a full 12 to 24 hours. Don’t touch them! Let them cool undisturbed so they can properly seal up!
Reaching the Setting Point for Perfect Holiday Jam
This is where people often panic, but honestly, the thermometer is your best friend here. Don’t rely just on looks! When the jam starts steaming furiously and won’t let you stir down the boil, you know you’re close. You are aiming for a solid 220°F. If you don’t have a thermometer, you can test for sheeting by dipping a cold spoon into the mixture and tilting it; if the jam runs off the spoon in two distinct drips instead of one steady stream, it’s set! That perfect, thick texture is the goal for this holiday jam.
Processing and Sealing Your Festive Jam Gifts
Headspace is everything for canning safety, so always measure that 1/4 inch. After wiping the rims down—seriously, this is a non-negotiable step!—put on your sterile lids and twist the bands until you feel them just catch; that’s fingertip tight. Any tighter and the air can’t escape properly for a vacuum seal.
Then, they go straight into that boiling canner for those 10 minutes. Remember, if you are way up in the mountains, you absolutely have to add time to that 10 minutes. If you skip that altitude adjustment, your seals might fail, and trust me, no one wants a leaky jar of wonderful festive jam gifts showing up on their doorstep!
Tips for Success When Canning Christmas Jam
I want your christmas jam to be perfect, not just because I love telling people what to do, but because I truly cherish seeing these jars made right! Canning can feel a little intimidating at first, but when you follow these little secrets, you’ll have flawless sets every time.
My first big piece of advice centers around that hard boil phase. When you are waiting for that 220°F reading, stir constantly. I mean it—don’t walk away to check your phone or admire your Christmas tree! Because we are working with high sugar content, the mix will scorch instantly on the bottom if you stop moving that spoon, and a burnt taste ruins a whole batch!
Next, about that annoying foam. When you take the jam off the heat before jarring, skim off every bit of foam you see. It’s harmless, but honestly? It looks terrible in the jar, making your beautiful, clear preserve look murky. For presentation alone, grab that metal spoon and scoop it out!
This last one is the hardest for impatient cooks, but it’s vital for proper sealing: once those jars are out of the canner, do not touch them! Don’t nudge them, don’t tap them, don’t even breathe too hard near them for at least 18 hours. Cooling them undisturbed allows the vacuum seal to form slowly and strongly. If you move them, you risk breaking that nascent seal. Patience here guarantees you get beautiful, shelf-stable jars of holiday jam!
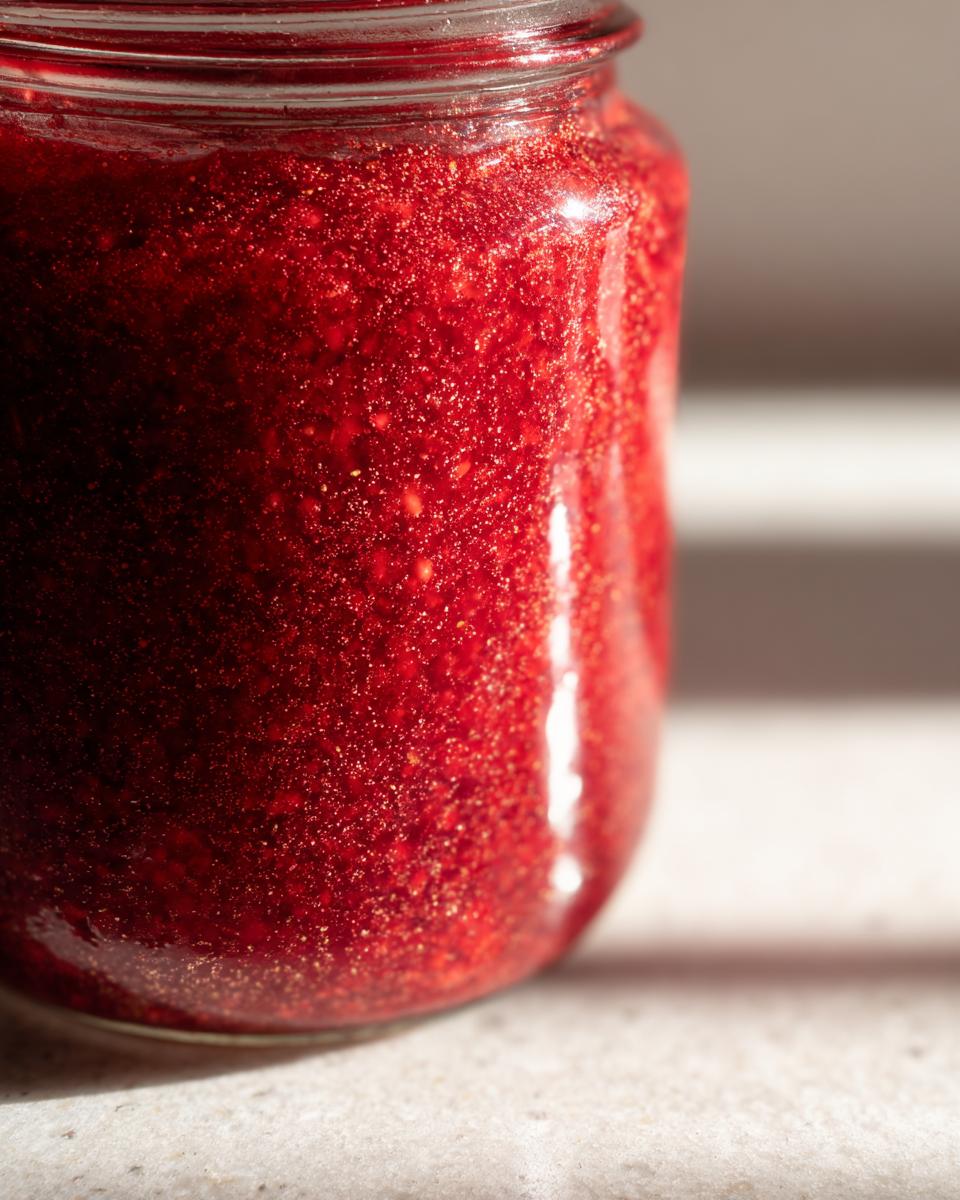
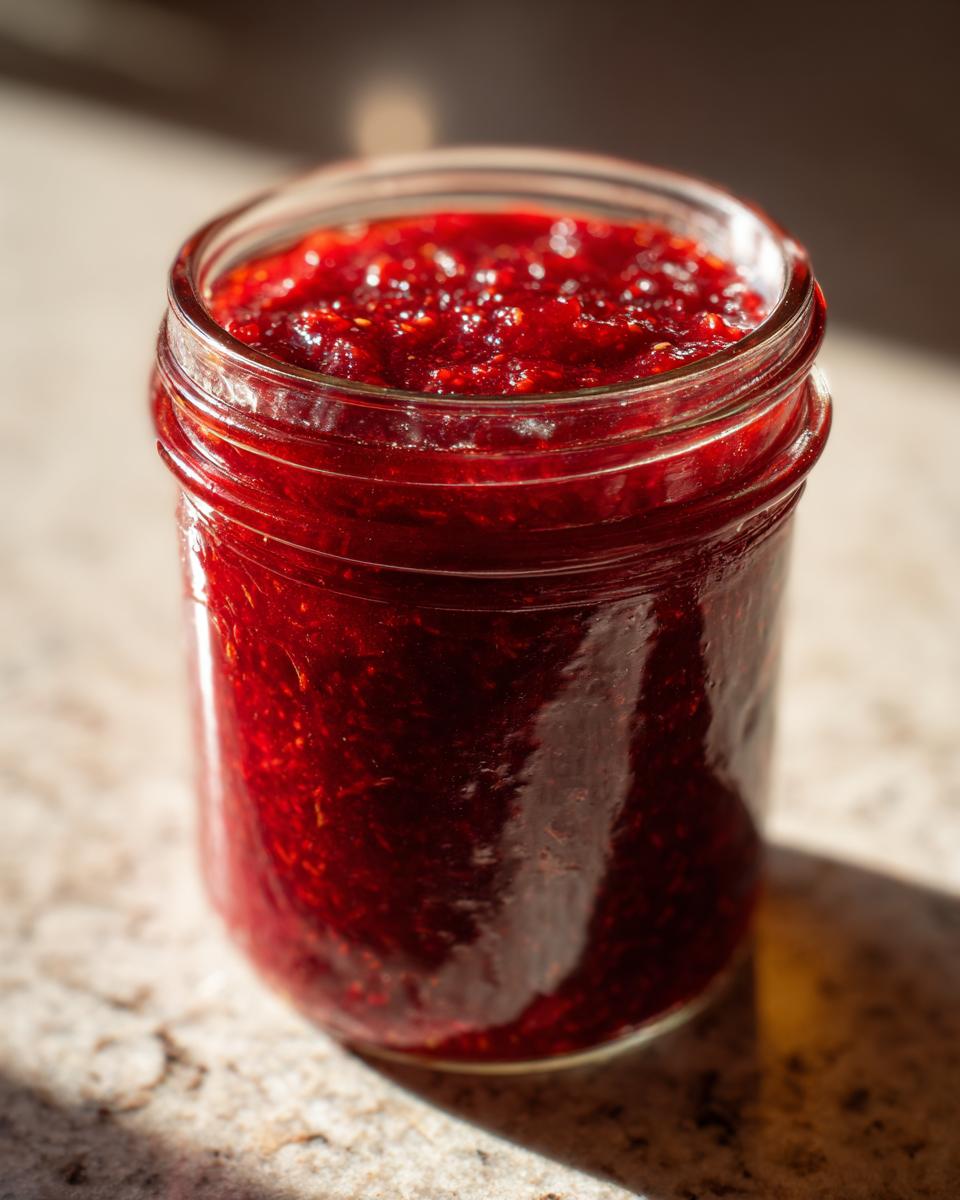
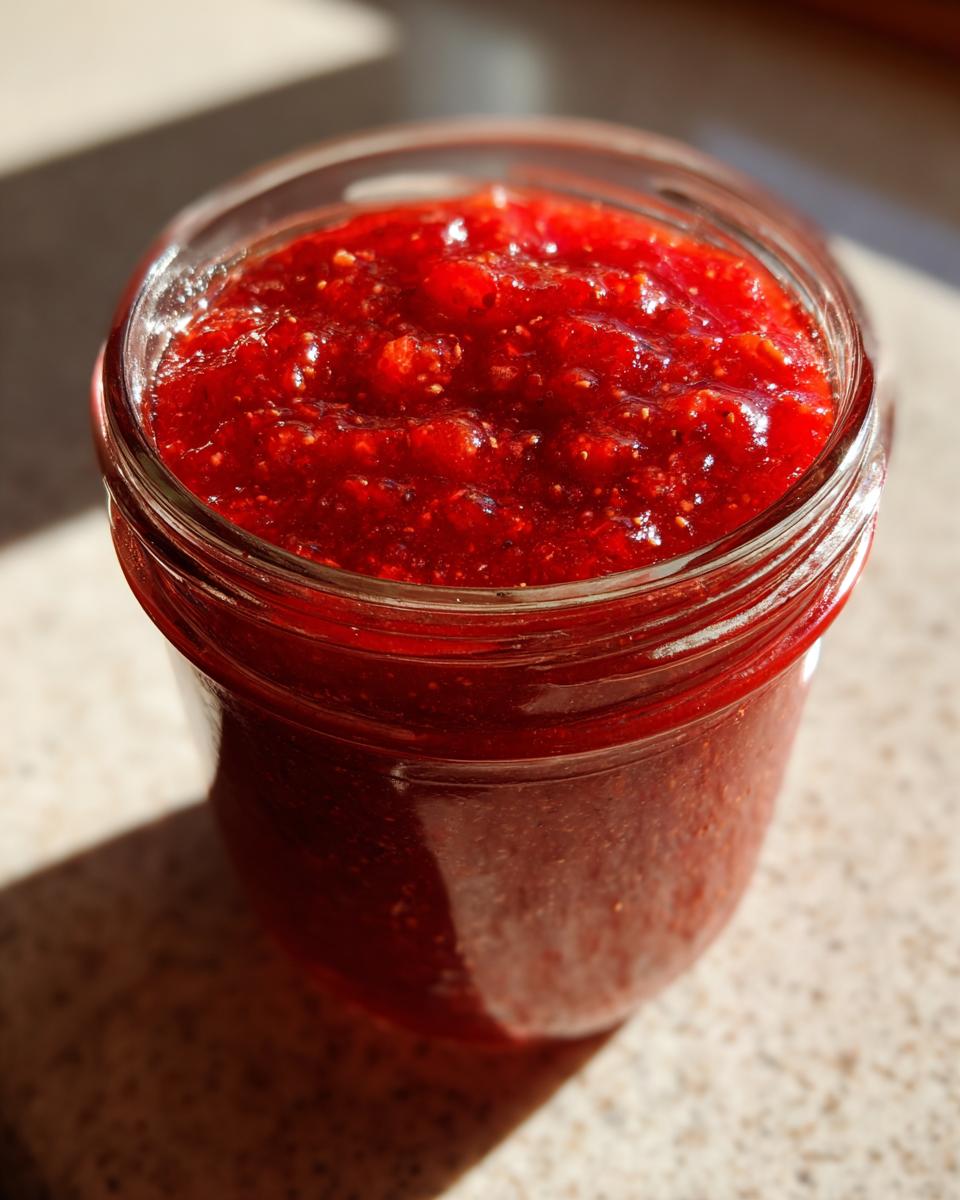
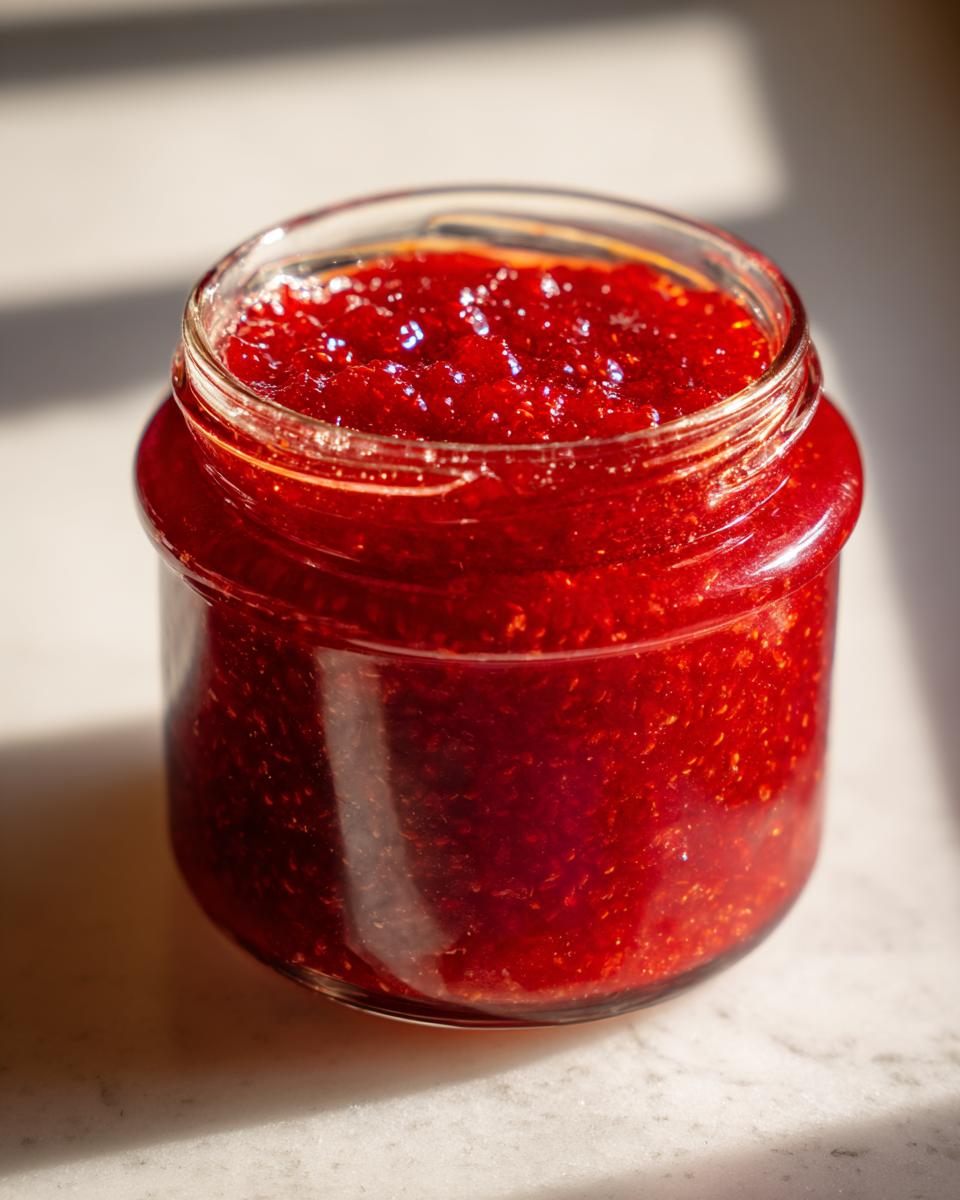
Storing and Serving Your Spiced Christmas Preserve
So, you’ve got six beautiful, sealed jars of homemade jam! Congrats! Now, where do we keep this treasure? You need to store that spiced Christmas preserve in a cool, dark spot—like a pantry or cupboard shelf. As long as the seal is vacuumed tight, it will stay perfectly safe and vibrant for at least a year. Seriously, don’t worry about them spoiling on the shelf!
But the real fun starts when you crack a lid! This jam is incredible on simple buttered toast, of course, but you absolutely have to try it on one of those big holiday breakfast boards. Put out some crackers, a big block of fancy cream cheese, and a bowl of this jam. The salty cheese with the tart, sweet fruit is unbelievably good.
It also makes a fantastic glaze for ham or pork tenderloin if you want to get really creative later in the season. It’s not just for breakfast, folks; this is highly versatile spiced Christmas preserve!
Frequently Asked Questions About This Holiday Jam
I know you might still have a few worries rattling around, especially if you’re new to canning Christmas jam. That’s totally normal! Safety and getting that perfect texture are my biggest focuses when I develop these recipes, so let’s clear up any last-minute questions you might have rolling around about this wonderful holiday jam.
Can I make this Christmas jam recipe without canning?
Oh, absolutely! If you’re just making a small batch for immediate use—maybe for Christmas morning pancakes—you don’t have to process it. Just pour the hot jam into clean jars, let them cool, and then keep them tucked away in the refrigerator. It’ll stay fantastic for about three weeks! But if you want that rock-solid shelf stability for gifting later in the season, you really need to stick to the water-bath procedure. That’s what makes it safe as a homemade gift jam!
What if my jam does not set after processing?
Don’t panic if you open a jar later and it’s a little runnier than you hoped! It happens to the best of us. If it’s just slightly loose, don’t worry about reprocessing it because you’ve already processed it once for safety. Instead, just use it right away as a warm topping for ice cream—it makes an amazing sauce!
If it’s liquidy, you can always pour it back into a clean pot, re-boil it briefly until it hits that 220°F mark again, and then jar it up again, making sure to process it for the full 10 minutes in fresh, boiling water. If you need help or want to chat more about your results, please don’t hesitate to reach out to us over at the contact page!
Estimated Nutritional Data for This Festive Jam
Now, I know that when we’re making delicious preserves for gifts, we aren’t usually thinking about macros, but it’s good to have a general idea, isn’t it? Especially for those friends who are tracking things! I ran these ingredients through a standard calculator based on volumes, so take these numbers with a small grain of salt—they are very good estimates, but remember:
Your personal sugar levels might shift slightly depending on how sweet your specific batch of strawberries was, but this gives you a fantastic baseline for everything involved in this lovely christmas jam.
- Serving Size: 2 tablespoons
- Calories: 105
- Sugar: 27g (Yep, it’s jam, it’s sweet!)
- Fat: 0g
- Saturated Fat: 0g
- Carbohydrates: 27g
- Protein: 0g
- Sodium: 1mg
See? Zero fat, so we can smother it on our scones guilt-free! Just remember to check out our privacy policy if you have questions about how we handle data on the site. Keep this list handy for labeling those pretty jars if you are sending them out as festive jam gifts!
Share Your Homemade Gift Jam Experience
And just like that, we’ve gone from fresh fruit in the pot to beautifully sealed jars ready for gifting! I truly hope you feel as proud as I do when I look at my shelf stocked full of this vibrant cranberry strawberry jam. This whole process, from washing the berries to hearing that final *pop* of the seal, is what cooking is all about for me.
Now, I need you to come back and tell me how these turned out for you! Did your neighbors weep happy tears receiving your festive jam gifts? Did you decide to use a fancy ribbon or just a simple tag?
Please leave a star rating right down below—it helps other home cooks know this wonderful christmas jam recipe is tried and true. And if you snapped a picture of your beautiful jars, tag us on social media! I love seeing your creations lined up. We built this community on shared successes, and I can’t wait to see what you create. If you want to review any of our site rules while you’re here, you can check out the Terms of Use. Happy spreading!
PrintSpiced Strawberry Cranberry Christmas Jam
Make this festive strawberry and cranberry jam spiced with cinnamon. This recipe is safe for water-bath canning and yields several half-pint jars, perfect for holiday gifts or breakfast spreads.
- Prep Time: 20 min
- Cook Time: 40 min
- Total Time: 60 min
- Yield: About 6 half-pint jars 1x
- Category: Preserves
- Method: Water Bath Canning
- Cuisine: American
- Diet: Vegetarian
Ingredients
- 2 cups fresh or frozen strawberries, halved or quartered
- 2 cups fresh or frozen cranberries
- 4 cups granulated sugar
- 1/2 cup water
- 1 tablespoon lemon juice
- 1 teaspoon ground cinnamon
- 1/4 teaspoon ground cloves
Instructions
- Prepare your canning equipment: sterilize half-pint jars, lids, and bands. Keep jars hot in a water bath canner.
- In a large, non-reactive pot, combine strawberries, cranberries, and water. Bring to a boil over medium-high heat, stirring often.
- Reduce heat and simmer for 10 minutes, until cranberries begin to pop. Stir frequently to prevent scorching.
- Add the granulated sugar, lemon juice, cinnamon, and cloves to the fruit mixture. Stir until the sugar dissolves completely.
- Bring the mixture back to a rolling boil that cannot be stirred down. Boil hard, stirring constantly, until the jam reaches 220 degrees Fahrenheit on a candy thermometer, or until it sheets from a spoon. This usually takes about 15 to 20 minutes after reaching a full boil.
- Remove the pot from the heat. Skim off any foam from the surface using a metal spoon.
- Ladle the hot jam into the hot, sterilized jars, leaving 1/4 inch headspace.
- Wipe the rims clean with a damp cloth. Center the lids and screw on the bands until fingertip tight.
- Process the jars in a boiling water bath canner for 10 minutes, adjusting for altitude if necessary.
- Carefully remove the jars and place them on a towel-lined counter to cool completely, undisturbed, for 12 to 24 hours. Check the seals. Store sealed jars in a cool, dark place.
Notes
- For best results when canning Christmas jam, use high-quality, firm fruit.
- If you plan to use this as a homemade gift jam, decorate the jars with festive ribbon or tags before gifting.
- This holiday jam is excellent served with cream cheese on crackers or alongside breakfast meats.
Nutrition
- Serving Size: 2 tablespoons
- Calories: 105
- Sugar: 27g
- Sodium: 1mg
- Fat: 0g
- Saturated Fat: 0g
- Unsaturated Fat: 0g
- Trans Fat: 0g
- Carbohydrates: 27g
- Fiber: 0g
- Protein: 0g
- Cholesterol: 0mg