
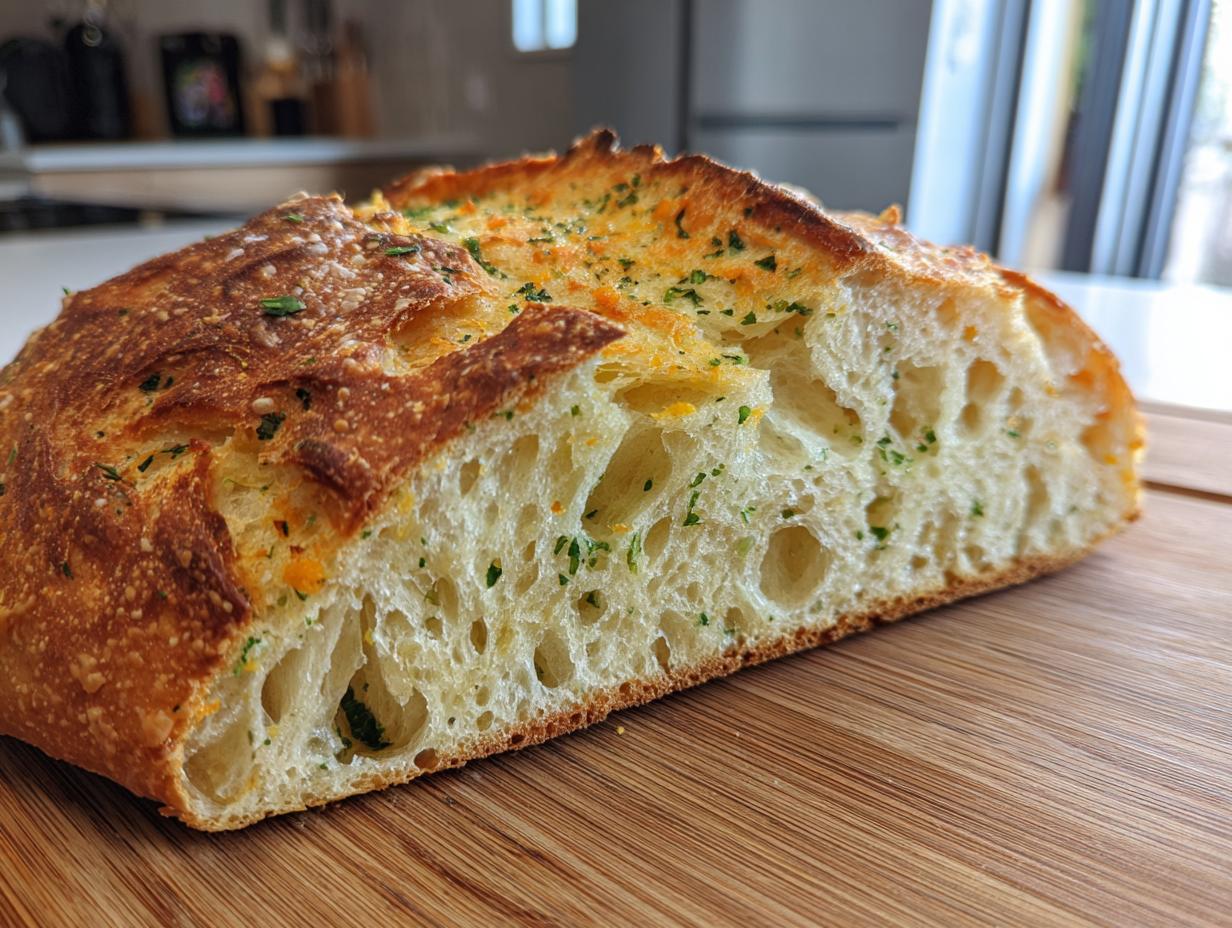
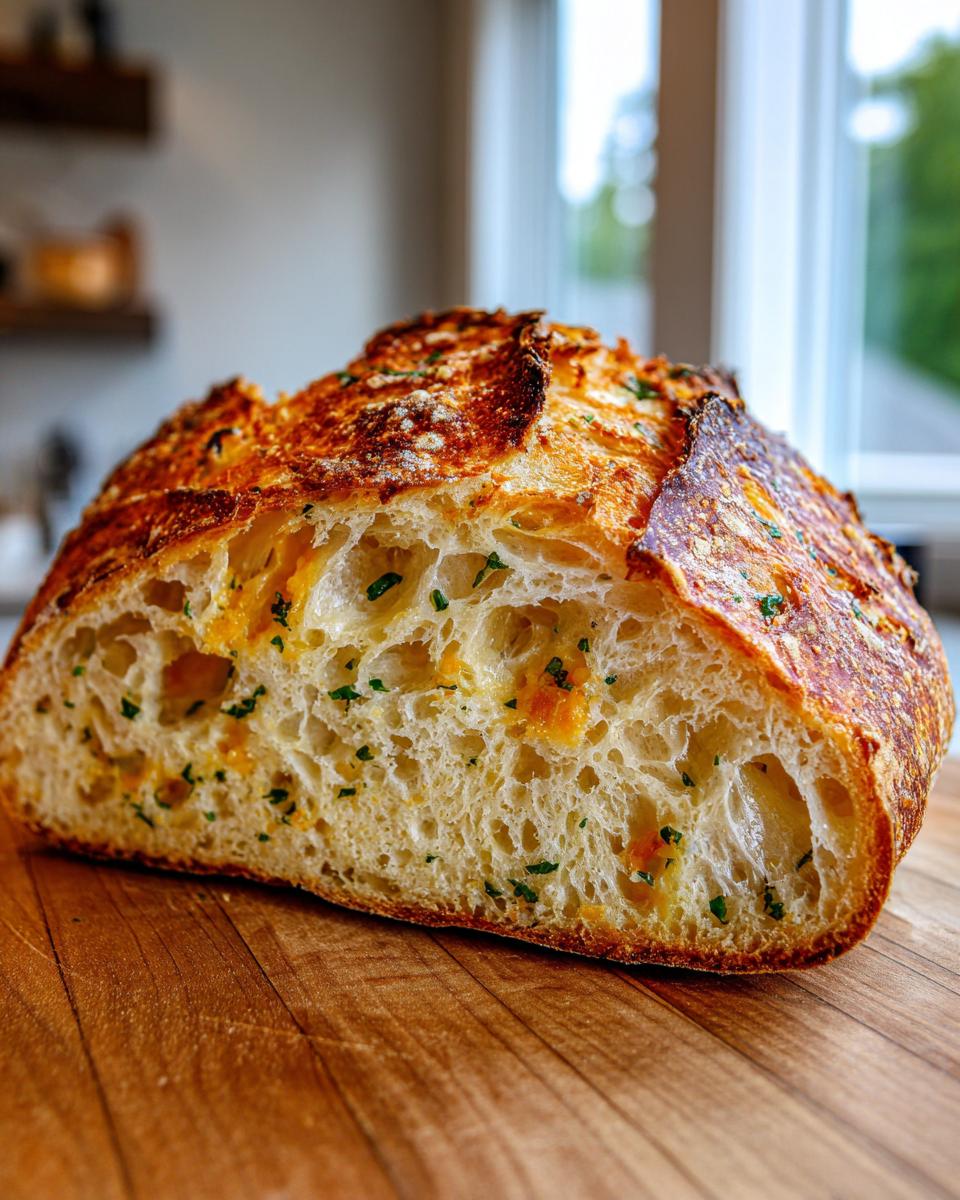
There is nothing quite like the sound of a truly perfect crust breaking. That shattering crackle when you slice into a loaf fresh from the oven—that’s the sound of pure accomplishment, isn’t it? I spent years chasing that sound in professional kitchens, and I realized that folks at home often feel intimidated by the word ‘artisan.’ I want to change that. This is my promise to you: we are making the easiest, no-knead artisan bread right now. It bakes up with that shatteringly crusty exterior and a ridiculously soft, airy crumb inside. If you think you can’t bake bread, trust me, this recipe was designed for you to succeed on your very first try.
- Why This No Knead Artisan Bread Recipe Works for Beginners
- Ingredients for Your Flavorful Artisan Bread
- Step-by-Step Instructions for Easy Homemade Bread
- Mastering Dutch Oven Bread Baking for Maximum Crust
- Tips for Success with Baking Bread Without Kneading
- Storage and Reheating Instructions for Your Crusty Bread Recipe
- Serving Suggestions: The Ideal Dinner Bread Pairing
- Frequently Asked Questions About Making Artisan Bread
- Estimated Nutritional Data for This Simple Yeast Bread
- Estimated Nutritional Data for This Simple Yeast Bread
Why This No Knead Artisan Bread Recipe Works for Beginners
When you’re just starting out, you need a recipe that does the heavy lifting for you, right? That’s exactly what this artisan bread approach does. Traditional bread making relies on kneading for structure, but we skip that whole messy step. This recipe is about time, not muscle! Over those long hours, the yeast and water slowly work magic. It’s so straightforward, it’s almost unbelievable—it’s honestly easier than making a batch of my simple fluffy shortcake!
- The slow, 18-hour rest develops deep, complex flavor without you having to stand at the counter working dough.
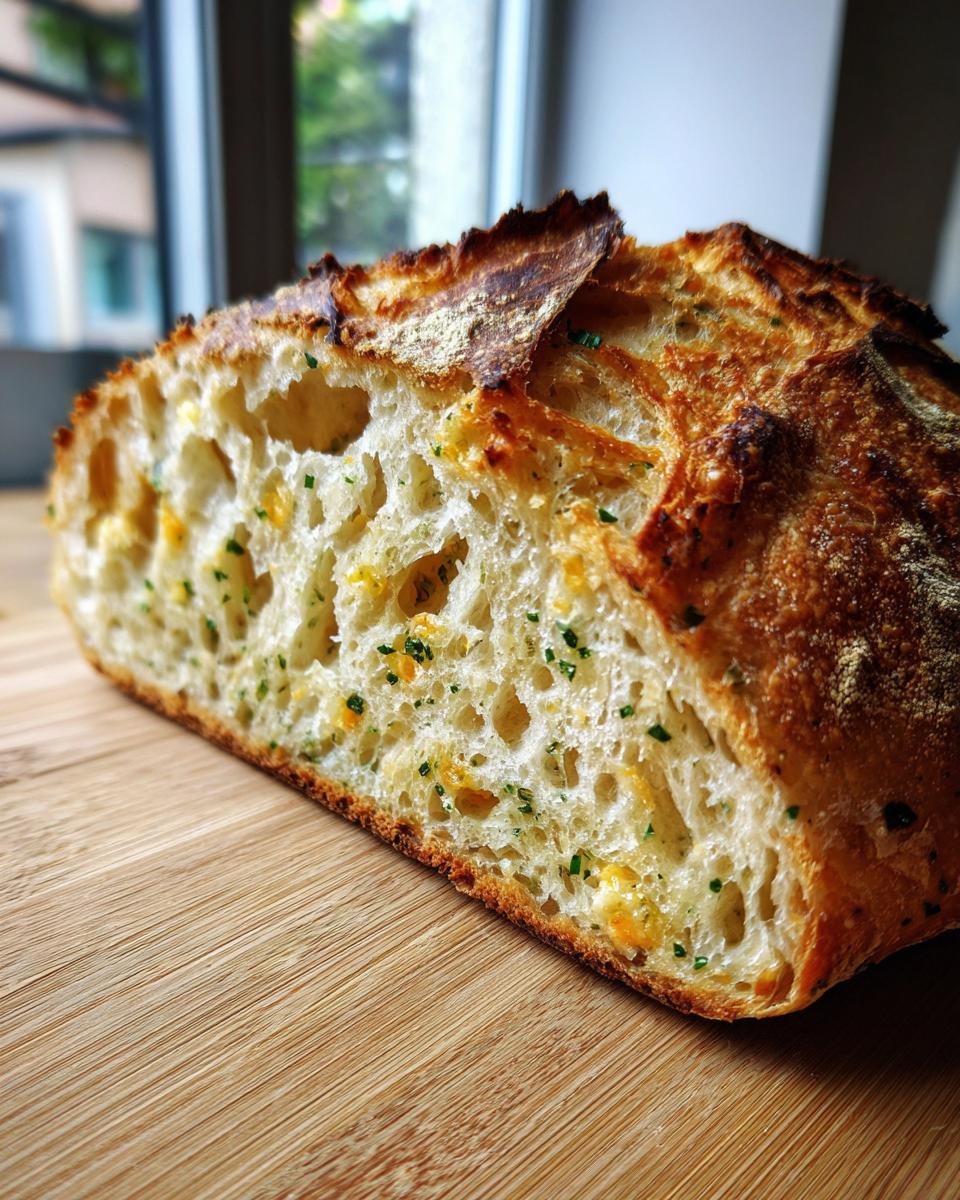
- Because we rely on time rather than rigorous mixing, the gluten develops gently, guaranteeing that beautifully soft crumb you want.
- It’s virtually foolproof because there’s hardly anything to mess up! Just mix and wait.
Achieving the Perfect Crusty Bread Recipe Texture
Okay, this is where the real secret lies for that bakery-quality finish: the Dutch Oven. You’re essentially bringing a professional steam injection system right into your home oven. We heat that heavy pot up until it’s screaming hot, then we drop the dough right in and immediately cover it. That lid traps every single bit of moisture escaping the dough. That steam is what prevents the crust from setting too early, allowing the loaf to expand fully, which gives you that wonderfully thin, shatteringly crisp exterior—the hallmark of great Dutch Oven Bread Baking.
Ingredients for Your Flavorful Artisan Bread
I always say that when you’re making something this simple, the quality of your ingredients really shows through. Since we aren’t doing much work to this artisan bread dough, we should use good stuff! You’ll notice we are using fresh herbs and real Parmesan here because those aromatics bloom beautifully once they hit the heat of the Dutch oven. Don’t worry, I’ve laid out exactly what you’ll need below. If you love bread that tastes amazing with pasta, you absolutely have to try my easy cheese bread recipe, but for this loaf, stick to the list!
- 3 cups All-Purpose Flour (plain old AP is perfect, don’t stress over high-protein bread flour here!)
- 1 1/2 teaspoons Salt (use fine table salt or regular kosher salt)
- 1/4 teaspoon Instant Yeast (This is crucial! Do not use active dry yeast here.)
- 1 1/2 cups Cool Water (Yes, cool water. This controls the long proof.)
- 2 cloves Garlic, minced (Get it as fine as you can!)
- 1 tablespoon Fresh Rosemary, chopped (Not too chunky!)
- 1 tablespoon Fresh Thyme leaves (Just pull them right off the stem.)
- 1/4 cup Grated Parmesan Cheese (The good stuff really shines through here.)
Ingredient Notes and Substitutions for Your Rustic Loaf Recipe
Because this recipe relies heavily on that slow fermentation, we have to be specific about two things: the yeast and the water. You absolutely must use Instant Yeast. Active Dry Yeast needs to be activated in warm water first, and if you do that, you’ll mess up the timing for our 18-hour rest. Stick to instant, okay?
Also, remember I noted cool water? That’s intentional. We don’t want a quick rise; we want a slow, flavor-building rest overnight. If your kitchen is very cold, maybe use room temperature water, but standard cool tap water works great for most homes.
If you happen to be fresh out of rosemary or thyme, you can use dried herbs, but you have to adjust the amount. For dried herbs, use only half the amount or about 1 1/2 teaspoons total. Fresh is always better for flavor depth in a rustic loaf, but don’t let a missing ingredient stop you from baking!
Step-by-Step Instructions for Easy Homemade Bread
This is where the magic happens, but I mean that in the lazy, low-effort way we all love! If you can mix flour and water, you can make this incredible artisan bread. Honestly, the prep time is maybe fifteen minutes max, and then you just let time do the work. Remember, we aren’t kneading at all! Just a gentle mix until everything is incorporated—it’s going to look messy, like a wet pile of shaggy dough, but don’t panic. That sticky texture is exactly what we want for that soft crumb inside. If you’re thinking about what to eat alongside this perfect loaf, make sure you check out my recipe for homemade granola bars for a completely different kind of kitchen win!
The Long Fermentation: Developing Flavor in Your Artisan Loaf Techniques
Once you stir the ingredients together—just flour, salt, yeast, and cool water—cover that bowl tightly with plastic wrap. Tightly is the key here! We’re creating a little humid environment for our dough to rest and mature. You need to let this sit out on your counter for at least 12 hours, but frankly, 18 hours is where the flavor really starts to deepen. This slow overnight rest is what builds complexity, turning four humble ingredients into something truly special. It’s the best free flavor boost you can get!
Incorporating Garlic, Parmesan, and Herbs into the Dough
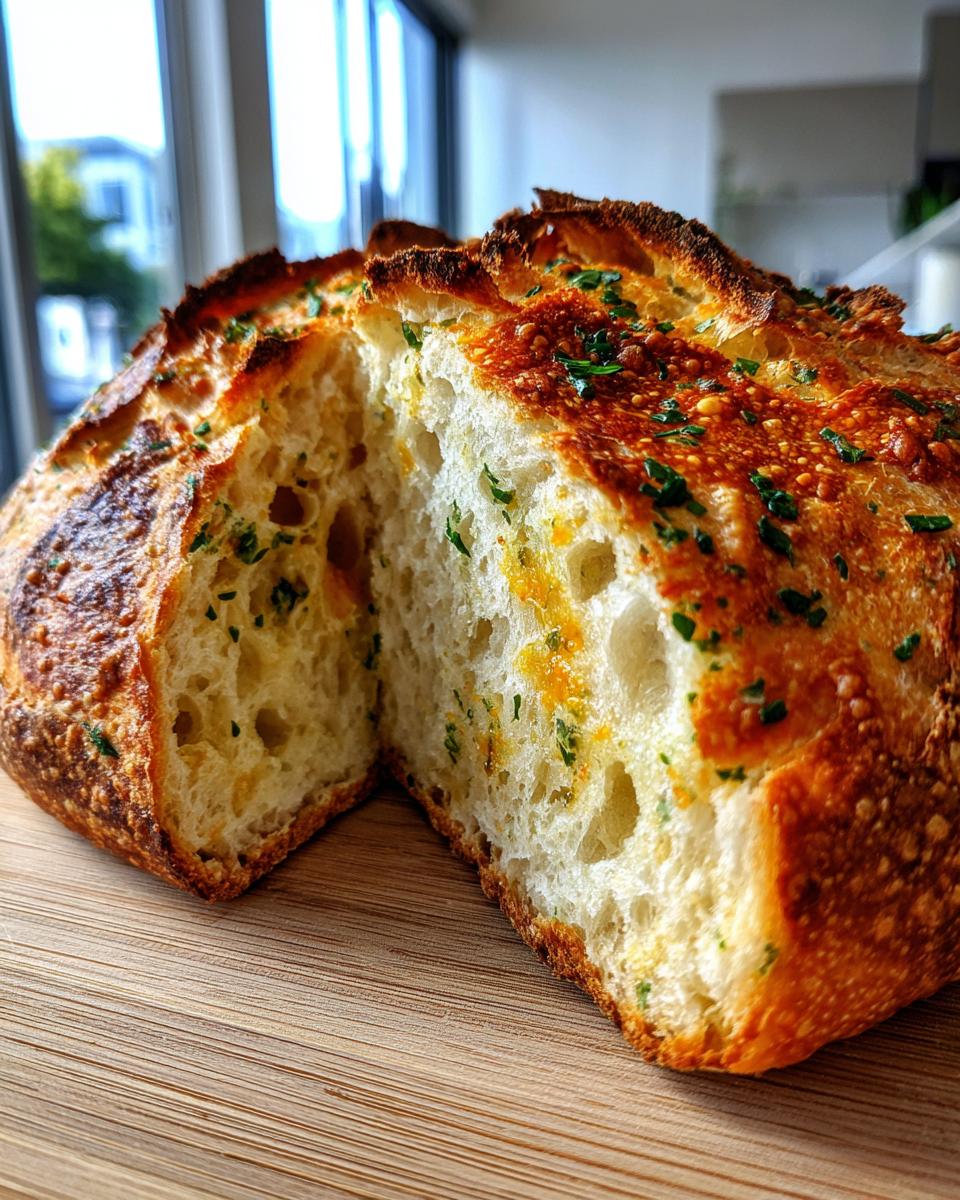
So, after the long rest, you’ll notice the dough has gotten bubbly and grown quite a bit. Now it’s time for the flavor injection! Scrape that dough gently onto a lightly floured surface. Sprinkle your garlic, rosemary, thyme, and that Parmesan cheese right over the top. Now, treat it softly! We aren’t kneading this; we are just folding it over itself a few times—maybe four or five gentle turns—to get those flavor bombs distributed. We want to keep all those beautiful air pockets we spent 18 hours developing. Think of it like a gentle hug for the dough, not a tough workout. This careful folding ensures you get pockets of cheesy, herby goodness in every slice of your Parmesan Garlic Bread Recipe.
After that light fold, tuck it into a rough ball shape, place it on parchment paper, cover it for 30 more minutes while the oven heats up, and then we bake!
Mastering Dutch Oven Bread Baking for Maximum Crust
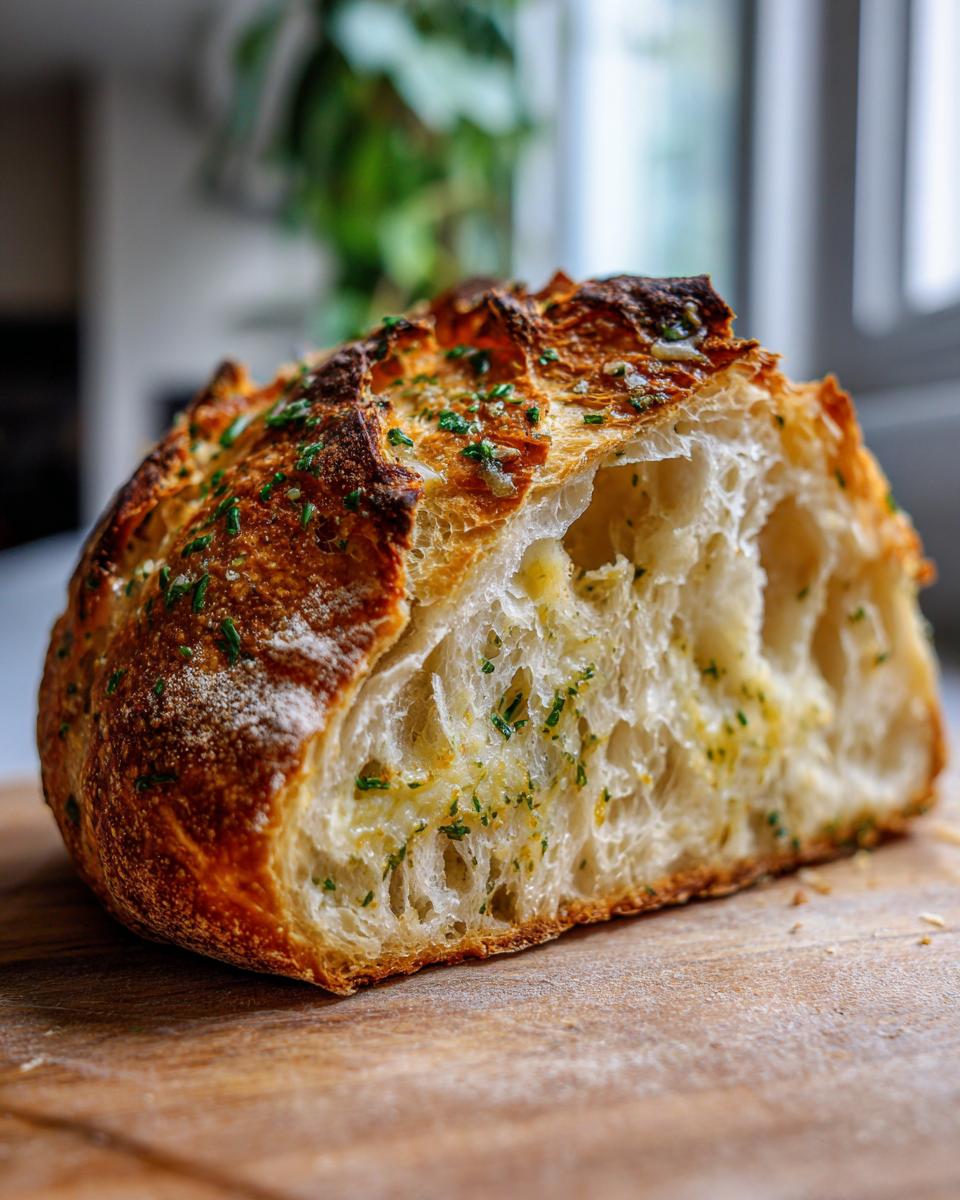
Alright, my friends, this is the moment of truth! Getting that incredible, deep golden, shatteringly crisp crust on your artisan bread all comes down to harnessing the power of steam, and the Dutch oven is our secret weapon for that. You’ve let your dough rest, you’ve flavored it up, now we have to bake it correctly. This step is non-negotiable if you want that professional-looking loaf.
First things first: you’ve got to preheat that Dutch oven—your heavy lidded pot—inside the oven while the dough finishes its short final rest. We’re blasting the temperature up to 450 degrees Fahrenheit (232 degrees Celsius). That pot needs to become searing hot! Think about it: we are shocking the cold dough with intense, trapped heat. That’s what gives the bread that amazing oven spring and the thick crust we are aiming for.
Once the oven is fully heated, carefully pull that hot pot out. Listen, use thick mitts for this part, seriously. You’ll gently lower your dough using the parchment paper handles right into that blazing hot interior. I use the parchment paper handles like little slingshots! Once it’s settled, immediately cover it with the lid. Lid on, bake for exactly 30 minutes. This traps all that natural moisture, mimicking a professional bakery steam injection system.
After those first 30 minutes, it’s time to reveal the beauty! Carefully lift the lid off—watch out for the powerful burst of steam that escapes. Now, we bake uncovered for another 15 to 20 minutes. This second phase is when the crust gets its deep, beautiful color and that signature crunch. If you end up with leftovers, I always suggest checking out my recipe for braised short ribs; this bread is absolutely perfect for sopping up every last drop of savory sauce!
Tips for Success with Baking Bread Without Kneading
I know this process seems long because of that overnight rest, but when you break down the active work, it’s barely 15 minutes of effort total. That’s the beauty of letting time act as your baker’s assistant! I want you to succeed, so let’s talk about a few critical points straight from my kitchen notes. If you’re worried about keeping your energy up while trying to get dinner on the table after a long day, this foolproof bread recipe is a lifesaver. I once completely forgot about dinner prep, panicked with only 30 minutes before guests arrived, and threw this dough into the oven, giving it only its short 30-minute rest—and honestly? It was still fantastic. That’s the forgiveness of this style of bread!
Here are the crucial things I learned that make this recipe really shine:
- If you want that extra, absolutely shattering crust, try this trick: about five minutes before you take the lid off the Dutch oven, toss a tray with a few ice cubes onto the bottom rack of your oven. Those ice cubes create a massive burst of steam, which helps maximize the crispiness of the exterior. It’s almost like cheating!
- Always, always let your bread cool completely on a wire rack before you even think about slicing it. I know it’s the hardest part of baking, but cutting into it when it’s hot traps moisture inside. That gorgeous, airy interior will turn gummy if you slice it too early.
- Don’t use a bread machine for this recipe; it simply won’t work! This style relies on a very long, slow fermentation at room temperature to build structure and flavor, which is opposite of how bread machines operate. This technique is designed for the quick, easy weeknight dinners crowd, but it needs that time bubble.
- This simple yeast bread is super versatile, too. If you don’t want the herbs and cheese, just leave them out entirely! You’ll end up with a beautiful, plain rustic loaf, perfect for dipping into a hearty soup.
Storage and Reheating Instructions for Your Crusty Bread Recipe
The hardest part about baking this incredible artisan bread is waiting for it to cool down, but trust me, you have to let it go! As I mentioned before, if you slice into that beautiful loaf while it’s still warm, you’re sacrificing that beautiful, soft crumb structure you worked 18 hours to create. The bread needs time for the internal steam to redistribute before you cut it. Once it’s cooled down completely on a wire rack—and I mean truly cool, not even slightly warm—you store it just like any other crusty loaf.
For short-term storage, maybe you plan on eating it over the next two days, keep it on the counter. The best way to store this style of bread is cut-side down on a clean cutting board, or wrapped loosely in a clean kitchen towel. Resist the urge to seal it in plastic wrap; that traps moisture right against the crust, and we absolutely want to keep that crispiness intact!
Now, if you happen to know you won’t devour this entire artisan bread loaf within that time frame, freezing is your absolute best friend. You can freeze it whole, or slice it first. If you slice it, you can just pull out what you need later! Wrap the slices tightly in plastic wrap, and then place them inside a zip-top freezer bag. This locks out freezer burn. When you’re ready for that bakery-fresh taste again, just pop a slice straight into the toaster or under the broiler—it comes back to life beautifully!
If you’re looking for something sweet but just as simple to keep ready in the freezer, you might want to check out my guide on making easy freezer jam. But honestly, there’s nothing better than tearing into a slice of this homemade loaf!
Serving Suggestions: The Ideal Dinner Bread Pairing
Now that you have this beautifully aromatic, crusty loaf, the real fun begins: eating it! Since we managed to pack this bread with garlic, thyme, rosemary, and that sharp Parmesan bite, it truly shines when paired with things that can soak up those savory flavors. This isn’t just a sandwich bread; it’s the star side dish!
My favorite way, hands down—especially now that the weather is starting to turn—is alongside a big, steaming bowl of soup. Think Tuscan flavors, or anything tomato-based. That contrast between the herby, salty crunch of the bread and a rich, creamy soup broth is just heaven. I am currently obsessed with serving this alongside my Chicken Zuppa Toscana. The bread soaks up every drop of that creamy, spicy broth, and it’s just the perfect counterbalance to the sausage and kale.
It’s also incredible served right next to any saucy pasta dish. Don’t waste any of that delicious red sauce pooling on your plate! Use a thick wedge of this loaf to wipe the plate clean. It acts like a natural, savory sponge. And of course, if you grab a decent sharp cheddar and maybe put a thin slice of ham on top, you’ve suddenly got the best open-faced melt you’ve ever made. Honestly, once you taste this, you’ll be looking for excuses to bake another batch every week!
Frequently Asked Questions About Making Artisan Bread
I get so many messages after people try this recipe, and honestly, I love hearing that you’re getting into the world of artisan bread baking! Most of the questions come down to shortcuts or substitutions, and I totally get wanting to make things faster or easier. Sometimes you just need an ideal dinner bread in a hurry! But remember, part of the beauty here is the slow process. Here are the most common things folks ask me when they are trying to master this simple yeast bread.
Can I skip the 18-hour rest time?
This is the million-dollar question! The short answer is: You shouldn’t, especially if you want the best flavor. That long, slow, cool fermentation period is the engine of this entire recipe. It’s what develops the complex, slightly tangy flavor profile without us having to knead at all. If you absolutely must have bread faster, you can shorten it to 12 hours, but I wouldn’t go less than that. The 18 hours makes this the ultimate weeknight bread recipe because you just mix it the night before and bake it the next day!
Can I use a regular heavy pot instead of a Dutch oven?
Yes, you totally can, but you have to be careful! The reason we love the Dutch oven method for Dutch Oven Bread Baking is because of that heavy, tight-fitting lid. It creates the perfect steam environment. If you use a regular heavy pot—say, cast iron or even a heavy stainless steel pot—it must have a tight-fitting lid. If the seal isn’t good, the steam escapes too quickly, and you won’t get that perfect expansion or the wonderfully crusty bread recipe texture. Just make sure whatever you use can withstand high heat!
How is the ‘soft crumb bread’ inside achieved if I’m not kneading?
This is probably the most surprising part for people new to baking bread without kneading! The softness comes from two main places. First, the Instant Yeast combined with the long rest develops the gluten structure slowly and evenly—it does the work without tearing the strands like hand kneading would. Second, the steam traps moisture inside during the bake. That steam essentially steams the crust open and keeps the inside soft and fluffy while the outside hardens. It’s a beautiful combination of science and low effort!
What if I want a pure crusty French loaf style bread without the herbs?
That’s perfectly fine! This base recipe is a fantastic foundation for a crusty French loaf, truly. If you want to skip the garlic, rosemary, thyme, and Parmesan, just omit those ingredients entirely from Step 5. You’ll use the same long rest and the same high-heat Dutch oven baking. You will end up with a beautiful, plain rustic loaf recipe that’s ready for butter or jam. It’s the easiest way to get that homemade bakery bread feeling.
Where can I learn more about your baking philosophy?
I poured my heart into explaining why I believe baking should be joyful and accessible for everyone, even if you’re just starting your journey into from scratch bread baking. If you’re curious about my overall approach to bringing professional techniques into your home kitchen, you can read all about my journey and the mission of Julia Meal on my About Page. Welcome to the family!
Estimated Nutritional Data for This Simple Yeast Bread
I always try to keep things simple here, just like with the baking! Since we aren’t dealing with added sugars in the dough—just the flour and cheese—the numbers are pretty clean for a satisfying slice of homemade bread. Keep in mind these values are always estimates based on standard measurements for carbohydrates and protein in the flour used, and the specific amount of Parmesan cheese incorporated.
- Serving Size: 1 slice
- Calories: 185
- Sugar: 0.5g
- Sodium: 350mg
- Fat: 1.5g
- Saturated Fat: 0.5g
- Unsaturated Fat: 1.0g
- Trans Fat: 0.0g
- Carbohydrates: 38g
- Fiber: 1.5g
- Protein: 6g
- Cholesterol: 2mg
Enjoy this loaf responsibly! It’s certainly much better than anything store-bought, and that’s what counts!
PrintEasy No-Knead Artisan Bread with Garlic and Herbs (Dutch Oven Method)
Bake a rustic, crusty artisan loaf with a soft interior using this simple, no-knead recipe. Infused with garlic and herbs, this Dutch oven bread is perfect for beginners.
- Prep Time: 15 min
- Cook Time: 50 min
- Total Time: 13 hours 5 min
- Yield: 1 large loaf 1x
- Category: Baking
- Method: Baking
- Cuisine: American
- Diet: Vegetarian
Ingredients
- 3 cups All-Purpose Flour
- 1 1/2 teaspoons Salt
- 1/4 teaspoon Instant Yeast
- 1 1/2 cups Cool Water
- 2 cloves Garlic, minced
- 1 tablespoon Fresh Rosemary, chopped
- 1 tablespoon Fresh Thyme leaves
- 1/4 cup Grated Parmesan Cheese
Instructions
- In a large bowl, mix the flour, salt, and yeast together.
- Add the cool water to the dry ingredients. Mix with a wooden spoon until just combined. The dough will be very sticky and shaggy; do not overmix.
- Cover the bowl tightly with plastic wrap and let it rest at room temperature for 12 to 18 hours.
- After the long rise, gently scrape the dough out onto a lightly floured surface.
- Sprinkle the minced garlic, rosemary, thyme, and Parmesan cheese over the dough. Gently fold the dough over itself a few times to incorporate the flavorings without deflating the air bubbles.
- Shape the dough into a rough ball. Place the dough ball on a piece of parchment paper.
- Cover the dough loosely with plastic wrap or a clean kitchen towel and let it rest for a second rise for 30 minutes.
- About 20 minutes before the second rise ends, place a 5 to 6-quart Dutch oven with its lid inside your oven. Preheat the oven to 450 degrees Fahrenheit (232 degrees Celsius).
- Carefully remove the hot Dutch oven from the oven. Lift the dough using the parchment paper handles and gently lower it into the hot pot.
- Cover the Dutch oven with the lid and bake for 30 minutes.
- Remove the lid and continue baking for another 15 to 20 minutes, or until the crust is deep golden brown.
- Carefully remove the bread from the Dutch oven and let it cool completely on a wire rack before slicing.
Notes
- Using cool water helps control the long fermentation time, developing better flavor.
- For an extra crusty exterior, place a few ice cubes in a metal pan on the bottom rack of the oven during the first 30 minutes of baking to create steam.
- This recipe is excellent for making crusty French loaf style bread or a rustic loaf recipe.
Nutrition
- Serving Size: 1 slice
- Calories: 185
- Sugar: 0.5
- Sodium: 350
- Fat: 1.5
- Saturated Fat: 0.5
- Unsaturated Fat: 1.0
- Trans Fat: 0.0
- Carbohydrates: 38
- Fiber: 1.5
- Protein: 6
- Cholesterol: 2