
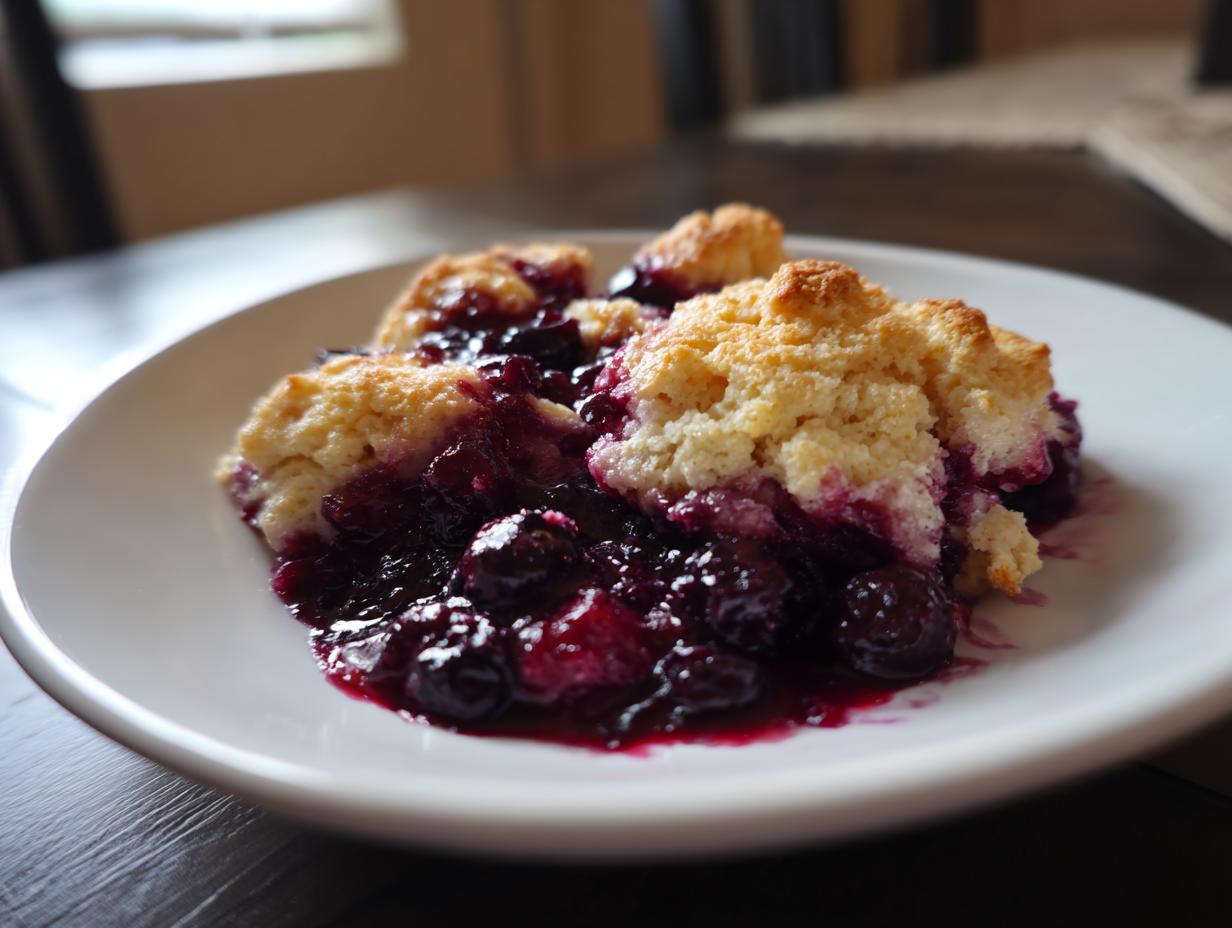
When I think about real comfort food, nothing beats the smell of warm, bubbling fruit baked under a golden, flaky crust. It takes me right back to my grandmother’s kitchen—that feeling of quiet satisfaction when pulling something truly special out of the oven. If you’re looking for a dessert that feels wonderfully rustic but comes together faster than you’d think possible, you’ve found your recipe. This mixed berry cobbler is simply the best. It features a tender, buttery buttermilk biscuit topping that cracks perfectly when you serve it, and it’s designed to handle whatever you have on hand, whether you’re using peak-season fresh berries or those dependable bags of frozen goodness. It’s honestly the shortcut dessert I turn to when I need that homemade flavor without fuss. If you’re interested in more ways to make weeknight meals feel special, check out some of my other simple, delicious desserts!
- Why This Easy Mixed Berry Cobbler Recipe Works So Well
- Ingredients for the Best Berry Cobbler with Biscuit Topping
- Step-by-Step Instructions for Your Homemade Fruit Cobbler
- Tips for the Perfect Mixed Berry Cobbler
- Serving Suggestions for Your Summer Berry Dessert
- Storage and Make-Ahead Tips for Mixed Berry Cobbler
- Frequently Asked Questions About Making Mixed Berry Cobbler
- Understanding the Nutrition in This Mixed Berry Cobbler
- Share Your Homemade Mixed Berry Cobbler Creations
Why This Easy Mixed Berry Cobbler Recipe Works So Well
When I set out to perfect this mixed berry cobbler, I wanted reliability, not fuss. I know you don’t always have time for complicated pastry work, and that is exactly why this recipe shines. It delivers that beautiful, rustic look everyone craves but keeps the effort low—which is exactly what a busy cook needs when the fruit starts calling from the counter! If it worked for my cinnamon apple cobbler, you know the technique is sound.
- It uses my go-to buttermilk biscuit dough, which creates the most tender and Buttery Cobbler Topping you can imagine without needing precision rolling.
- It’s fast! You can have this beautiful dessert prepped and into the oven in minutes.
- It doesn’t care if you bought beautiful fresh berries this morning or grabbed a bag from the freezer last winter.
Quick Prep Time for Your Mixed Berry Cobbler
Seriously, folks, put your phone down for a minute because we are going to move quickly here. The entire filling and topping assembly takes me about 15 minutes flat before it heads into the oven. This makes it a genuine Quick Berry Dessert for weeknights when you need something sweet fast.
Adaptable for Fresh or Frozen Berries
This is crucial for any great fruit dessert, right? You shouldn’t have to wait for summer perfection. The cornstarch in the filling is your secret weapon here. It thickens up beautifully, whether you’re using beautiful fresh strawberries or thawed out frozen blackberries. Don’t hesitate to use them straight from the freezer! Mastering the Berry Cobbler with Frozen Berries means delicious dessert is always accessible.
Ingredients for the Best Berry Cobbler with Biscuit Topping
When I talk about making this recipe the best berry cobbler, it all starts right here. Precision matters, especially when you’re dealing with fruit juices and leavening agents. I always lay everything out ahead of time—my little mise en place helper drawer—so nothing gets missed! We split our haul into two clear piles: what goes messy with the fruit, and what needs to stay cold for that perfect topping structure.
For the Juicy Berry Filling
This filling is meant to bubble up hot and glorious, thick enough that your spoon stands up, but still sweet and tangy. The cornstarch is non-negotiable; it’s what stops this from turning into soup at the bottom. We need that glorious Juicy Berry Filling:
- 4 cups mixed berries (fresh or frozen)—we talked about this, use what you have!
- 1/2 cup granulated sugar
- 2 tablespoons cornstarch—this is the magic thickener!
- 1 tablespoon lemon juice—to wake up all those sweet flavors.
- 1/4 teaspoon ground cinnamon
For the Buttermilk Cobbler Topping
This is where the true biscuit magic happens. If your butter isn’t cold, you are just going to get flat disks sitting on top of your fruit, and nobody wants that. We are aiming for tender, fluffy biscuits that get that gorgeous golden color. That beautiful, flaky texture comes entirely from the cold unsalted butter, cut into cubes. Keep it frigid!
- 1 1/2 cups all-purpose flour
- 2 teaspoons baking powder
- 1/2 teaspoon salt
- 1/2 cup cold unsalted butter, cut into cubes
- 1/2 cup buttermilk (this makes all the difference for tenderness!)
- 1 large egg, beaten (for brushing on top)
- 1 tablespoon coarse sugar (for sprinkling—don’t skip this crunch!)
Step-by-Step Instructions for Your Homemade Fruit Cobbler
Okay, now that we have our ingredients looking sharp, let’s get this fabulous mixed berry cobbler into the oven. I promise you, the process is straightforward, but a few tiny details make the difference between a good bake and an absolutely fantastic one. This is where the home cook genius really comes in. It’s about respecting the process just enough to get that perfect, bubbly fruit underneath a crust that’s crisp on top and tender underneath. Head over to my guide on quick, easy weeknight dinners if you want to see how I organize my kitchen for fast assembly like this!
Preparing the Mixed Berry Cobbler Filling
First things first: let’s get the heat going. We need that oven ready to accept our fruity masterpiece. Grab your 9-inch pie dish—or whatever baking dish you prefer—and give it a quick grease. It gives the fruit something to bubble up against nicely.
- Preheat your oven to 375 degrees Fahrenheit. Lightly grease a 9-inch pie dish or similar baking dish.
- Prepare the berry filling: In a bowl, gently toss the mixed berries with the granulated sugar, cornstarch, lemon juice, and cinnamon. See how important that gentle tossing is? We aren’t trying to mash these berries; we just want them coated evenly so the juices thicken perfectly. Pour this mixture right into your prepared baking dish. That’s the filling done!
Making the Buttermilk Biscuit Topping
This part requires slightly more finesse, but it’s still so simple. We are essentially making a quick biscuit dough right on top of the fruit. Remember I always say—it’s all about the cold butter!
- Prepare the buttermilk biscuit topping: In a separate medium bowl, whisk together the flour, baking powder, and salt. Keep your movements fast here.
- Cut in the cold butter using a pastry blender or your fingertips until the mixture truly resembles coarse crumbs. You should see pieces of butter about the size of small peas. Do not let it melt!
- Pour in the buttermilk and stir just until the dough comes together. And here is the golden rule for biscuits: Do not overmix! Mix only until you can no longer see dry flour streaks. A shaggy, uneven dough is exactly what we want for that tender texture.
Baking and Serving the Warm Dessert Recipe
Now we bring the whole thing together before sending it off to bake. The finishing touches are what make this look like a classic homemade fruit cobbler.
- Drop spoonfuls of the biscuit dough evenly over the berry filling. Don’t stress if the berry mixture shows through the gaps; that’s how you get those amazing bubbling edges.
- Brush the tops of the biscuits lightly with the beaten egg and sprinkle with coarse sugar. That egg wash gives us that gorgeous golden color we’re after.
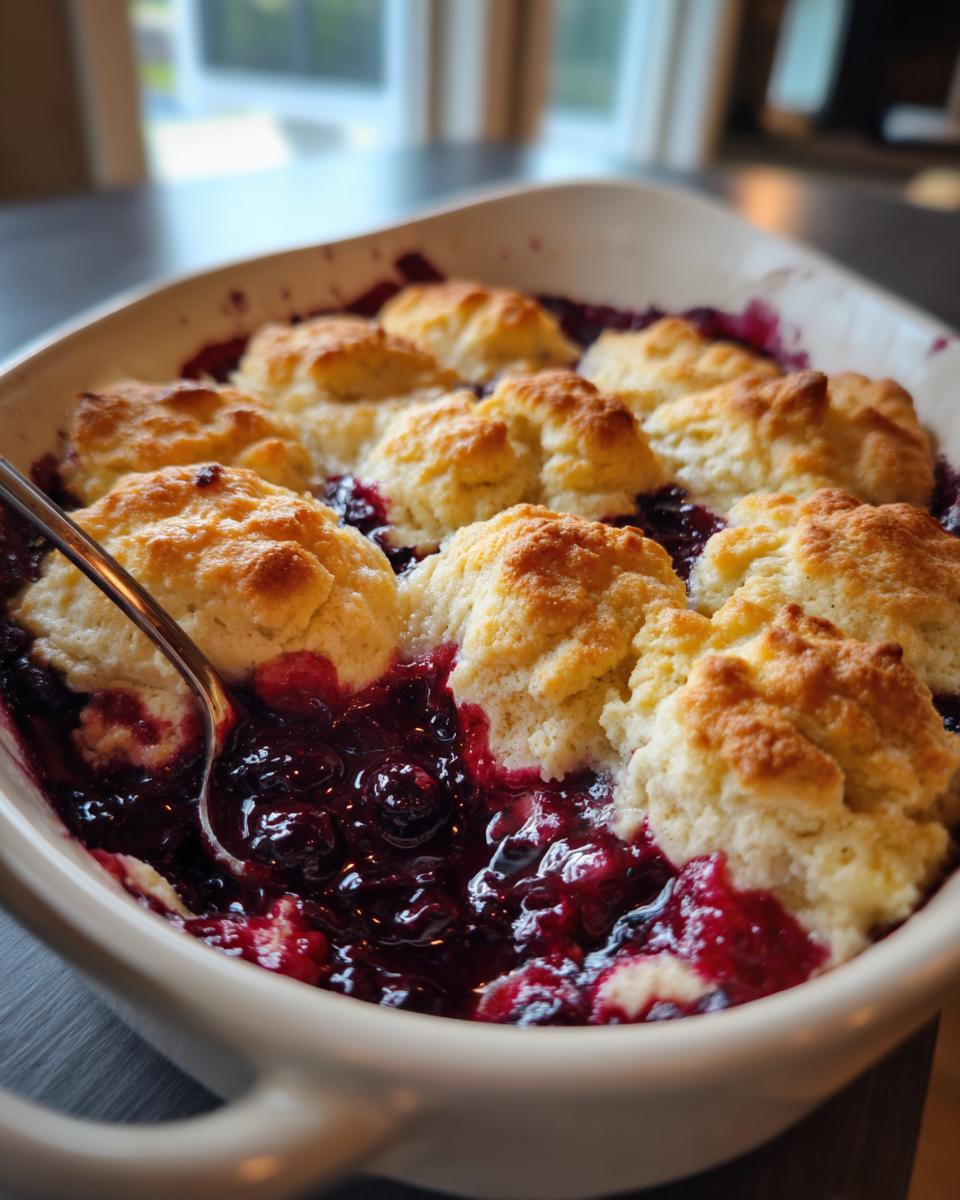
- Bake for 35 to 40 minutes, or until the topping is golden brown and the berry filling is clearly bubbly all around the edges. Patience during this stage is key for a perfect Warm Dessert Recipe.
- Let the cobbler cool on a wire rack for at least 15 minutes before serving warm. Trust me on the resting time; those juices need a minute to settle down before you try to scoop any out!
Tips for the Perfect Mixed Berry Cobbler
Getting that perfect, golden-brown finish on your biscuit topping while keeping the filling gooey is the ultimate goal when making a mixed berry cobbler, right? It’s not hard, but a few little insider tricks make a huge difference in the final result. I’ve learned these lessons the hard way over years of baking, and I don’t want you repeating my messy mistakes! These tips are small changes that yield big rewards in flavor and texture.
Ingredient Notes and Substitutions for Your Cobbler
Let’s revisit the berries, because that seems to be where people worry most. If you’re reaching for frozen fruit—and please, do!—you absolutely should not bother thawing them first. Just toss those icy berries straight into the sugar and cornstarch mixture. The cold actually helps slow down the baking process just enough for the cornstarch to do its job properly against the heat. Also, if you want to elevate that buttermilk topping just slightly, use heavy cream for a quarter cup of the buttermilk if you have it. That tiny bit of extra fat makes the biscuit unbelievably rich.
Variations on the Mixed Berry Cobbler
While this recipe is built for a mix, don’t feel constrained by just three types of berries! It works wonderfully as a Triple Berry Cobbler, or you could even lean into a single beloved flavor like just blueberries or raspberries. Another small addition I sometimes sneak in, especially if my berries are leaning a bit too sweet that week, is a tiny, tiny pinch of ground nutmeg right alongside the cinnamon in the filling. It adds this warm, earthy depth that pairs so nicely with the bright fruit flavors. If you enjoy adapting recipes, you might also want to see how I handle my cranberry orange scones!
Serving Suggestions for Your Summer Berry Dessert
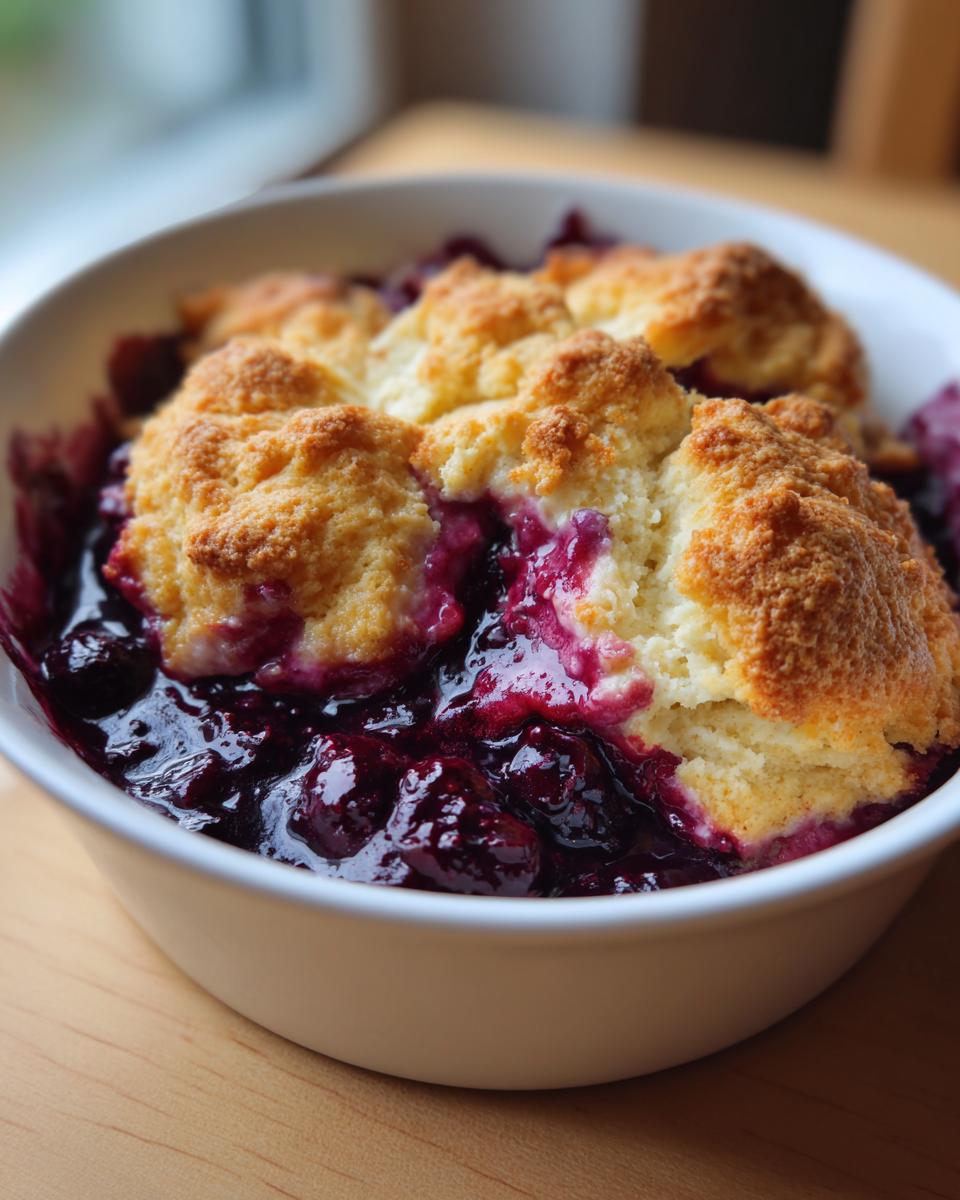
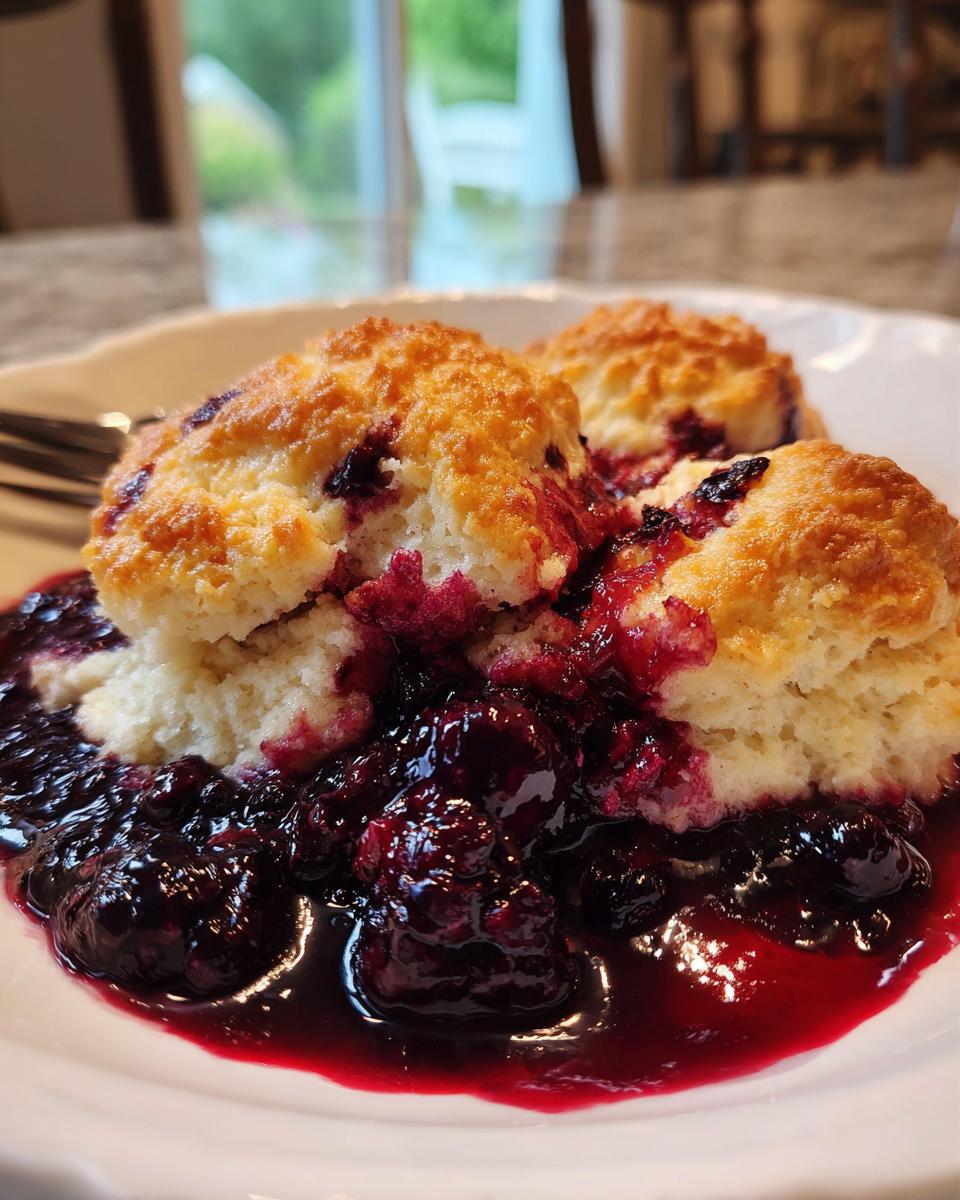
Part of the joy of making a truly memorable mixed berry cobbler is the presentation! This dessert, with its bubbling fruit and uneven, golden biscuit crown, is what I call the ultimate Rustic Berry Dessert. It isn’t fussy, and that’s its charm. You don’t need fancy serving dishes; a slightly deep pie plate or a cast-iron skillet works beautifully. Honestly, you could serve chunks of this on a simple plate and people would still flock to it, but how you serve it truly elevates the experience from good to unforgettable.
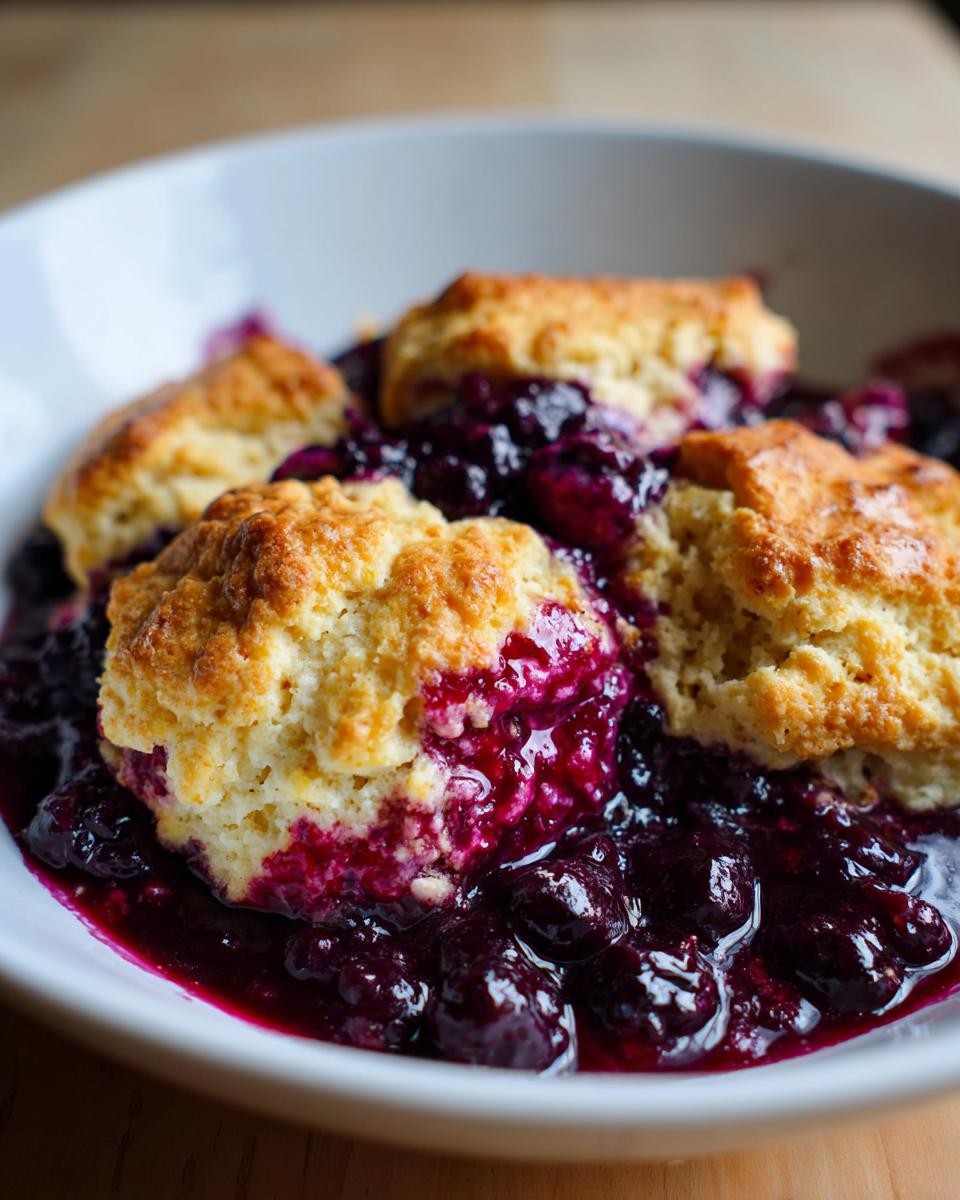
The Essential Vanilla Ice Cream Topping
If you only take one piece of serving advice from me for this recipe, let it be this: don’t ever serve this beautiful, warm dessert without something cold and creamy right next to it. The contrast between the piping hot, sweet-and-tangy berries and the cold topping is what makes the entire thing sing! You absolutely must try the classic Vanilla Ice Cream Topping. That melting vanilla bean goodness cascades down the sides of those warm biscuits, mixing with the berry juices? It’s pure heaven. It cuts through the richness of the buttery topping just perfectly.
If you’re not a huge ice cream fan, or maybe you’re serving this for brunch, homemade lightly sweetened whipped cream is a fantastic second choice. I often use a dollop of that when I’m doing recipe testing for my easy banana cream pie recipe, and it works just as well here because it’s light and airy. Either way, make sure it’s cold when it hits that warm fruit underneath!
Storage and Make-Ahead Tips for Mixed Berry Cobbler
Because this is such a fantastic Berry Dessert for Gatherings, you might end up with leftovers—lucky you! Or maybe you just want to prep it the night before a big potluck. I get it; getting ahead is the key to stress-free entertaining. The good news is that fresh cobbler tastes amazing the next day, but we have to treat that beautiful biscuit topping right so it doesn’t get soggy overnight.
Storing Leftover Mixed Berry Cobbler
Here is how I handle leftovers in my kitchen. If you wrap your leftover cobbler tightly wrapped in plastic wrap and foil, it will keep perfectly well on the counter for about a day, but honestly, it does best in the fridge. Refrigerating it will keep it fresh for a good three to four days, easily. The filling stays jammy, but the topping will soften up a bit because of the moisture from the fruit—that’s just science!
Now, reheating is where you bring it back to life! You definitely don’t want to eat cold cobbler, even though it’s safe. To restore that satisfying crunch on top, you must use the oven or an air fryer. Pop a serving (or the whole thing, if you dare!) onto a baking sheet and warm it up at about 325 degrees Fahrenheit for 10 to 15 minutes. This dries out the biscuit slightly and warms the berries back up to that perfect molten temperature. If you’re making cookies this week, you might want to check out my tips for maple brown sugar cookies for make-ahead tips, too!
Frequently Asked Questions About Making Mixed Berry Cobbler
I always get so many questions after I post a recipe, and that’s wonderful! It means people are eager to get baking. The mixed berry cobbler is a favorite because it’s so versatile, but sometimes having a few quick answers handy can boost your cooking confidence. Here are some of the things I hear most often about making this classic dessert!
What is the difference between a cobbler and a crisp?
Oh, this is such a fantastic question, and honestly, people mix these up all the time! The main difference comes down to what you put on top! A crisp uses a crumbly streusel topping made with oats, flour, butter, and sugar—it gets wonderfully crunchy when baked. Our recipe uses the Cobbler vs Crisp standard: a biscuit or cake-like topping dropped right over the hot fruit. The biscuit topping, like the one we are using today, bakes up softer and doughy underneath that golden crust, while a crisp topping stays crunchier all the way through. Both are amazing, but they offer totally different textures!
Can I use only one type of berry in this mixed berry cobbler recipe?
Absolutely! You should never feel trapped by the “mixed” part of the name if you have a favorite berry calling your name. If you have an abundance of fresh blueberries, go for it! If you’re making this in the fall and only have cranberries, that works too. You’ll want to keep the sugar level about the same unless you’re using something incredibly tart like pure lemons, but generally, the recipe is very forgiving. The original idea behind mixing them up is to get that perfect blend of Sweet and Tangy Berries in every bite, but using just one type still yields a wonderful result!
If you’re looking for more cooking shortcuts that make life easier, you might want to peek at my tips for easy French toast!
Understanding the Nutrition in This Mixed Berry Cobbler
When we’re deep into developing a favorite recipe like this easy berry cobbler, we’re usually focused on flavor and texture, not calorie counting! But that doesn’t mean it isn’t helpful to know what’s on the plate, especially when you’re serving something rich like this to guests or family. I always tell people that homemade desserts usually have a bit more sugar and fat than the diet version at the store—and that’s okay! It’s part of what makes it taste so darn good.
The numbers below are carefully estimated based on the ingredients provided for a single serving of the cobbler, assuming you are dividing the recipe into 6 even portions. Please keep in mind that since we are using fruit that varies wildly in size and how much sugary juice bubbles up, these are just guidelines. Don’t stress too much; just enjoy the homemade goodness!
- Serving Size: 1 serving
- Calories: Approximately 350 per slice
- Fat: About 16 grams, which is where that wonderful buttery topping comes from!
- Carbohydrates: Around 48 grams
- Protein: Roughly 6 grams
- Sugar: We’re looking at about 30 grams here, which is expected for a sweet fruit dessert.
See? It’s a balanced treat, especially when you consider how much fiber you get from those four cups of mixed berries we managed to sneak in there!
Share Your Homemade Mixed Berry Cobbler Creations
That’s it—you’ve got the tools now to make what I truly believe is the easiest mixed berry cobbler recipe out there! I get such a spark of joy when I see pictures of what you all create in your own kitchens. Did it come out golden brown? Are the berries bubbling just right?
If you made this dessert, please take a moment and leave me a rating below—it really helps me know what recipes you’re loving. And if you snapped a picture, I’d absolutely love it if you sent it over through my contact page so I can see your beautiful baking work!
PrintEasy Mixed Berry Cobbler with Buttermilk Biscuit Topping

Make this easy mixed berry cobbler using fresh or frozen berries for a warm, juicy summer dessert. The tender buttermilk biscuit topping bakes golden brown, making this a perfect, rustic dessert for any gathering.
- Prep Time: 15 min
- Cook Time: 40 min
- Total Time: 55 min
- Yield: 6 servings 1x
- Category: Dessert
- Method: Baking
- Cuisine: American
- Diet: Vegetarian
Ingredients
- 4 cups mixed berries (fresh or frozen)
- 1/2 cup granulated sugar
- 2 tablespoons cornstarch
- 1 tablespoon lemon juice
- 1/4 teaspoon ground cinnamon
- 1 1/2 cups all-purpose flour
- 2 teaspoons baking powder
- 1/2 teaspoon salt
- 1/2 cup cold unsalted butter, cut into cubes
- 1/2 cup buttermilk
- 1 large egg, beaten (for brushing)
- 1 tablespoon coarse sugar (for sprinkling)
Instructions
- Preheat your oven to 375 degrees Fahrenheit. Lightly grease a 9-inch pie dish or similar baking dish.
- Prepare the berry filling: In a bowl, gently toss the mixed berries with the granulated sugar, cornstarch, lemon juice, and cinnamon. Pour this mixture into your prepared baking dish.
- Prepare the buttermilk biscuit topping: In a separate medium bowl, whisk together the flour, baking powder, and salt.
- Cut in the cold butter using a pastry blender or your fingertips until the mixture resembles coarse crumbs.
- Pour in the buttermilk and stir just until the dough comes together. Do not overmix.
- Drop spoonfuls of the biscuit dough evenly over the berry filling. It is fine if some berries show through.
- Brush the tops of the biscuits lightly with the beaten egg and sprinkle with coarse sugar.
- Bake for 35 to 40 minutes, or until the topping is golden brown and the berry filling is bubbly.
- Let the cobbler cool on a wire rack for at least 15 minutes before serving warm, perhaps with vanilla ice cream topping.
Notes
- If you use frozen berries, do not thaw them first; the cornstarch will help thicken the juices as they bake.
- For a richer topping flavor, substitute 1/4 cup of the buttermilk with heavy cream.
- This recipe works well with a triple berry combination or any mix of seasonal fruit.
Nutrition
- Serving Size: 1 serving
- Calories: 350
- Sugar: 30
- Sodium: 250
- Fat: 16
- Saturated Fat: 9
- Unsaturated Fat: 7
- Trans Fat: 0
- Carbohydrates: 48
- Fiber: 3
- Protein: 6
- Cholesterol: 45