
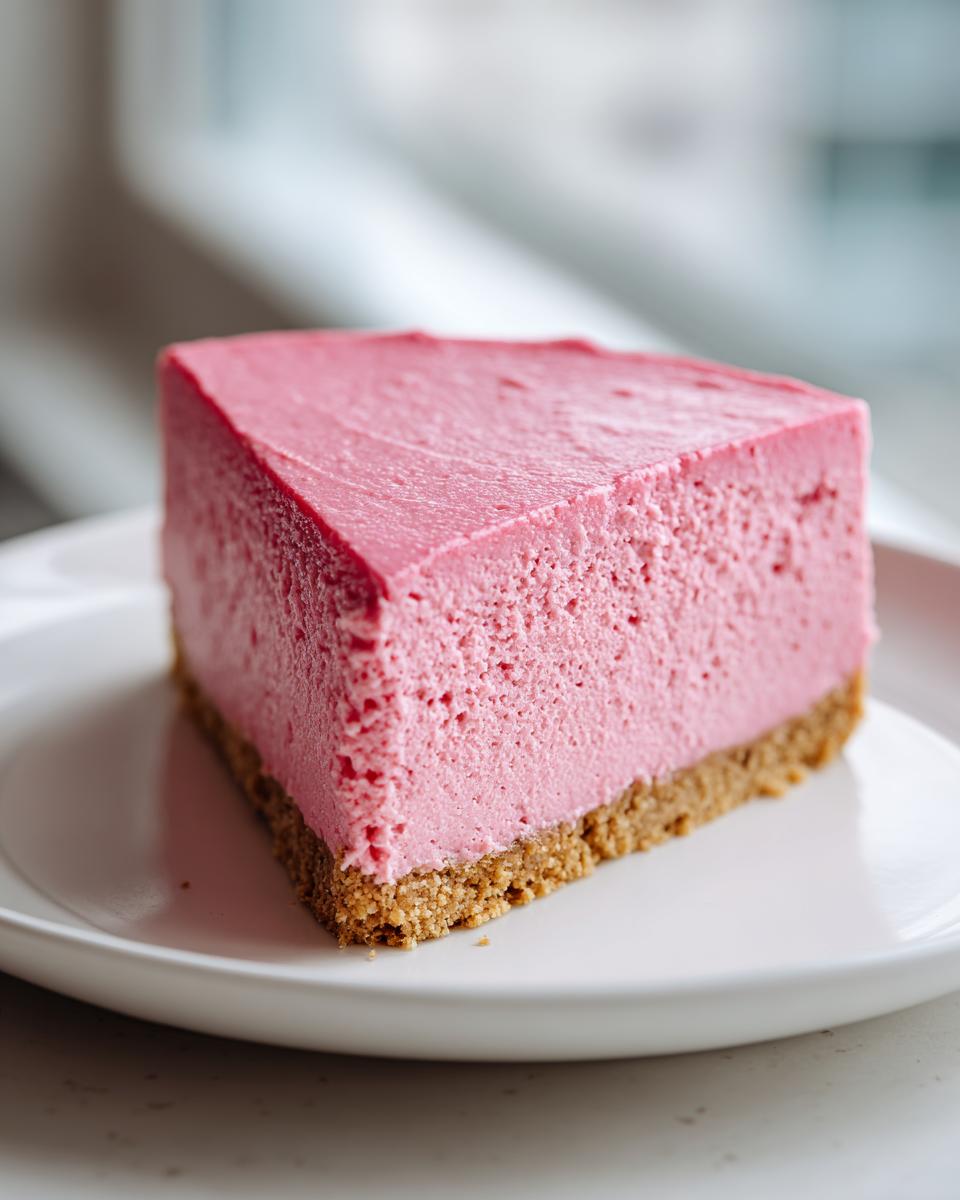
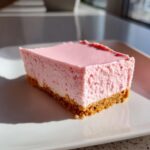
Every good celebration needs a show-stopping dessert, but let’s be honest, sometimes the big, full-sized cake or cheesecake feels like too much effort for a small gathering. That’s where I step in! I spent weeks refining this small-batch cheesecake recipe because I wanted one thing: the ability to pull out a perfectly formed, beautiful pink birthday cheesecake slice that looks like it came from a high-end bakery. Food, for me, has always been about connection, and sharing something beautiful that tastes incredible is the ultimate gift. We tested the chilling times and the cutting techniques until we got that flawless structure you see pictured. This isn’t just a recipe; it’s a guarantee that your birthday effort pays off beautifully. You can read a little more about my philosophy behind testing recipes until they sing over at the About page, but for now, let’s bake something pretty!
- Why This Small Batch Pink Birthday Cheesecake Slice Recipe Works (E-E-A-T)
- Ingredients for Your Pink Birthday Cheesecake Slice
- Preparing the Crust for the Pink Birthday Cheesecake Slice
- Mixing the Perfect Pink Cheesecake Batter
- Baking Technique: Achieving the Best Pink Birthday Cheesecake Slice
- Chilling and Cooling: Keys to The Perfect Cheesecake Slice
- Mastering How to Cut Flawless Cheesecake Presentation
- Tips for Next-Level Pink Cheesecake Recipe Variations
- Serving Suggestions for Your Birthday Dessert Slices
- Frequently Asked Questions About Cream Cheese Dessert Slices
Why This Small Batch Pink Birthday Cheesecake Slice Recipe Works (E-E-A-T)
What makes this recipe my go-to for mini celebrations? Honestly, it’s the control. We ditched the massive 10-inch springform pan! This small-batch approach means you aren’t left with half a cheesecake staring at you all week.
- It’s built for slicing: The 8×8 pan ensures every pink birthday cheesecake slice is thick and structurally sound.
- Vibrant color: We nail that perfect pink hue without sacrificing creamy texture.
- Tested for home cooks: I made this batch multiple times so you don’t have to worry about cracks during your big day.
Recipe Snapshot: Prep, Cook, and Yield Details
Transparency is key when you’re relying on a recipe, especially for a birthday! Here’s the quick breakdown of what you’re getting into:
- Prep Time: 20 minutes
- Cook Time: 35 minutes
- Total Time: About 7 hours 55 minutes (most of that is chilling time, which is crucial!)
- Yield: 8 generous servings
Ingredients for Your Pink Birthday Cheesecake Slice
Getting that perfect **pink birthday cheesecake slice** starts with good ingredients, and honestly, you can’t skimp on the cream cheese here! We want that beautifully dense, creamy texture, so make sure your 8 ounces are truly softened to room temperature. Don’t even think about using margarine—stick to real butter for the crust, too.
The color comes from real fruit, but if you need a vibrant finish, a tiny bit of coloring helps. For more recipe inspiration check out my strawberry crunch cheesecake notes!
- 1 cup graham cracker crumbs
- 3 tablespoons melted unsalted butter
- 8 ounces cream cheese, softened
- 1/4 cup granulated sugar
- 1 large egg
- 1 teaspoon vanilla extract
- 1/4 cup raspberry puree (strained)
- 2 drops pink food coloring (optional, for bright color)
- 1 tablespoon heavy cream
Preparing the Crust for the Pink Birthday Cheesecake Slice
A shaky foundation means a wobbly slice, right? We need this crust sturdy enough to support that beautiful, creamy pink filling for your **pink birthday cheesecake slice**! Preheat your oven right now to 325°F (160°C). Don’t rush this part; temperature matters.
Grab that 8×8 inch pan, and here’s a trick I learned the hard way: line it with parchment paper but make sure you leave some overhang. This sling or hammock of paper is your best friend later for lifting the whole thing out cleanly.
Mix your graham cracker crumbs and melted butter until it looks like wet sand. Press it down *firmly* into the bottom of the lined pan. I mean it—use the bottom of a measuring cup to really compact it. Once it’s pressed down tight, pop it into the preheated oven for exactly 8 minutes. This pre-bake sets the crust so it won’t crumble when you slice it later. Let it cool completely before moving on!
Mixing the Perfect Pink Cheesecake Batter
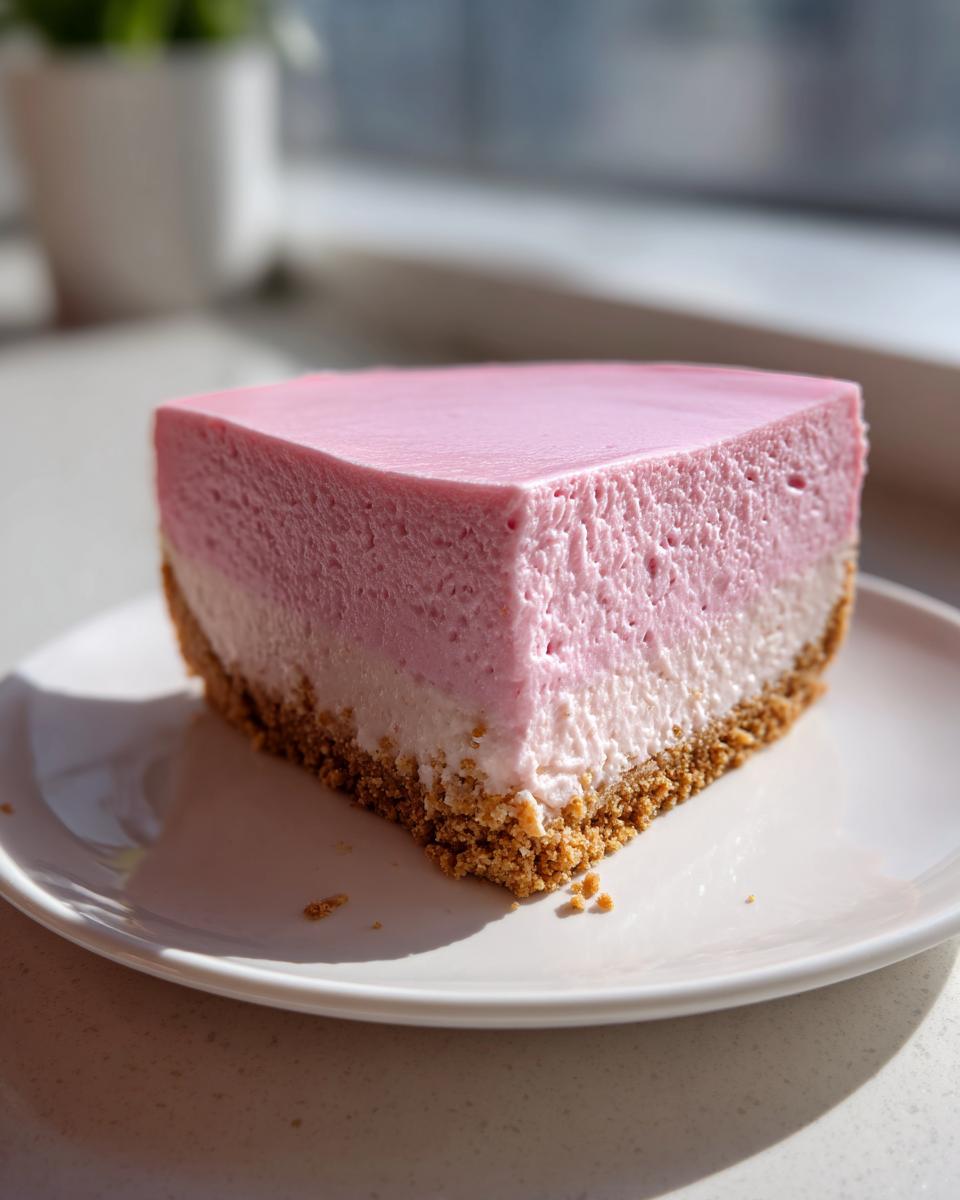
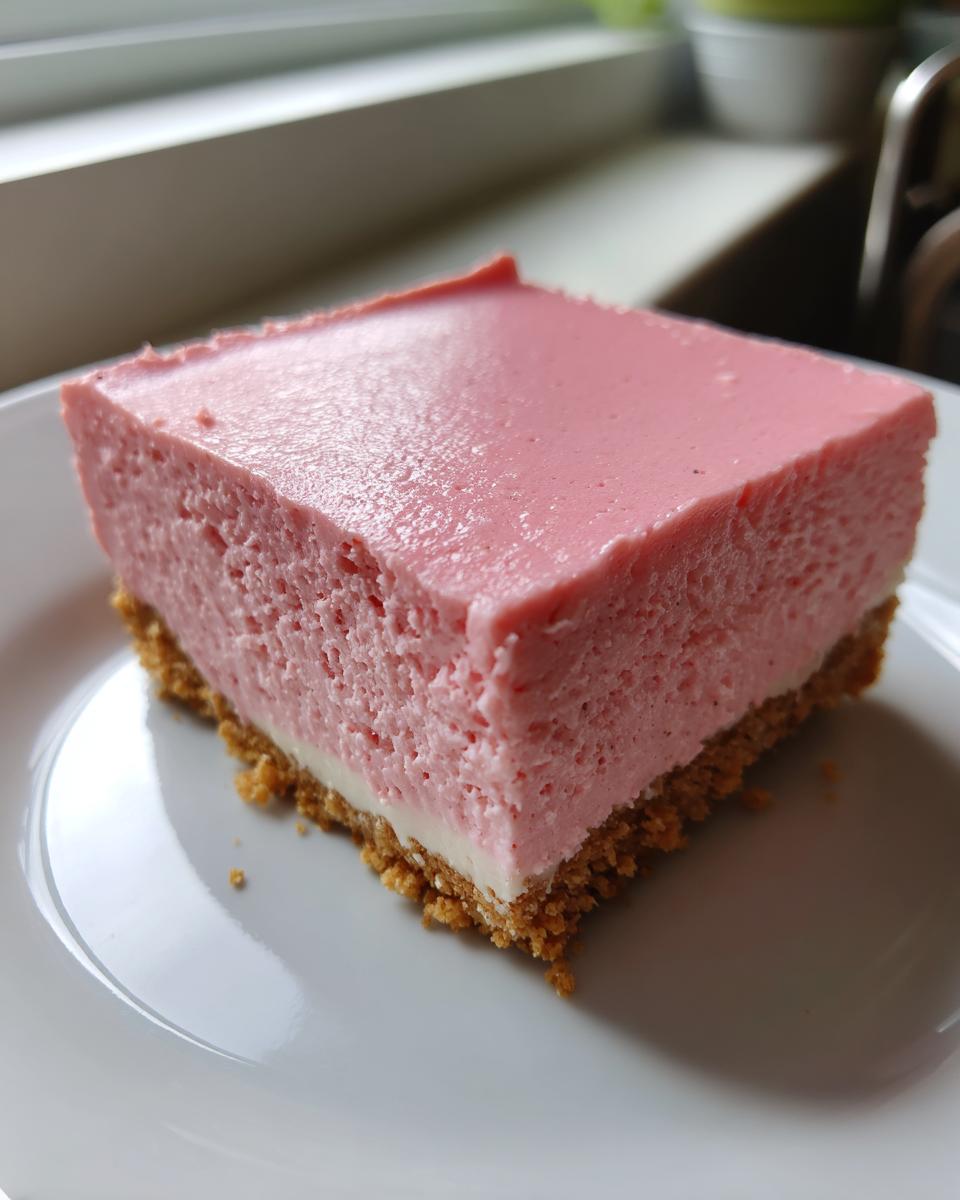
Okay, now that our crust has cooled down and we’re ready for the creamy center! This step is where we develop the structure for the ideal **pink birthday cheesecake slice**. Start by beating your softened cream cheese with the sugar until it’s perfectly smooth. We want zero lumps lingering around here!
Next up is the egg and vanilla. This is where you need to slow down—and I mean *really* slow down. Beat them in only until they are *just* combined. If you overmix once the egg is in, you introduce too much air, and that’s when cracks appear, making those neat slices a nightmare!
Now for the color magic! Gently fold in your strained raspberry puree. Don’t whisk it; fold it with a spatula so you keep the air you barely managed to incorporate. If you want that bright, beautiful hue—the kind that screams ‘birthday’—just drop in those two tiny drops of pink food coloring now. Mix until the entire batter is a uniform, lovely pink. If you want to see how I handle fruit purees in other desserts, check out my tips on white chocolate raspberry cookies!
Baking Technique: Achieving the Best Pink Birthday Cheesecake Slice
Here’s the step that truly separates a good cheesecake from a stunning, sliceable one: the water bath, or *bain-marie*. I know it sounds fancy, but trust me, it’s the secret weapon to keep this **pink birthday cheesecake slice** from cracking!
You need to place your cheesecake pan inside a larger roasting pan. Carefully pour hot water—not boiling, but hot tap water is fine—into that outer pan until the water reaches about halfway up the sides of your cheesecake pan. Why? The steam keeps the oven environment moist. This gentle, even heat cooks the custard slowly, preventing the edges from setting too fast while the center is still raw. That’s what causes ugly cracks!
Bake it for 30 to 35 minutes. You are looking for the edges to be firm and set, but when you give the pan a tiny, gentle nudge, the very center should still have a slight wobble—like Jell-O. If it’s totally still, you’ve baked it too long! Take it out of the oven, carefully lift the cheesecake pan out of the water bath right away, and let it start cooling on a wire rack. Patience here means a perfect slice ready for the party.
Chilling and Cooling: Keys to The Perfect Cheesecake Slice
Alright, you’ve successfully baked this beautiful pink creation, but I have to tell you something: this is where most people mess up their chances at getting that flawless slice. You absolutely cannot rush this cooling process. It feels like forever when you’re excited for a birthday treat, but trust me on this—temperature control is everything for structure.
First, let it cool down slowly on the counter for about an hour after you take it out of that lovely water bath. You want it warm but definitely not hot when it heads into the fridge. Cover the pan loosely and move it into the refrigerator. We need this cheesecake to firm up completely, and that takes time!
If you slice it after just three or four hours, you’re going to get a soft, messy edge. I insist you chill this for a minimum of six hours, but honestly, overnight is the magic ticket. When it’s fully chilled—really, truly cold—the cream cheese mixture locks into place, making it firm enough to slice beautifully. This deep chill is what gives you confidence heading into the final cutting stage. If you’re interested in timing tips for other desserts that need a good set, check out my tips for no-bake granola bars, as setting time matters in those too!
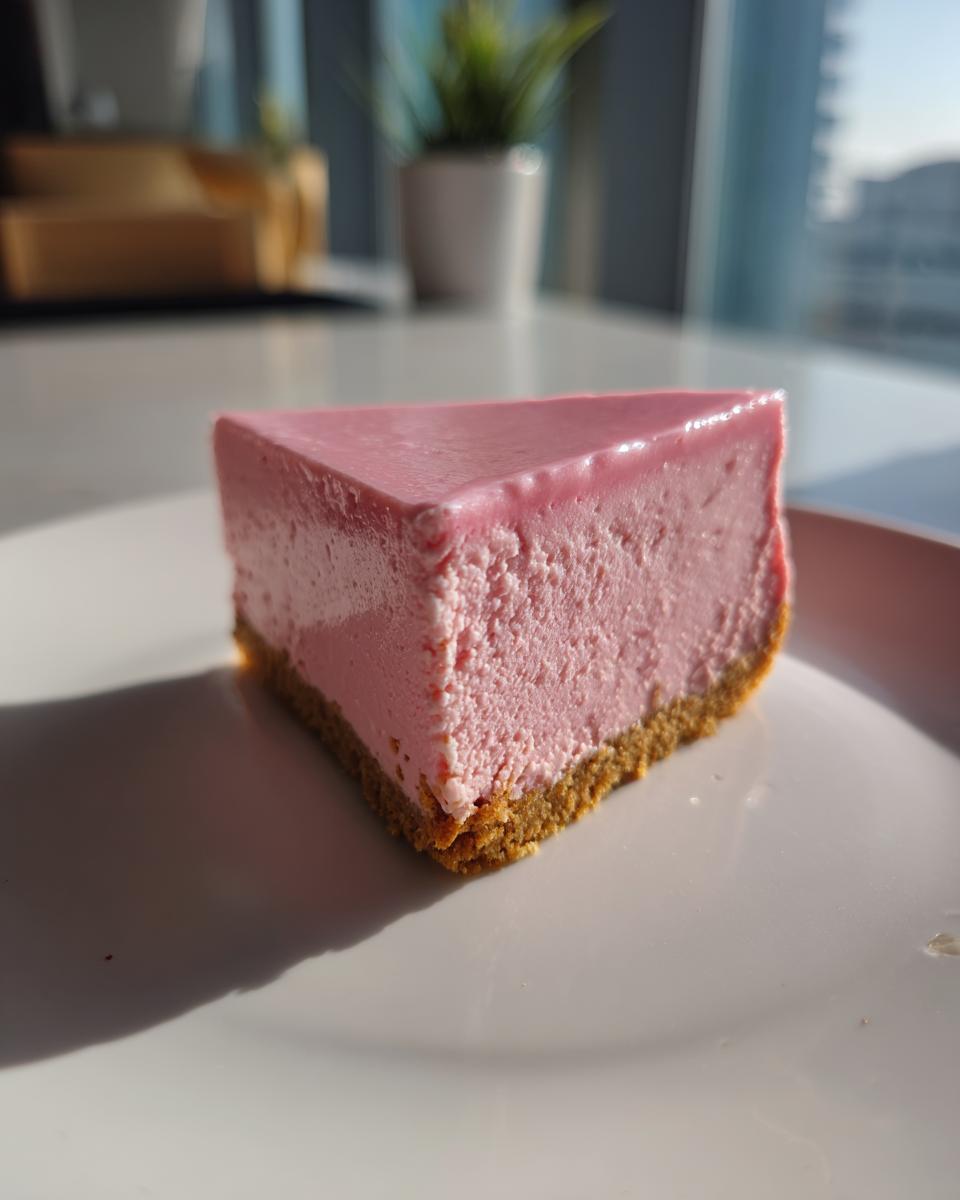
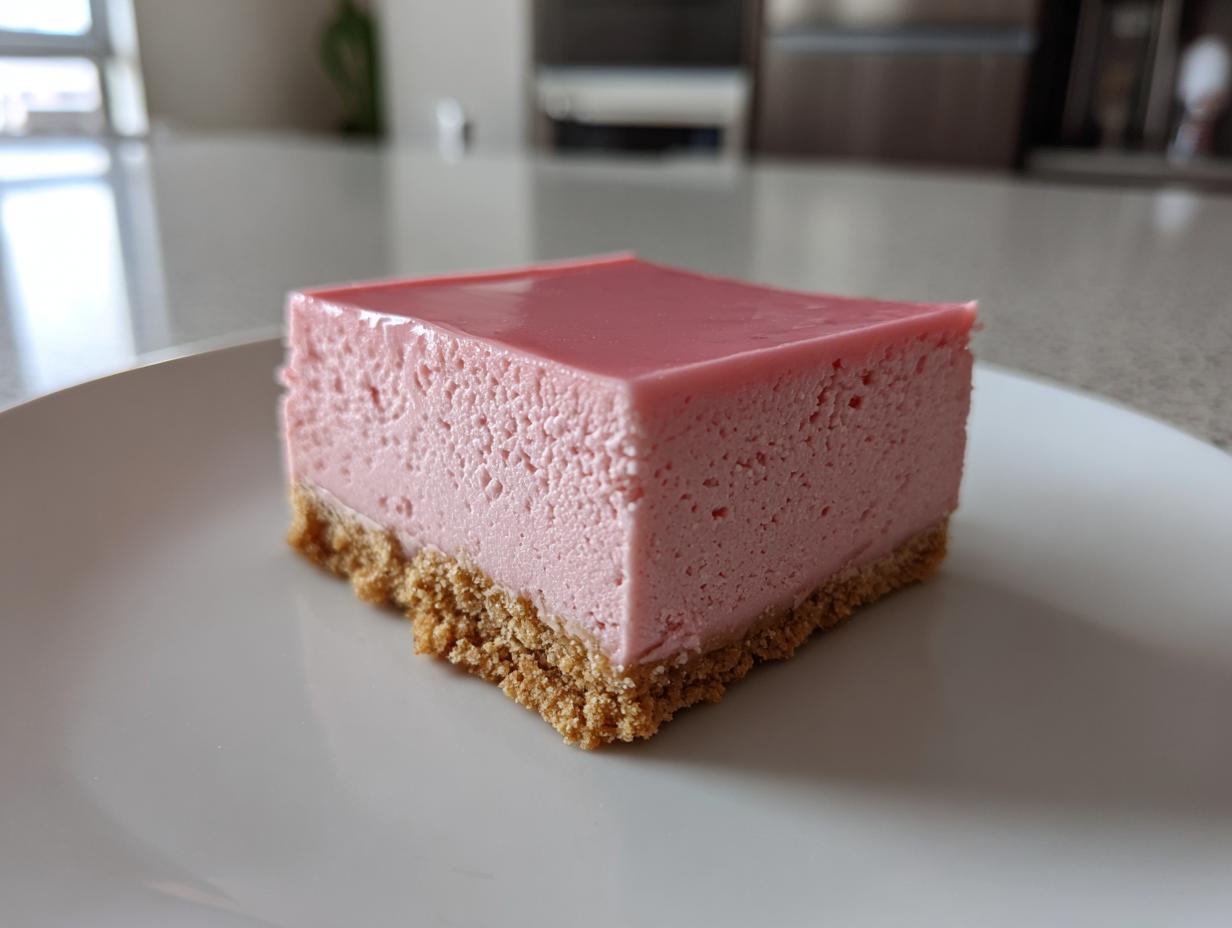
Mastering How to Cut Flawless Cheesecake Presentation
We have reached the moment of truth! After all that patient baking and chilling, we need to ensure every portion looks like a genuine **Birthday Dessert Slices** masterpiece. Forget those messy, pulled-apart edges you sometimes see. We are going for clean lines, and it’s all about the knife!
First, using that parchment overhang we created? Gently lift the entire cheesecake out of the pan and place it on a sturdy cutting board. This gives you working room and keeps the sides pristine. Now, grab your sharpest, thinnest knife. Heat a tall glass of water until it’s steaming hot. Dip the knife completely into the water for about ten seconds, then pull it out and immediately wipe the blade completely dry with a clean towel. That hot, clean blade is your secret weapon!
Press the knife straight down firmly to cut your first line—don’t saw it back and forth! Repeat the dip, wipe, and cut process for every single slice you make. This technique, helping you achieve **The Perfect Cheesecake Slice**, ensures the creamy filling melts slightly against the hot blade, pulling away cleanly every time. Wipe that knife after every cut, and I promise your final presentation will wow everyone!
Tips for Next-Level Pink Cheesecake Recipe Variations
Even though this recipe nails the essential **pink birthday cheesecake slice**, I always encourage everyone to tweak things to make it totally *your* own. Personalizing your bakes is what home cooking is all about! If you feel like the color isn’t quite hitting that vibrant party aesthetic, don’t just rely on the drops of coloring; try reducing your raspberry puree slightly and concentrating it on the stovetop until it’s thick before adding it in. That gives you intense fruit flavor and a deep natural pink!
If you’re in a huge rush, remember that little note I added? You can absolutely make this a no-bake version! Skip the egg and oven time entirely. Instead, whip that heavy cream to stiff peaks and gently fold it into your cream cheese mixture along with the puree. That variation works great if you prefer **Individual Cheesecake Servings** made as chilled bars rather than a baked square. For more unique ideas on how to transform a classic, you should really look at my German Chocolate Cheesecake experiment sometime!
Serving Suggestions for Your Birthday Dessert Slices
Once you have those perfect **pink birthday cheesecake slices** cut, presentation is the final flourish! Since the base flavor is raspberry, we want toppings that complement, not overpower. For the absolute best **Best Pink Cheesecake Toppings**, keep it simple. A few fresh raspberries dusted lightly with powdered sugar look incredibly elegant.
If you’re serving these after a big meal, they pair beautifully with a freshly brewed coffee or something light, like a sparkling iced tea. I even have a recipe for a wonderful coffee smoothie if you want something a bit colder but still rich. Trust me, these slices shine all on their own!
Frequently Asked Questions About Cream Cheese Dessert Slices
You’ve nailed the recipe, but maybe you have one last question buzzing around? That’s totally normal! I’ve gathered the most common things folks ask once they get to the finishing touches on these beautiful **cream cheese dessert slices**.
Can I make this recipe ahead of time?
Absolutely, and I encourage it! Just like most great cheesecakes, these get better with time. If you are planning on making **Individual Cheesecake Servings** for a party, bake them completely, let them cool on the counter, and then cover them tightly in the fridge. They hold up perfectly for three to four days. Wait until you are ready to serve before you cut them, though—that’s how you keep those edges looking sharp!
What if I want a brighter, more intense pink color?
That vibrant color we love for birthdays can sometimes be tricky. If you’re trying to avoid extra food coloring, you need to concentrate your natural fruit! Try simmering your strained puree gently on the stove for about five to ten minutes until it reduces by about a third. This concentrates the fruit flavor and the pigments. If you want that bold, almost neon pink often seen in **No Bake Pink Cheesecake Bars**, a single drop or two of gel food coloring mixed in right at the end is the easiest way to get there without affecting texture.
Can I substitute the raspberry puree?
Yes, that substitution is a breeze! If you don’t have raspberries on hand or if you just prefer another fruit, go for it. Strawberry puree works wonderfully and gives a beautiful light pink color. Cherry puree is another fantastic choice, though it might lean a bit redder. The key is making sure whatever fruit you use is strained well so you aren’t adding seeds or too much extra liquid to the batter. You can check out some of my meal prep tricks for keeping things efficient over at my guide to easy lunch meal prep!
PrintPerfect Pink Birthday Cheesecake Slices (Small Batch Recipe)
Create beautiful, individual pink cheesecake slices perfect for a birthday celebration. This recipe yields a small batch, focusing on achieving a flawless slice presentation.
- Prep Time: 20 min
- Cook Time: 35 min
- Total Time: 7 hours 55 min
- Yield: 8 servings 1x
- Category: Dessert
- Method: Baking
- Cuisine: American
- Diet: Vegetarian
Ingredients
- 1 cup graham cracker crumbs
- 3 tablespoons melted unsalted butter
- 8 ounces cream cheese, softened
- 1/4 cup granulated sugar
- 1 large egg
- 1 teaspoon vanilla extract
- 1/4 cup raspberry puree (strained)
- 2 drops pink food coloring (optional, for bright color)
- 1 tablespoon heavy cream
Instructions
- Preheat your oven to 325°F (160°C). Line an 8×8 inch baking pan with parchment paper, leaving an overhang for easy removal.
- Combine graham cracker crumbs and melted butter. Press firmly into the bottom of the prepared pan to form the crust. Bake for 8 minutes. Let cool.
- In a medium bowl, beat the softened cream cheese and sugar until smooth.
- Beat in the egg and vanilla extract until just combined. Do not overmix.
- Gently fold in the raspberry puree and pink food coloring until the batter is uniformly pink.
- Pour the cheesecake batter over the cooled crust.
- Place the baking pan in a larger roasting pan. Carefully pour hot water into the roasting pan until it reaches halfway up the sides of the cheesecake pan (water bath).
- Bake for 30 to 35 minutes, or until the edges are set but the center still has a slight wobble.
- Remove the cheesecake from the water bath and let it cool on a wire rack for 1 hour.
- Cover the pan and chill in the refrigerator for at least 6 hours, or preferably overnight.
- Use the parchment overhang to lift the entire cheesecake out of the pan. Place it on a cutting board.
- Dip a sharp, thin knife into hot water and wipe it dry before each cut to achieve a flawless cheesecake slice. Cut into 6 or 8 equal squares or wedges.
Notes
- For the best slice appearance, chill the cheesecake completely before cutting. Wipe your knife clean and hot between every cut.
- Top your pink birthday cheesecake slices with fresh raspberries or a light dusting of powdered sugar before serving.
- If you prefer a no-bake version, use 1/2 cup heavy cream whipped to stiff peaks and fold it in instead of using an egg and baking. Chill for 8 hours.
Nutrition
- Serving Size: 1 slice
- Calories: 280
- Sugar: 18
- Sodium: 150
- Fat: 18
- Saturated Fat: 11
- Unsaturated Fat: 7
- Trans Fat: 0
- Carbohydrates: 25
- Fiber: 1
- Protein: 5
- Cholesterol: 55