
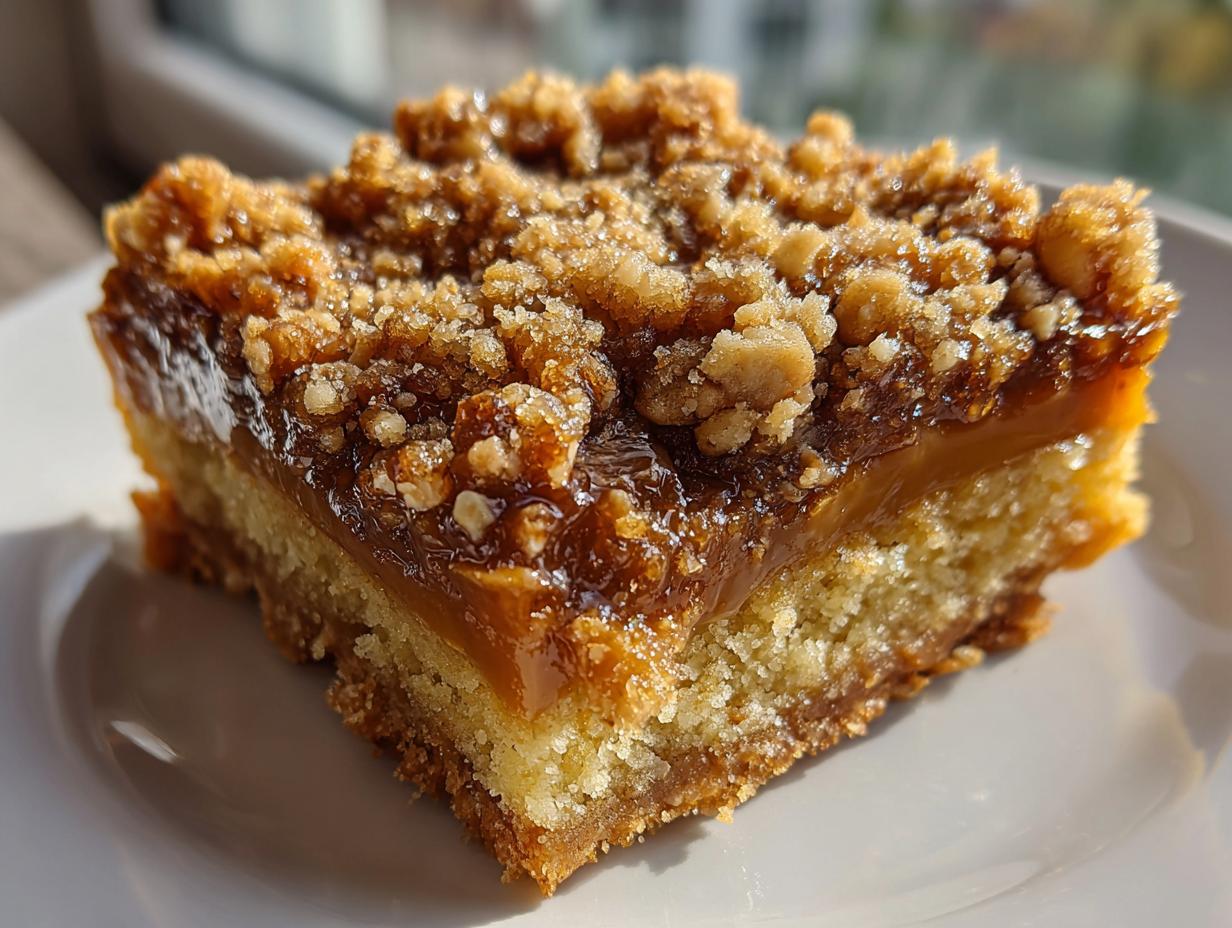
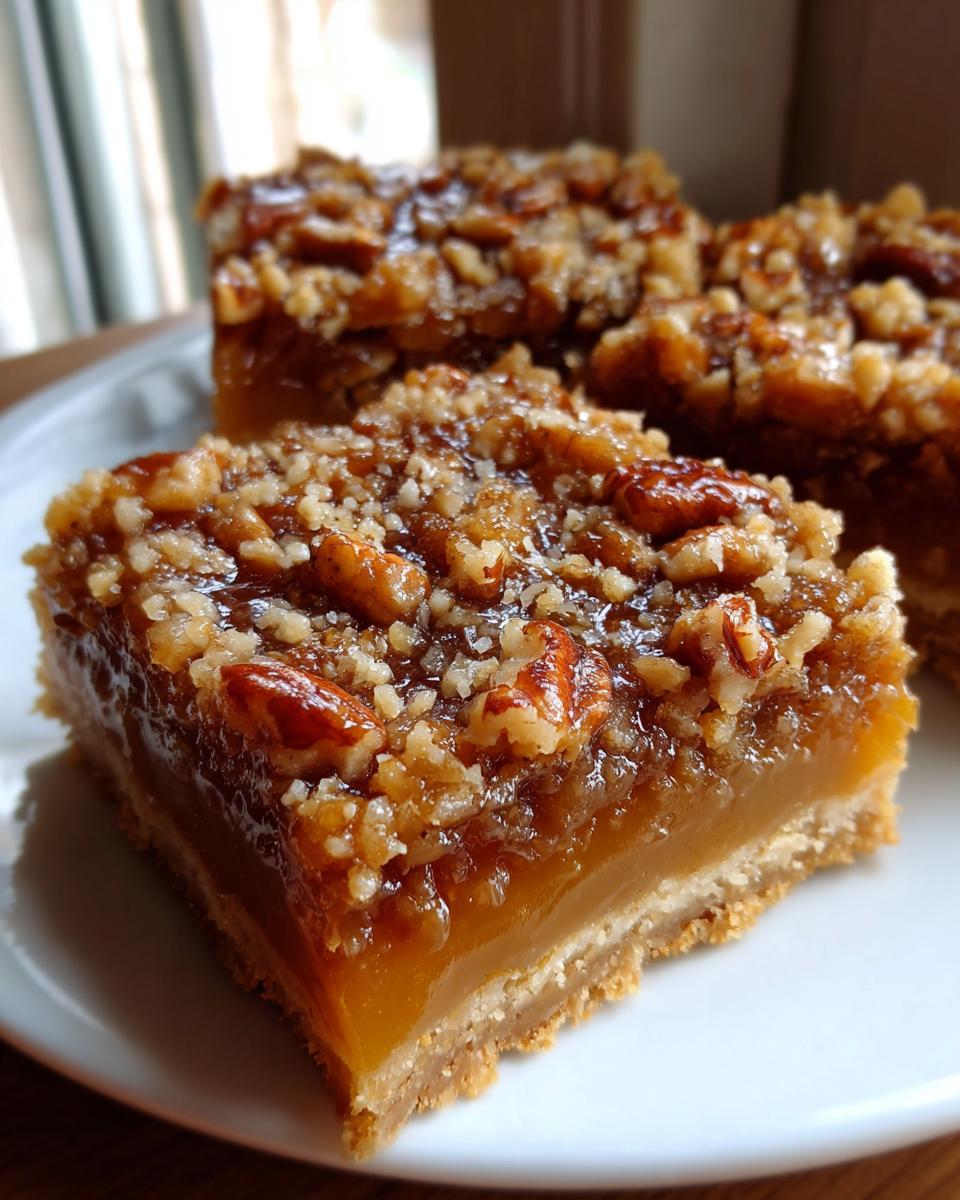
If you haven’t baked authentic carmelitas yet, you are honestly missing out on one of the world’s great under-the-radar desserts. These aren’t just thick, sweet pecan bars; they are layered perfection—a buttery, flaky base meeting that rich, gooey caramel center. When I first tried developing this recipe, I wanted to honor the heritage I experienced growing up. Trust me when I say this recipe for traditional Mexican carmelitas nails that beautiful play between textures. We’ve tested and retested this to make sure it sings of authenticity and works perfectly in your home kitchen. If you’re looking for incredible layered sweets, you should also check out some of my other favorite simple and delicious desserts!
- Why This is the Best Carmelitas Recipe You Will Make
- Gathering Ingredients for Traditional Carmelitas
- Step-by-Step Guide: How to Make Carmelitas Perfectly
- Tips for Success Making Carmelitas
- Storage and Reheating Instructions for Your Carmelitas
- Variations on Carmelitas (Caramel Pecan Bars Mexican Style)
- Serving Suggestions for Dulce de Leche Dessert Bars
- Frequently Asked Questions About Carmelitas
- Nutritional Estimate for Your Homemade Carmelitas
Why This is the Best Carmelitas Recipe You Will Make
When people search for the best carmelitas recipe, they are looking for that snap of the crust and the pull of the caramel—and this recipe delivers. I promise you, once you master this, you won’t look back. It’s the combination of texture that makes my heart sing!
- The crust is impossibly buttery and flaky, thanks to how we handle the butter right at the start.
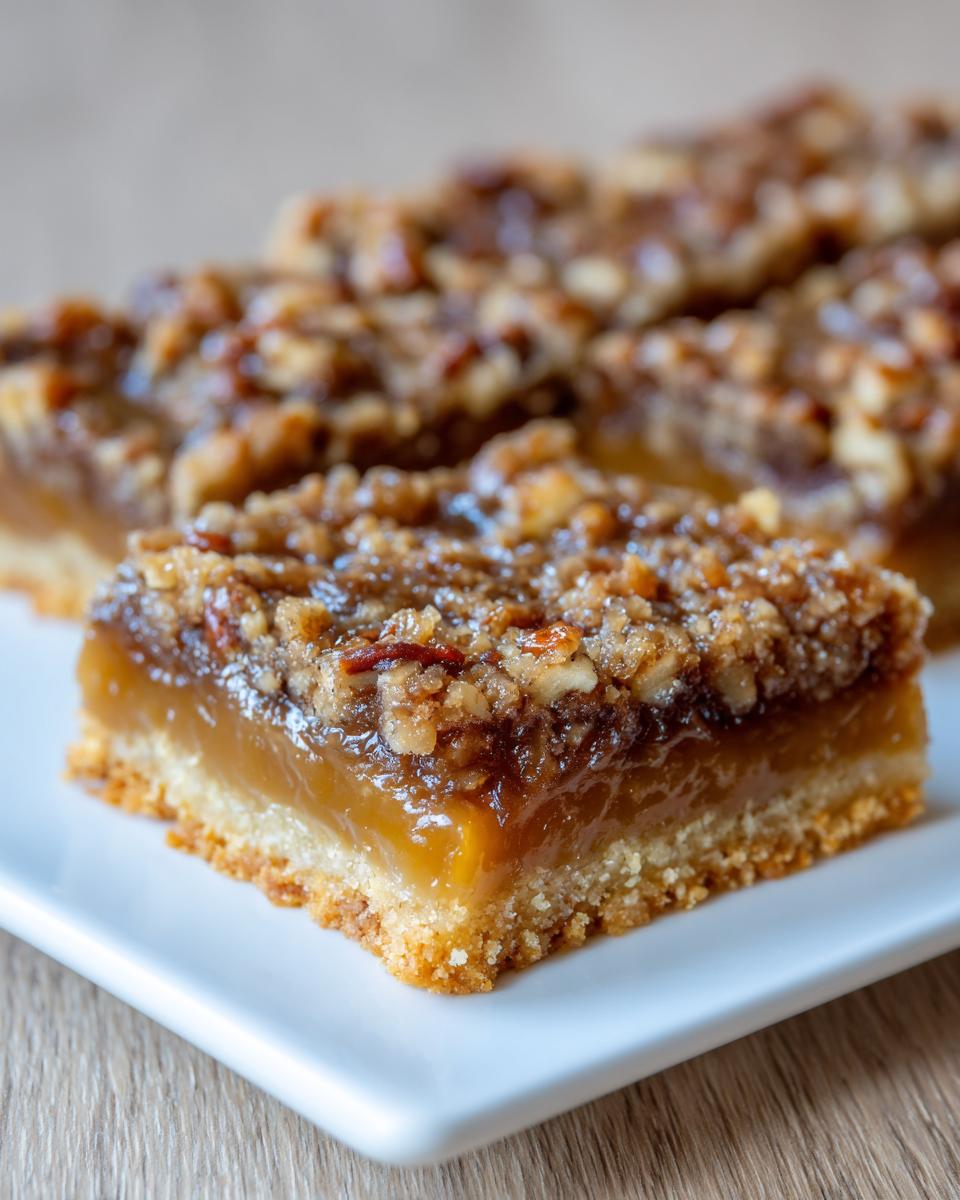
- That center layer is pure, decadent richness—no thin, runny caramel here!
- It holds the crunch of the pecans just perfectly against the sweet goo.
Authentic Carmelitas Dessert Profile
What sets these beautiful Mexican caramel bars recipe apart from your standard American pecan bar is definitely the layering structure. We use a partial bake on the dough base, then we load it up. We aren’t just mixing things in; we are building distinct, complementary textures. The base needs to be sturdy enough to hold that heavy, sweet topping, which is a hallmark of traditional Mexican sweets.
Gathering Ingredients for Traditional Carmelitas
Okay, don’t panic when you see the list—it looks simple, and that’s the beauty of authentic carmelitas dessert! We are using just a handful of items because we want the quality of each one to shine through. Remember, this is about perfecting foundational flavors, not complicated additions.
For the crust, you absolutely need one cup of unsalted butter, and it has to be softened—not melted, just beautifully soft so it can mix into that coarse sandy texture we’re aiming for. Then grab two cups of all-purpose flour, a half-cup of plain granulated sugar, and just a pinch, about a quarter teaspoon, of salt. We also need one large egg yolk for richness and a quarter cup of cold water to bring the dough together. Keep that water cold!
Now for the truly decadent part! You need one full 14-ounce can of dulce de leche. That’s the heart of these traditional Mexican sweet bars. For the topping, gather one full cup of chopped pecans, and a half cup of packed light brown sugar. That brown sugar is what gives the pecan layer that beautiful, slightly chewy edge when it bakes.
Ingredient Notes and Substitutions for Your Carmelitas
Let’s talk about the caramel, because this is where true authenticity comes in. If you are trying to make the best carmelitas recipe, look hard for *cajeta*. Cajeta is caramel made traditionally from goat’s milk, and it adds a layer of complexity that standard cow’s milk dulce de leche just can’t match. It’s richer and slightly tangier, honestly! If you can’t find it, don’t stress—a good quality store-bought dulce de leche will still give you amazing dulce de leche dessert bars.
Remember what I said about the butter? It must be softened. If your butter is coming straight from the fridge, you’ll end up with chunks instead of crumbs, and that ruins the flaky texture of the base dough. If you’re feeling adventurous and want to add a little kick to the crust, I sometimes sneak in a teaspoon of finely crushed walnuts along with the pecans—check out these tips on how to handle pecans before you bake!
Step-by-Step Guide: How to Make Carmelitas Perfectly
This is where the magic happens! Don’t rush the baking process, especially the cooling. We need structure here, folks. First thing, always—preheat your oven to 350 degrees F. Get that 9×13 inch baking pan lightly greased so we aren’t fighting the dough later. I always grab my big mixing bowl for the crust; we need room to work the butter in without turning it into play-dough.
Creating the Buttery Crust Dessert Bars Base
We need to cut that softened butter right into the flour, granulated sugar, and salt. Use a pastry blender or even your hands if you prefer, but you’re aiming for coarse crumbs—like gravel, not sand. Don’t overwork it! Once you mix in that egg yolk and the cold water, the dough will just barely come together. Stop mixing the second it forms a ball and immediately press about two-thirds of that dough evenly into your prepared pan. This forms the bottom layer for our delicious dessert! Get it in the oven for a quick 15 minutes until it just starts looking a little bit golden around the edges.
Layering the Caramel and Pecan Topping for Your Carmelitas
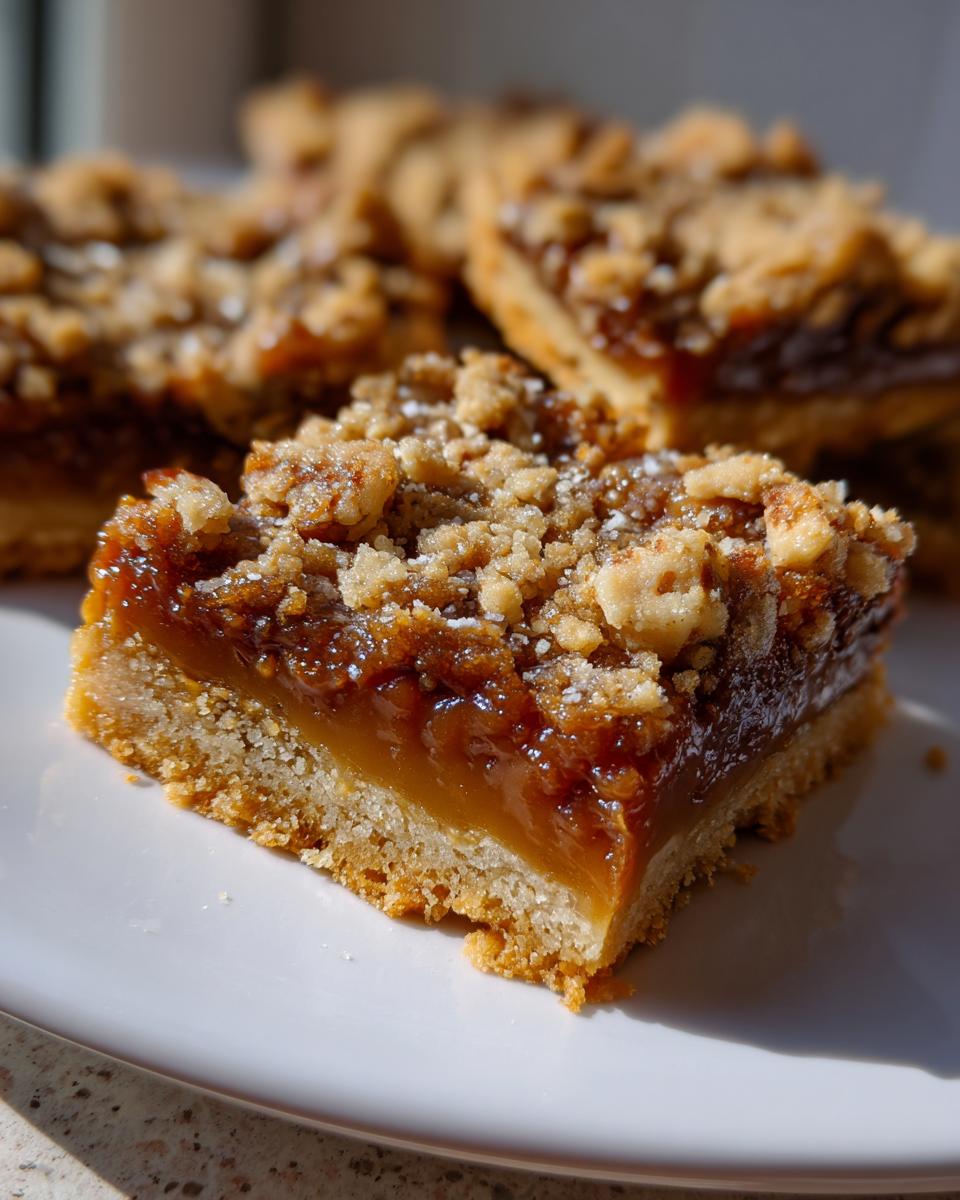
While that base is getting a head start, mix your chopped pecans with the brown sugar. Once you pull the crust out, spread that can of dulce de leche nice and smooth over the top—make sure you get into all the corners! Then, sprinkle that pecan and sugar mixture evenly over the caramel. Now, remember that reserved one-third of the dough? Don’t roll it out! Just crumble it right on top of the pecan layer. Pop it back into the oven for about 25 to 30 minutes. You’ll know it’s done when those caramel edges are bubbling happily and the top looks golden brown. Remember the golden rule: cool completely before you even *think* about cutting those beautiful squares!
Tips for Success Making Carmelitas
Making amazing carmelitas is all about having patience during two key stages: mixing and cooling. If you rush either one, you end up with a beautiful mess instead of perfect squares! As I learned when developing my other bar cookies, technique matters more than speed.
Let’s talk dough first. When you are cutting the butter into the flour for the crust, you want that crumbly, coarse texture—that’s what guarantees flakiness later. The second you add the liquid and the dough starts pulling together, you stop mixing. Seriously! Overmixing develops gluten, and gluten makes your shortbread-style crust tough instead of tender. We want tender, buttery goodness!
The single most important tip I can give you, which I stressed above but bears repeating, is about the cutting. You absolutely must let these bars cool down completely. I know you’ll be tempted; they smell heavenly coming out of the oven with that bubbly caramel—they really beg to be eaten warm. But if you cut them warm, the dulce de leche will ooze out everywhere, and you’ll end up with rustic spoonfuls instead of clean squares.
Give them at least two full hours at room temperature on the rack. If your kitchen is super warm, stick them in the fridge for thirty minutes just to set that caramel firmly before you go in with your sharpest knife. Patience truly does pay off with these caramel pecan bars Mexican style!
Storage and Reheating Instructions for Your Carmelitas
Okay, you’ve waited the two hours (good job!), you’ve got beautiful, clean squares of carmelitas—now how do we keep them perfect so you can enjoy them all week?
The main thing to remember with these traditional Mexican sweet bars is the caramel. Dulce de leche and cajeta both want to stay soft and luscious, and cold temperatures are the enemy of a lovely gooey texture. So, my standard advice is to treat them like a good shortbread cookie rather than a fudge.
Store them in a single layer, if you can, inside a truly airtight container. If you have to stack them, put a piece of parchment paper or wax paper between the layers. This prevents the sticky caramel from melding the tops and bottoms together into one big brick.
Keep them right there on your counter at room temperature. In a good airtight container, they stay remarkably fresh for at least four or five days. Honestly though, they rarely last that long in my house! If your house is incredibly hot and humid, you *can* put them in the fridge, but let them sit out on the counter for at least thirty minutes before serving. That little bit of warming up brings back the softness we worked so hard for in the baking process!
Variations on Carmelitas (Caramel Pecan Bars Mexican Style)
One thing I love about traditional recipes, especially when they are as foundational as these carmelitas, is that they whisper suggestions for twists! You don’t need to overhaul the recipe, but sometimes a tiny adjustment adds a new dimension without losing that authentic Mexican feel. These bars are so versatile.
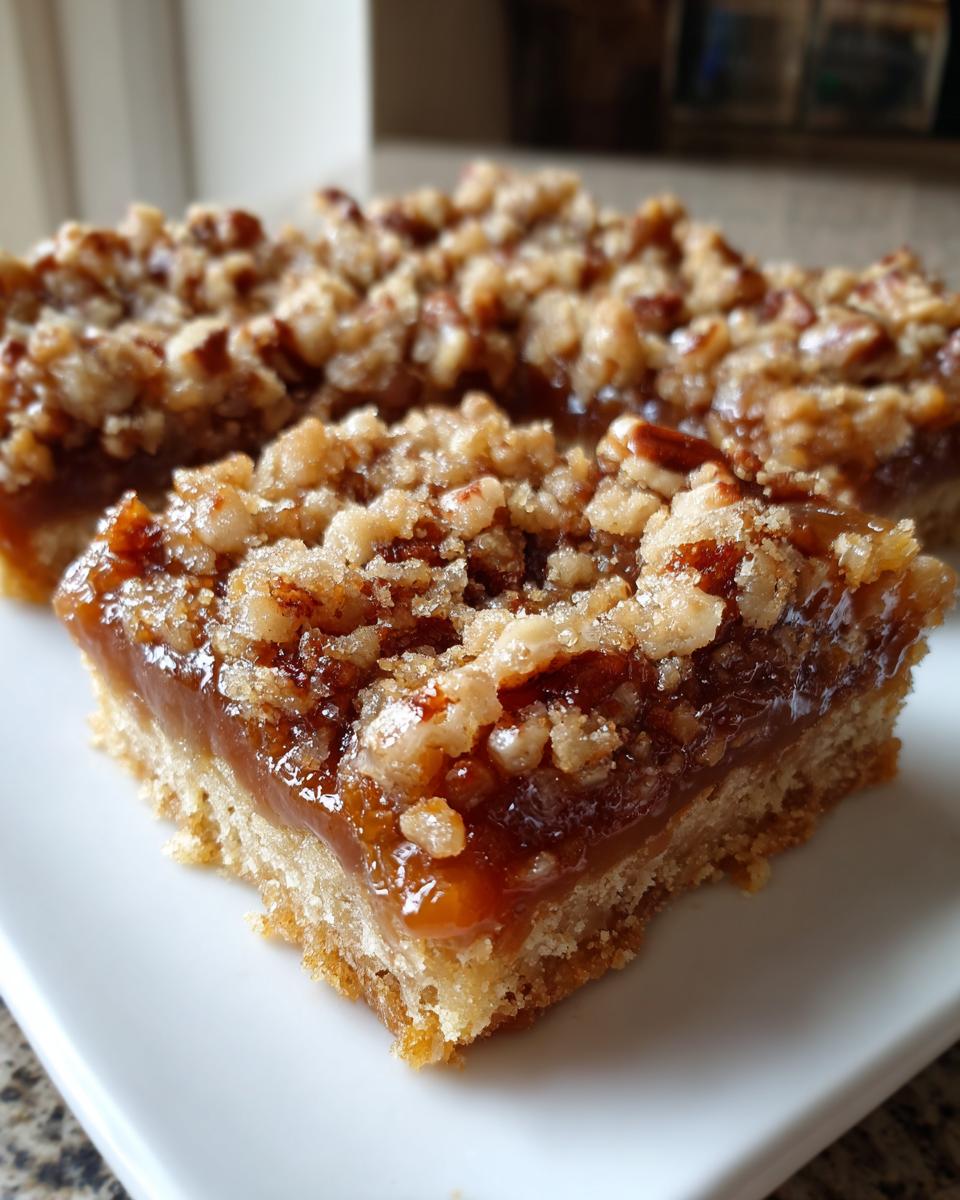
The most obvious place to play is with the nuts. Pecans are traditional for a reason—they bring that earthy, buttery crunch that complements the sugar perfectly. But if you’re out of pecans or just want something different, swapped them out! Walnuts are a fantastic stand-in for my family; they have a slightly sharper bite that cuts through the richness of the dulce de leche. You could even mix them—half pecans, half walnuts!
Another simple addition that I stumbled upon when I ran out of my usual spices is a bit of warmth in the crust. Since this base dough is so simple, it takes on other flavors beautifully. Try adding about a half teaspoon of ground cinnamon into your flour mixture when you are cutting in the butter. It doesn’t change the texture at all, but that spiced aroma when they bake up alongside the caramel is absolutely heavenly. It just enhances that cozy, home-baked feeling, similar to how a hint of spice elevates a good apple cake, like my moist apple dapple cake.
If you’re feeling bold and want to lean into the spice profile even more, you can mix a tiny pinch—just an eighth of a teaspoon—of ground cloves into your brown sugar and pecan topping. It warms up the caramel layer beautifully, making these feel extra special when you serve them during the holidays. Remember, these little changes keep you cooking with your heart, experimenting with what tastes good to *you*!
Serving Suggestions for Dulce de Leche Dessert Bars
We’ve worked hard to get these carmelitas baked perfectly—buttery crust, gooey center, crunchy top. Now, the final step is deciding how to serve them! These dulce de leche dessert bars are so rich and satisfying that they don’t really need much fuss, but I always feel like a great pairing elevates a treat from good to unforgettable.
Honestly, my favorite time to enjoy these is mid-afternoon. You know that moment when you need a little pick-me-up? A simple, small square of these bars with a cup of very strong, deep-roasted coffee is just unbeatable. The bitterness of the coffee just cuts through the dense sweetness of the caramel perfectly. It’s a classic match for a reason!
If we are serving these after dinner, especially when we have family over, I always lean into that authentic Mexican flavor profile. You should absolutely try serving them alongside a mug of homemade Mexican hot chocolate. The spices in the chocolate—cinnamon and chili—play so wonderfully off the toasted pecans. You can find my tried-and-true recipe for that wonderful spicy warmth right here on the blog. It brings the whole experience together beautifully.
For those warmer evenings or if you just want to dress this up a bit for dessert company, a tiny scoop of good quality vanilla ice cream is fantastic. Serve the bar slightly warm (reheat it very gently in the microwave for about 10 seconds—just until the caramel softens but doesn’t melt out!), place the cold ice cream right on top, and watch the magic happen. The contrast between hot, cold, crunchy, and smooth is just divine. These caramel pecan bars Mexican style are truly versatile, whether you’re having a quiet moment alone or hosting a big gathering!
Frequently Asked Questions About Carmelitas
I know you’re eager to get baking, but sometimes it’s better to pause and ask a few quick questions before you dive in. I’ve gathered some of the things I always get asked about when people try my carmelitas for the first time. Most of these boil down to ingredient choices and technique, which is exactly what great home cooking is all about!
Can I use store-bought dulce de leche for these Mexican caramel bars recipe?
Yes, absolutely! Please don’t feel like you have to make your own dulce de leche from scratch before tackling this recipe—that’s a whole other day’s adventure! Store-bought versions are perfect for making this an achievable weeknight treat. But here’s my pro tip: check the consistency before you pour. If the caramel is super stiff right out of the can, it will tear up your crust when you try to spread it, which is never fun.
If it’s too thick, just pop that can (or the amount you need) into a small saucepan over very low heat, or even microwave it for about 15 seconds. You just want it warm enough to become easily spreadable, like a thick, rich frosting. This tiny step makes a huge difference when layering those beautiful dulce de leche dessert bars.
What is the best way to get clean cuts when slicing traditional Mexican sweet bars?
This is where patience truly becomes your secret ingredient! I can’t stress this enough: you have to let these bars cool completely—and I mean *completely* cool—before you try slicing them into squares. If you try cutting them when they are even slightly warm, that luscious caramel center, which is supposed to be gooey, turns into a sticky, pulling mess that ruins the shape of your easy caramel squares recipe.
I recommend leaving them in the 9×13 pan on the counter for at least two full hours after they come out of the oven. If you are in a hurry, pop them in the fridge unwrapped for about 30 minutes to firm up the caramel, but no longer than that, or the crust might get too hard. Use a large, sharp, non-serrated knife, and wipe the blade clean between every cut, especially if you’re making smaller pieces. That’s the secret handshake for getting beautiful slices for your next busy day prep!
Is cajeta really necessary for an authentic Carmelitas recipe?
Necessary? No. Highly recommended if you want that deep, resonant, traditional flavor? Yes! Cajeta, which is goat’s milk caramel, offers a depth—a little earthiness and a touch more complexity—that cow’s milk dulce de leche simply doesn’t have. If you find a jar of it, use it! It transforms the flavor profile, making these the most authentic carmelitas dessert you can make outside of a Mexican bakery.
But if you are sticking with the standard store-bought dulce de leche, don’t worry. The sweetness of the brown sugar and the crunch of the pecans still make this an incredible bar cookie. The overall structure of the buttery crust and the layering technique is what locks in the traditional feel of these Mexican pan dulce recipes, regardless of which caramel you select.
Nutritional Estimate for Your Homemade Carmelitas
Alright, let’s talk numbers. After all that rich butter, decadent caramel, and crunchy pecans, you probably know these aren’t exactly a light snack, but, hey! We’re talking about a traditional treat here, and every calorie is worth it when you hit that perfect bite of carmelitas.
This information is just a general guide based on the ingredients listed. Remember, if you substitute cajeta for the dulce de leche or use different types of nuts, these values will shift a bit. This estimate is based on yielding 24 squares following the recipe exactly. When baking, precision matters for nutrition just as much as for texture!
- Serving Size: 1 bar
- Calories: 250
- Fat: 15g
- Saturated Fat: 8g
- Carbohydrates: 28g
- Sugar: 20g
- Protein: 3g
- Cholesterol: 35mg
- Sodium: 60mg
I always remind folks, especially when making luscious layer dessert with caramel and pecans like this, that these are meant for savoring, not for daily consumption. Enjoy one with your coffee break. That 20 grams of sugar is what makes these traditional Mexican sweets so comforting and satisfying!
PrintAuthentic Carmelitas: Mexican Caramel Pecan Bars
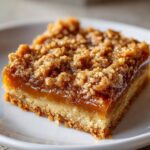
Make traditional Mexican Carmelitas, which feature a buttery, flaky crust, a rich dulce de leche center, and a crunchy pecan topping. This recipe delivers the best caramel squares recipe.
- Prep Time: 20 min
- Cook Time: 45 min
- Total Time: 65 min
- Yield: 24 servings 1x
- Category: Dessert
- Method: Baking
- Cuisine: Mexican
- Diet: Vegetarian
Ingredients
- 1 cup unsalted butter, softened
- 2 cups all-purpose flour
- 1/2 cup granulated sugar
- 1/4 teaspoon salt
- 1 large egg yolk
- 1/4 cup cold water
- 1 (14 ounce) can dulce de leche (or cajeta)
- 1 cup chopped pecans
- 1/2 cup packed light brown sugar
Instructions
- Preheat your oven to 350 degrees F. Lightly grease a 9×13 inch baking pan.
- Prepare the crust: In a large bowl, combine the softened butter, flour, granulated sugar, and salt. Use a pastry blender or your fingers to cut the butter into the dry ingredients until the mixture resembles coarse crumbs.
- Mix in the egg yolk and cold water until the dough just comes together. Do not overmix.
- Press two-thirds of the dough evenly into the bottom of the prepared baking pan to form the base. Reserve the remaining one-third of the dough.
- Bake the crust for 15 minutes until lightly golden. Remove from the oven.
- Prepare the filling: In a small bowl, mix the chopped pecans and brown sugar together.
- Spread the dulce de leche evenly over the partially baked crust.
- Sprinkle the pecan and brown sugar mixture over the caramel layer.
- Take the reserved one-third of the dough and crumble it evenly over the pecan layer.
- Return the pan to the oven and bake for an additional 25 to 30 minutes, or until the topping is golden brown and the caramel is bubbly.
- Let the bars cool completely in the pan on a wire rack before cutting into squares. This step is important for clean cuts.
Notes
- For an authentic flavor, use cajeta (goat’s milk caramel) instead of standard dulce de leche if you can find it.
- If your dulce de leche is very thick, warm it slightly before spreading it over the crust to make the layer even.
- Allow the bars to cool for at least 2 hours before slicing to get neat squares.
Nutrition
- Serving Size: 1 bar
- Calories: 250
- Sugar: 20
- Sodium: 60
- Fat: 15
- Saturated Fat: 8
- Unsaturated Fat: 7
- Trans Fat: 0
- Carbohydrates: 28
- Fiber: 1
- Protein: 3
- Cholesterol: 35