
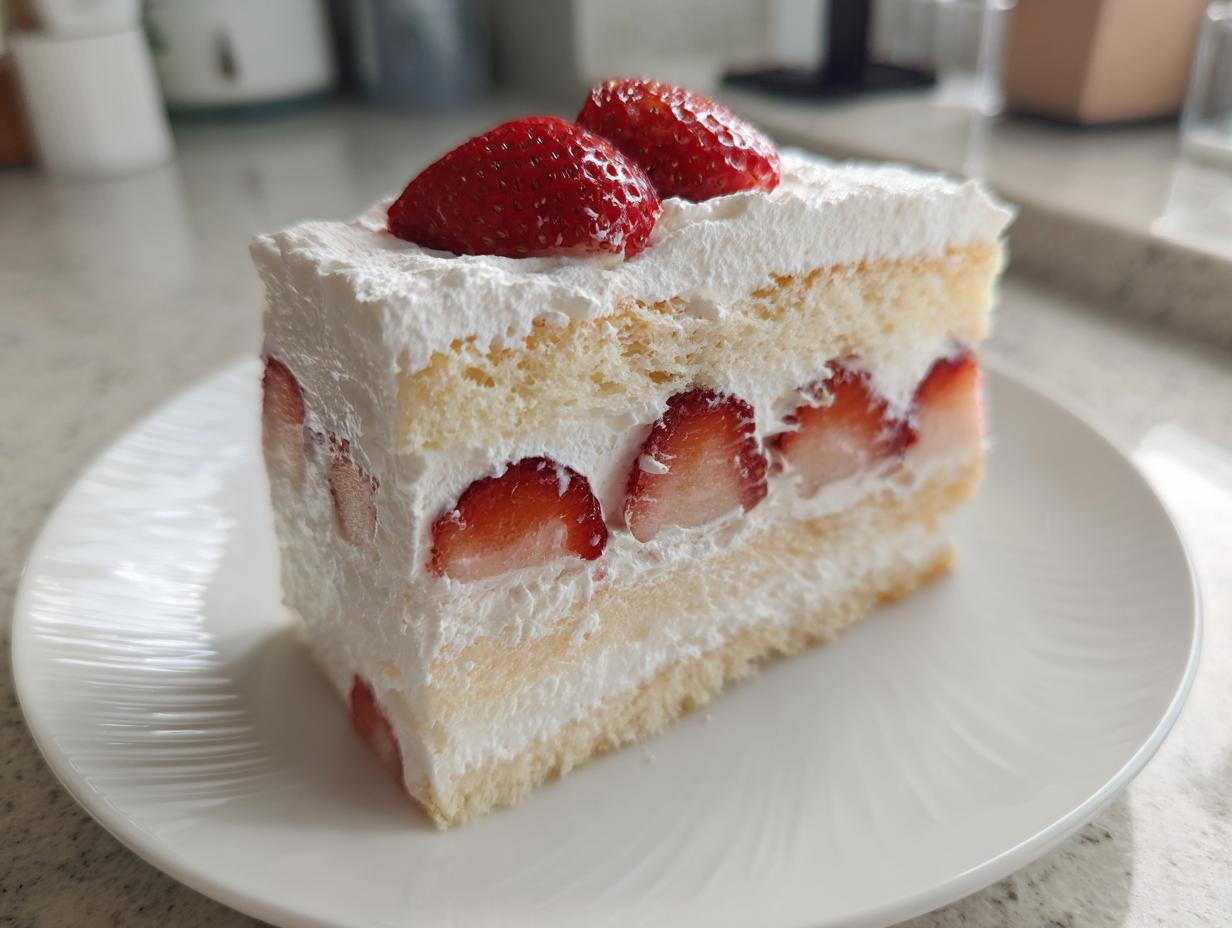
When I think of shortcake, most of us picture something hearty—a dense biscuit or a rich, buttery layer cake smothered in heavy frosting. But that’s just not how they do it in Japan. The **japanese strawberry shortcake**, or Ichigo Shortcake, is a whole different masterpiece. It’s about air, delicacy, and letting the perfect strawberry shine through without heavy distractions. I spent a lot of time tracking down the exact techniques used in those famous Asian bakeries, and trust me, achieving that almost cloud-like sponge takes precision.
My whole philosophy here at Julia Meal centers on bringing expert technique into your home kitchen, and this cake tests that perfectly. We need to nail the genoise sponge, which is the true backbone of this dessert. If you follow the steps, you’re going to create the lightest, softest cake you’ve ever baked. We’ll get you there, I promise. You can learn more about my journey in the kitchen over at our story page.
- Why the Authentic Japanese Strawberry Shortcake Stands Apart
- Gathering Ingredients for Your Japanese Strawberry Shortcake
- How to Make Fluffy Japanese Sponge Cake for Your Japanese Strawberry Shortcake
- Preparing the Syrup and Simple Fresh Cream Cake Components
- Assembling Your Homemade Japanese Shortcake
- Tips for Success with Your Japanese Strawberry Shortcake Recipe
- Storage and Serving Suggestions for This Japanese Dessert Recipe
- Frequently Asked Questions About Making Japanese Strawberry Cake Recipe
- Sharing Your Homemade Japanese Shortcake Experience
Why the Authentic Japanese Strawberry Shortcake Stands Apart
The biggest difference between what we often call shortcake here and the authentic **japanese strawberry shortcake** is, frankly, density. You won’t find a crumbly biscuit or a dense butter cake holding up these strawberries. Instead, we use a genoise sponge. This cake is baked purely with air whipped into the eggs, relying on careful technique rather than chemical leaveners. It’s an entirely different eating experience—it practically melts!
And the frosting? Forget heavy buttercream. Japanese bakers use fresh heavy cream whipped just enough to hold its shape. It’s barely sweet, which lets the natural flavor of the fruit truly burst through.
The Secret to Fluffy Japanese Sponge Cake Texture
To get that famous airy lift, you absolutely must focus on temperature control when you begin whipping your eggs and sugar. We warm them slightly over that double boiler first. This helps the eggs incorporate much more air than they would cold. When you beat them long enough, you hit that glorious ribbon stage, which is the foundation for that perfect **Fluffy Japanese sponge cake** texture. Don’t rush this part; it’s where the magic happens!
Light and Airy Cake Recipe: Mastering the Cream
The cream has to be your supporting actor here, never the star stealing the show from the strawberries. We use high-fat heavy cream, usually chilled overnight, and we use far less sugar than you might think. This results in a **Light and airy cake recipe** component that complements the tartness of the fruit so beautifully. Over-whipping it is the quickest way to ruin the effect, so watch those peaks closely!
Gathering Ingredients for Your Japanese Strawberry Shortcake
Okay, time to get our mise en place looking sharp! Because this cake is so simple, the quality of every single item matters. You need four large eggs at room temperature for the genoise to whip properly, and make sure you sift that cake flour twice—we want zero clumps. Don’t forget the minimal sugar for the cream; we aren’t making an American buttercream here!
For assembly, you’ll need about 400g of really sweet, fresh strawberries, hulled and sliced up, ready to layer between that airy sponge and the light cream we’ll whip up in a moment.
Ingredient Notes and Substitutions
Let’s talk about those strawberries. Seriously, this is the star! If your strawberries aren’t perfectly ripe and sweet right now, hold off. They are non-negotiable for an authentic result. For the cream, you absolutely must use heavy whipping cream with at least 35% fat. If you can’t find that, there’s really no good substitute for this specific texture—skip the stabilizers and just don’t over-whip the standard heavy cream you can find.
How to Make Fluffy Japanese Sponge Cake for Your Japanese Strawberry Shortcake
This is where anyone can get nervous, but honestly, just trust the process! We are creating lift purely with eggs, so precision matters here more than anywhere else in the **japanese strawberry shortcake**. First, get your 18cm pan ready—line the bottom with parchment, but leave the sides ungreased so the batter can climb as it bakes. Preheat to 170°C (340°F).
Now for the crucial warming step. Set your bowl over simmering water—you’re heating the eggs and sugar until it just feels warm to the touch, about 105°F. Then, pull it off the heat and beat it like crazy! I mean it, 8 to 10 minutes on high speed! You are looking for that super thick, pale yellow ribbon stage where the batter falls off the whisk in a wide, slow stream. This volume traps all the air we need for that incredibly **softest sponge cake for layering**. Taking care with this whipping step mirrors the patience needed when making doughs like our Japanese Milk Bread!
Once you fold in your sifted cake flour—do it gently in batches—the structure is set. Then, you have to lighten the melted butter mixture by first folding some of the batter into it before adding it back to the main bowl. This simple trick keeps the air you just worked so hard to create from collapsing when the heavier fat goes in. Don’t forget to brush the completely cooled cake with that light syrup before frosting!
Techniques for How to Make Genoise Sponge
The folding part is non-negotiable for the success of **How to make genoise sponge**. When incorporating the flour, use a spatula and cut down the middle, sweeping up the side of the bowl. Don’t stir or whisk; we are just *folding* the flour in until it disappears. Because we are adding melted butter separately, we have to temper it first. Take about a third of your whipped batter and fold that right into the cooled butter and milk. This lightens the butter mixture so it doesn’t smash the rest of your beautiful, foamy batter when you combine them. Work quickly but lightly, and you’ll have that signature airy texture!
Preparing the Syrup and Simple Fresh Cream Cake Components
Now that our airy sponge for the **japanese strawberry shortcake** is cooling, we turn to our supporting cast! The syrup is incredibly simple—just sugar, water, and a squeeze of lemon heated until clear. This keeps the cake layers wonderfully moist. For your **Simple fresh cream cake** filling, you have to chill your bowl and whisk attachment—seriously, cold equipment ensures beautiful, stable peaks.
Whip that heavy cream with just powder sugar and vanilla until you hit stiff peaks. Remember, we want light, not rock-hard swirls! If you’re interested in playing with other frostings sometime, you can check out my go-to vanilla buttercream recipe, but for this, light cream is essential.
Assembling Your Homemade Japanese Shortcake
The sponge is cool, the cream is stiff, and the strawberries are sliced—it’s time for the grand finale! Assembling your **japanese strawberry shortcake** is like putting together a delicate jewel box. First, slice your cooled cake layer evenly. I usually get two or three layers, depending on how tall I want this beauty to be. Place that first layer on your serving plate, and you must baste it generously with that simple syrup we made.
Next comes the cream—spread a nice, even blanket over that layer, and then fit your sliced strawberries snugly over the cream. Repeat this process for your second layer. Once all your layers are stacked, don’t try to make the final coat look perfect right away! Instead, put on a very thin layer of cream—that’s your crumb coat. Chill the whole thing for about 15 minutes. Trust me, this step saves you so much frustration later!
Layer Cake Techniques for Perfect Presentation
For that picture-perfect finish, make sure you slice your cake layers using a long, gentle sawing motion rather than pressing down hard. We want to keep all that gorgeous air inside! When you are ready for the final coat, use an offset spatula, and work quickly, as the cold cream doesn’t want to smear against the cold cake perfectly right away. For more advanced tips on smoothing things out on tall cakes, check out some neat layer cake techniques. A simple swirl on top with a few beautiful whole strawberries is all this cake needs to look absolutely stunning.
Tips for Success with Your Japanese Strawberry Shortcake Recipe
Look, making a genuine **japanese strawberry shortcake** comes down to trusting the science of the sponge and being gentle. I’ve learned the hard way what not to do, so here are the few non-negotiables that guarantee that feather-light texture we are aiming for.
First, temperature accuracy in the oven is huge. Because the genoise has so much air, if your oven temp isn’t exactly right, it struggles to set before it collapses. Don’t rely only on the dial; I always use a separate oven thermometer to make sure it’s truly holding that 340°F mark. A few degrees too hot, and you’ll end up with a dry crust.
Second, and this is critical for the cream: Stop before you think you should! When whipping that fresh cream, you want soft, defined peaks. If you keep going until it looks rock solid, it won’t blend beautifully with the sponge later, and it tastes heavy. The goal is light and billowy, not pipeable-border-on-butter texture.
Finally, once you start folding in that flour, treat the batter like it’s a fragile secret. Use a large spatula, cut straight down through the center, and gently sweep up the side. We are trying to incorporate, not stir! Overmixing the flour will instantly activate the gluten and deflate all the precious air you worked ten minutes to build up. Be patient, use a light hand, and you’ll have the perfect cake every time.
Storage and Serving Suggestions for This Japanese Dessert Recipe
You’ve made the perfect **japanese strawberry shortcake**—now you want to make sure it stays perfect, right? Because this recipe relies on fresh, unsweetened whipped cream, it’s not a cake that likes to sit around at room temperature. You must store the finished cake, covered loosely with plastic wrap or a cake dome, immediately in the refrigerator. The chilling time is important, too. Don’t cut into it right away!
I always insist that you let the assembled cake chill for at least one hour before slicing. This gives the syrup time to fully soak in, and it lets the cream firm up just enough so it doesn’t squeeze out awkwardly when you slice it. The cake is actually at its peak flavor and texture on the day you make it, but it holds up just fine for about 24 hours in the fridge.
When it comes to serving, keep it simple, just like the Japanese approach. This dessert is light enough that it doesn’t need heavy sauces or accompaniments. It pairs beautifully with a simple, high-quality green tea—I actually love brewing up some rich roasted green tea when I make these Japanese dessert recipes because the savory nutty notes play wonderfully off the sweet strawberries. For a summertime treat, a glass of cold seltzer water with a thin slice of lemon is also divine. The entire point is letting that delicate sponge and fresh fruit be the focus!
Frequently Asked Questions About Making Japanese Strawberry Cake Recipe
I get so many messages after people try this cake for the first time, usually asking how to tweak things or troubleshoot a small issue. Making a **Japanese strawberry cake recipe** from scratch can feel a little intimidating because the sponge is so different. Don’t stress! Most issues are easy fixes once you know the trick. Here are the questions I hear the most when folks tackle this beloved dessert.
Can I use a different type of cake pan for this japanese strawberry shortcake?
Yes, you absolutely can, but you have to know how to adjust! The recipe is written for that 18cm (7-inch) round pan because that size lets the genoise bake evenly. If you use a wider pan, say a 9-inch, the batter will spread thin, and you’ll need to reduce your baking time drastically—probably down to 18-20 minutes. On the flip side, if you use a deeper pan, like a standard loaf pan, the heat takes forever to reach the middle. Expect to add at least 15 to 20 minutes to the bake time in that case, and remember to check the center often with a skewer for doneness.
How do I prevent the whipped cream from weeping or collapsing?
This is the classic fear with using fresh, lightly sweetened cream! If you want extra stability without making it heavy, here is my secret weapon: chill everything! Your bowl, your whisk attachment, and your heavy cream need to be ice-cold before you start. I literally stick my metal bowl in the freezer for 15 minutes beforehand. When you whip it, stop as soon as you hit stiff peaks. If you go past that point, the fat starts to separate from the liquid, and that separation is what causes weeping or collapsing later on. For an even firmer hold on a hot day, you can incorporate about 1/2 teaspoon of unflavored gelatin dissolved in a tablespoon of lemon juice into the cream *right* before it finishes whipping. It locks the moisture in magically without changing the flavour!
Sharing Your Homemade Japanese Shortcake Experience
Wow, you made it! You faced down the genoise sponge, you kept your hand light with the folding, and you brought a genuine piece of Japanese baking home. That’s a huge accomplishment, and honestly, I want to hear all about it! Food is meant to be shared, remembered, and talked about, and I love seeing what you all create in your kitchens.
Did your sponge turn out as light as air? Did you have trouble getting that ribbon stage for your **japanese strawberry shortcake**? Please, drop a comment below! Your feedback helps me know if the instructions made sense or if I need to add more detail for the next baker tackling this masterpiece.
And if you took a beautiful photo of your finished, cloud-like cake—I seriously want to see it! You can tag us on social media or send pictures through the contact page. Knowing that this incredibly delicate recipe worked for you makes all my testing worth it. Happy baking, and I can’t wait to chat about your results!
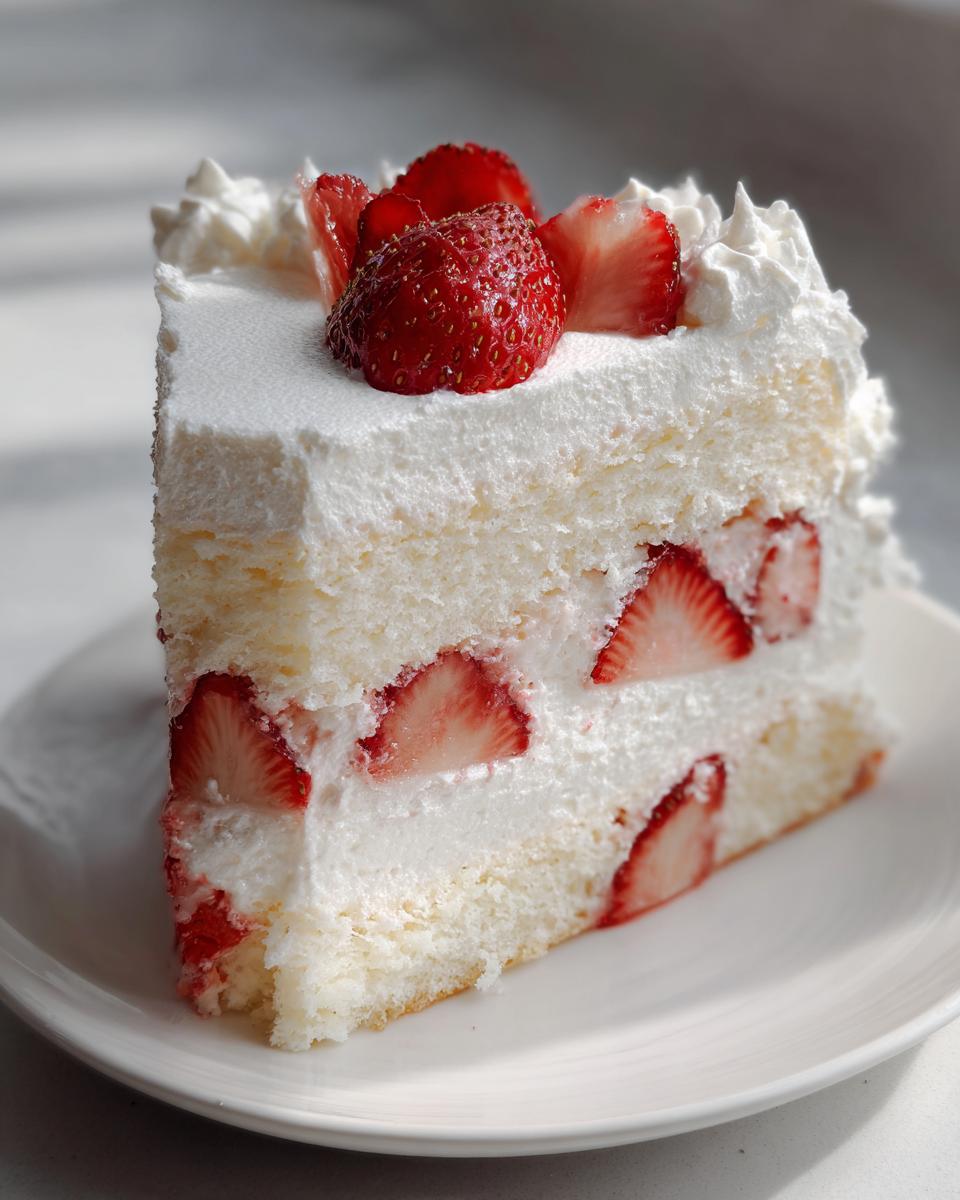
PrintAuthentic Japanese Strawberry Shortcake (Fluffy Genoise Sponge & Light Whipped Cream)

Make the classic Japanese Strawberry Shortcake, known for its incredibly light, airy genoise sponge cake, lightly sweetened fresh cream, and perfectly ripe strawberries. This recipe delivers the softest sponge cake texture popular in Asian bakeries.
- Prep Time: 45 min
- Cook Time: 30 min
- Total Time: 1 hour 45 min
- Yield: 8 servings 1x
- Category: Dessert
- Method: Baking
- Cuisine: Japanese
- Diet: Vegetarian
Ingredients
- For the Genoise Sponge Cake:
- 4 large eggs, room temperature
- 100g granulated sugar
- 100g cake flour, sifted
- 30g unsalted butter, melted and cooled slightly
- 1 tablespoon whole milk
- For the Syrup (Soak):
- 50ml water
- 25g granulated sugar
- 1 teaspoon lemon juice
- For the Whipped Cream Filling and Frosting:
- 500ml heavy whipping cream (at least 35% fat)
- 50g powdered sugar (or to taste)
- 1 teaspoon vanilla extract
- For Assembly:
- 400g fresh, ripe strawberries, hulled and sliced
Instructions
- Prepare the Genoise Sponge: Preheat your oven to 170°C (340°F). Line the bottom of an 18cm (7-inch) round cake pan with parchment paper; do not grease the sides.
- In a heatproof bowl set over a saucepan of simmering water (creating a double boiler), whisk the eggs and sugar constantly until the mixture is warm to the touch (about 40°C or 105°F) and the sugar is dissolved.
- Remove the bowl from the heat. Using an electric mixer, beat the egg mixture on high speed until it triples in volume, becomes very pale, and forms a thick ribbon when the whisk is lifted (this takes 8-10 minutes). This step is crucial for a fluffy Japanese sponge cake.
- Gently fold in the sifted cake flour in three additions using a spatula, being careful not to deflate the batter.
- In a small bowl, mix the melted butter and milk. Take about one-third of the batter and gently fold it into the butter mixture to lighten it.
- Pour the lightened butter mixture back into the main batter and fold until just combined. Do not overmix.
- Pour the batter into the prepared pan and immediately bake for 25-30 minutes, or until a skewer inserted into the center comes out clean.
- Cool the cake in the pan for 5 minutes, then invert it onto a wire rack, remove the pan, and let it cool completely.
- Make the Syrup: Combine water, sugar, and lemon juice in a small saucepan. Heat until the sugar dissolves. Let cool.
- Prepare the Cream: Chill your mixing bowl and whisk attachment. Pour the heavy cream, powdered sugar, and vanilla extract into the chilled bowl. Whip on medium-high speed until stiff peaks form. Be careful not to over-whip, as Japanese cream is meant to be light.
- Assemble the Cake: Once the cake is cool, slice it horizontally into two or three even layers. Place the first layer on your serving plate.
- Brush the cake layer generously with the cooled syrup. Spread a layer of whipped cream over the cake. Arrange half of your sliced strawberries evenly over the cream.
- Place the next cake layer on top. Brush with syrup, spread with cream, and top with the remaining strawberries. If using a third layer, repeat.
- Cover the entire cake with a thin crumb coat of cream, chill for 15 minutes, then apply the final, thicker layer of cream. Decorate simply with whole or halved strawberries. Chill for at least 1 hour before serving.
Notes
- For the lightest genoise, use cake flour and ensure your eggs are at room temperature before whipping.
- Use high-quality, sweet strawberries, as they are the star flavor in this simple fresh cream cake.
- If you want a slightly firmer cream for piping decorations, use a cream cheese stabilizer or slightly increase the powdered sugar.
Nutrition
- Serving Size: 1 slice
- Calories: 380
- Sugar: 35g
- Sodium: 85mg
- Fat: 22g
- Saturated Fat: 14g
- Unsaturated Fat: 8g
- Trans Fat: 0.5g
- Carbohydrates: 42g
- Fiber: 2g
- Protein: 6g
- Cholesterol: 150mg