
When that tropical sun starts shining, my mind immediately drifts away from heavy sauces and towards truly joyful, simple desserts. I’ve traveled a lot chasing flavors, but nothing quite hits the spot like the bright sweetness of authentic mango sticky rice. It embodies everything I love about food: vibrant flavor, simple components, and sheer celebratory comfort. I’ve perfected this Khao Niew Mamuang recipe over years, adapting professional precision for your home kitchen so you can nail this famous Thai dessert without any fuss.
- Why This Authentic Mango Sticky Rice Recipe Works for Home Cooks
- Gathering Ingredients for Perfect Mango Sticky Rice
- Mastering the Coconut Sticky Rice Base
- Creating the Sweet Coconut Cream Sauce for Mango Sticky Rice
- Assembling Your Classic Mango Sticky Rice (Khao Niew Mamuang)
- Tips for Success with Your Mango Sticky Rice
- Variations: Making Vegan Mango Sticky Rice and Gluten Free Asian Dessert Options
- Serving Suggestions for This Thai Dessert Recipe
- Frequently Asked Questions About Mango Sticky Rice
Why This Authentic Mango Sticky Rice Recipe Works for Home Cooks
I know what you’re thinking: authentic Thai dessert recipes can feel intimidating, right? They often require specialized techniques or ingredients that are hard to hunt down. But trust me here, making proper mango sticky rice shouldn’t be a special occasion event; it should be something you whip up when you crave pure sunshine in a bowl.
This version, Khao Niew Mamuang, cuts straight to the heart of the flavor with zero shortcuts on quality. We rely on the right rice and rich coconut milk, which delivers that deep, creamy flavor every time. It’s all about building that sweet coconut cream sauce perfectly.
- It’s Reliable: We use tried-and-true methods so you get the exact velvety texture you expect from the best street vendors.
- Rice Cooker Friendly: If steaming sounds like too much fuss, I give you the exact measurements for a simple rice cooker dessert recipe alternative.
- Ingredient Trust: Knowing you need that specific glutinous rice over standard long-grain rice is the first step to nailing this amazing tropical fruit dessert.
Gathering Ingredients for Perfect Mango Sticky Rice
Okay, listen up. Before we even worry about soaking anything, we need the right building blocks. With a recipe this simple, ingredient quality isn’t just important—it’s everything. If you skip out on the right rice or use thin, watery coconut milk, you’re just going to end up with soupy, sweet rice, and that’s not the comforting bowl of mango sticky rice we’re aiming for!
Forget the standard jasmine rice you use for dinner. We absolutely must use actual glutinous rice—sometimes labeled sticky rice. It’s got a unique starch that gives us that signature chew. And for the milk? Stick to full-fat coconut milk; it’s where all the rich, creamy flavor for our sauce comes from.
Essential Components for Your Mango Sticky Rice
- 1 cup glutinous rice (sticky rice)
- 1 cup coconut milk (full fat recommended—don’t skimp here!)
- 3/4 cup granulated sugar
- 1/4 teaspoon salt
- 2 large ripe mangoes (I always hunt for the Nam Dok Mai or Honey variety if I can find them; they are so fragrant!)
- 2 tablespoons toasted sesame seeds or mung beans for garnish (optional, but I love the crunch!)
Mastering the Coconut Sticky Rice Base
This is where most people either soar or stumble when making mango sticky rice, so pay close attention! The starch structure of the glutinous rice is what gives us that amazing, slightly chewy, wonderfully cohesive texture—it’s the foundation of any good Khao Niew Mamuang. You can’t fake this part, so take your time.
First, you have to rinse that rice really well until the water runs almost clear. That gets rid of the surface starch that could make things gummy later. The soaking time isn’t optional; I mean it! You need at least four hours, or ideally overnight. If you rush the soak, water doesn’t penetrate the center of those grains, and you end up with crunchy little bits inside tender rice. Don’t do it!
Soaking and Steaming the Glutinous Rice Dessert
Once drained, you’re ready to cook. Traditional steaming is fantastic if you have a steamer basket, taking about 20 to 25 minutes until everything is perfectly tender. But because I want you to make this at home easily, I always suggest the rice cooker as a great rice cooker dessert recipe method.
If using the cooker, stick to a 1:1 ratio right now—that means one cup of drained rice to one cup of plain water. Cook it exactly as you would any tricky rice. Once it’s done, let it sit covered for about 10 minutes before moving on to flavor it with the coconut milk!
Creating the Sweet Coconut Cream Sauce for Mango Sticky Rice
Now that our glutinous rice is soaking, we tackle the star flavor component: the sweet coconut cream sauce. This sauce is what transforms plain sweet rice into that luxurious, crave-able Thai dessert experience. We’re using full-fat coconut milk here—no substitutions! That richness is non-negotiable for the best texture.
In a small saucepan, gently whisk together most of your coconut milk (save about a quarter cup for later!), the sugar, and the salt. This mixture needs to warm up just long enough for that sugar crystal to disappear completely. And please, listen to me on this part: Do not let it boil! Boiling coconut milk can sometimes cause it to separate, and you’ll lose that beautiful smooth consistency we need.
Once the sugar has dissolved—you’ll know because the liquid will look glossy and uniform—take it right off the heat. We’re going to divide this liquid. We pour about two-thirds of this warm sauce right over the hot, cooked sticky rice we just made. This is the flavor infusion! Cover that bowl and let the rice drink up all that goodness for about 15 minutes. We want it fully saturated!
The remaining small amount of coconut mixture gets warmed up slightly later. That reserved portion is reserved specifically to drizzle over the finished mango and rice assembly, giving you that final, perfect punctuation mark of creamy goodness on your finished creamy rice dessert.
Assembling Your Classic Mango Sticky Rice (Khao Niew Mamuang)
The waiting is the hardest part, isn’t it? You’ve got your perfectly sweetened, infused sticky rice soaking up that glorious coconut magic, and now you have to let it sit for 15 to 20 minutes. During this rest, the rice grains gelatinize just enough to grab onto that sweet milk, creating that incredible, slightly dense texture that makes mango sticky rice famous. Trust me, that soaking time is critical for achieving the perfect sweet rice with mango harmony.
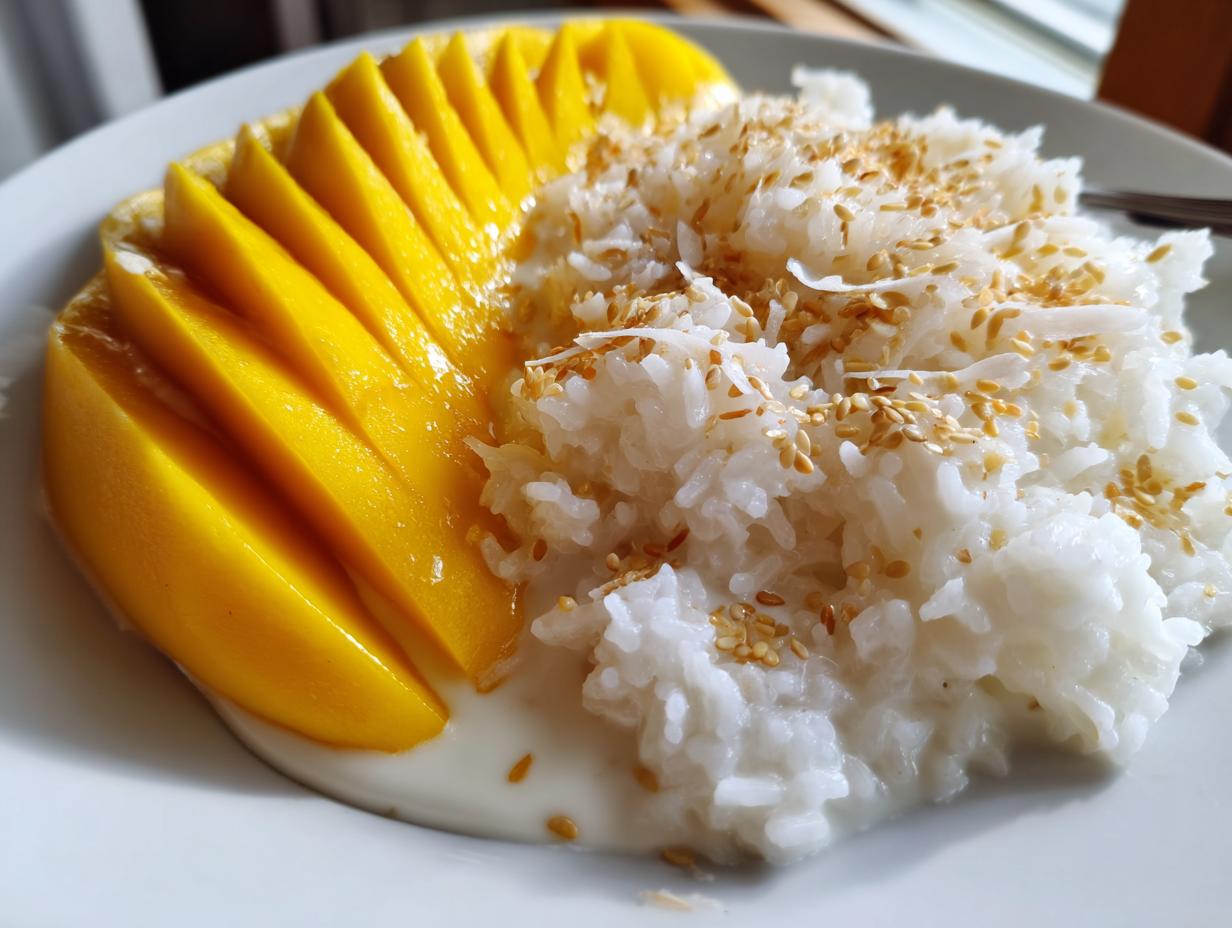
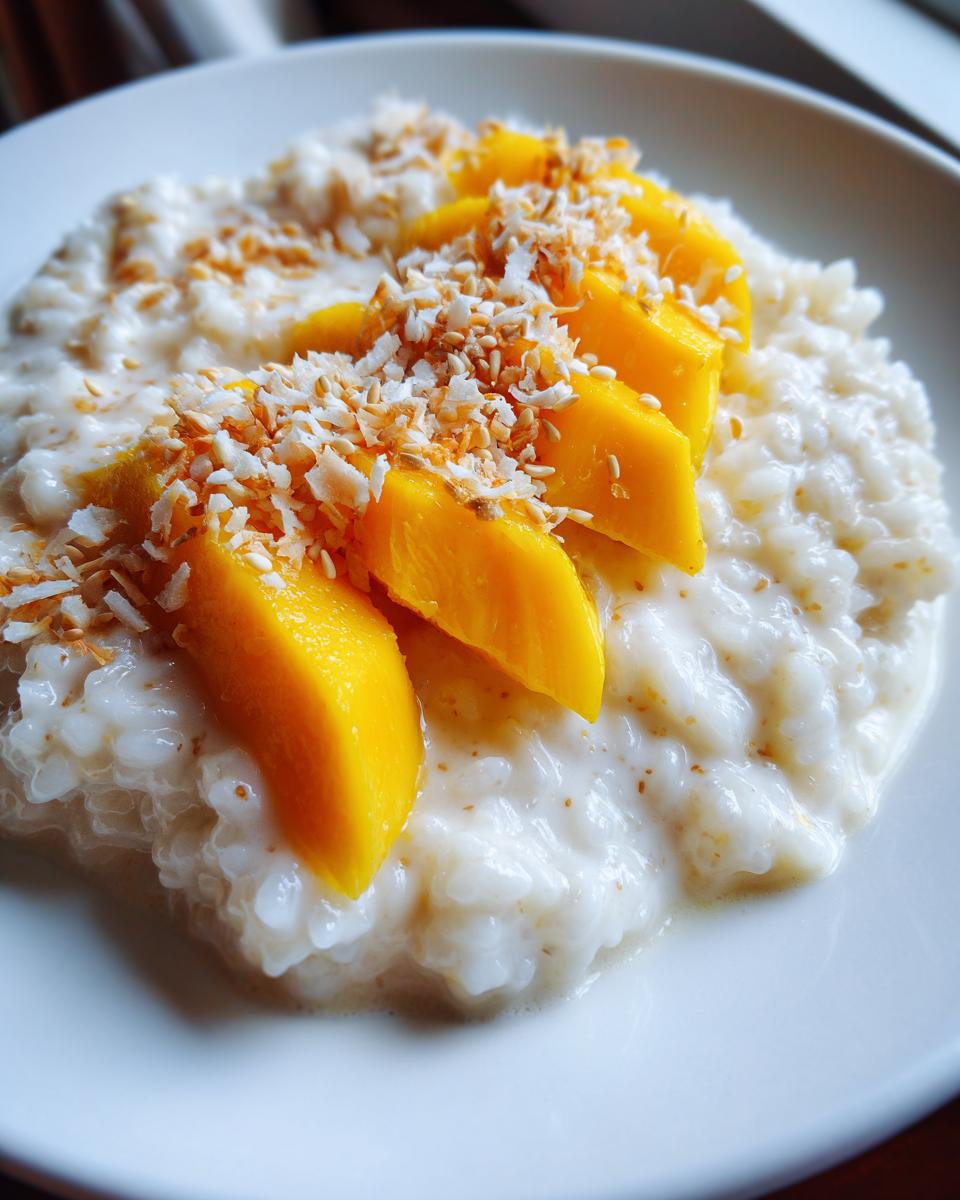
Once the rice has absorbed most of that initial sauce, it’s time to plate up! Peel and slice your perfectly ripe mangoes. I like to arrange them beautifully right beside a generous scoop of the coconut sticky rice. You want nice, distinct piles, not one big mushy pile, so the textures stand out when you eat it.
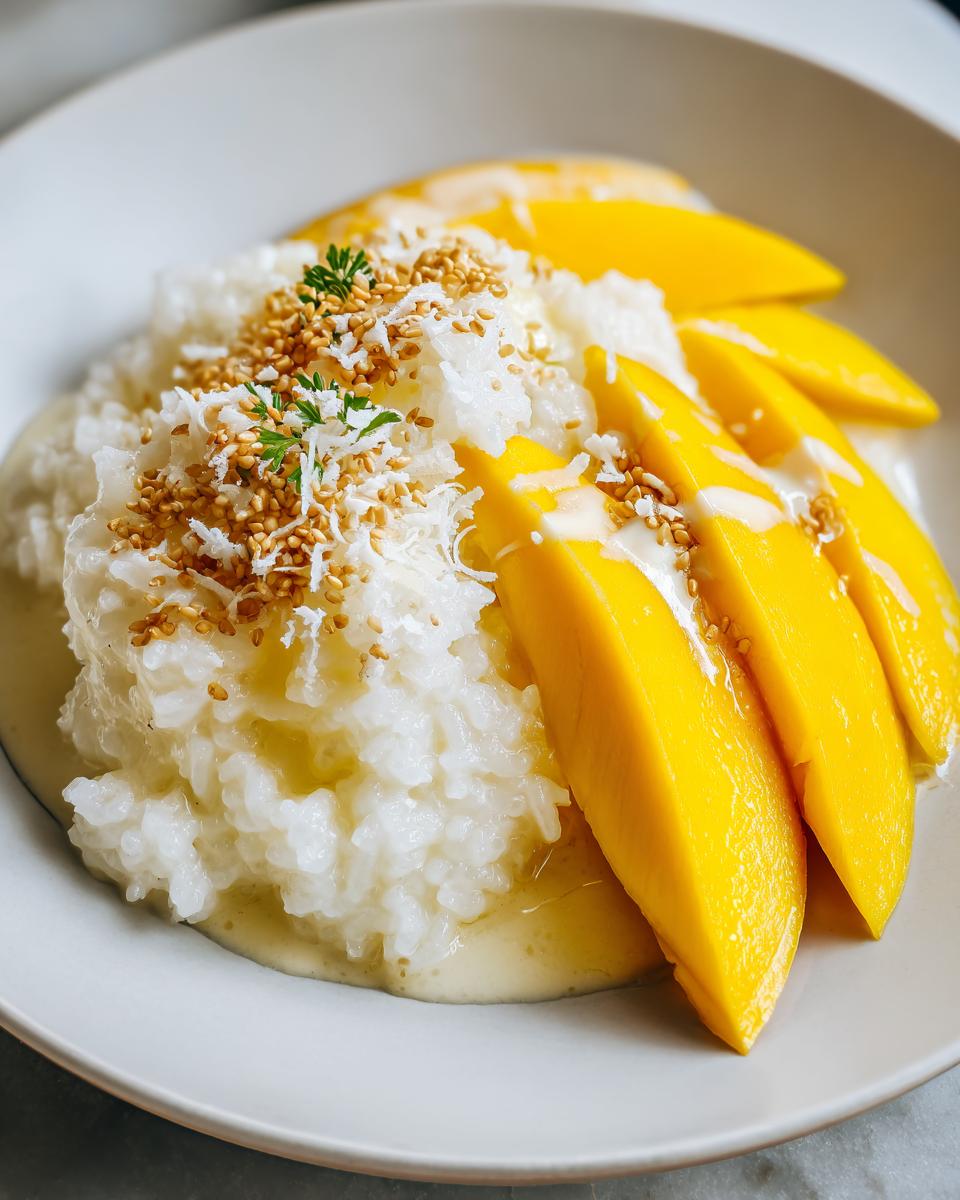
Now for the finishing touch! Take the rice bowl and give it one last gentle stir—that remaining sauce at the bottom is the best part. Drizzle that over your rice mound. Then, grab that little bit of plain warm coconut milk we reserved earlier and lightly spoon a bit over the mango slices and the rice edge. It adds a lovely contrast. If you are going for the full effect, finish it off with a light sprinkle of toasted sesame seeds. It’s a stunning, simple dessert presentation, and honestly, it tastes a thousand times better than any fancy pastry!
Tips for Success with Your Mango Sticky Rice
Okay, we’ve navigated the soaking and the sauce-making, which are the hardest parts of this wonderful mango sticky rice! But Julian always says that the difference between good and truly unforgettable lies in the small details. Since this is such a pure Thai dessert recipe, the quality and handling of your few ingredients really shine through. Don’t get complacent now that the cooking part is done!
The coconut milk is number one on my list. If you grab that light or reduced-fat stuff, you’re missing out on the richness that defines this dish. Stick to full-fat, always. It emulsifies better into the rice and makes that final drizzled topping taste indulgent, exactly how it should!
Selecting Ripe Mango Recipes
About those mangoes—you want them soft, almost tender when you grip them gently, but not mushy. If they still feel rock hard, they are going to be tart and flavorless against that rich, sweet rice. I try to find the Nam Dok Mai or Honey varieties because they have that incredible tropical perfume, which really elevates the whole experience. They should smell fragrant near the stem end. If you can’t find those specialty types, just choose the ripest available mango—it should yield slightly to firm pressure, making it a perfect partner for your creamy rice dessert.
Variations: Making Vegan Mango Sticky Rice and Gluten Free Asian Dessert Options
Here’s the wonderful thing about our mango sticky rice recipe—it’s already incredibly friendly to many dietary needs right out of the gate! Because we are using coconut milk and not dairy, and because glutinous rice is naturally free of wheat, this dish is inherently a wonderful Gluten free Asian dessert option. You don’t need to reinvent the wheel; you just need to confirm your ingredients are pure.
That means achieving a perfect Vegan mango sticky rice is remarkably simple. Just double-check that the sugar you use is bone-char-free if that is a concern for you, which is easily done nowadays. We use zero animal products, which is why I love this dessert so much; it feels celebratory but remains honest in its ingredients.
If you’re looking for more inspiration on making your favorite sweets plant-based, I’ve got some great resources, but honestly, this classic Thai preparation hardly needs modification. If you want to see how other trusted chefs handle this classic, check out this great take on the recipe here!
Serving Suggestions for This Thai Dessert Recipe
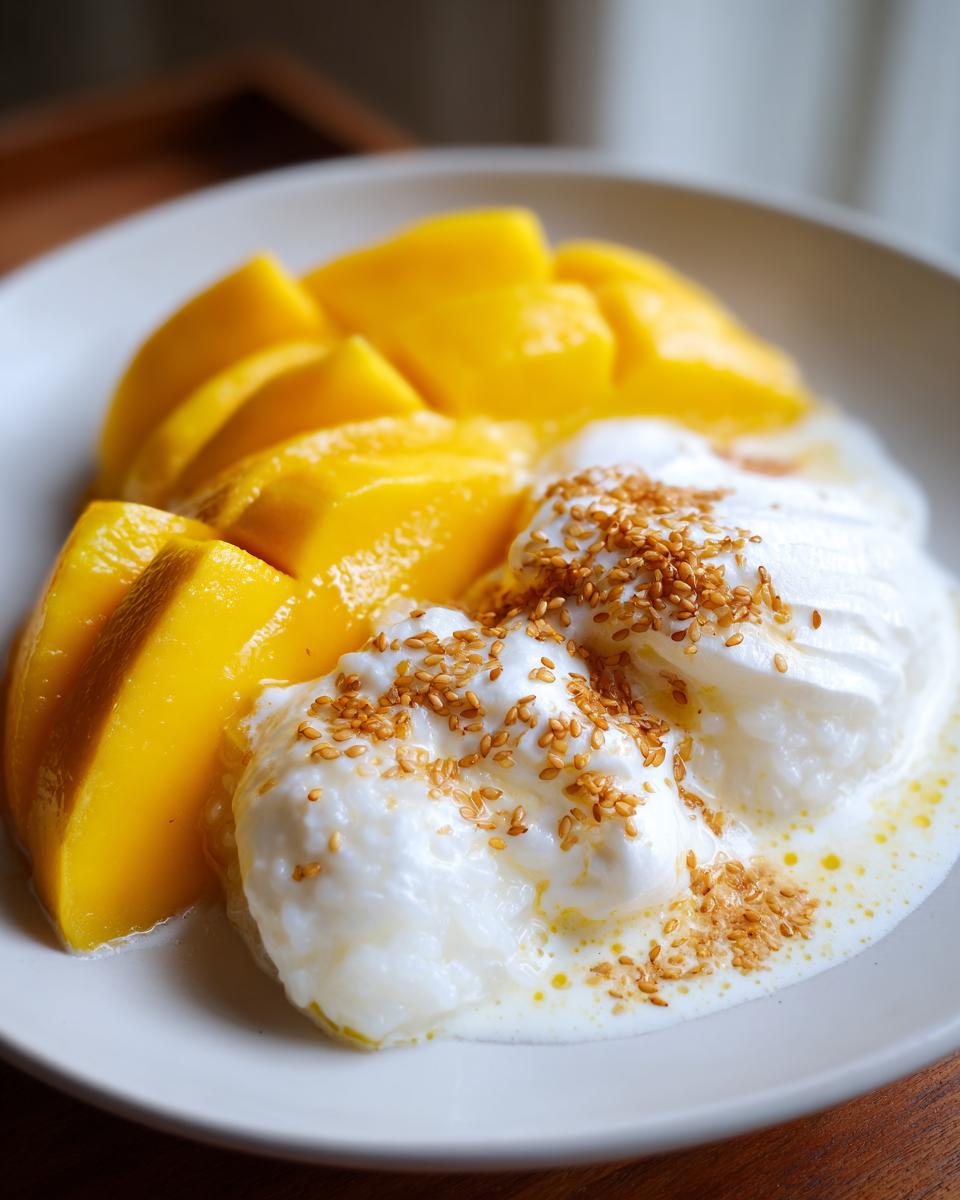
When it comes time to serve this perfect mango sticky rice, remember that presentation matters! Since this is such a beautiful, vibrant comfort food dessert, I always aim for contrast on the plate. After you’ve spooned the luscious, creamy rice beside those perfectly shiny mango slices, don’t forget the final textural element.
A serious sprinkle of toasted sesame seeds gives you a necessary salty-nutty counterpoint to all that sweet coconut. If you want to be truly authentic, toasted or crispy split mung beans are amazing too! If you need a light drink pairing, skip heavy coffee and go for something bright, like iced jasmine tea.
If you happen to have leftovers (which is rare in my house!), they reheat terribly, so don’t plan on making a huge batch ahead of time. If you are looking for another simple sweet treat to serve alongside it that won’t steal the show, check out my recipe for brown butter sugar cookies. Just make sure the cookies are room temperature!
Frequently Asked Questions About Mango Sticky Rice
Look, cooking is all about practice, and even with the best recipe in the world, questions pop up! I’ve answered the top three things folks ask me when they’re making mango sticky rice for the first time. Don’t hesitate to reach out if you have a question that isn’t covered here; you can always drop me a line on my contact page!
Can I substitute regular white rice for glutinous rice in this mango sticky rice?
Oh, please don’t try it! If you use standard long-grain or even jasmine rice, you won’t get that signature texture. Glutinous rice—or sticky rice, as we call it here—has almost no amylose, meaning it becomes incredibly sticky and plump when cooked, forming that perfect base for our sweet sauce. Regular rice grains will just separate and soak up the liquid unevenly. You’ll end up with a soupy, loose rice, not the dense, satisfying creamy rice dessert we are making!
How long can I store leftover mango sticky rice?
Honestly? This dish is best made and eaten the same day. The mango starts to break down, and the rice just doesn’t have the same vibrant texture the next day. If you absolutely need to keep some, put the rice and sauce mixture in an airtight container in the fridge for no more than a day or two. But do this: leave the mangoes out until serving time to prevent them from getting slimy! If you have to reheat the rice, use the microwave in very short bursts—maybe 15 seconds at a time—until it’s just warm, adding a tiny splash of water or coconut milk if it seems too stiff.
Is this Khao Niew Mamuang recipe naturally Gluten Free?
Yes, it absolutely is! That’s one of the reasons I love this Thai dessert recipe so much. Glutinous rice is naturally gluten-free, and as long as you are using standard cane sugar, salt, and pure coconut milk, you don’t have any wheat or gluten hiding in there. It makes a perfect, safe, and decadent treat for anyone avoiding gluten. It’s amazing how sometimes the most authentic recipes are already the cleanest ones!
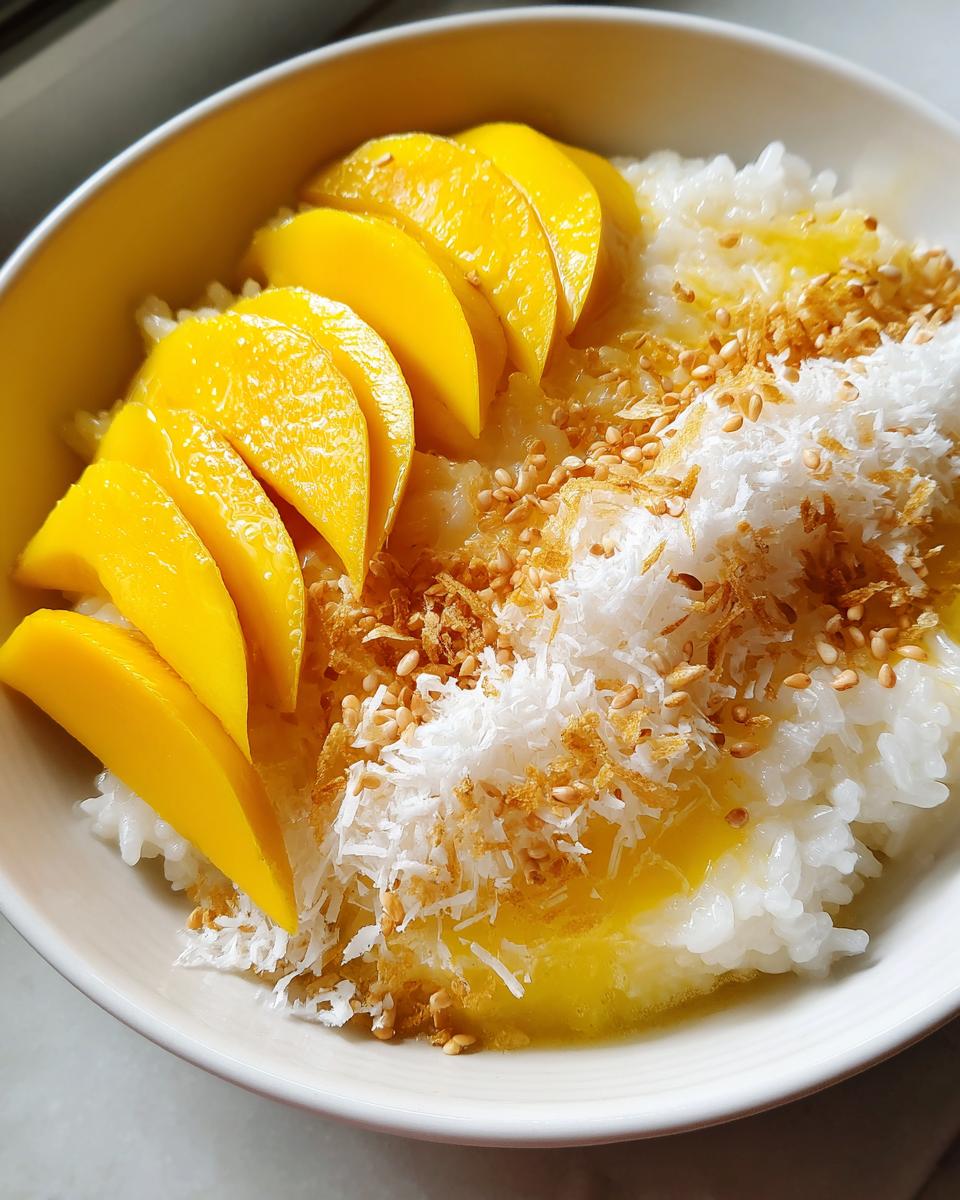
PrintAuthentic Thai Mango Sticky Rice (Khao Niew Mamuang)
Make classic Thai dessert, Mango Sticky Rice, featuring sweet glutinous rice soaked in creamy coconut milk and served with ripe mangoes. This recipe is easy to follow for a comforting tropical treat.
- Prep Time: 4 hours (includes soaking time)
- Cook Time: 30 min
- Total Time: 4 hours 30 min
- Yield: 4 servings 1x
- Category: Dessert
- Method: Steaming/Stovetop
- Cuisine: Thai
- Diet: Vegetarian
Ingredients
- 1 cup glutinous rice (sticky rice)
- 1 cup coconut milk (full fat recommended)
- 3/4 cup granulated sugar
- 1/4 teaspoon salt
- 2 large ripe mangoes (Nam Dok Mai or Honey variety preferred)
- 2 tablespoons toasted sesame seeds or mung beans for garnish (optional)
Instructions
- Rinse the glutinous rice thoroughly under cold water until the water runs clear. Soak the rice in water for at least 4 hours, or preferably overnight. Drain the soaked rice completely.
- Steam the drained rice for 20 to 25 minutes until tender. Alternatively, cook the rice in a rice cooker with 1 cup of water until done.
- While the rice cooks, prepare the sweet coconut sauce. In a small saucepan, combine 3/4 cup of the coconut milk, the sugar, and the salt. Heat over medium-low heat, stirring until the sugar dissolves completely. Do not boil.
- Transfer the hot, cooked sticky rice to a bowl. Pour about two-thirds of the prepared sweet coconut sauce over the rice. Stir gently to combine. Cover the bowl and let the rice absorb the liquid for 15 to 20 minutes.
- While the rice rests, prepare the remaining coconut topping. Heat the remaining 1/4 cup of coconut milk in a separate small pan until just warm. Do not boil.
- Peel and slice the ripe mangoes.
- To serve, place a portion of the sweet coconut sticky rice on a plate. Arrange the sliced mango next to the rice. Drizzle the remaining sauce from the rice bowl over the rice, and then spoon a little of the reserved warm coconut topping over the mango and rice. Garnish with toasted sesame seeds.
Notes
- For a richer flavor, use only full-fat coconut milk for both the soaking liquid and the topping.
- If you prefer a quicker method, you can cook the soaked rice in a rice cooker using a 1:1 ratio of rice to water.
- Ensure your mangoes are very ripe for the best natural sweetness.
Nutrition
- Serving Size: 1 serving
- Calories: 450
- Sugar: 30g
- Sodium: 150mg
- Fat: 18g
- Saturated Fat: 16g
- Unsaturated Fat: 2g
- Trans Fat: 0g
- Carbohydrates: 65g
- Fiber: 3g
- Protein: 5g
- Cholesterol: 0mg