
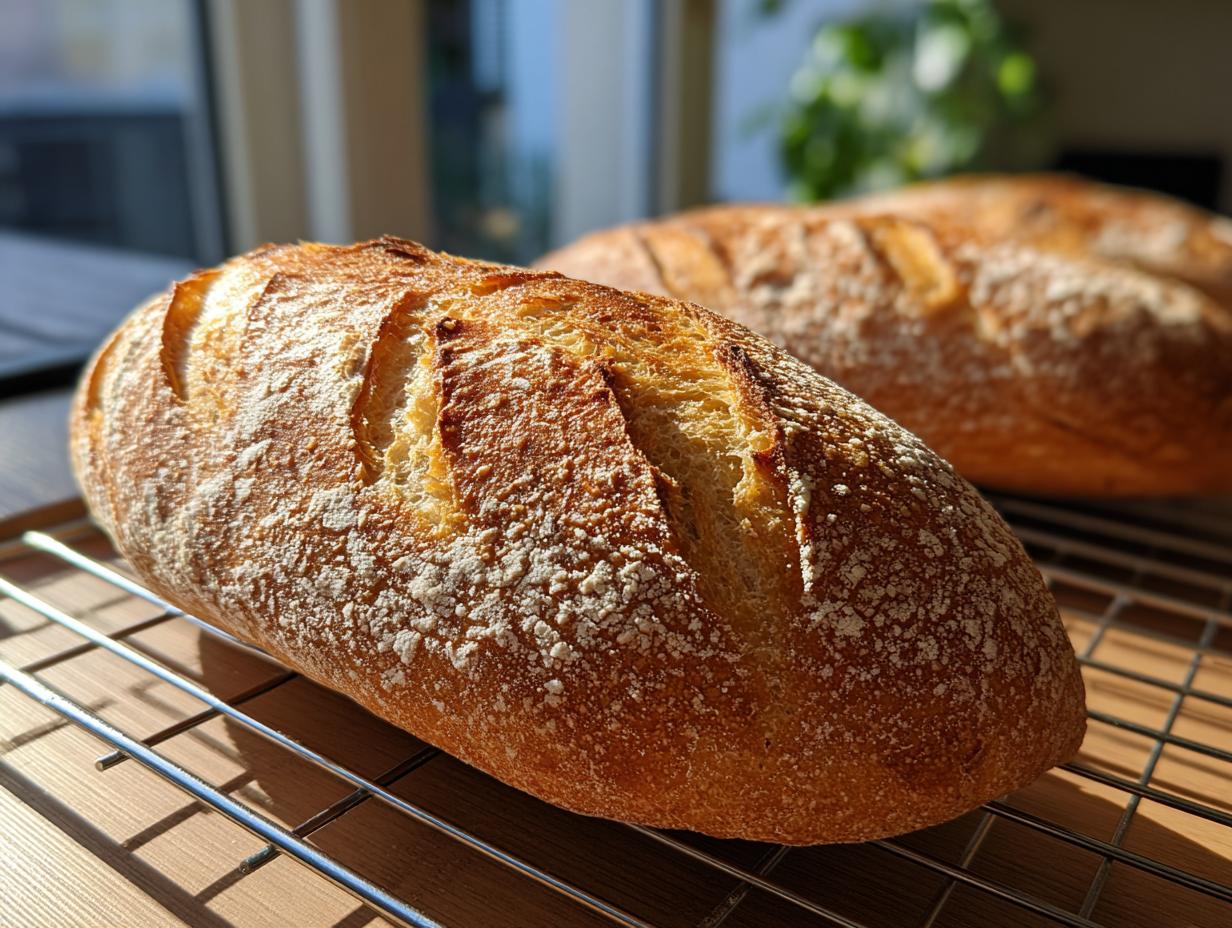
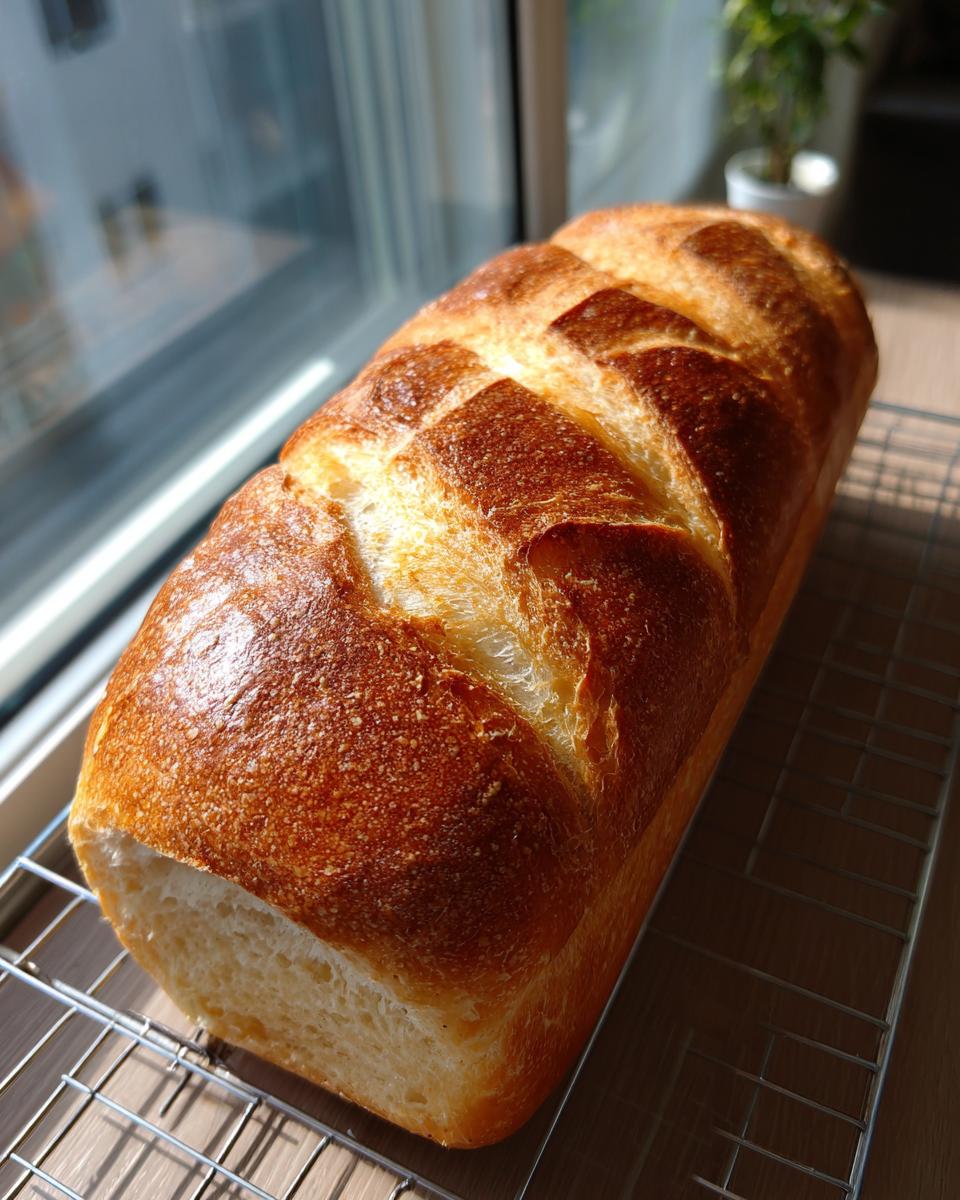
Oh, that smell! If I could bottle the aroma of a freshly baked loaf of **french bread**, I’d be a millionaire! Honestly, there is nothing more comforting than pulling bread out of your own oven that tastes like you picked it up from the best corner bakery. For years, I thought achieving that perfect texture—a shatteringly crisp, crackly crust protecting the **soft and fluffy bread** inside—was reserved for professional bakers with hours to spare. Not so!
My mission here at Julia Meal is simple: I want to bridge that gap between artisan technique and your Tuesday night dinner schedule. That’s why this recipe is my absolute go-to when I need **Bakery Style Bread at Home** without the all-day commitment. Trust me when I say, this recipe delivers that sought-after crust and cloud-like center, and we get it done, start to finish, in under 90 minutes total time. If you are looking for something even more **Simple Artisan Bread**, check out my guide for no-knead artisan bread later, but for classic French perfection in a hurry, stick with this one!
- Why This Easy French Bread Recipe Works for Beginners
- Ingredients for Your Homemade French Bread
- Step-by-Step Instructions for Quick French Bread
- Expert Tips for Perfect Homemade French Bread
- Ingredient Notes and Substitutions for this French Bread
- Storing and Reheating Your Fresh Baked Bread Loaf
- Serving Suggestions for Crusty French Bread
- Frequently Asked Questions About Making French Bread
- Nutritional Estimates for Homemade French Bread
- Share Your Crusty French Bread Creations
Why This Easy French Bread Recipe Works for Beginners
Look, I get it. Artisan baking can be intimidating! That’s why I engineered this recipe to feel like a **Beginner Bread Recipe** but taste like I spent all day at the bakery. The main reasons this works so quickly and reliably are tied directly to controlling the environment and managing that rise time. We want maximum flavor development without waiting around forever. This method ensures you get that gorgeous golden shine and that satisfying crack when you cut into it, making it the perfect **Homemade French Bread** for busy weeknights. If you need something zesty for dinner later, you should totally check out my recipe for easy honey harissa chicken bowls!
I tested so many ways to cut corners, and these two elements are non-negotiable for success in a short timeframe.
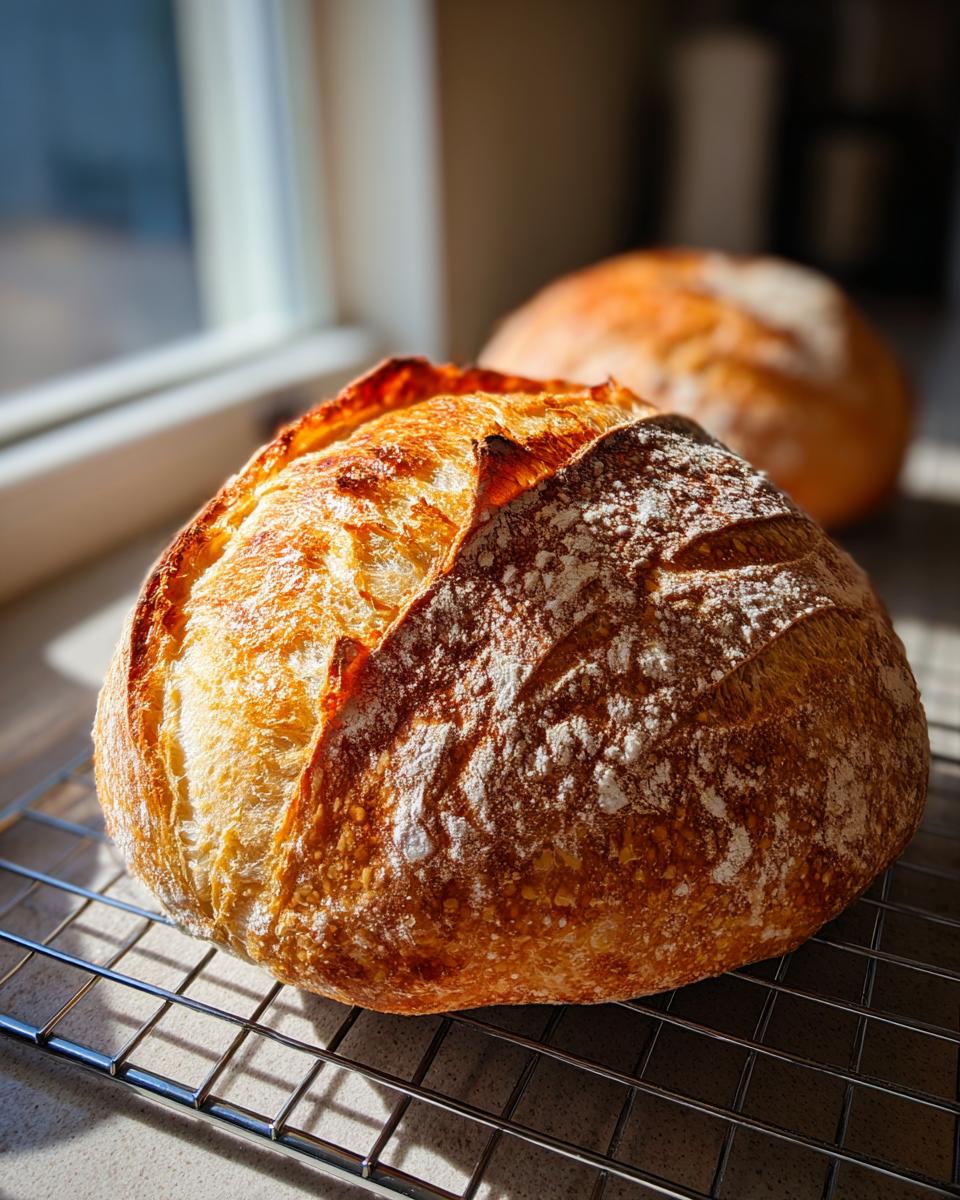
Achieving That Perfect Crusty French Bread Texture
Texture is everything with this loaf. If you skip the steam, you end up with soft bread, but we want crackly! The secret weapon here is adding a tray of hot water to the bottom of the oven right when you slide the loaves in. That sudden burst of humidity keeps the exterior of the dough soft just long enough to expand fully, and then when the steam dissipates or you vent the oven, the crust sets up hard and crisp. We finish it with a simple egg white wash right before it goes in—that’s what gives you that beautiful, slightly glossy, deep golden finish!
The Secret to Quick French Bread Rise Times
The key to getting this bread done in under 90 minutes is respecting the yeast and giving it exactly what it wants: warmth! We use water that feels hot to the touch, around 110°F, mixed with just a teaspoon of sugar. This jump-starts the yeast like a shot of espresso. Because the yeast is so active, we can shave a good 30 to 45 minutes off the total rise time compared to slower doughs. This is what truly locks in that **90 Minute French Bread** promise for your **french bread** loaf.
Ingredients for Your Homemade French Bread
When I first started baking, I used to grab whatever flour or yeast bag was nearest the front of the shelf. But for this recipe, precision matters, especially when we are trying to achieve professional results in under an hour and a half! Don’t worry, you likely have everything you need already sitting in your pantry. If you want to see how I use similar simple ingredients for a moister bake, you should definitely check out my sourdough banana bread recipe!
Get your measuring cups ready because here is exactly what you need for two beautiful loaves:
- 1 1/2 cups warm water (Crucially, this needs to be between 105°F and 115°F. If it’s too cold, the yeast sleeps; too hot, and you kill it! I use my instant-read thermometer for this.)
- 2 1/4 teaspoons active dry yeast (This is the standard packet size, so measuring should be easy!)
- 1 teaspoon granulated sugar (This is just delicious food for our little yeast friends.)
- 3 1/2 cups all-purpose flour, plus more for dusting (I know some people insist on bread flour, but AP works perfectly for this faster method.)
- 1 1/2 teaspoons salt (Don’t skimp on the salt; it controls the yeast and adds vital flavor later.)
- 1 tablespoon olive oil (Just a little bit for tenderness.)
- 1 egg white, beaten with 1 teaspoon water (This creates the wash that helps the crust brown and crackle.)
See? No weird ingredients, no specialty starters needed. It’s all about mixing them in the right order!
Step-by-Step Instructions for Quick French Bread
Alright, this is where the magic happens! I’ve broken down these 10 steps so that you can feel confident, even if you’ve sworn off yeast since that one time you tried making bagels. Remember, we are moving fast here, so pay attention to your timing, especially with the yeast activation. This whole process is designed to be the **Best French Bread Tutorial** you’ve ever tried because it focuses on efficiency without sacrificing that incredible texture. If you’re looking for a quick savory snack later to tide you over, I have a great recipe for easy pizza bites!
Activating Yeast and Mixing the French Bread Dough
First things first: we wake up the yeast! Take your 1 1/2 cups of warm water—remember, 105°F to 115°F—and stir in the sugar and the active dry yeast. Set it aside for five minutes. If you don’t see a nice layer of foam on top after that time, your yeast is dead, and you need to start over with fresh yeast. Don’t skip this check!
Once you have that beautiful foam cap, it’s time to mix in the rest of the dry stuff and the oil. Dump in the salt, the flour, and the olive oil right into that yeasty mixture. I grab a sturdy wooden spoon and mix until everything just comes together. You are looking for what we call a ‘shaggy dough’—it’s going to look messy and a little raggedy right now. That’s exactly what we want before we get our hands dirty!
Kneading and First Rise for Soft and Fluffy Bread
Now, turn that shaggy mess out onto a lightly floured counter. Time to knead! You need to work this dough for a solid 6 to 8 minutes. Don’t rush it! You are building the gluten structure that will give us that **Soft and Fluffy Bread** interior later. When you’re done, the dough should feel smooth, elastic, and spring back slightly when you poke it.
Tuck the dough into an oiled bowl, cover it with plastic wrap, and find a warm spot in your kitchen. We are going for a quick rise here: 45 minutes. That’s it! We need it to double in size. Because we activated the yeast so well, it shouldn’t take much longer than that to hit the mark.
Shaping and Final Proofing Your French Bread Loaves
Once doubled, gently punch the air out—don’t beat it up, just deflate it softly. Now, cut that dough right in half. We are making two loaves, perfect for dinner tonight and leftovers tomorrow. Take each half and gently pat it into a rough rectangle before carefully rolling it up tightly into a long, thin log shape, like a classic baguette form. Don’t tear the dough!
Lay those loaves onto a piece of parchment paper or a heavily cornmeal-dusted peel. Cover them loosely so they don’t dry out and let them rest for their final 20-minute proof. While that rest is happening, you *must* get your oven heating up to 425°F (220°C). This part is crucial for texture: put a shallow metal pan on the bottom rack while it preheats. This rack will hold our steam!
Scoring and Baking for a Crackly Crust on Your French Bread
Okay, your oven is hot and your loaves have rested. Take that tiny bowl of beaten egg white mixed with water and brush a very thin, light coating right over the top surface of each loaf. Then, grab your sharpest knife and make three clean, diagonal slashes across the top of each loaf. These are called scores, and they help control where the bread expands.
Carefully slide those loaves into the oven—try to do this quickly so you don’t lose too much heat. Now, lean down carefully and quickly pour about 1 cup of *hot* water into that hot pan you put on the bottom rack. Slam the door shut immediately! That steam bath is non-negotiable for that crackly crust.
Bake for 20 to 25 minutes total. About halfway through baking, I like to carefully open the door, rotate the pan 180 degrees, and close it right back up. When they sound hollow when you tap their bellies, they are done! Pull that beautiful **french bread** out and let it cool completely on a wire rack before you even think about slicing it. Resist the urge!
Expert Tips for Perfect Homemade French Bread
Baking is a conversation, right? You talk to the dough, and it talks back. When you follow the steps exactly, you get that gorgeous loaf. But sometimes, things go a little sideways, and that’s where experience comes in handy. I’ve certainly had my share of sad, flat loaves where the crust looked more like leather than crackle! These little pointers are things I learned over years when baking so you can nail that **Classic French Loaf** on your first try. If you need something sweet after all that bread, try my brown butter sugar cookies recipe!
Troubleshooting Common French Bread Issues
The two biggest complaints I hear are usually about the crust and the shape. Let’s tackle those first. If your **french bread** came out of the oven looking pale, soft, and completely lacking that shatteringly crisp shell you were promised? You guessed it—you didn’t trust the steam! That shallow pan of hot water needs to be there when the bread goes in, and you can’t open the door for at least 15 minutes. The steam is what buys you time for a great rise before setting that crust in place.
Now, what about the shape? If your beautifully shaped logs spread out sideways almost immediately, looking more like puddles than loaves, you likely have one of two issues. Either you didn’t knead enough—remember those 6 to 8 minutes to build structure? Gluten needs to be strong to hold that shape. Or, alternatively, you let it perform its second rise (the 20-minute rest) for too long in a super warm spot. If it over-proofs, the structure collapses under its own weight when baking starts. Keep your eye on that clock!
Ingredient Notes and Substitutions for this French Bread
I always tell people that the beauty of simple bread like this **french bread** is that it highlights quality ingredients. You don’t need a long list of fancy stuff; you just need to know what each item is doing! Understanding the role of the flour and the tiny bit of sugar we use really helps you become a better baker, I promise. When you understand *why* you’re adding something, you trust the recipe more, and that breeds confidence. Speaking of simple ingredients leading to delicious meals, you’ve got to try my recipe for easy creamy one-pot pesto pasta!
Let’s chat about the flour, because that’s often where home bakers get nervous. I call for all-purpose flour here because it helps keep this recipe fast and fuss-free, perfect for making **Homemade French Bread** without needing specialty ingredients. It develops enough gluten for a wonderful texture without fighting you too hard during the short kneading time.
However, if you want to push that crumb just a tiny bit further toward that professional, airy structure, feel free to swap out half a cup of the all-purpose flour for bread flour. Bread flour has a higher protein content, which means stronger gluten, leading to a slightly chewier interior. But again, it is totally optional!
Now, let’s talk about that teaspoon of sugar. When I first started, I thought sugar was only for sweetness, but in yeast recipes, it’s crucial. That tiny bit of granulated sugar isn’t truly there for our palates; it’s pure food for the active dry yeast we used. It gives the yeast its first big meal, which causes the rapid bubbling and foaming we see in Step 1. If you skip it, you risk a sluggish rise, and we are trying to avoid that sluggishness to keep this the **Quick French Bread** champion that it is!
The salt is equally important, not just for flavor balance, but because it acts as a gentle brake on the yeast activity. Too little salt, and the yeast goes absolutely wild, potentially leading to uneven holes and a dough that over-proofs before you can even shape it. So, stick to the recommended amount for this fast bake!
Storing and Reheating Your Fresh Baked Bread Loaf
You did it! You pulled out that beautiful **french bread** loaf, and now you have to resist eating it all in one sitting, which is half the battle, right? Real talk: the crust is going to be at its absolute best the moment it cools down from the oven.
If you have leftovers (and there is always a chance you will!), the storage method is everything if you want to recapture that crackle. Please, please, do *not* store this bread in plastic. Plastic traps moisture, and that crisp exterior will turn gummy and soft before morning. Instead, wrap any cooled loaf tightly in a paper bag or a clean kitchen towel and leave it on the counter. That lets it breathe but protects it just enough.
When it’s time to eat the leftovers, you need to wake that crust back up! The best way to revive that bakery texture is to pop the loaf—or even half a loaf—back into a very hot oven, around 350°F, for just 5 to 7 minutes. That quick blast of dry heat melts away any residual moisture and brings the crunch right back. You’ll feel like you just baked it again! Speaking of delicious leftovers, you absolutely must try my best million-dollar pasta bake recipe next week!
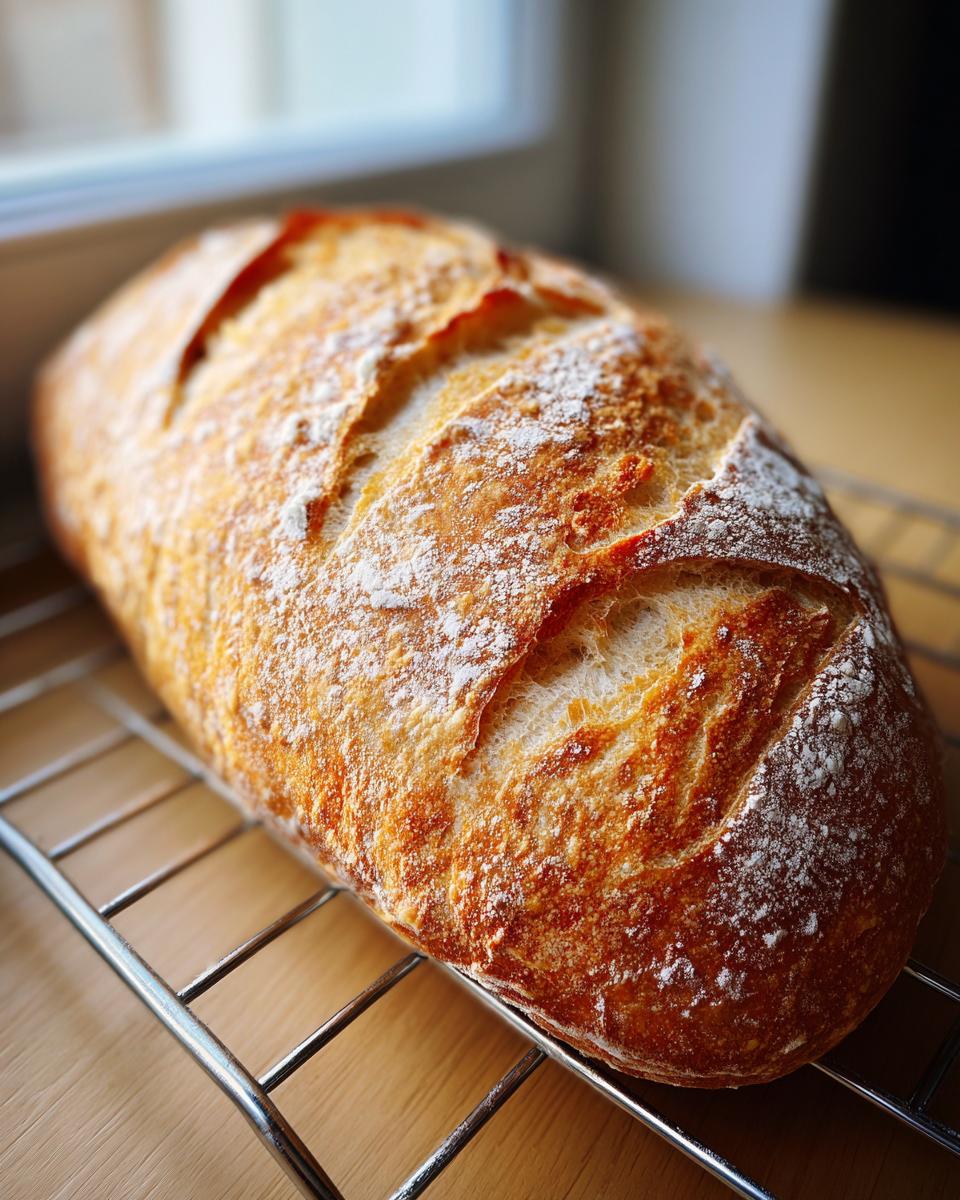
Serving Suggestions for Crusty French Bread
So, you’ve got two perfect loaves of **crusty French bread** cooling on the rack. Now what? While there is absolutely no shame in slapping butter on a warm slice and happily devouring it while standing over the sink (I’ve done that more times than I care to admit!), these loaves are far too fantastic to only be a side dish!
When I bring one of these home, I immediately think about how I want to use that gorgeous crackly crust. For me, that means pairing it with cozy soups. Seriously, grab a ladle of my Velvety Cream of Celery Soup, and soak up every last drop with a torn piece of this bread. The crispy edge holds up perfectly to the creamy interior of the soup without getting instantly soggy.
Or, if you want to take it one step further, slice those loaves on a sharp diagonal, brush them lightly with olive oil (maybe rub a clove of garlic on them first!), toast them until they are golden—this is the base for amazing bruschetta or crostini! Top it with fresh tomatoes, basil, or even some nice sharp cheese. It elevates appetizers so quickly.
And of course, we can’t forget the sandwich potential! Forget those soft, squishy grocery store loaves for your next deli creation. The sturdiness of this **homemade french bread** holds up to wet ingredients much better. Think rich tomato slices, fresh mozzarella, and basil, or layer up some leftover shredded roast chicken for an incredible lunch the next day. Honestly, making this bread means you’ve got the foundation for amazing meals all week long, not just one dinner!
Frequently Asked Questions About Making French Bread
I always end up fielding a few questions after I post this recipe because everyone wants to know how to get that perfect shop-quality loaf at home without spending hours babysitting the oven. It’s all about smart shortcuts! This quick process is proof that you don’t need complicated techniques for great flavor—this is definitely a **No-Fuss Bread Making** winner in my book. If you need a great dip to go with your leftover slices, you have to try my recipe for homemade French onion dip!
Can I make this french bread dough ahead of time?
That is such a good question! The recipe I gave you is built for speed—that 45-minute rise is fantastic when you need **fresh baked bread** tonight. But life happens, right? YES, you absolutely can make the dough ahead of time. After you finish kneading the dough in Step 3 and before you put it into the oiled bowl for the first rise, just cover the bowl tightly with plastic wrap and pop it right into the fridge. This is called a cold fermentation.
If you choose to chill it, the yeast works much, much slower. You’ll need to let it cold-proof for at least 12 hours, and up to 24 hours. When you pull it out, you’ll let it sit on the counter for about an hour to warm up slightly before you punch it down, divide it, and proceed with shaping (Step 5). It gives the flavor a little more depth, too, kind of like a slower fermentation develops a better flavor profile for a **Homemade Baguette Recipe**!
What is the best way to get a very crackly crust on my french bread?
This is the number one texture question, and the answer keeps coming back to one thing: STEAM! I can’t stress this enough if you want that shatteringly crisp shell on your **french bread**. You need a super hot oven (425°F is our sweet spot) and a cloud of humidity when the dough first enters.
Make sure you aren’t skipping the shallow pan on the bottom rack during preheating. When you load your loaves, you pour that cup of *hot* water directly into that pan and shut the door fast. That initial blast of steam keeps the exterior pliable so the loaf can achieve its maximum oven spring. Once the crust starts to look stable and golden brown, the steam has done its job, and you can let the dry heat finish crisping everything up. It’s the secret to bakery-quality results every time!
Nutritional Estimates for Homemade French Bread
Now, I always want to stress that what I’m sharing here is just an estimate, okay? Because I’m not running a lab, these numbers are based on standard calculations using the ingredients listed, and factors like how much flour you really dusted onto your counter or how much oil clung to the bowl can shift things slightly. When you make this **french bread**, remember that baking is chemistry, but our home kitchens have beautiful variables!
But for general planning, here’s a rough breakdown for one slice (about 1/10th of a loaf). If you’re planning a whole **Weekend Baking Project**, you might want to factor this in, though honestly, who stops at one slice?
- Serving Size: 1 slice (approx 1/10 loaf)
- Calories: 175
- Sugar: 0.5g
- Sodium: 300mg
- Fat: 1.5g
- Saturated Fat: 0.2g
- Unsaturated Fat: 1.3g
- Trans Fat: 0g
- Carbohydrates: 35g
- Fiber: 1.5g
- Protein: 5g
- Cholesterol: 0mg
I was genuinely surprised how low the fat and cholesterol were, mainly because we use olive oil instead of loading it up with butter like some older recipes call for. That keeps this **Classic French Loaf** surprisingly light while still giving you that incredible interior chew. Enjoy every slice!
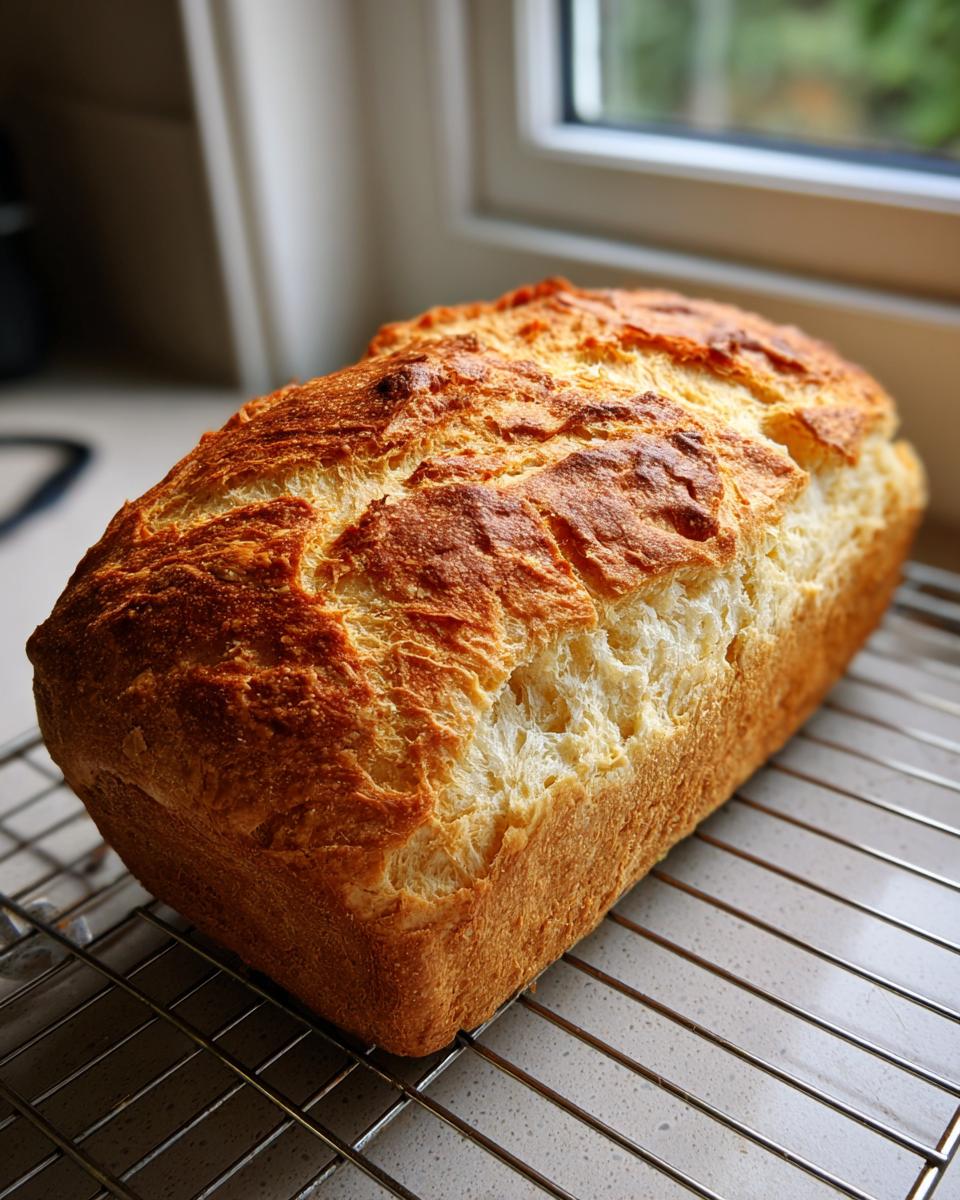
Share Your Crusty French Bread Creations
Whew! We made it! You now have the knowledge and the recipe in hand to produce genuinely fantastic **french bread** right in your home oven. Pulling those two perfectly golden loaves out is such a rewarding feeling, isn’t it? I truly hope your kitchen smells amazing right now.
My favorite part of sharing these recipes, truly, is hearing from you all about how they turn out. Did you manage that crackly crust? Did your kids devour the entire batch before dinner? Don’t keep that success (or any funny baking mishaps!) to yourself!
I’d love it if you took a minute to come back here after you’ve sliced that first warm loaf and left a rating below. Five stars? Three stars? Let me know what worked best for you! It helps other home bakers feel confident tackling this **Easy French Bread Recipe**.
And if you snapped a picture of your beautiful **crusty french bread**—maybe sitting next to the soup you dipped it in, or perhaps sliced up for some amazing leftover sandwiches—please share it on social media and tag me! I absolutely adore seeing my recipes come to life in your kitchens. Tagging me helps me see your amazing work. For me, cooking is all about connection, and sharing the results of a successful bake, like this one, continues that connection. If you are already planning your next bake, maybe you want to tackle something rich and savory next, like my easy crab pasta!
Happy baking to you, and thank you for letting me share this special recipe with your family!
PrintEasy Homemade French Bread: Crusty Outside, Soft Inside in Under 90 Minutes
Make bakery-style French bread at home quickly. This beginner-friendly recipe delivers a guaranteed crackly crust and a soft, fluffy interior, ready in less than 90 minutes.
- Prep Time: 15 min
- Cook Time: 25 min
- Total Time: 80 min
- Yield: 2 loaves 1x
- Category: Baking
- Method: Baking
- Cuisine: French
- Diet: Vegetarian
Ingredients
- 1 1/2 cups warm water (105-115°F)
- 2 1/4 teaspoons active dry yeast
- 1 teaspoon granulated sugar
- 3 1/2 cups all-purpose flour, plus more for dusting
- 1 1/2 teaspoons salt
- 1 tablespoon olive oil
- 1 egg white, beaten with 1 teaspoon water (for wash)
Instructions
- Combine the warm water, yeast, and sugar in a large bowl. Let stand for 5 minutes until foamy. This activates the yeast.
- Add the flour, salt, and olive oil to the yeast mixture. Mix with a wooden spoon until a shaggy dough forms.
- Turn the dough out onto a lightly floured surface. Knead for 6 to 8 minutes until the dough is smooth and elastic.
- Place the dough in a lightly oiled bowl, turning to coat. Cover the bowl with plastic wrap or a clean kitchen towel. Let the dough rise in a warm place for 45 minutes, or until doubled in size.
- Gently punch down the dough. Divide it into two equal pieces. Shape each piece into a long, thin loaf (a baguette shape).
- Place the shaped loaves on a baking sheet lined with parchment paper or a pizza peel dusted heavily with cornmeal.
- Cover the loaves loosely and let them rest for a second rise for 20 minutes. While resting, preheat your oven to 425°F (220°C). Place a shallow pan on the bottom rack for steam.
- Just before baking, brush the tops of the loaves lightly with the egg white wash. Use a sharp knife to make three diagonal slashes across the top of each loaf.
- Place the loaves in the oven. Carefully pour 1 cup of hot water into the preheated shallow pan on the bottom rack to create steam. Immediately close the oven door.
- Bake for 20 to 25 minutes, rotating the pans halfway through, until the crust is deep golden brown and sounds hollow when tapped.
- Transfer the fresh baked bread loaves to a wire rack to cool completely before slicing.
Notes
- For the best crackly crust, the steam in the oven is important. Do not skip adding hot water to the pan.
- If you want a softer crust, skip the egg white wash and mist the loaves with water every five minutes during the first 15 minutes of baking.
- This recipe makes two loaves, perfect for serving alongside weeknight dinners or making incredible sandwiches.
Nutrition
- Serving Size: 1 slice (approx 1/10 loaf)
- Calories: 175
- Sugar: 0.5
- Sodium: 300
- Fat: 1.5
- Saturated Fat: 0.2
- Unsaturated Fat: 1.3
- Trans Fat: 0
- Carbohydrates: 35
- Fiber: 1.5
- Protein: 5
- Cholesterol: 0