
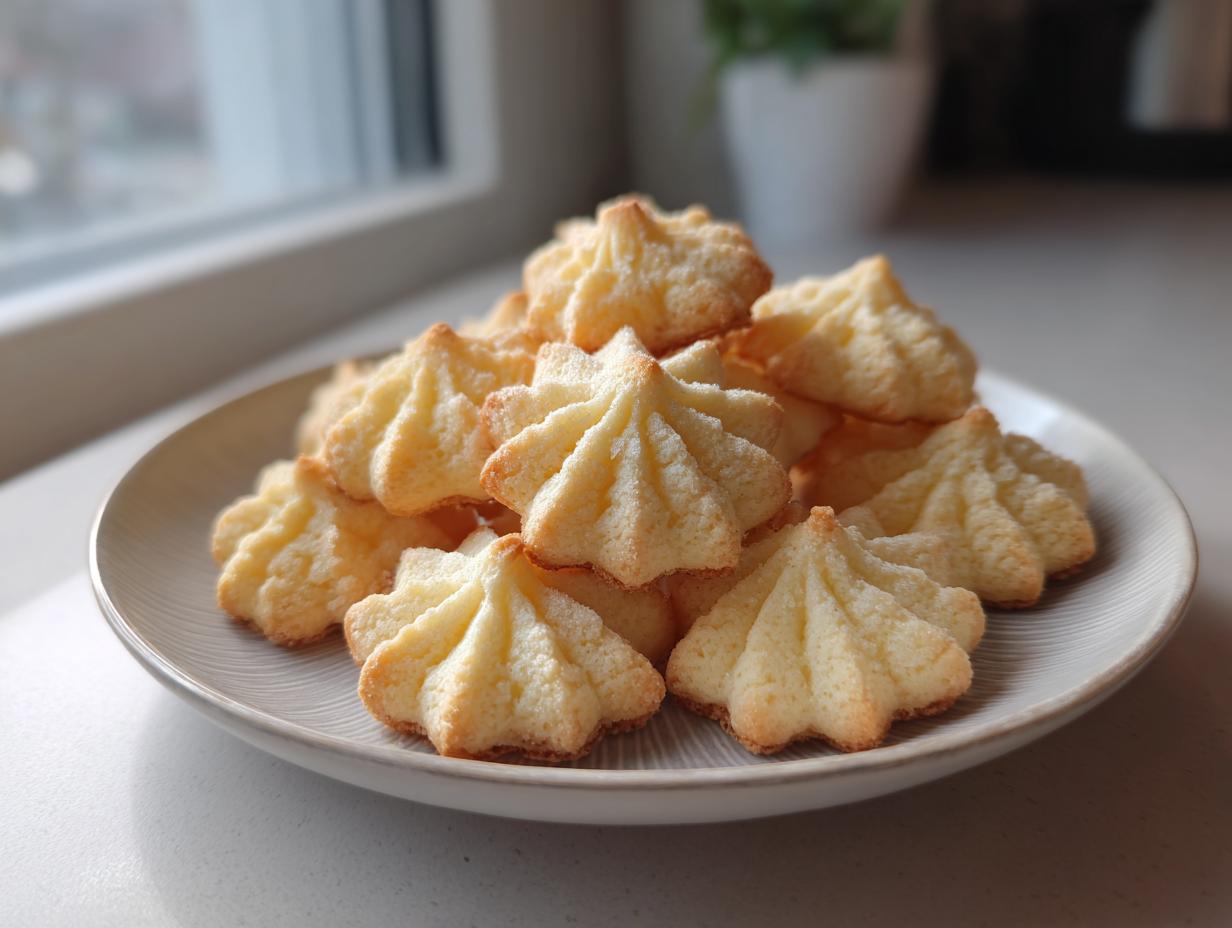
You know that feeling? When you open that bright blue tin, and you just *know* what that cookie is supposed to taste like? That rich, intense buttery flavor followed by that perfect moment where it just dissolves on your tongue. We don’t just want a cookie; we want that exact, comforting memory. That’s why I worked so hard on this classic butter cookie recipe. It’s my goal to bring that nostalgic, melt-in-your-mouth perfection right here into your home kitchen. Forget dry, crumbly failures. This recipe is about simple ingredients whispering deep, sweet secrets, making it the absolute best homemade batch you’ll ever pull out of the oven. If you stick with what I lay out here, I promise you’ll find what you’re looking for. Learn more about getting that perfect bite in my guide on best butter cookies melt in mouth recipe.
- Why This Classic butter cookie Recipe Delivers Melt-in-Your-Mouth Perfection
- Gathering Ingredients for Your Authentic butter cookie Batch
- Step-by-Step Instructions for Perfect butter cookie Dough
- Shaping and Baking Your classic butter cookie Recipe
- Tips for Success with Homemade butter cookies
- Variations for Your Vanilla butter cookies
- Serving Suggestions and Storing Your butter cookie Treats
- Frequently Asked Questions About Making butter cookies
- Estimated Nutritional Data for This butter cookie Recipe
Why This Classic butter cookie Recipe Delivers Melt-in-Your-Mouth Perfection
Listen, if you want that classic, authentic texture—the kind you remember from those beautiful tins of Danish butter cookies—you can’t cut corners. This recipe isn’t just about mixing things; it’s about engineering that perfect collapse on your palate. I’ve tested dozens of shortbread-style recipes, and what sets these apart is the genius balance. We’re aiming for a cookie that is sturdy enough to hold a beautiful piped swirl, yet tender enough to dissolve the second it hits your mouth. That’s the magic trick, and it comes down to two non-negotiable steps in the dough.
If you’re serious about achieving that dreamy texture, take a look at how I approach the mixing process. You can read more about other texture secrets in my post on brown butter sugar cookies recipe, but for these, the rules are strict!
The Secret to Soft butter cookies Texture
The biggest game-changer for these soft butter cookies is the inclusion of cornstarch, which you won’t see in every old recipe. Cornstarch breaks down the flour structure just enough. Couple that with beating the butter and sugar until it’s genuinely fluffy—don’t rush that part! We’re incorporating air early on, which ensures the final product is delicate, not tough or overly crisp even at the edges.
Flavor Profile: Rich buttery cookies
You simply cannot skimp on the butter here. Because this recipe focuses on rich buttery cookies, the quality of your fat matters more than anything. Use the best unsalted butter you can find, and make sure it’s room temperature, not melted or greasy. That pure butter flavor, boosted by a good splash of real vanilla extract, is what gives this cookie its hallmark richness. It tastes like pure, indulgent comfort.
If you want to see another incredible take on cookies that melt beautifully, check out this tried-and-true guide on melt-in-your-mouth Danish butter cookies recipe.
Gathering Ingredients for Your Authentic butter cookie Batch
Okay, let’s talk supplies! Making these homemade butter cookies is great because the ingredient list is so straightforward. Honestly, the magic is in the ratios, not in tracking down a dozen specialty flours. I need you to grab just a few staples, but make sure they are the right texture and quality. Remember, every single item plays a part in achieving that authentic, delicate structure we’re aiming for. We aren’t whipping up a huge batch here—this makes about three dozen perfect cookies, which is usually just the right amount before I eat half of them myself!
Ingredient Notes and Substitution Tips
The very first thing you need is butter. And not just any butter—it has to be high-quality, room-temperature butter. This is where the creaming process begins, so if the butter fights you, the texture fails. That’s rule number one! Regarding the flour, if you want to jazz up that classic flavor just a tiny bit, I highly recommend swapping out one quarter cup of the all-purpose flour for almond flour. It adds the richest depth and really amps up that melt-in-your-mouth feeling without turning them into dense shortbread. Trust me on that swap; it’s a subtle game-changer.
Step-by-Step Instructions for Perfect butter cookie Dough
Alright, time to get messy! The most important thing I can tell you about making these butter cookies is that patience pays off tenfold, especially in the beginning. We are building the structure for that amazing melt-in-your-mouth experience, and that starts way before the dough hits the baking sheet. Grab your stand mixer or a sturdy hand mixer—you’ll need it for Step One. This forms the soul of our cookie, so tackle it with purpose! Remember that we are aiming for that light, fluffy texture that just screams ‘rich buttery cookies’.
Once you’ve got that beautiful base, we move on to incorporating the dry stuff. Don’t worry, we aren’t done yet! This next part is crucial for keeping things light.
Mixing Wet and Dry Components for Your easy butter cookies
When you bring the flour mixture into the butter base, you have to show restraint. Seriously, stop the mixer as soon as you see that last dusty trail of flour disappear. I know it’s tempting to mix until it looks perfectly uniform, but that’s how we get tough cookies that refuse to melt! Overmixing develops the gluten in the flour, and gluten means chewiness—the exact opposite of what we want for these easy butter cookies. Just mix until it barely comes together; you’ll see it form a soft, cohesive dough. See how easy it is when you follow that simple rule? If you need a reminder on handling dough gently, check out my tips for easy homemade teriyaki sauce recipe—it’s about respecting the ingredients!
Remember, this dough needs to hold its shape, so if you are going to pipe, make sure it’s not too warm. If piping feels intimidating, don’t stress; check out this great guide on how others achieved success with butter cookie melt-in-your-mouth perfection. We’ll cover shaping next!
Shaping and Baking Your classic butter cookie Recipe
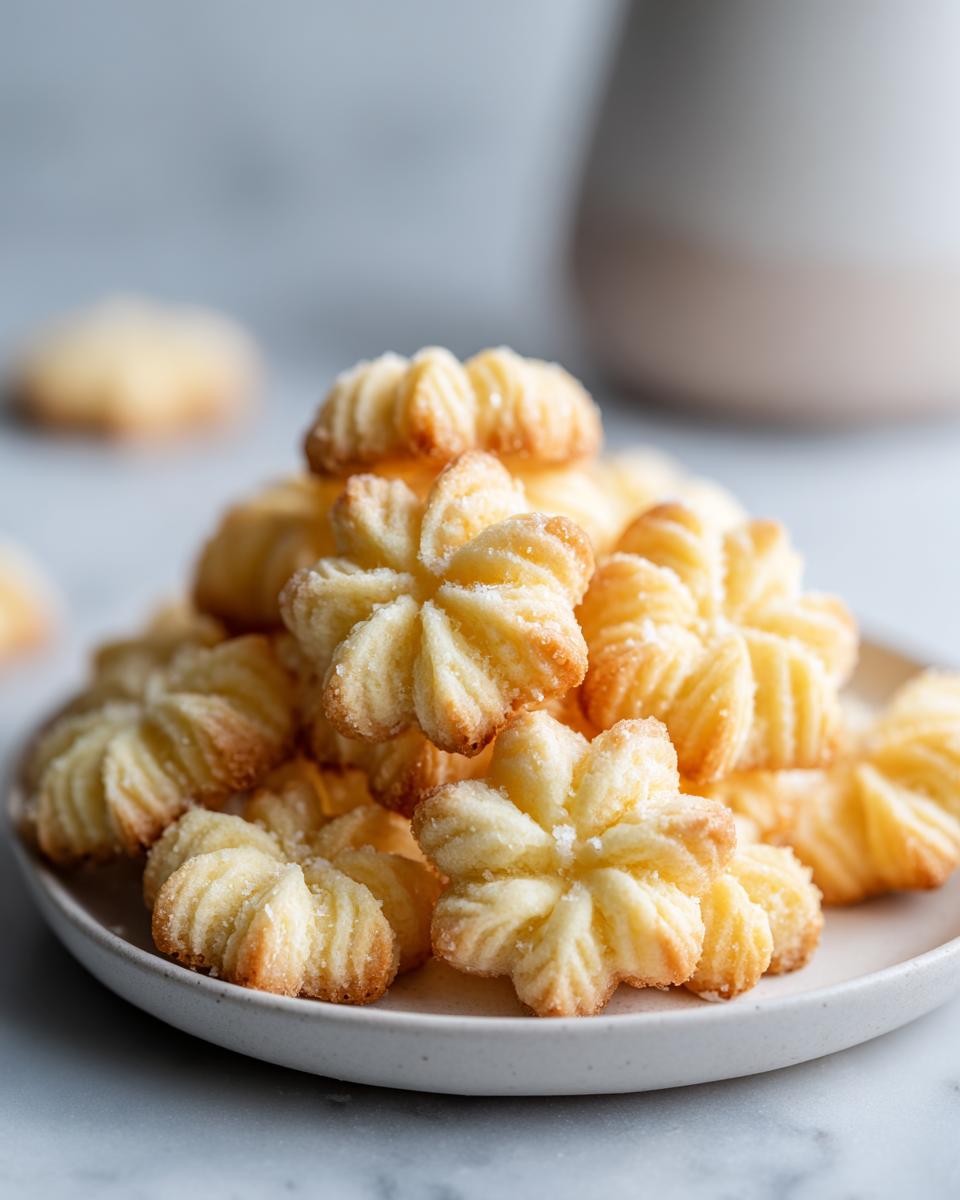
Now that we have this gorgeous, pliable dough, it’s time for the fun part! You have two fantastic ways to go here, depending on how fancy you want to get. If you have a piping bag fitted with a nice big star tip—Wilton 1M is my go-to—you can pipe those beautiful swirls that look just like they came out of the Danish tin. Piping is my favorite because watching them bloom slightly in the oven is just magical! But honestly, if piping stresses you out, just roll the dough into small logs, chill them for about 30 minutes, and slice them into neat little rounds. Both methods give you the melt-in-your-mouth texture we are after!
Get your oven preheated to 350°F (175°C) and line those sheets with parchment paper—trust me, no sticking! Bake them until the edges look *just* kissed with pale gold. If you wait until they are fully brown, you’ve gone too far and lost that pale, tender center. You’ll find more inspiration for shaping these delicate cookies over at melt-in-your-mouth Danish butter cookies recipe, but the key is pulling them out right at that moment. Speaking of the edges—we need a moment of patience right after the oven.
Crucial Cooling Time for crisp edge cookies
Don’t touch them immediately! They are extremely fragile right out of the oven. Let them rest right on that baking sheet for a solid five minutes. This allows that delicate structure to firm up just enough to handle being moved. When you transfer them to the wire rack, that brief cooling period helps set those slight crisp edge cookies we want, while the inside stays soft. It’s a tricky balance, but those five minutes make all the difference!
If you want to try a different shaped cookie, I have a great guide on working with dough for thumbprint cookies classic buttery raspberry jam that might give you some ideas!
Tips for Success with Homemade butter cookies
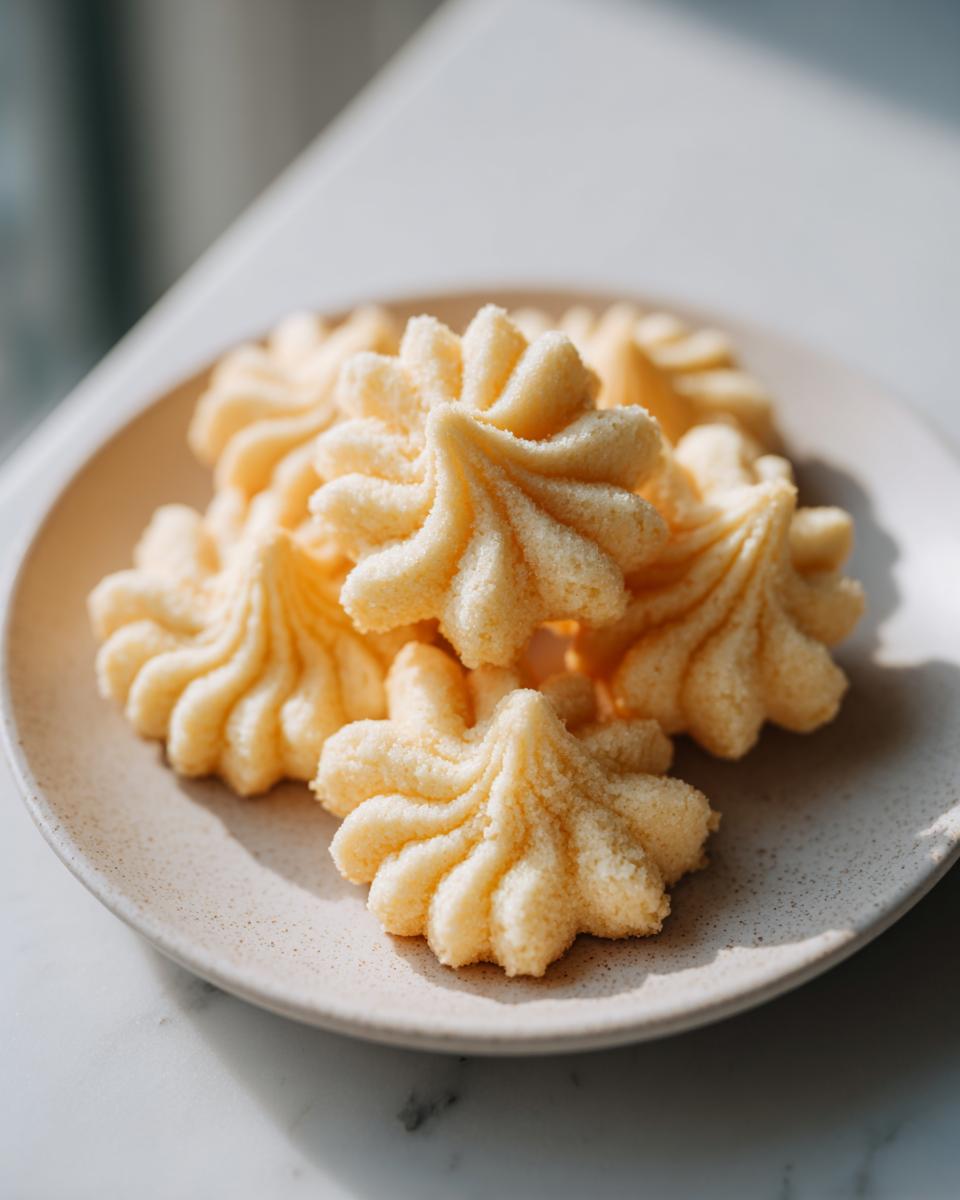
We’ve covered the main bake, but I want to make sure your batch of these homemade butter cookies is perfect every single time. It’s all about temperature control, really. If you’re piping these beautiful swirls, I mentioned chilling the piped dough for about 15 minutes before they even see the oven. This might seem like an unnecessary delay, but trust me, it stops your intricate shapes from totally collapsing into buttery puddles under the heat. That little chill helps the fat solidify again, locking those beautiful ridges in place.
Also, remember the note about storage: high-quality cookies deserve an airtight container! They will stay lovely and fresh for about a week, maintaining that incredible rich flavor. If you want to elevate them even further, don’t forget the almond flour swap! For more tips on getting big results from simple recipes, check out my approach to the best million-dollar pasta bake recipe—it’s all about technique!
Variations for Your Vanilla butter cookies
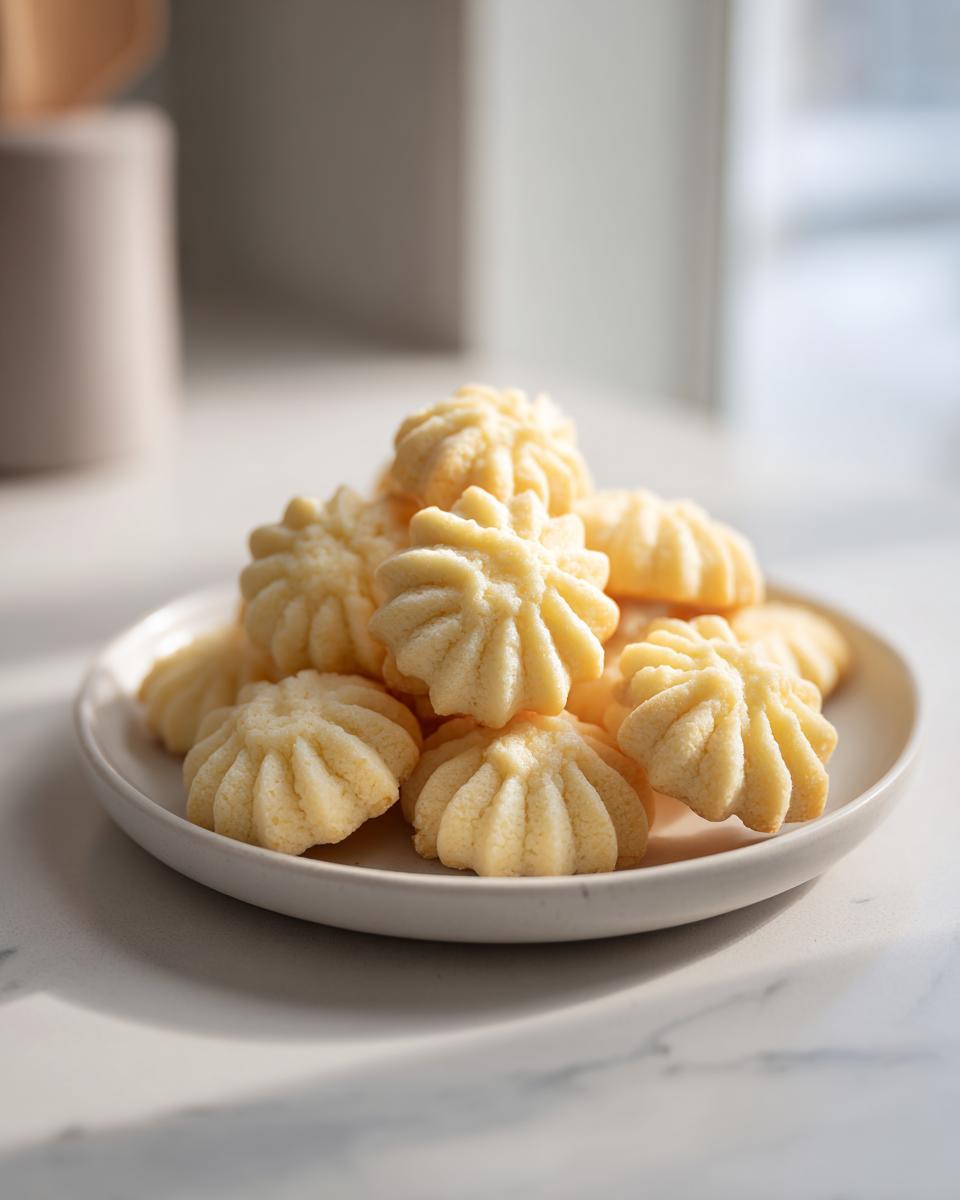
While I absolutely adore the pure, classic taste of these vanilla butter cookies—that rich butter shining through—sometimes you just want a little playful twist, right? You already have the perfect, melt-in-your-mouth base dough, so we don’t need to reinvent the wheel here. Simple additions just before incorporating the dry ingredients can completely change the experience.
If you want something bright, try adding the zest of one lemon or orange right into the creamed butter and sugar. Wow, that citrus just wakes up the whole cookie! Or, for a cozy, almost holiday spice vibe, add a generous pinch of freshly grated nutmeg along with your salt and vanilla. It pairs shockingly well with the deep buttery flavor. For more ideas on adding zest to classic recipes, take a peek at my guide on the cranberry orange cake recipe moist zesty. If you want to see another elegant take on this style of treat, check out how the French handle their versions over at French butter cookies.
Serving Suggestions and Storing Your butter cookie Treats
So, you’ve got these incredible, delicate butter cookie treats, and now you need to know the best way to enjoy (and hide!) them. These are absolutely phenomenal paired with a strong cup of coffee in the afternoon—they practically melt while you sip! Of course, they are my go-to for any holiday cookie swap, too. If you want to make them look extra fancy, remember that dipping half of the cooled cookie into high-quality, melted dark chocolate adds a gorgeous look and a nice snap to contrast that soft interior.
When it comes time to put these away, you must use an airtight container. These beautiful rich buttery cookies start to absorb moisture quickly if left out. If you keep them sealed up, they maintain their perfection for about a week. It’s amazing they last that long! To see how I handle storage for other beloved meals, check out my tips for easy honey harissa chicken bowls cava copycat.
Frequently Asked Questions About Making butter cookies
I know you might still have a few little questions swirling around, which is totally normal when trying to nail a delicate recipe like this! Getting these soft butter cookies just right sometimes takes a little troubleshooting. Don’t worry, I’ve answered the most common things I hear from folks trying this recipe for the first time. If your cookies spread out way too much, nine times out of ten it’s because your butter was too warm when you started creaming, or you skipped the optional chilling step. We want them to spread *just* a little, not turn into flat discs!
Can you skip the chilling? Technically, yes, but if you want those gorgeous piped ridges, please don’t. A quick 15 minutes in the fridge makes a huge difference in definition. Also, many folks ask about salted butter versus unsalted. I always specify unsalted because it lets *me* control the salt level, but if you only have salted, just leave out the extra salt called for in the recipe. You can find more pro tips on handling temperature and texture by checking out how I make easy creamy one pot pesto pasta—the science is similar!
If you want to read more about the authentic shaping methods, this link to Danish butter cookies is super helpful for comparing traditional Danish approaches.
Estimated Nutritional Data for This butter cookie Recipe
I’ve always believed that knowing what goes into your body is just as important as knowing how to get the texture right! So, here is the nutritional breakdown for one of our classic butter cookie delights. Now, remember what I always say: these numbers are based on the exact measurements I provided in the recipe, using standard ingredients. If you swap in specialty flours or use a different type of sugar, things might shift a little bit.
Think of this chart as a fantastic starting point, especially if you’re planning these for a big holiday spread or counting calories like my neighbor Betty does. It’s important to honor the ingredients, and that includes being mindful of what they bring to the table. I always recommend plugging in your specific brands if you need hyper-accurate counts, but for general planning—these are pretty spot on!
- Serving Size: 1 cookie
- Calories: 110
- Fat: 7g
- Saturated Fat: 4g
- Carbohydrates: 10g
- Protein: 1g
- Sugar: 5g
- Sodium: 35mg
- Cholesterol: 25mg
For more insights into planning your meals, even for quick snacks, you can check out my approach to prepping things like easy lunch meal prep. Happy tracking, but more importantly, happy baking!
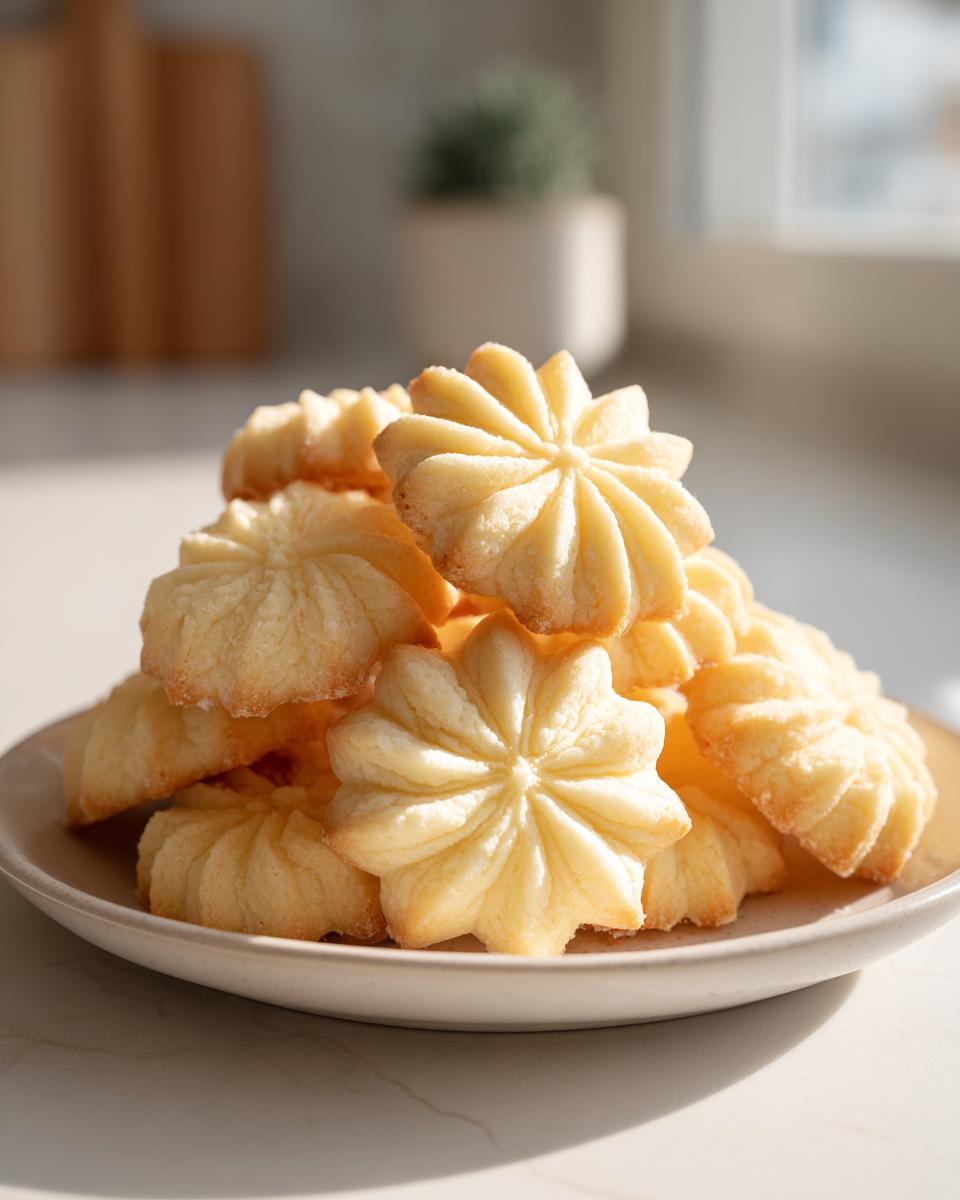
PrintAuthentic Melt-in-Your-Mouth Danish Butter Cookies
Follow this classic recipe to create rich, buttery cookies that achieve the signature melt-in-your-mouth texture reminiscent of the best Danish butter cookies found in tins. These are simple to make and perfect for gifting or enjoying anytime.
- Prep Time: 20 min
- Cook Time: 14 min
- Total Time: 34 min
- Yield: About 3 dozen cookies 1x
- Category: Dessert
- Method: Baking
- Cuisine: Danish
- Diet: Vegetarian
Ingredients
- 1 cup unsalted butter, softened
- 1/2 cup granulated sugar
- 1 large egg yolk
- 1 teaspoon vanilla extract
- 2 1/2 cups all-purpose flour
- 1/4 teaspoon salt
- 1/4 cup cornstarch
Instructions
- In a large bowl, cream the softened butter and granulated sugar together until the mixture is light and fluffy. This step is key for texture.
- Beat in the egg yolk and vanilla extract until just combined. Scrape down the sides of the bowl as needed.
- In a separate bowl, whisk together the flour, salt, and cornstarch.
- Gradually add the dry ingredients to the wet ingredients, mixing on low speed until a soft dough forms. Do not overmix.
- Transfer the dough to a piping bag fitted with a large star tip (like Wilton 1M) for classic shapes, or shape the dough into logs and chill for 30 minutes if you prefer a shortbread style cookie.
- Preheat your oven to 350°F (175°C). Line baking sheets with parchment paper.
- Pipe or slice the dough into desired shapes, about 1/2 inch thick, onto the prepared sheets, leaving space between each cookie.
- Bake for 10 to 14 minutes, or until the edges are lightly golden brown. The centers should remain pale.
- Let the cookies cool on the baking sheet for 5 minutes before carefully transferring them to a wire rack to cool completely.
- For an extra touch, dip the cooled cookies halfway into melted chocolate and let them set.
Notes
- Use high-quality, room-temperature butter for the best creaming action and final texture.
- Chilling the piped cookies for 15 minutes before baking helps them hold their shape better during baking.
- For a richer flavor, substitute 1/4 cup of the all-purpose flour with almond flour.
- These cookies store well in an airtight container at room temperature for up to one week.
Nutrition
- Serving Size: 1 cookie
- Calories: 110
- Sugar: 5g
- Sodium: 35mg
- Fat: 7g
- Saturated Fat: 4g
- Unsaturated Fat: 3g
- Trans Fat: 0g
- Carbohydrates: 10g
- Fiber: 0g
- Protein: 1g
- Cholesterol: 25mg