
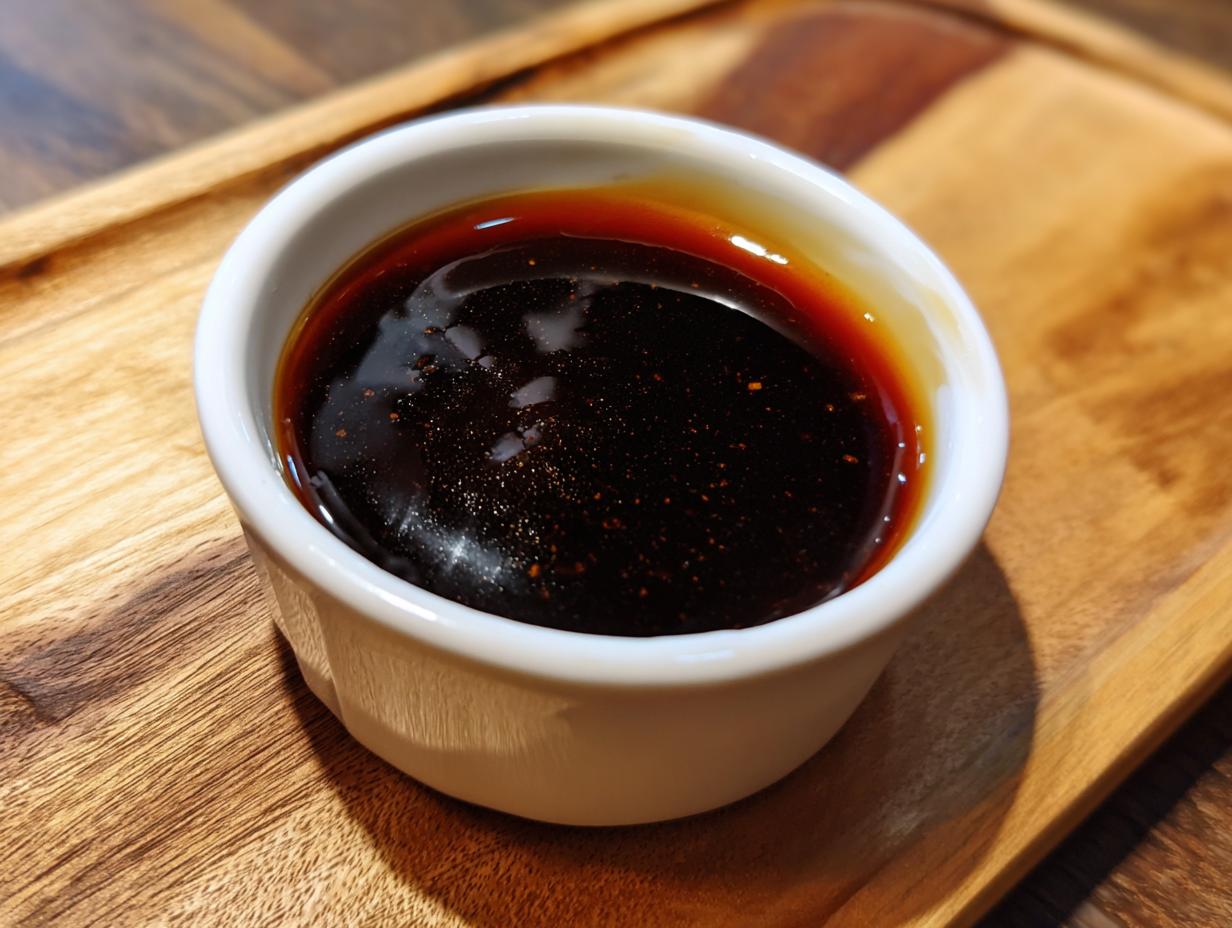
If you’re like me, you probably have that murky, overly sweet brown stuff sitting in the back of your fridge labeled “Teriyaki Sauce.” Listen, we can do so much better than that! As someone who learned early on that the best food tells the truest story, I can tell you that building flavor starts with simple, quality ingredients cooked just right. Forget settling for the bottled stuff that tastes like pure corn syrup. I’m sharing my go-to, absolutely game-changing homemade teriyaki sauce recipe. It’s savory, shiny, sticky, and perfectly balanced—and it’s ready in about 15 minutes. This homemade teriyaki sauce will be the fastest way to elevate your cooking, making those quick easy weeknight dinners feel world-class.
- Why This Is the Best Homemade Teriyaki Sauce Recipe
- Ingredients for Your Homemade Teriyaki Sauce
- How to Prepare Your Quick Homemade Sauce
- Versatile Homemade Condiment: Using Your Homemade Teriyaki Sauce
- Ingredient Notes and Substitutions for Homemade Teriyaki Sauce
- Tips for Success Making Your Simple Asian Sauce
- Storage and Make Ahead Sauce Recipe Tips
- Frequently Asked Questions About Homemade Teriyaki Sauce
- Nutritional Estimate for This Homemade Teriyaki Sauce
Why This Is the Best Homemade Teriyaki Sauce Recipe
I’m telling you, once you make this—just once—you’ll never go back to the jarred stuff. This recipe is truly better than store bought teriyaki because we are building layers of flavor that just aren’t present in the long-shelf-life versions. This quick homemade sauce gives you that signature sweet-and-savory punch without any of the weird stabilizers or excess sugar blowouts.
It’s designed to be easy enough for a Tuesday night but tastes sophisticated enough for company. We’re aiming for that perfect, glossy coating that makes grilled chicken or tofu sing! You should definitely check out my guide for easy quick homemade BBQ sauce recipe next!
Flavor Profile: Authentic Teriyaki Flavor Achieved Quickly
The secret to that authentic teriyaki flavor isn’t some obscure spice; it’s just freshness. That store-bought stuff relies on slow-cooked depth, but we get that beautiful complexity from just grating a little fresh ginger and mincing garlic right into the pot. Those aromatics wake everything up immediately. When you simmer the brown sugar just until it melts with the soy, you get that wonderful, deep caramel note that balances the salt perfectly. Trust me, the vibrancy of fresh flavor beats anything bottled.
Speed and Simplicity: The 15 Minute Teriyaki Promise
This is exactly why I love this recipe so much for weeknights. We are talking about a full, complex sauce in under 15 minutes total. It’s the definition of a 15 minute teriyaki and an easy teriyaki sauce recipe. You likely have 90% of what you need already in your cupboards—it’s a real pantry staple sauce waiting to happen! Mixing up the soy, sugar, and liquids takes maybe three minutes tops before it even hits the heat. It’s the fastest way to make any simple protein taste like takeout royalty.
Ingredients for Your Homemade Teriyaki Sauce
The beauty of this recipe, Julian here, is that it relies on ingredients you probably already have for simple Asian cooking. Getting the measurements right is key, especially when we introduce the thickening agent later! I always lay everything out first, like a little kitchen mise en place, so that the 15-minute timeframe is totally achievable. This ensures you have that glorious, thick sauce we’re aiming for. You can use this same foundational approach for my homemade granola bars—always prep first!
- 1/2 cup soy sauce (that’s your shoyu base!)
- 1/2 cup water
- 1/4 cup brown sugar, packed tight
- 2 tablespoons mirin (If you don’t have it, use 1 tablespoon sesame oil and 1 tablespoon water as a substitute—it’s close enough!)
- 1 teaspoon grated fresh ginger (Don’t skip grating this fresh—it makes all the difference!)
- 1 clove garlic, minced finely
- 1 tablespoon cornstarch (This is our thickener)
- 2 tablespoons cold water (This is just for mixing that cornstarch slurry separately)
How to Prepare Your Quick Homemade Sauce
This is where the magic happens, and since we’re aiming for that beautiful, shiny texture, timing matters! I always make sure my cornstarch slurry is ready before the liquids even start to bubble. You can use this technique when making any stir fry sauce recipe—it prevents lumps later!
Combining and Simmering the Base Liquids
First up, get your soy sauce, the half-cup of water, your packed brown sugar, that little bit of mirin (or your substitution), the grated ginger, and the minced garlic into a small saucepan. Set that over medium heat. Now, don’t rush this part. You need to stir it consistently until that sugar is completely dissolved. Once you see steam really rising and it comes to a gentle simmer, you’re ready for the thickening stage.
Creating the Slurry for a Thick Homemade Teriyaki
While the liquids are heating, mix your cornstarch and the two tablespoons of cold water vigorously in a separate little bowl until it’s completely smooth. That’s your slurry! Once your main sauce is simmering, you have to pour this slurry in incredibly slowly while whisking nonstop. Seriously, keep that whisk moving! This is the only way we guarantee that gorgeously thick homemade teriyaki texture and avoid those dreaded white clumps getting stuck in your final product.
Finishing the Sauce and Cooling
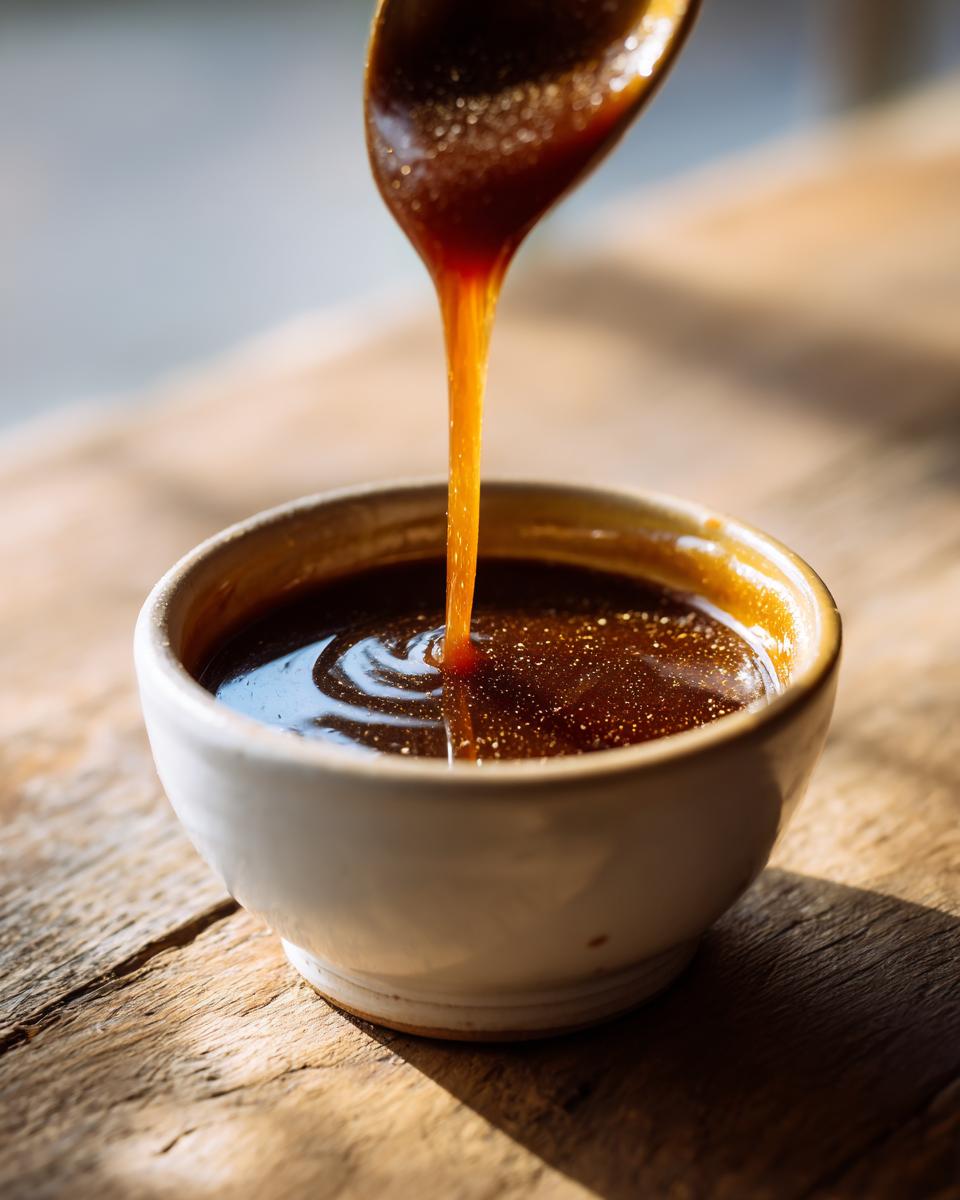
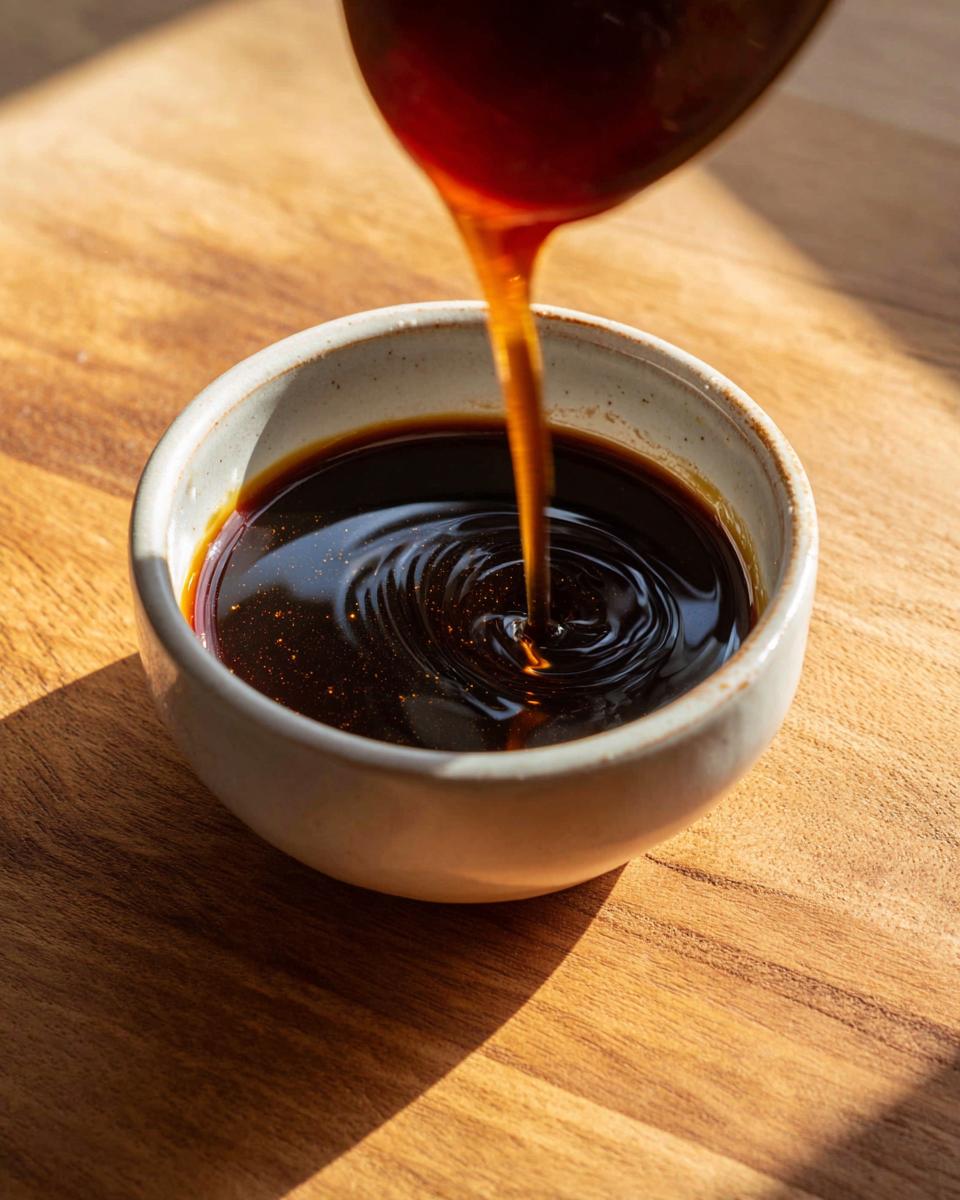
Once you pour the slurry in, keep cooking and stirring for about a minute or two. The sauce will start clinging to the spoon and get beautifully glossy. That’s your sign! Take it right off the heat immediately. Here’s a pro tip: it will seem a little thin right now, but don’t panic! It thickens up so much more as it cools down. Let it sit, and you’ll have that perfect glaze consistency.
Versatile Homemade Condiment: Using Your Homemade Teriyaki Sauce
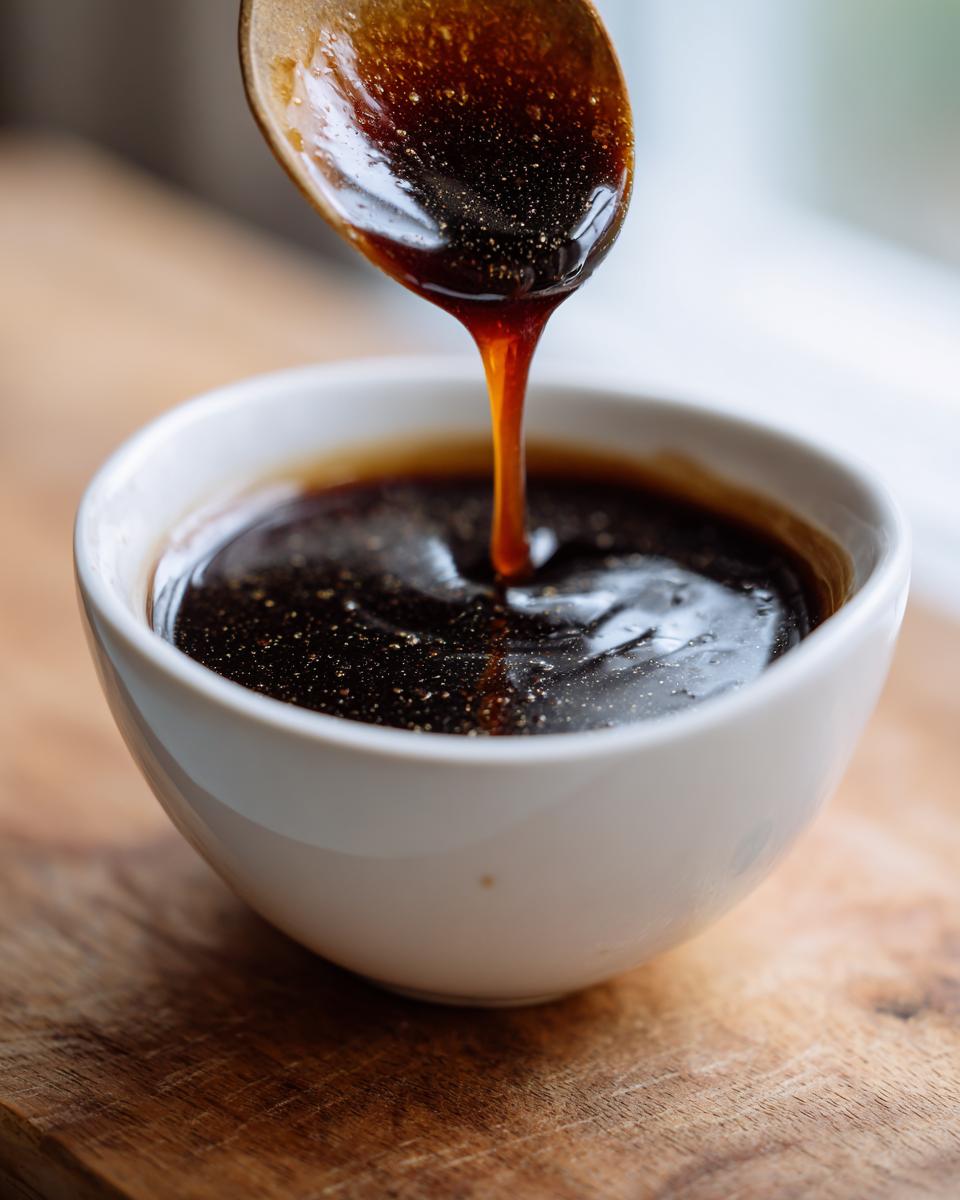
This is the best part—this isn’t just a one-trick pony sauce! Because we control the thickening just right, this recipe is an incredible versatile homemade condiment. You can use it straight, right off the stove, as a thick, shiny DIY teriyaki glaze for veggies or seared scallops. My absolute favorite way to use it is as a marinade. If you let your protein sit in this sauce for just an hour or two, it pulls in so much flavor, making something simple like chicken thighs or firm tofu taste incredible. If you’re looking for more inspiration after you’ve marinated that protein, you should check out my recipe for chicken skewers!
It hardens up into that sweet, sticky coating when it hits high heat, which is exactly what you want in a sticky teriyaki marinade. Seriously, even just stirring a couple of spoonfuls over a quick rice bowl (like my grilled shrimp bowl!) turns it into a fantastic meal. It’s the perfect sauce for chicken and tofu because it caramelizes beautifully without burning too fast, provided you don’t add it too early in the cooking process.
Ingredient Notes and Substitutions for Homemade Teriyaki Sauce
When you’re moving away from the bottle, people start getting protective of their ingredients, and that’s okay! I learned that the integrity of a sauce like this hinges on the quality and substitutes you choose. Because this is an Asian-inspired recipe that relies on that perfect sweet-savory profile, knowing where you can swap and where you shouldn’t is crucial for getting that expert result. I treat every ingredient choice as part of my flavor development, just like I did when perfecting my easy homemade creamy eggnog recipe.
Let’s talk about the soy sauce first. If you need this to be gluten-free, which is a common request for a healthy homemade sauce, you must swap out traditional soy sauce for Tamari. Tamari is usually just fermented soybeans and water, so it hits the right savory notes while keeping you safe. Just remember that Tamari can sometimes be saltier than regular shoyu, so maybe hold back a tablespoon of the regular soy and taste test before you add more!
The mirin substitution is another big one, since not everyone keeps rice wine on hand. If you don’t have mirin, which brings sweetness and acidity, I suggest using half sesame oil and half water (as listed in the ingredients). The sesame oil really helps mimic that unique background flavor that mirin brings to a simmered sauce. If you are trying to cut down on sugar drastically—making this a genuinely healthy homemade sauce—you can swap half of that brown sugar for a zero-calorie sweetener like erythritol or monk fruit blends, but you might lose some of that rich caramel depth, so add it slowly!
Tips for Success Making Your Simple Asian Sauce
Making a fantastic simple Asian sauce that is glossy and smooth really boils down to controlling two main things: temperature and the cornstarch. If you nail these two aspects, I promise you, your sauce will look glossy and professional every single time you make it. This isn’t rocket science, but knowing these little tricks separates a good sauce from a truly great one. Just like when you’re working on that easy artisan bread no knead recipe, precision in the right moment makes all the difference.
Here are the critical things I watch for every single time I bring this sauce to a simmer on the stovetop:
- Never Add Slurry to Cold Liquid: This is the most common mistake people make! You absolutely must bring the main liquid (soy sauce, water, sugar base) to a gentle simmer *before* you add the cornstarch slurry. If you pour the slurry into cold liquid, the cornstarch won’t break down properly, and you’ll end up with sad, undissolved lumps that never fully disappear.
- Whisk Constantly and Slowly Pour: When adding that slurry mixture, I mean *constantly whisking*. Don’t ever stop moving the sauce once it hits the heat. Pour the slurry in a thin, steady stream, not a big glug. This ensures the starch distributes evenly throughout the hot liquid right away, giving you that smooth, lump-free shine immediately.
- Watch the Sugar—It Burns Easily: Remember, we are using brown sugar here, which has a lower smoke point than granulated white sugar. Once it’s dissolved, keep your heat at medium-low. You want a simmer, not a frantic boil. If you let the sauce boil too hard, those sugars will scorch on the bottom of your pan, giving your whole batch an acrid, burnt taste that you just can’t fix later.
If you follow those three rules—simmer first, whisk constantly, and respect the sugar—you’ll have that perfect, restaurant-quality glaze coating everything you brush it onto!
Storage and Make Ahead Sauce Recipe Tips
One of the biggest wins when you make a homemade teriyaki sauce is knowing you have something fantastic ready for those ultra-busy evenings. This recipe is designed to be a perfect make ahead sauce recipe because, honestly, it tastes even better the next day! The flavors have time to mingle and the ginger and garlic really deepen.
When it comes to storage, airtight is your best friend. I use small mason jars—the ones with the great sealing lids. Make sure the sauce is completely cooled down before you seal the jar and put it in the fridge. If you trap heat in there, you invite condensation, and we want to keep this pure and high quality.
You can keep this sauce fresh in the refrigerator for up to two weeks easily. That’s plenty of time to use it up! When you pull it out later, remember what I mentioned about the cornstarch. It will naturally firm up significantly when chilled, turning into a very thick jam-like consistency. Don’t think it’s gone bad when it looks that way!
To use it as a quick glaze for veggies or brushing onto some weeknight grilled chicken, just scoop out what you need and warm it gently on the stovetop over low heat for just a minute or two, whisking until it loosens up again before you brush it on. If you are using it as a sticky teriyaki marinade, you can pour it straight from the fridge onto your protein—no need to warm it up first, as the meat or veggies will help loosen it as they marinate.
If you find yourself making a huge batch and worrying about using it all in two weeks, you can absolutely freeze this! You can check out my guide on easy freezer jam no canning recipe for different freezing techniques, but for sauce like this, just pour extras into freezer-safe bags, squeeze out all the air, and lay them flat in the freezer. Thaw overnight in the fridge for the next batch of deliciousness!
Frequently Asked Questions About Homemade Teriyaki Sauce
I always get a flood of questions when people try making a sauce from scratch for the first time. It’s totally normal! When you’re transitioning from store-bought, you want to make sure you’re getting that balance just right. I’ve gathered a few of the most common things folks ask me about this homemade teriyaki sauce.
Can I make this homemade teriyaki sauce recipe sweeter or spicier?
Absolutely, you can customize this recipe to hit whatever flavor profile you love best! For sweetness, since we are using brown sugar, which brings good depth, you can add a little more—maybe another tablespoon at a time during the initial simmering phase. Taste it before you add the slurry, though. If you want it spicier, that’s easy too! You can stir in a teaspoon of red pepper flakes right when you add the ginger and garlic, or if you like that deep, slow heat, a teaspoon of Sriracha works beautifully when you take the sauce off the heat. Remember, this is your sauce, so make it your own. It’s a fantastic base for any sweet and savory sauce!
How do I get a truly thick homemade teriyaki glaze?
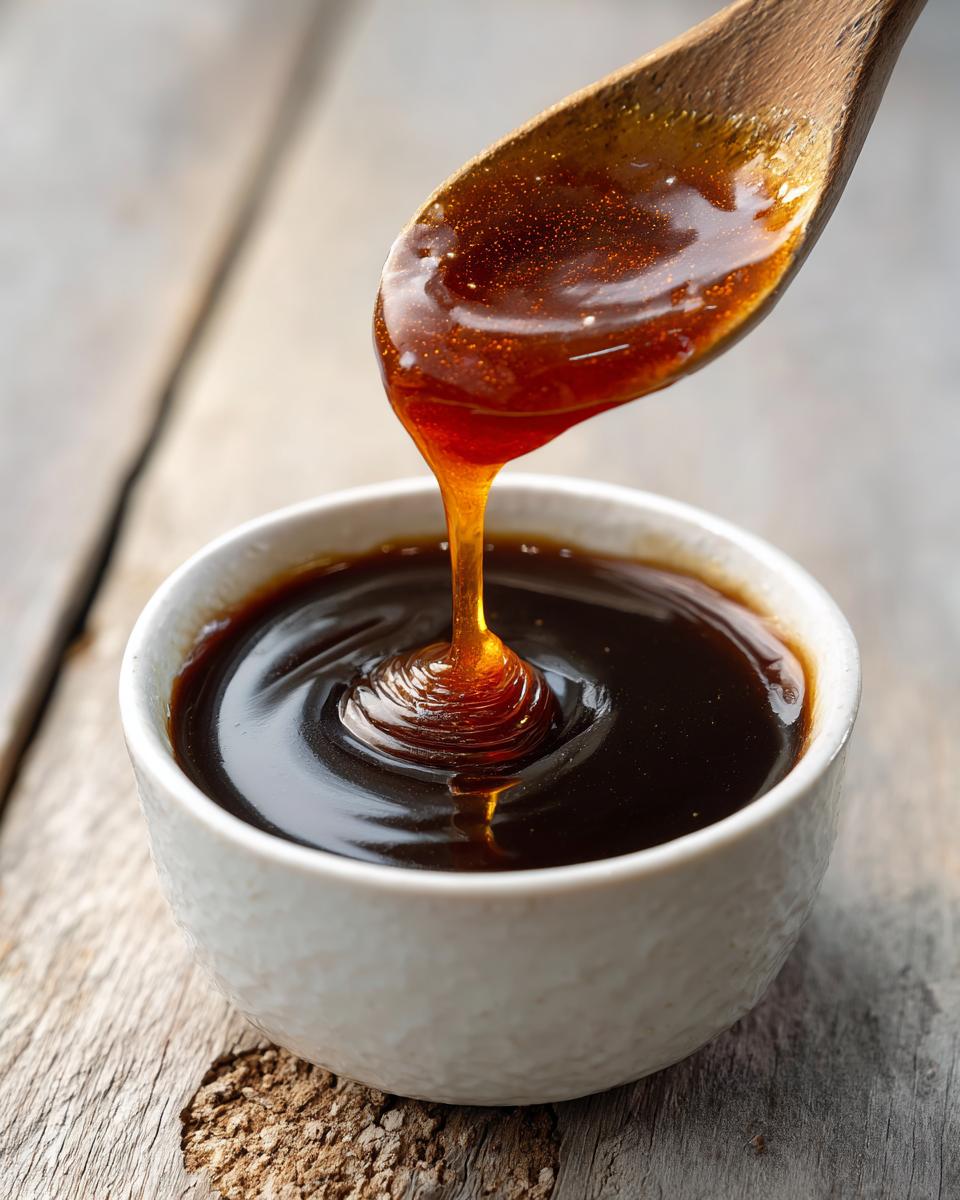
This is probably the question I get the most! The key to that perfect, clingy, shiny coating—that real DIY teriyaki glaze—is ensuring you handle the slurry correctly. You must whisk the cornstarch and cold water together until it’s perfectly smooth *before* you add it to the simmering liquids. Then, pour that slurry in a very slow stream while constantly whisking the main pot. That’s step one. Step two, and this is major: don’t overcook it under high heat! Once it bubbles and thickens enough to coat the back of a spoon, take it off the heat. I know it seems thin when it’s piping hot, but I promise you, it sets up beautifully as it cools down. If you follow that, you’ll have the thickest, glossiest sauce ready for any glazing sauce ideas you have.
Is this recipe suitable for a stir fry sauce recipe?
Oh, yes, it’s perfect! This recipe works wonderfully as a general-purpose stir fry sauce recipe. However, because we use sugar and mirin, which caramelize quickly, you need to be strategic about *when* you add it. Don’t dump the sauce in when your veggies and protein are still searing on high heat. The sugar will burn before the rest of your stir-fry is done!
My advice is to cook your meats and veggies almost all the way through. Remove them from the pan, maybe just lower the heat to low, and then pour the sauce in. Stir it quickly for about 30 seconds until it’s glistening and coats everything perfectly. Just a quick toss over low heat is all it needs to finish, and you’ll avoid that bitter, scorched taste!
Nutritional Estimate for This Homemade Teriyaki Sauce
When we talk about moving to a homemade Asian cooking essential, folks often want to know exactly what they are putting into their bodies compared to those bottled sauces. Transparency is everything here at the kitchen blog, as I learned from my own culinary journeys. We work hard to use quality ingredients, but you still need to know the starting point!
What follows is the estimated nutritional data for a serving size of two tablespoons of this quick homemade sauce. Please, always take these numbers with a little grain of salt—they are approximations! The final count will shift slightly depending on the brand of soy sauce you use (especially salt content) and exactly what kind of sugar or mirin you substitute in for your own batch.
Think of this as the baseline for your homemade goodness. It’s a great reference point if you’re tracking toward a healthy homemade sauce!
- Serving Size: 2 tablespoons
- Calories: About 55
- Sugar: Roughly 9 grams
- Sodium: Around 550mg (This is the main contributor, naturally, due to the soy sauce!)
- Fat: 0 grams
- Saturated Fat: 0 grams
- Cholesterol: 0 grams
- Carbohydrates: About 13 grams
- Fiber: 0 grams
- Protein: 1 gram
Easy 15-Minute Homemade Teriyaki Sauce Recipe
Make this quick homemade teriyaki sauce from scratch. It tastes better than store-bought versions and works perfectly as a sticky marinade or a thick glazing sauce for chicken, tofu, or stir-fries.
- Prep Time: 5 min
- Cook Time: 10 min
- Total Time: 15 min
- Yield: About 1 cup 1x
- Category: Condiment
- Method: Stovetop Simmering
- Cuisine: Japanese Inspired
- Diet: Vegetarian
Ingredients
- 1/2 cup soy sauce (shoyu)
- 1/2 cup water
- 1/4 cup brown sugar, packed
- 2 tablespoons mirin (or substitute with 1 tablespoon sesame oil and 1 tablespoon water)
- 1 teaspoon grated fresh ginger
- 1 clove garlic, minced
- 1 tablespoon cornstarch
- 2 tablespoons cold water (for slurry)
Instructions
- Combine the soy sauce, 1/2 cup water, brown sugar, mirin, ginger, and garlic in a small saucepan.
- Bring the mixture to a simmer over medium heat, stirring until the sugar dissolves completely.
- In a separate small bowl, whisk together the cornstarch and 2 tablespoons of cold water to create a slurry.
- Pour the cornstarch slurry slowly into the simmering sauce while whisking constantly.
- Continue to cook, stirring, for about 1 to 2 minutes until the sauce thickens and becomes glossy.
- Remove the sauce from the heat. It will thicken more as it cools.
- Use immediately as a glaze or stir-fry sauce, or store it for later use as a marinade.
Notes
- This recipe makes a versatile sauce that is naturally vegetarian and vegan.
- For a thicker sauce, use slightly more cornstarch in the slurry.
- Store leftover homemade teriyaki sauce in an airtight container in the refrigerator for up to two weeks.
- This sauce is excellent for glazing grilled salmon or chicken skewers.
Nutrition
- Serving Size: 2 tablespoons
- Calories: 55
- Sugar: 9
- Sodium: 550
- Fat: 0
- Saturated Fat: 0
- Unsaturated Fat: 0
- Trans Fat: 0
- Carbohydrates: 13
- Fiber: 0
- Protein: 1
- Cholesterol: 0