
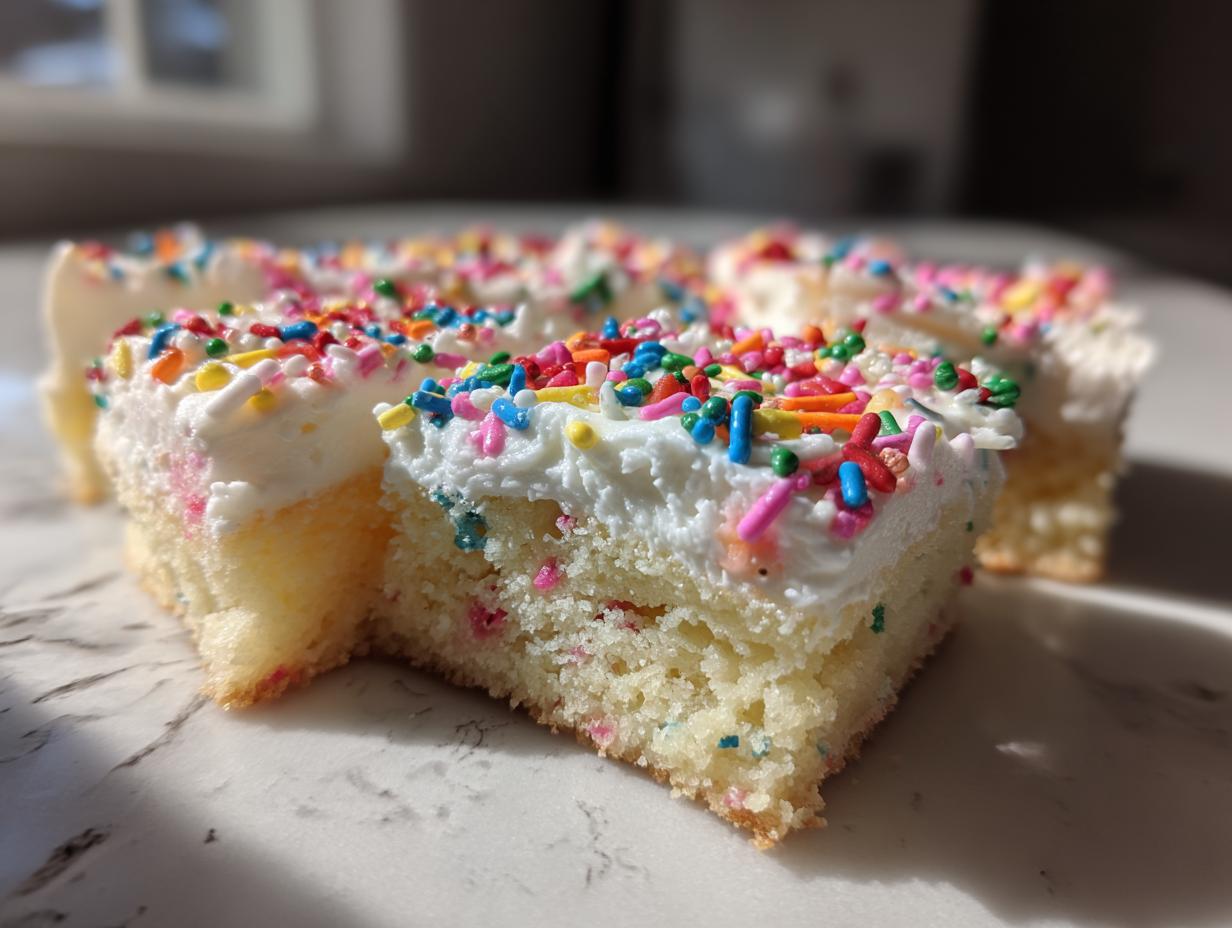
Forget the holiday hassle! Rolling dough, finding the perfect cookie cutters, dealing with cracked edges—it’s enough to make you skip baking entirely. But what if I told you we could capture that pure, melt-in-your-mouth, buttery happiness of the classic sugar cookie in one simple pan? That’s exactly what we’re doing today. These sugar cookie bars taste exactly like the version my grandmother patiently taught me to make, only they bake up soft, chewy, and loaded with that classic flavor we all crave. Trust me when I say this is the best homemade sugar cookie bars recipe you’ll use, because it delivers stunning results without the fuss. It’s home baking, made joyful and accessible again. We’re aiming for pure indulgence in the easiest way possible.
- Why This is the Best Homemade Sugar Cookie Bars Recipe
- Ingredients for Soft Frosted Sugar Cookie Bars
- Step-by-Step Instructions for Your Sugar Cookie Bars
- Tips for Achieving Bakery Style Sugar Cookie Bars
- Make Ahead Cookie Bars and Storage
- Festive Dessert Bars: Variations and Decorations
- Frequently Asked Questions About Sugar Cookie Bars
- Nutritional Estimate for These Quick Dessert Bars
- Share Your Perfect Sugar Cookie Bars Experience
Why This is the Best Homemade Sugar Cookie Bars Recipe
If you’re anything like me, you love the look of cut-out cookies, but you dread the cleanup! That’s why this recipe wins every time. It satisfies every craving without any of the mess. You get that unmistakable classic flavor, but in a brilliant, no-fuss format. It’s my go-to when I need quick results for a party or just a weeknight sweet craving.
- You get all the buttery goodness without ever having to roll or cut the dough.
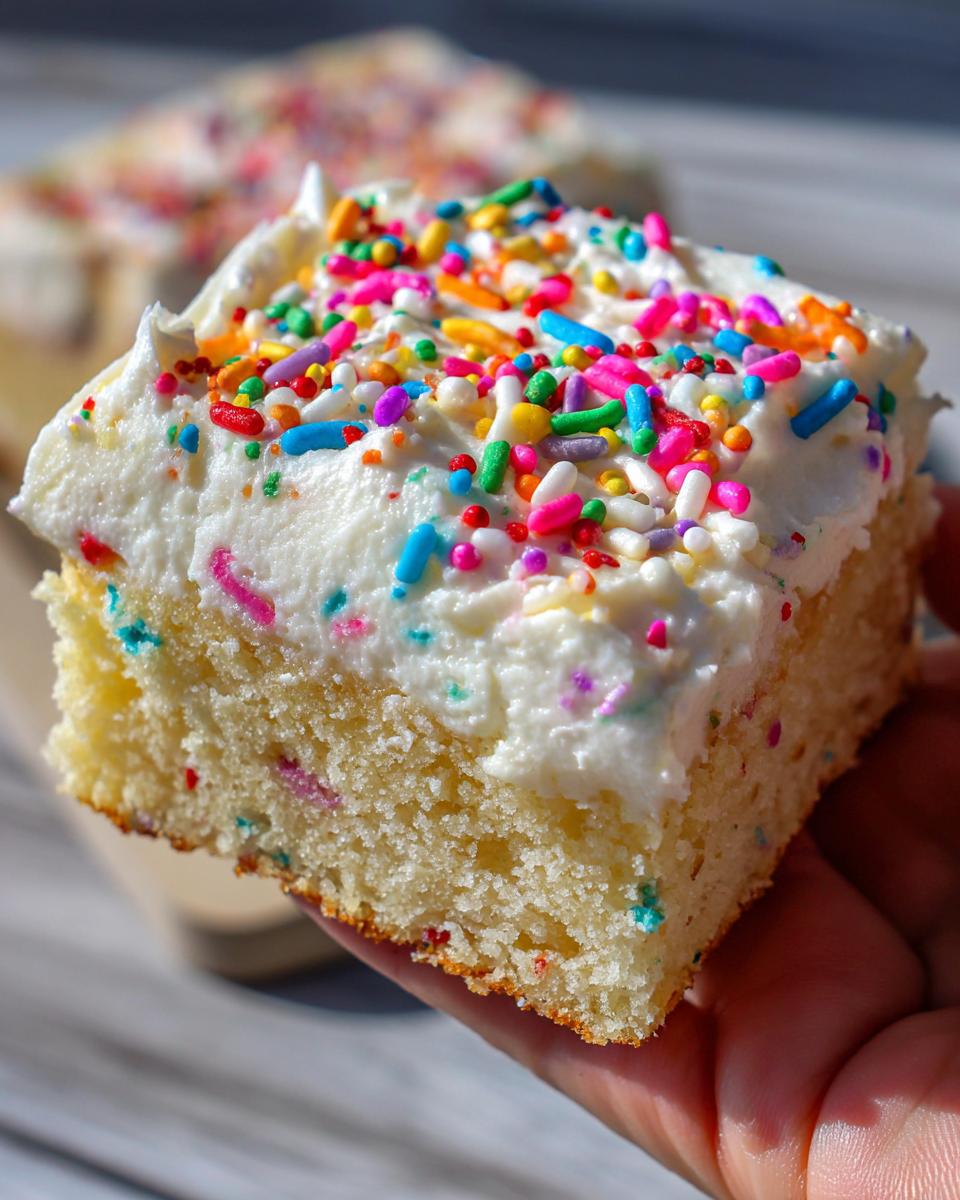
- This is truly an easy sugar cookie bar recipe that delivers thick and chewy sugar cookie squares every single time.
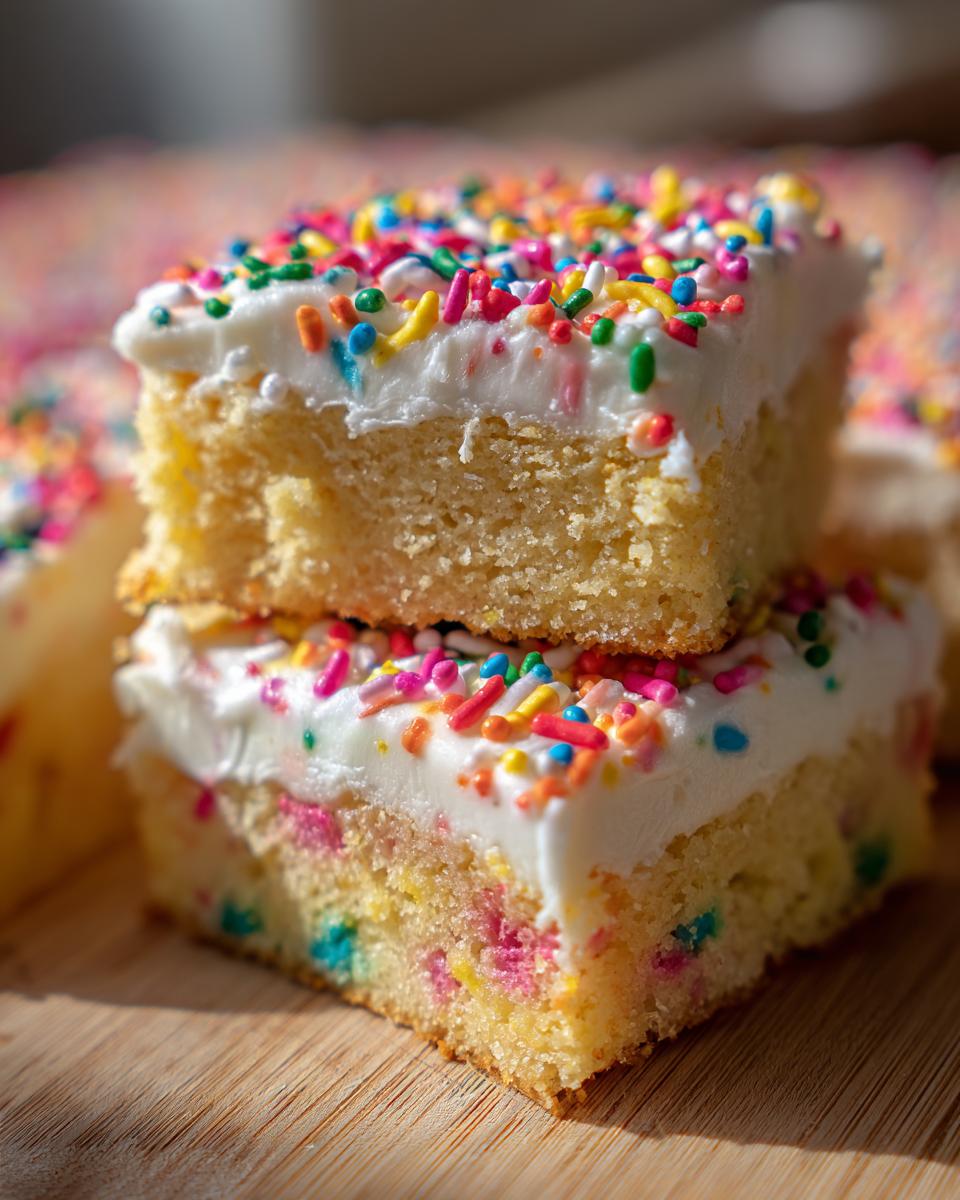
- They are perfect for holidays because they stack beautifully and don’t crumble when you slice them!
Ingredients for Soft Frosted Sugar Cookie Bars
Getting that perfect texture, whether soft or chewy, hinges entirely on quality ingredients and accurate measuring. I usually set everything out first because once the mixing starts for these sugar cookie bars, it moves quickly! Remember, we aren’t cutting corners here; we want that authentic, rich flavor that only real butter and good quality vanilla can give you. If you need an extra hand with the topping, I have a whole guide on making the perfect vanilla buttercream, but the base ratios here are foolproof.
For the Chewy Sugar Cookie Bars Base
Precision matters most when measuring flour; pack it down, and you’ll end up with something tough instead of tender. We want soft, right?
- 1 cup unsalted butter, softened (really softened, not melted!)
- 1 1/2 cups granulated sugar
- 2 large eggs
- 1 tablespoon vanilla extract
- 3 3/4 cups all-purpose flour
- 1 teaspoon baking powder
- 1/2 teaspoon salt
- 1/2 cup milk
For the Buttercream Frosted Cookie Bars Topping
The frosting is the crown jewel! The butter here must also be perfectly softened so you don’t end up with lumps in your beautiful buttercream frosted cookie bars.
- 1 cup unsalted butter, softened
- 4 cups powdered sugar
- 1 teaspoon vanilla extract
- 3 tablespoons milk or heavy cream
- Pinch of salt
For Decoration
This is where you can easily turn these into festive dessert bars!
- 1/2 cup festive sprinkles (get the good, classic rainbow ones, they make a difference!)
Step-by-Step Instructions for Your Sugar Cookie Bars
Alright, let’s get these beauties into the oven! This method takes us straight to that perfect bake in a pan cookies heaven. The instructions look long, but I promise you, it flies by once you get going. Remember, the goal here is soft, yielding centers, not crisp edges, so we need to respect the process.
Preparing the Pan and Oven for Sugar Cookie Bars
First things first: get your oven heated up to 350 degrees Fahrenheit. Now, for the hack that saves your life later: grab that 9×13 inch pan and line it with parchment paper. Make sure you leave a generous overhang on two opposite sides. When these rich sugar cookie bars are cooled, you just grab those sides and lift the whole thing right out. So easy, right? Give that paper a quick little spray of oil or butter just to make sure nothing sneaks underneath.
Mixing the Perfect Sugar Cookie Bars Dough
In your biggest bowl, we start with the structure. Cream that softened butter and sugar together until it looks practically cloud-like—pale yellow and fluffy. This step builds the air pockets, so don’t rush the mixer here! Beat in the eggs one at a time, then the vanilla. Now, for the rhythm: alternate adding your flour mixture and the milk. Start and end with the dry ingredients. I always tell people, as soon as the last streaks of flour disappear, stop mixing. Overworking this dough is how you get tough cookies instead of chewy thick sugar cookies.
Baking the Soft Frosted Cookie Bars
Press that gorgeous dough into your prepared pan, smoothing the top out evenly. Pop it into the oven for about 20 to 25 minutes. You are looking for the edges to just barely start turning light brown, and the center should look set—not shiny or wet. Seriously, pull them out a minute early rather than leaving them in too long; we are aiming for that delicious, slightly underdone center. A slight wobble is fine since they firm up while cooling.
Making and Applying the Buttercream Frosting
This is where patience is truly a virtue, my friends. You absolutely must let those bars cool completely—I mean stone cold—before you even think about frosting them. If you frost a warm bar, you get soup! While waiting, whip up your buttercream. It should be light and fluffy. Once the base is cool, just spread it right over the top in an even layer. If you’re using this recipe for inspiration on other things, remember this layering technique is similar to how I make my creamy eggnog—great flavor foundations matter!
Tips for Achieving Bakery Style Sugar Cookie Bars
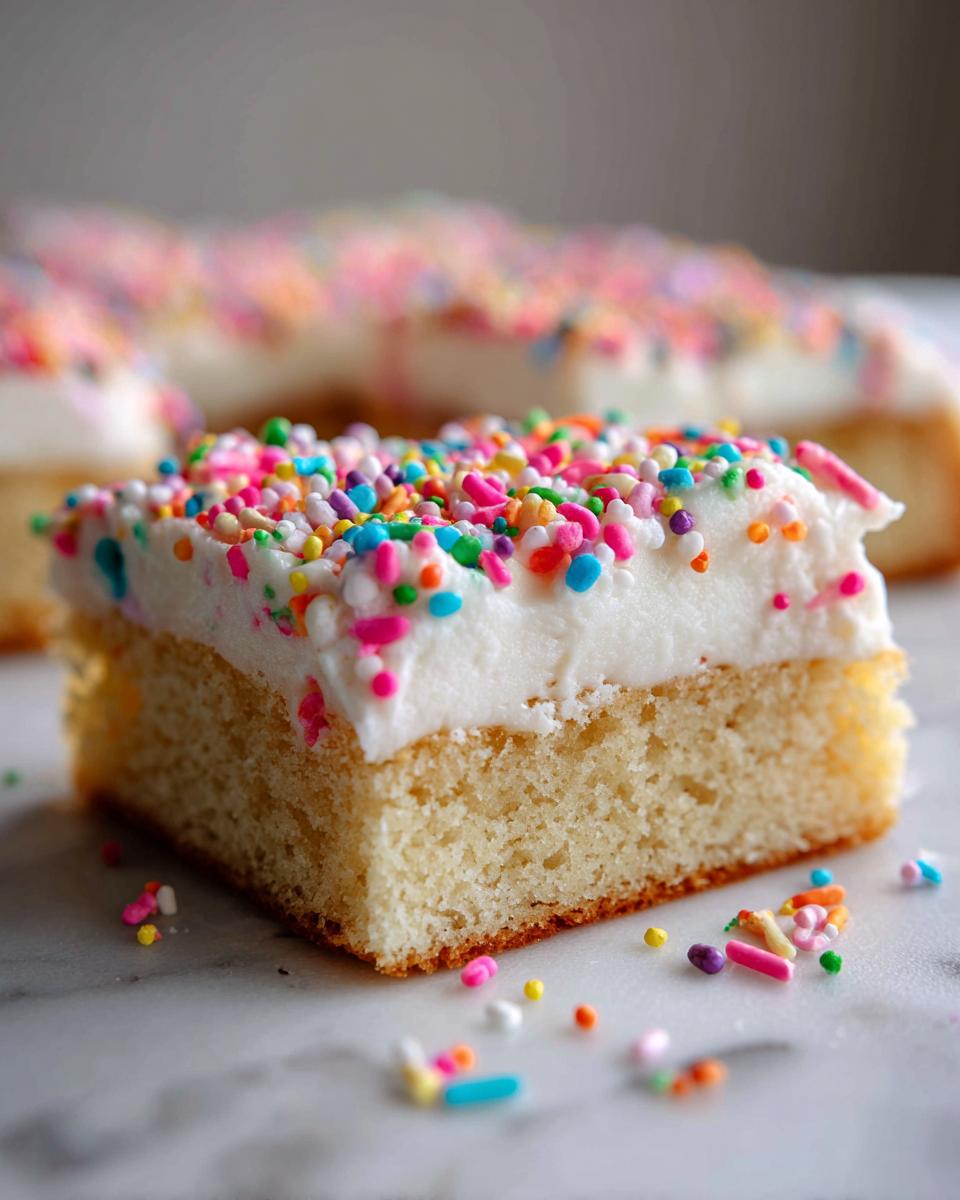
We want these melt in your mouth cookie bars to have that perfect texture—never cardboard, always soft. Getting that bakery finish is all about respecting the ratios and understanding how basic ingredients behave. If you’ve ever wondered why your bars turned out too tough or too crumbly, pay close attention to these few details. They might seem fussy, but they are the secret to turning a good sheet of cookies into the absolute best homemade sugar cookie bars.
Flour Measurement Secrets for Soft Sugar Cookie Bars
This is my number one tip for anyone struggling with texture in their baking, especially in rich doughs like this. Don’t dip your measuring cup directly into the flour bag! That compacts the flour, and suddenly you might have added an extra quarter cup, completely changing the moisture balance. Instead, use a spoon to lightly scoop the flour into your measuring cup, and then use the back of a knife to level off the top. This keeps your dough light and ensures we get those wonderfully chewy thick sugar cookies instead of bricks.
Pan Size Variations for Chewy Sugar Cookie Squares
Most recipes tell you to use a 9×13 pan, and that’s ideal for a thinner, softer bar. But what if you want them extra thick, almost like a giant slice of cake? You can absolutely switch to a smaller 9×9 inch pan. Just remember that moving to a smaller surface area means the heat has to travel further to the center. You’ll need to add a few extra minutes to the bake time, so check them around the 30-minute mark. That way, you still get perfectly golden edges and that satisfyingly thick texture in your chewy sugar cookie squares.
Make Ahead Cookie Bars and Storage
The beauty of **sugar cookie bars** is that they are fantastic for planning ahead, which is a lifesaver when the holidays roll around! If you’ve made these ahead, know that storage is simple. You can absolutely make the cookie base first; just like I noted in my guide on make ahead cookie bars, keeping them unfrosted is key. Store the unfrosted bars tightly covered at room temperature for up to two days. Don’t refrigerate the base, or it might dry out a bit.
For the frosting, mix it fresh if you can, but if you must prep earlier, that buttercream should be sealed tight in the fridge until you’re ready to frost. The trick for truly excellent **make ahead cookie bars** is to frost them the same day you plan to serve them. That way, your sprinkles stay perfectly bright and your buttercream is at its peak fluffiness.
Festive Dessert Bars: Variations and Decorations
When the mood strikes for something special—maybe you’re whipping these up for a cookie exchange or just because the kids want something colorful—the decoration phase is the most fun! Remember, our goal is to keep things simple for these **festive dessert bars**; no hours spent carefully piping intricate designs. We want instant holiday cheer.
If you want to elevate that simple vanilla flavor just a tiny bit without complicating the recipe, try swapping out half the vanilla extract in the frosting for almond extract. Just a little touch of almond mixed with the richness of the butter gives everything a sophisticated, almost bakery-style depth. I find this works wonderfully if you’re looking for a twist. Pair that with the beautiful colors you can get from different sprinkles!
Speaking of sprinkles, ditch those overly hard, waxy ones. Go for the softer nonpareils or jimmies; they give you better color payoff and dissolve nicely when you bite in. If you’re gearing up for Christmas, I really love using deep reds, greens, and white ones. For birthdays, go full rainbow! If you are looking for other low-stress holiday treats that still deliver big flavor, check out my recipe for Christmas Tree Cheesecake—it’s far more impressive than it looks.
For those who want a little more visual interest but zero extra work, try creating stripes with different colored frosting, or even a light dusting of colored sugar before the sprinkles go on. If you’re exploring other great holiday options, you might want to see how my friends make their go-to holiday recipe; it’s always a crowd-pleaser!
Frequently Asked Questions About Sugar Cookie Bars
It’s natural to have questions when moving from traditional cutting to a pan dessert. When I first started making these, I wondered about everything from texture to storage! I’ve pulled together the most common inquiries I get about these sugar cookie bars because making sure you succeed on your first try is my top priority. I really want you to get that soft, chewy result every time.
How do I prevent my sugar cookie bars from getting hard?
This is the number one concern, and it all comes down to two things: baking time and storage. First, remember what I said about checking them early—pull them when the center is just set. They bake the rest of the way on the cooling rack. Second, never store these exposed! Always put them in a very tight, airtight container. If you keep them away from dry air, they stay wonderfully soft for days. Don’t try to bake them until they are deeply golden; that’s the road to hard cookies!
Can I skip the frosting on these sugar cookie bars?
You absolutely can, especially if you’re making these for a simple afternoon snack or packing them for school lunches. However, since the frosting does add a layer of moisture insurance, you need to make up for it! If you skip the full buttercream, I highly recommend brushing the warm, baked cookie base with a tiny bit of melted, unsalted butter right after it comes out of the oven. Or, you could mix up a super simple glaze—just powdered sugar and a tiny splash of milk—to help seal in that moisture. That way, you still keep that soft texture in your sugar cookie bars.
What is the secret to achieving that classic sugar cookie flavor bars taste?
It all comes down to the vanilla; it’s the core flavor hiding behind the sugar and butter. This recipe calls for a full tablespoon of vanilla extract, and please, don’t try to use the imitation stuff here! Use a good quality pure vanilla extract. Because we aren’t using almond extract in the base dough, that beautiful vanilla bouquet has a chance to shine right through. It really defines that classic sugar cookie flavor bars taste we’re aiming for when we bake them in a pan. If you want to try adding a twist, you can explore different flavors like I mentioned in my guide on artisan bread—wait, no, wrong kitchen! Stick with the vanilla here; it’s the key!
Nutritional Estimate for These Quick Dessert Bars
I always feel a little guilty crunching these numbers because they taste like pure vacation, but I know many of you are curious about what you’re serving up, especially when making these for parties or family gatherings. Remember, since these are rich, buttery, and frosted **sugar cookie bars**, they are definitely an indulgence!
The following information comes straight from ingredient databases and should be considered an estimate based on cutting the recipe into 24 standard squares. If you cut them smaller or larger, these numbers will certainly change, so keep that in mind!
- Serving Size: 1 bar
- Calories: 310
- Fat: 16g (a good chunk of that is the delicious butter!)
- Carbohydrates: 40g
- Sugar: 35g (It’s a frosted bar, friends, this is expected!)
- Protein: 3g
These estimates are based on standard measurements and ingredients, so they are a guideline, not a strict lab reading. But honestly, knowing the quality ingredients we used—real butter and pure vanilla—makes these **quick dessert bars** feel a little better, right?
Share Your Perfect Sugar Cookie Bars Experience
Now that you’ve baked a pan of these incredible **sugar cookie bars**, I really want to hear what you think! Being in the kitchen is all about connection. I poured my heart into making sure this recipe delivers that satisfying, soft, chewy texture you want without any of the fuss of rolling and cutting. That’s why I always encourage you to jump down below and let me know how it went for you.
Did you stick to the rainbow sprinkles, or did you get creative with your frosting colors for the holidays? Drop a rating for the recipe, preferably 5 stars if they lived up to the hype, and tell me about your experience in the comments. It truly helps other home cooks feel confident giving this recipe a try. I love seeing photos of your creations across the dining table—it’s the best part of my day!
If you enjoyed making these **sugar cookie bars** as much as I enjoy sharing tried-and-true classics, you might also want to check out my recipe for easy soft and chewy peanut butter cookies. They offer that same kind of nostalgic, melt-in-your-mouth quality we’ve achieved here. Happy baking, and thank you for letting my kitchen story become part of yours!
PrintSoft and Chewy Frosted Sugar Cookie Bars
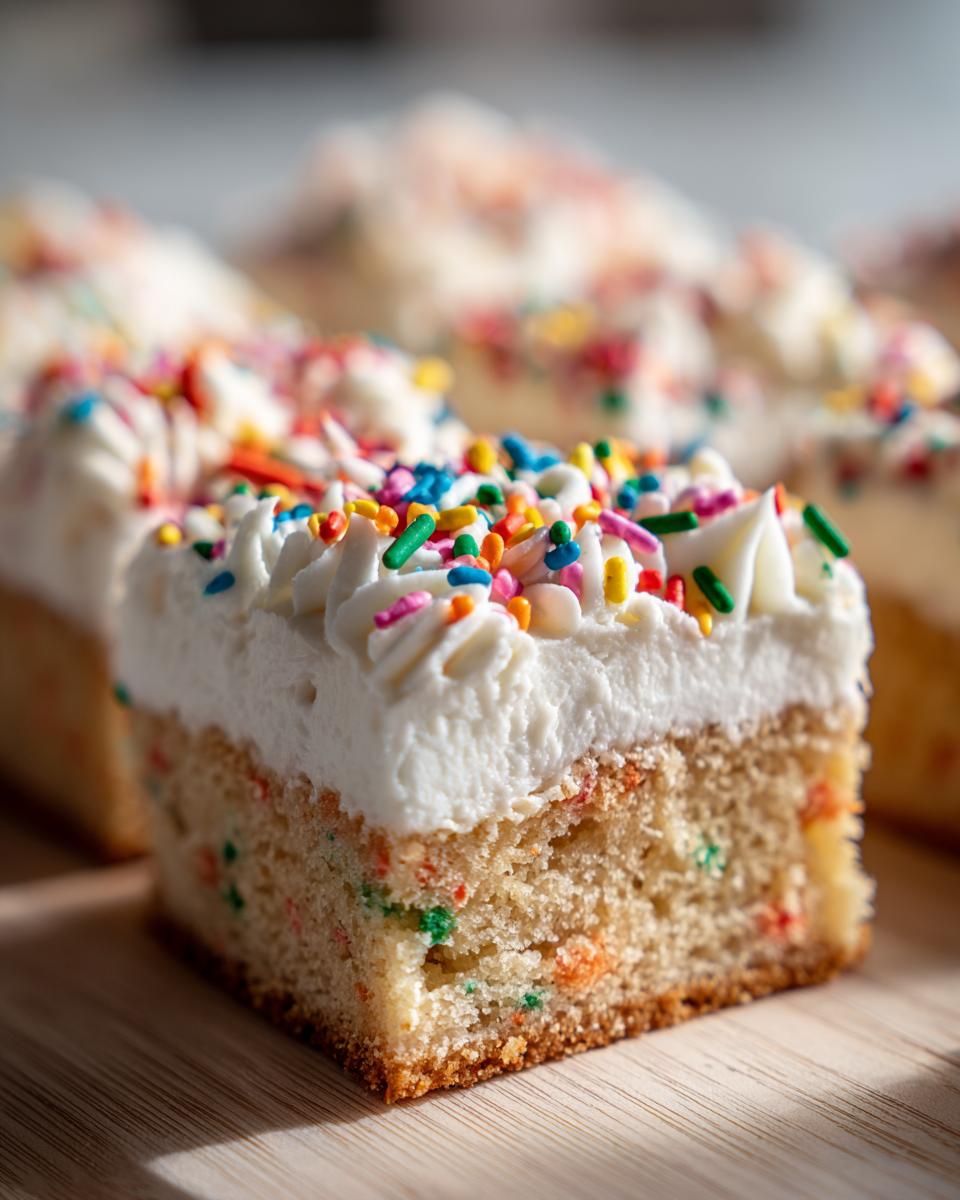
Make these easy sugar cookie bars that taste just like classic cut-out cookies but bake in one pan. They are soft, buttery, and topped with simple buttercream frosting and sprinkles for a perfect festive dessert.
- Prep Time: 20 min
- Cook Time: 25 min
- Total Time: 45 min
- Yield: 24 servings 1x
- Category: Dessert
- Method: Baking
- Cuisine: American
- Diet: Vegetarian
Ingredients
- 1 cup unsalted butter, softened
- 1 1/2 cups granulated sugar
- 2 large eggs
- 1 tablespoon vanilla extract
- 3 3/4 cups all-purpose flour
- 1 teaspoon baking powder
- 1/2 teaspoon salt
- 1/2 cup milk
- For the Frosting:
- 1 cup unsalted butter, softened
- 4 cups powdered sugar
- 1 teaspoon vanilla extract
- 3 tablespoons milk or heavy cream
- Pinch of salt
- For Decoration:
- 1/2 cup festive sprinkles
Instructions
- Preheat your oven to 350 degrees Fahrenheit. Line a 9×13 inch baking pan with parchment paper, leaving an overhang on the sides for easy removal. Lightly grease the paper.
- In a large bowl, cream together the softened butter and granulated sugar until the mixture is light and fluffy. This step builds texture.
- Beat in the eggs one at a time, mixing well after each addition. Stir in the vanilla extract.
- In a separate bowl, whisk together the flour, baking powder, and salt.
- Gradually add the dry ingredients to the wet ingredients, alternating with the milk, beginning and ending with the flour mixture. Mix until just combined; do not overmix the dough.
- Press the cookie dough evenly into the prepared 9×13 inch pan.
- Bake for 20 to 25 minutes, or until the edges are lightly golden brown and the center is set. You want them soft, so avoid overbaking.
- Let the bars cool completely in the pan on a wire rack. This cooling time is important before frosting.
- Prepare the frosting: Beat the softened butter until smooth. Gradually add the powdered sugar, vanilla extract, milk, and salt. Beat on medium speed until the frosting is light and fluffy.
- Spread the buttercream frosting evenly over the cooled cookie bars.
- Immediately sprinkle the top generously with your festive sprinkles before the frosting sets.
- Once the frosting is firm, use the parchment paper overhang to lift the bars from the pan. Cut into squares.
Notes
- For the best soft texture, measure your flour by scooping it lightly into the measuring cup and leveling it off, rather than packing it down.
- You can make these ahead of time. Store the unfrosted bars tightly covered at room temperature for up to two days. Frost just before serving.
- If you want a thicker bar, use a 9×9 inch pan instead, but reduce the baking time slightly and check for doneness sooner.
Nutrition
- Serving Size: 1 bar
- Calories: 310
- Sugar: 35g
- Sodium: 120mg
- Fat: 16g
- Saturated Fat: 10g
- Unsaturated Fat: 6g
- Trans Fat: 0.5g
- Carbohydrates: 40g
- Fiber: 0g
- Protein: 3g
- Cholesterol: 55mg