
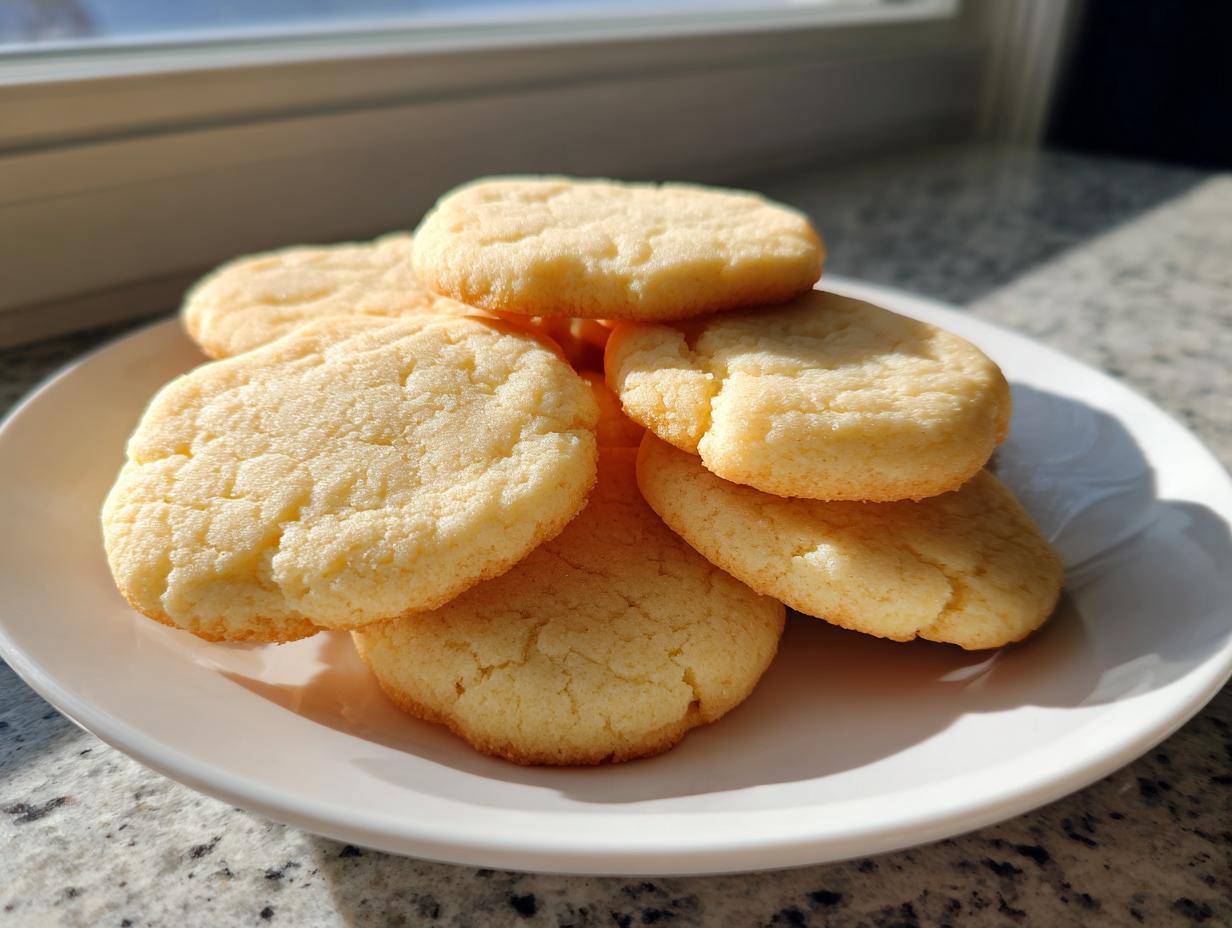
I remember standing on a stool in my grandmother’s warm Ohio kitchen, watching flour dust the air as she mixed dough by hand. That memory is why I’m obsessed with baking—it’s connection, pure and simple. If you’ve ever been let down by flat, brittle holiday cookies, trust me, I’ve been there! I spent years perfecting what I call the ultimate sugar cookies recipe. This isn’t just another recipe; it delivers that magical trio: unbelievable softness, the perfect, satisfying chew, and the ability to hold a sharp shape when you cut them out. We’re bridging that professional technique I learned with the heart of home baking so you can create memories, too. Head over to my page with all the simple, delicious desserts once you master these!
- Why This is the Best Sugar Cookie Recipe Ever (Soft Sugar Cookies)
- Ingredients for Ultimate Soft and Chewy Sugar Cookies
- How to Prepare The Perfect Sugar Cookie Dough Recipe
- Baking and Cooling for Classic Sugar Cookies
- Decorating Your Homemade Sugar Cookies
- Storage and Make-Ahead Tips for Sugar Cookie Dough
- Troubleshooting Common Sugar Cookies Issues
- Frequently Asked Questions About Sugar Cookies
- Nutritional Estimates for These Sugar Cookies
Why This is the Best Sugar Cookie Recipe Ever (Soft Sugar Cookies)
I know, I know—everyone claims they have the “best ever” recipe. But these are different. We fixed the two biggest problems people have when baking sugar cookies: spread and dryness. Most recipes give you cookies that look like flat puddles, or worse, hard little discs. My goal when testing this batch over and over was to nail the texture. We want that pillowy soft interior combined with just enough body so you can use a nice, sharp cutter for your holiday shapes.
This formula guarantees you get the results you see in my photos, and it’s all about controlling two things: the fat-to-sugar ratio and the temperature. If you are looking for other fantastic cookie ideas, check out my recipe for brown butter sugar cookies for an extra depth of flavor!
Achieving Soft Sugar Cookies: The Science of Texture
The magic behind those chewy sugar cookies everyone craves comes down to chemistry, though don’t worry, it’s easy! We use a specific blend of butter and sugar—creamed just right—to incorporate air, which gives lift. But the real secret to keeping them soft and preventing spread is chilling. Cold dough melts slower in the oven. This means your cut-out sugar cookies stay thick and don’t flatten before they set. A quick trip to the fridge works wonders, honestly. If you want that ideal, slightly chewy texture, chilling the dough isn’t optional; it’s the rule. For more inspiration on achieving softness, take a look at the techniques shared over at Kristine’s Kitchen!
Ingredients for Ultimate Soft and Chewy Sugar Cookies
Getting our ingredient list right is the foundation for these amazing homemade sugar cookies. I’ve listed everything you need below, but honestly, the way you treat these items is just as important as measuring them out. We aren’t using complicated stuff here—just pantry staples handled with care. Pay close attention to the state of the butter; that really sets the stage for our texture goals!
Ingredient Notes and Substitutions for Sugar Cookies
Let’s talk specifics so your sugar cookies turn out perfect. I insist on using unsalted butter because we control the salt here, but if you only have salted, just cut back slightly on the added salt. The butter absolutely must be softened, not melted! That creamy texture when we mix the butter and sugar creates the air pockets we need for soft sugar cookies. If your eggs are cold, put them in a bowl of warm water for about five minutes before cracking them in; room temperature helps them incorporate smoothly.
Also, grab the real vanilla extract if you can. Imitation vanilla always leaves a weird, sharp aftertaste that ruins the delicate buttery flavor we are aiming for in classic sugar cookies. Trust me on this one; it’s worth the splurge!
How to Prepare The Perfect Sugar Cookie Dough Recipe
Okay, here is where we put those beautiful ingredients to work. Remember everything I said about temperature? It matters now! Start with your softened butter and granulated sugar. You’ve got to beat these two together until they are genuinely light and fluffy. I mean, you need to see a visual change—pale in color and visibly airy. This step is crucial because it traps the air that keeps your sugar cookies tender and light, even though they are dense cut-outs!
Once that’s fluffy, mix in your egg and vanilla until they just combine. Don’t fall into the trap of mixing forever! Next, gradually add your dry ingredients—the flour mixture. As soon as that flour disappears and the dough starts to clump together, stop the mixer. Seriously, stop it! Overmixing is the number one enemy of tender, chewy sugar cookies. It develops gluten, which means tough cookies, and we want melt-in-your-mouth, not chew-forever.
When the dough is shaggy but no dry flour streaks remain, turn it out onto some plastic wrap. Divide it into two equal disks. I learned the hard way that trying to roll warm dough is pointless; you just get sticky frustration. This leads us right into the most important step for any great recipe for cut out sugar cookies. If you are looking for the perfect frosting to go with these, I have a recipe up for the vanilla buttercream that finishes them perfectly!
The Critical Step: Chilling Your Sugar Cookie Dough
If you are short on time, I’ll tell you honestly, you can cut corners elsewhere, but *not* here. You must chill this sugar cookie dough for a bare minimum of two hours. I prefer overnight, honestly. Chilling solidifies the fat in the dough, and when the solid fat hits that hot oven, it delays the melting process. What happens? Your sugar cookies stay thick and hold their shape beautifully. If you skip this, your cookies will inevitably spread out into thin, sad pancakes. Don’t let your hard work turn into flat cookies!
If you want to get ahead, these chilled disks freeze fantastic for months. When you’re ready to bake, just move a disk to the fridge overnight, and you’re ready to roll! For more inspiration on getting that chewy texture without sacrificing shape, check out the advice from Comfort Food Lite.
Baking and Cooling for Classic Sugar Cookies
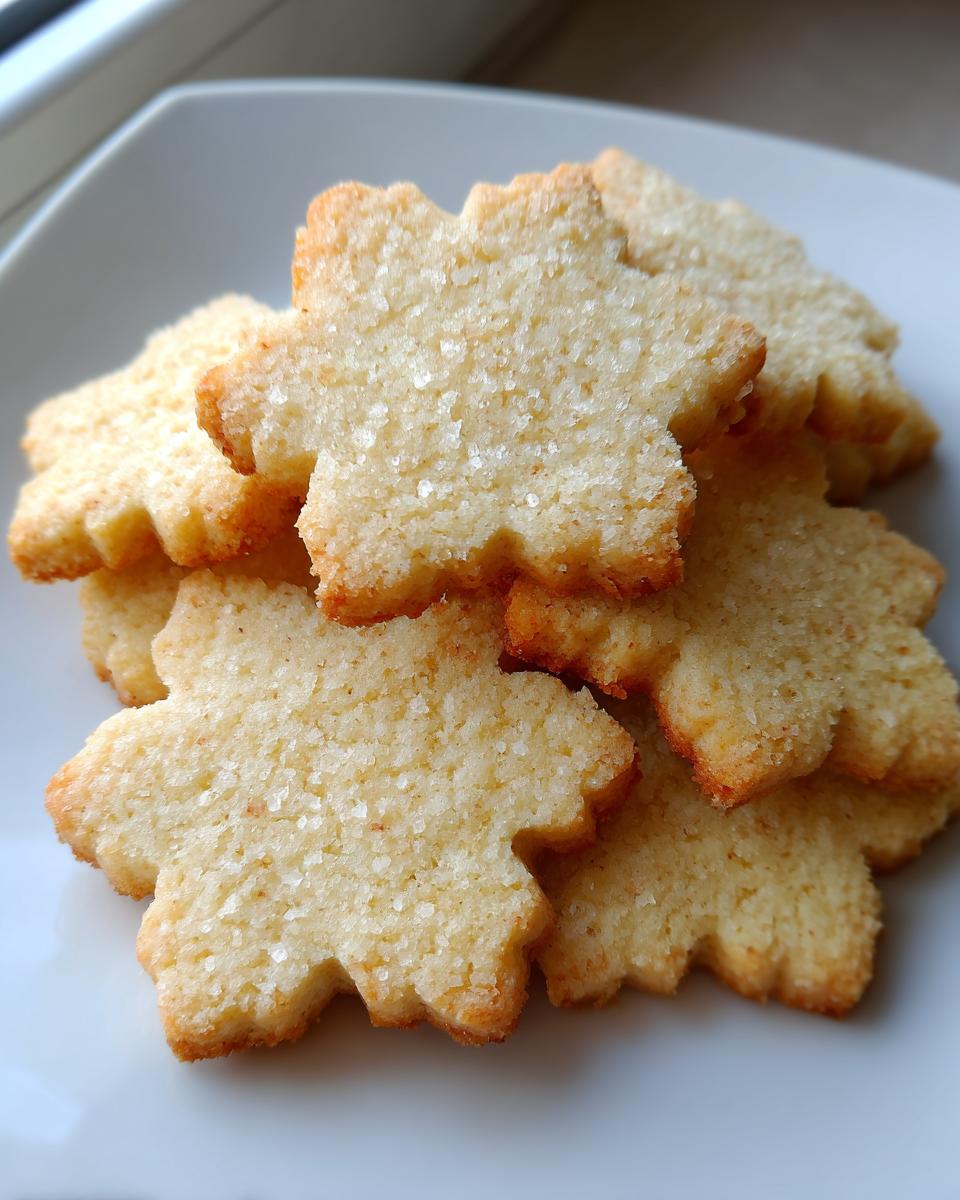
Alright, the dough is chilled, and now the fun part starts: rolling and cutting! For these sugar cookies, thickness is everything if you want that soft, pillowy center. I always roll my dough out to about a quarter-inch thick. Any thinner, and you risk a crisp cookie rather than the chewy sugar cookies we worked so hard for. Flour your surface lightly, but don’t go crazy, or you’ll end up adding too much flour to the dough itself!
Cut out your shapes and place them on your parchment-lined baking sheets. Now, here’s a major pro tip from my notes: once the shapes are on the tray, pop the *whole tray* back into the fridge for about ten minutes before they go near the oven. This second chill firms up the edges just enough so they don’t melt outward during those initial crucial seconds of baking. This is how you get those clean, perfect cut out sugar cookies.
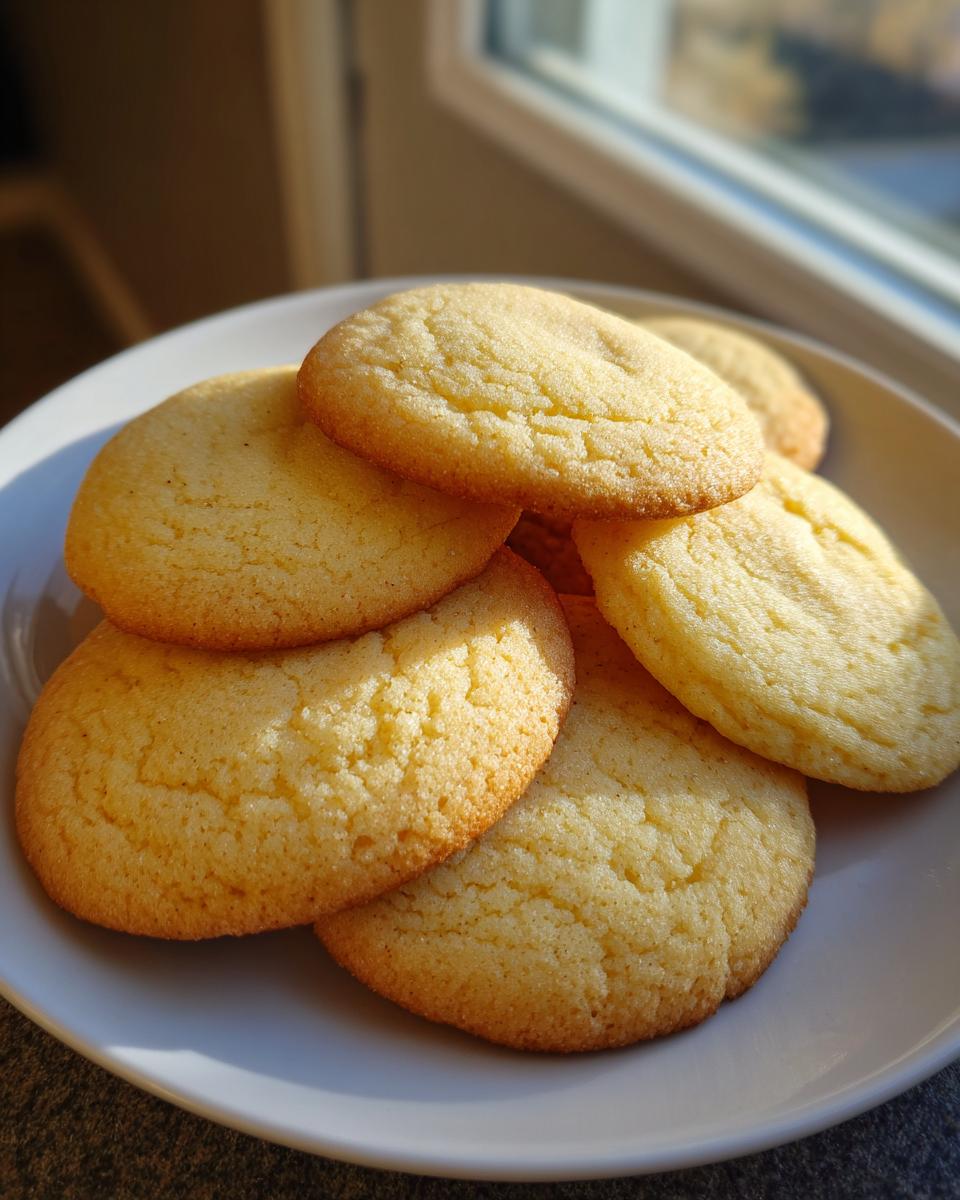
Bake them at 375°F (190°C). I watch mine like a hawk! They only need 8 to 10 minutes. If you see the edges just starting to turn the faintest shade of golden brown—pull them out! It’s better if they look a tiny bit underdone in the center; carry-over heat finishes cooking them beautifully, ensuring that signature soft texture. If you’re looking for other holiday favorites, I have a great recipe up for Christmas cookie bars you might love!
Tips for Perfect Roll Out Sugar Cookies
When you’re rolling, use the least amount of flour you possibly can to stop sticking. Dust your surface and your rolling pin lightly. As you cut, try to use the cutter straight down and lift straight up—don’t twist it too much, or you risk tearing the dough, especially around delicate points. If your dough gets too warm while you’re cutting a big batch, just slide the whole sheet of cut-outs back into the fridge for five minutes. It’s worth the pause!
Once they come out of the oven, let them sit right there on that hot baking sheet for about five minutes. This lets the soft centers firm up enough so they don’t crumble when moved. Then, transfer them gently to a wire rack to cool completely. If you try to frost warm sugar cookies, well, you’ll just end up with a sticky, colorful, soupy mess, and who wants that? For more guidance on achieving these perfect cut-outs, Sally’s Baking Addiction has some fantastic visualization tips over here.
Decorating Your Homemade Sugar Cookies
Now that you have achieved the best sugar cookie texture—soft, chewy, and sturdy—it’s time for the best part: decoration! You’ve earned it. I cannot stress this enough: unless you want melted puddles all over your counter, the cookies must be completely, 100% cool before you even think about frosting. Taking them off the cooling rack too soon is a rookie mistake that leads to messy sugar cookies!
When it comes to decorating, you have options depending on how festive you want to get. For that classic, smooth look that holds sharp edges, you’ll want royal icing. It sets hard, which is perfect if you plan on stacking them or shipping them to family. I always have a batch of my cream cheese frosting ready, though; it’s sweeter and softer, making it perfect for cookies you plan on eating right away.
If you are going for a simple, elegant look, a thin dusting of powdered sugar after they cool is lovely, or you can just drizzle a quick glaze over the tops. If a simple drizzle sounds good, just mix powdered sugar with a splash of milk and a drop of vanilla until it’s pourable. Honestly, even a smear of good quality jam in the middle of two cookies makes for a delightful treat!
If you want to dive deep into getting that flawless, professional finish on your decorated frosting cookies, you should check out the step-by-step guides over at Daily Recipe Haven. They have great tips on outlining and flooding royal icing, which can be tricky if you’ve never done it before!
Storage and Make-Ahead Tips for Sugar Cookie Dough
One of the best things about these amazing sugar cookies is how well they keep—both baked and unbaked! This makes them perfect for holiday baking because you can completely break up the work. I always tell people that the dough is your best friend here. Remember I told you to wrap those disks tightly? Well, once they are tightly wrapped in plastic wrap and tucked into a zip-top bag, they freeze like a dream.
That thick disk of sugar cookie dough can happily hang out in your freezer for up to three months. Three months! When you need cookies fast, just move the disk from the freezer to the fridge the night before you want to bake. It thaws perfectly, and you’re ready to roll them out just like they were freshly made. It’s the ultimate make-ahead secret weapon.
What about the baked ones? Because this recipe leans toward soft sugar cookies rather than super crisp ones, they rely on that gentle chilling and slight underbaking to retain moisture. Store the cooled cookies in an airtight container at room temperature. If you stack them, put a layer of wax paper between the layers to stop them from sticking together, especially if you’ve already added frosting. They stay wonderfully soft for at least four or five days. Honestly, good homemade sugar cookies rarely last that long in my house, but knowing they *can* is comforting!
Troubleshooting Common Sugar Cookies Issues
Even when a recipe is solid, baking throws curveballs sometimes! Don’t panic if your first batch of sugar cookies doesn’t look exactly like the picture right away. Usually, these hiccups are super easy fixes, and learning what went wrong makes you a better baker next time. I’ve gathered up the most common sticky spots people run into and how to solve them using the methods we already talked about.
If your cookies are getting too crumbly when you cut them, it almost always means the dough is too warm or you used too much flour when rolling. Go back to the chilling step! If your cookies are spreading out into those sad, flat shapes, you guessed it—the dough wasn’t cold enough before baking. Every time you handle the dough, you warm it up, so that quick ten-minute chill on the tray is essential for stopping spread.
For more deep-dive advice on getting those edges perfectly sharp and preventing spreading in general, I found some excellent pointers shared by CraveLoom Cooking on how to achieve perfect sugar cookies.
Now, what if the dough is sticking to your cutters? That usually means you need slightly more flour on your surface than you think, or your cutters aren’t sharp enough. If I’m using intricate shapes, sometimes I lightly wipe the cutter with vegetable oil first, then dip it in flour before plunging into the dough. It gives the dough something to release from. Always remember, the goal is soft sugar cookies, not gluey ones, so use that extra flour sparingly!
If your baked cookies end up tasting slightly gritty, it means your sugar didn’t dissolve properly during the creaming stage. Make sure you beat that butter and sugar long enough until the mixture really looks pale and fluffy—that aeration and dissolving action is key for those melt-in-your-mouth cookies. If you enjoy experimenting with texture in other batches, you might want to check out my recipe for oatmeal lace cookies for a completely different experience!
Frequently Asked Questions About Sugar Cookies
I love getting questions about these sugar cookies because it means you’re getting ready to bake! Getting the texture just right can be tricky, but once you know the rules, these become the easiest cookies you’ll ever make. If you are just starting out, don’t worry; we all learn by trial and error. After you master these, check out some easy meal prep ideas for later in the week!
Can I make these simple sugar cookies without chilling the dough?
Oh, please don’t try it! If you’re looking for simple sugar cookies that hold their shape and bake up thick, chilling is non-negotiable. If you skip the chilling time, your dough will warm up too fast in the oven, and you’ll end up with those flat, ugly messes. We need that cold dough to maintain the integrity of our cut-out sugar cookies.
What is the secret to making the best sugar cookie recipe chewy?
The secret to those wonderfully chewy sugar cookies involves two things. First, make sure you’re using the right ratio of fat to flour, which we nailed here with the butter and sugar creaming. Second, and this is vital: pull them out of the oven when the edges are just barely golden. They should actually look *slightly* underdone in the center. That residual heat finishes the job while they cool, locking in the moisture for that perfect, melt-in-your-mouth, chewy sugar cookie experience.
Are these cut out sugar cookies too difficult for beginners?
Not at all! While they are sturdy enough to be called cut out sugar cookies, the process itself is what makes them a beginner cookie recipe favorite. Mixing is straightforward, and honestly, chilling handles most of the hard work for you! As long as you don’t overmix the flour, you’ll have fantastic, buttery sugar cookies on your first try. They really are the best place to start if you want to learn how to make homemade sugar cookies.
Nutritional Estimates for These Sugar Cookies
I know some of you are keeping track of what you eat, and I respect that completely! So, for transparency regarding these wonderfully soft sugar cookies, I’ve pulled together an estimate of what you’re looking at per serving. Remember, these are just ballpark figures for the cookie itself—the moment you add a quarter-inch of buttercream frosting, those numbers are going up, but hello, it’s the holidays, right?
Keep in mind that these values can shift a bit depending on the exact brands of butter or flour you use, so treat this as a guide, not gospel. We are aiming for joy here, not rigid accountability!
- Serving Size: 1 cookie
- Calories: 150
- Fat: 8g (with 5g saturated fat)
- Carbohydrates: 19g
- Protein: 2g
- Sugar: 14g
I honestly haven’t bothered recalculating if I use salted butter or swap out vanilla, so take these figures with a grain of salt—or maybe skip the salt in the dough and pretend it cancels out the sugar! The key takeaway is that these buttery, homemade sugar cookies are a treat, and they are absolutely worth every single bite.
PrintThe Ultimate Soft and Chewy Cut-Out Sugar Cookies

This recipe delivers the best sugar cookies that are soft, chewy, and hold their shape perfectly for cutting and decorating. Achieve melt in your mouth texture every time.
- Prep Time: 25 min
- Cook Time: 10 min
- Total Time: 155 min
- Yield: 3 dozen 1x
- Category: Dessert
- Method: Baking
- Cuisine: American
- Diet: Vegetarian
Ingredients
- 2 3/4 cups all-purpose flour
- 1 teaspoon baking soda
- 1/2 teaspoon salt
- 1 cup (2 sticks) unsalted butter, softened
- 1 1/2 cups granulated sugar
- 1 large egg
- 1 teaspoon vanilla extract
Instructions
- In a medium bowl, whisk together the flour, baking soda, and salt. Set aside.
- In a large bowl, use an electric mixer to beat the softened butter and granulated sugar together until light and fluffy, about 3 minutes.
- Beat in the egg and vanilla extract until just combined.
- Gradually add the dry ingredients to the wet ingredients, mixing on low speed until the dough just comes together. Do not overmix.
- Divide the dough in half, flatten each half into a disk, wrap tightly in plastic wrap, and chill in the refrigerator for at least 2 hours, or up to 2 days. Chilling is key for no spread sugar cookies.
- Preheat your oven to 375°F (190°C). Line baking sheets with parchment paper.
- On a lightly floured surface, roll out one disk of dough to about 1/4 inch thickness. Use your favorite cookie cutters to cut out shapes.
- Place the cut-out sugar cookies onto the prepared baking sheets, leaving about 1 inch between them.
- Bake for 8 to 10 minutes, or until the edges are lightly golden. For soft sugar cookies, err on the side of slightly underbaking.
- Let the cookies cool on the baking sheet for 5 minutes before transferring them to a wire rack to cool completely.
- Once cool, decorate with your favorite frosting for decorate frosting cookies.
Notes
- For the best results when cutting shapes, chill the rolled-out dough on the baking sheet for 10 minutes before baking.
- If you prefer a slightly crisper edge, bake for an additional minute.
- This dough freezes well; wrap the chilled disks tightly before freezing for up to 3 months.
Nutrition
- Serving Size: 1 cookie
- Calories: 150
- Sugar: 14g
- Sodium: 85mg
- Fat: 8g
- Saturated Fat: 5g
- Unsaturated Fat: 3g
- Trans Fat: 0g
- Carbohydrates: 19g
- Fiber: 0g
- Protein: 2g
- Cholesterol: 30mg