
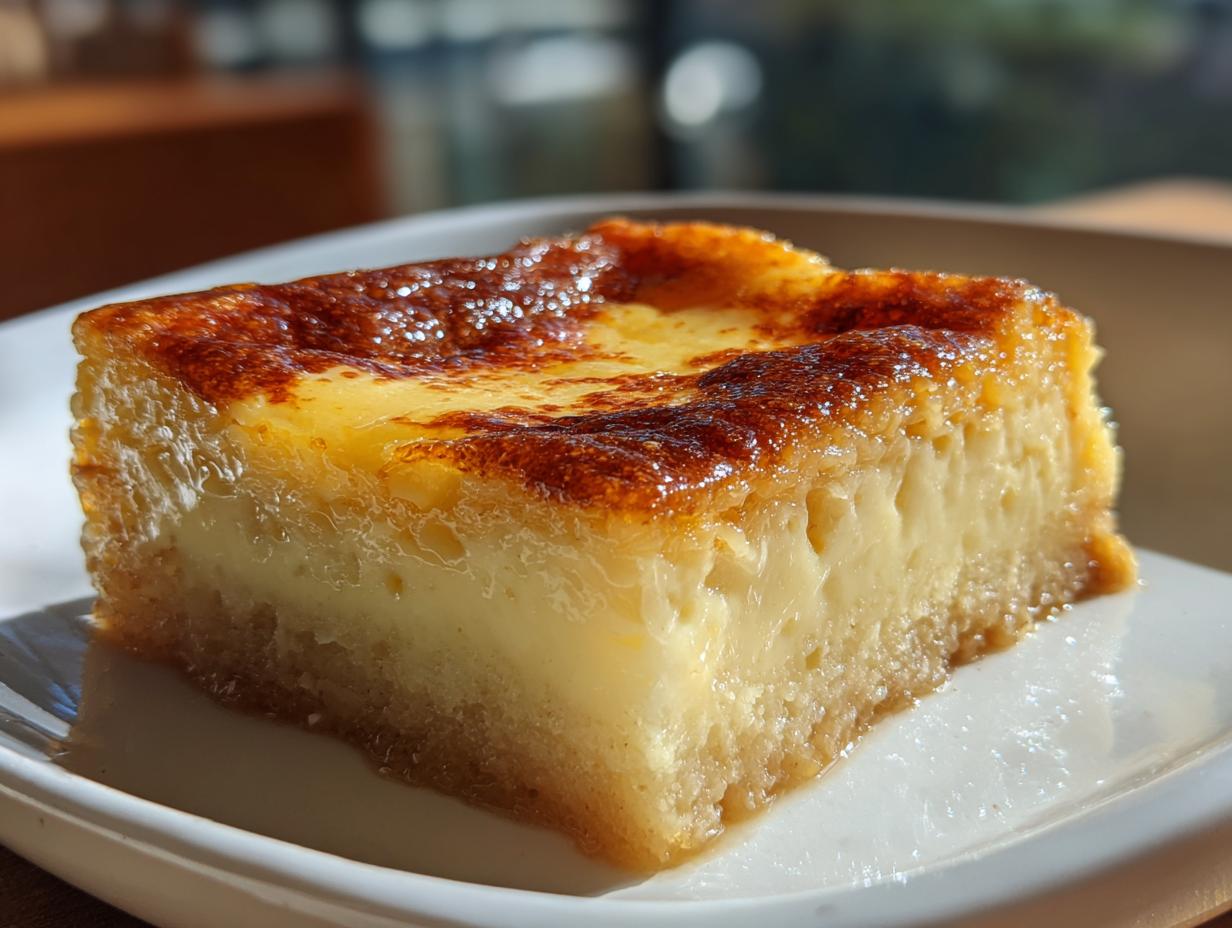
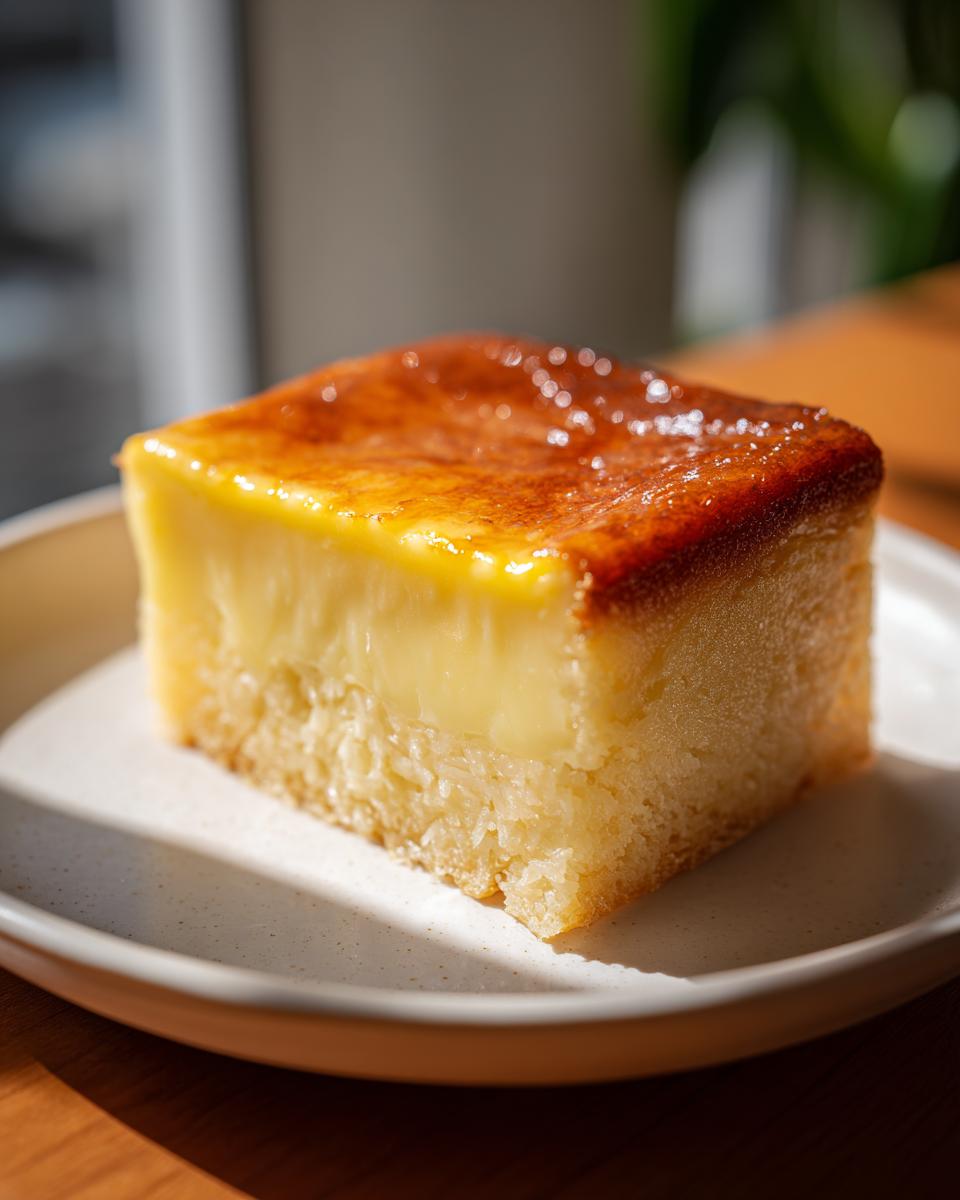
If you’re searching for that perfect hug in dessert form, something rich, rooted in tradition, and deeply comforting, you need to get acquainted with the cassava cake. I remember tasting my first truly authentic Filipino Cassava Cake Recipe and realizing I’d found something special. It’s miles away from any simple pudding you’ve tried before; this is a treasure. My goal here, as always, is to give you Julian Maxwell’s method for making it work perfectly every single time. We’re aiming for that signature moist, wonderfully chewy base that pairs flawlessly with a rich, creamy custard topping. Trust me, this baked cassava pudding is going to become a staple in your home.
- Why This Classic Cassava Cake Recipe Works for Everyone
- Ingredients for the Best Cassava Cake with Custard Topping
- Simple Filipino Cassava Cake Tutorial: Step-by-Step Instructions
- Tips for the Perfect Chewy Cassava Dessert Texture
- Ingredient Notes and Cassava Cake Variations
- Storage and Reheating Instructions for Cassava Cake
- Frequently Asked Questions About Authentic Cassava Bibingka
- Serving Suggestions for Your Cassava Cake
- Share Your Simple Filipino Treats Experience
Why This Classic Cassava Cake Recipe Works for Everyone
I know what it’s like to look at a traditional recipe and feel a little intimidated, but you can put those worries aside with this dessert. My testing process focused entirely on making this incredible cassava cake accessible. I want you to get that authentic flavor without spending half your day in the kitchen.
Here’s why I stand by this preparation:
- It’s surprisingly fast! Prep time is only about 20 minutes. We are getting that rich, tropical flavor ready for the oven quickly, which you can see more about in my meal prep inspirations!
- It’s beginner-proof. If you can mix a wet batter and pour one over another, you can master this.
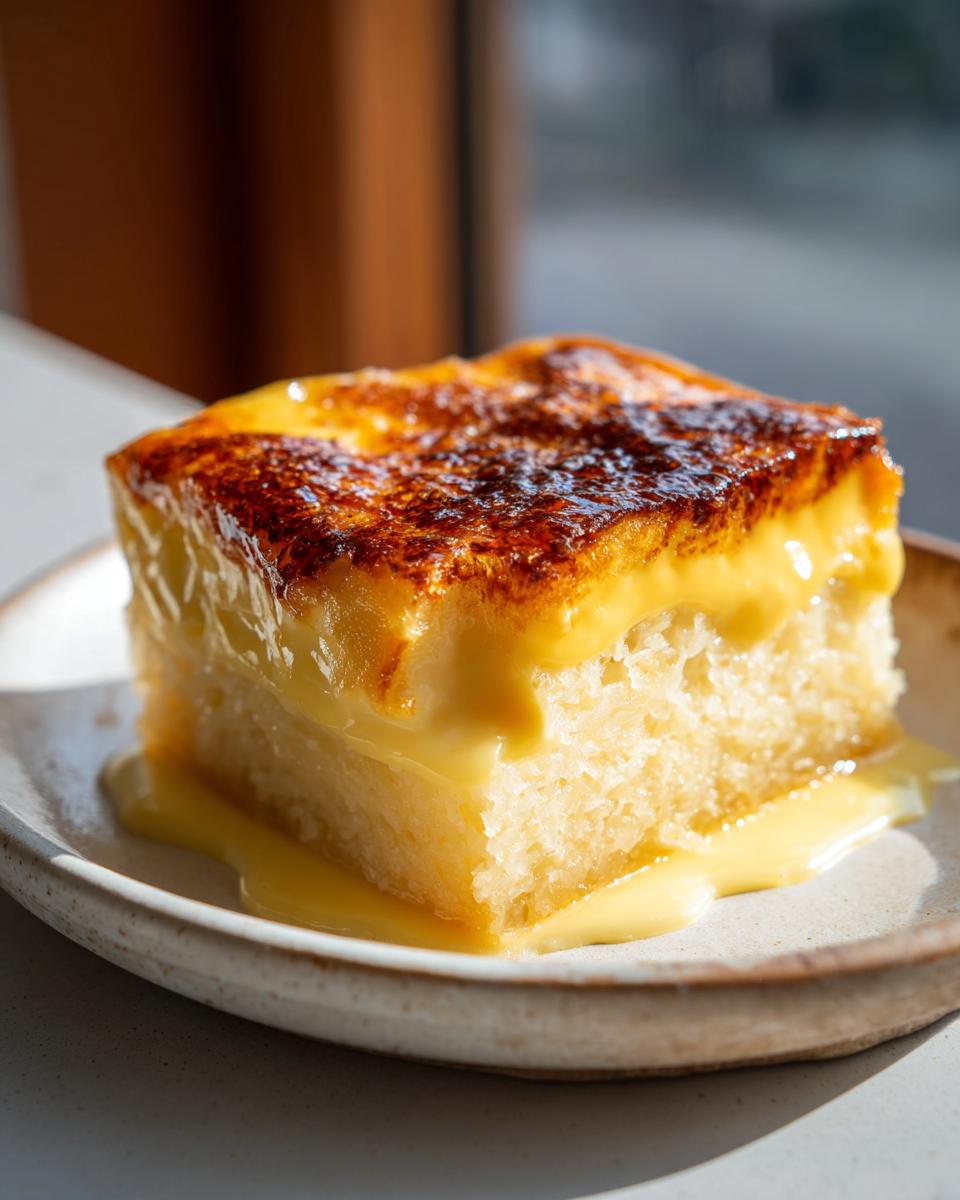
- The texture is guaranteed. We nail that perfect balance: deeply moist and wonderfully chewy on the bottom, topped with a light, creamy dream.
- The flavor is unmatched—that deep coconut and subtle sweetness are pure comfort.
Ingredients for the Best Cassava Cake with Custard Topping
Getting that authentic, rich flavor for your cassava cake really comes down to the quality of your liquids. Don’t shy away from the full-fat stuff on this one—it’s what makes the base melt-in-your-mouth and the topping luxurious. I’ve used both frozen, thawed cassava and fresh grating, and both work beautifully, but if you can manage the grating, that fresh texture really shines through. Make sure you grab everything before you start mixing; this process moves quickly!
For the Chewy Cassava Cake Base
This is the foundation, so we need richness! I always use only full-fat coconut milk here because those healthy fats are critical for that signature moist chewiness we are chasing.
- 4 cups grated cassava (fresh or frozen/thawed—your call!)
- 1 (13.5 oz) can full-fat coconut milk
- 1 (14 oz) can sweetened condensed milk
- 1/2 cup granulated sugar
- 1/4 cup melted butter or margarine
- 2 large eggs
- 1 teaspoon vanilla extract
- 1/4 cup all-purpose flour (This is optional, but I recommend it for structure, especially if your cassava is very wet.)
- Pinch of salt
For the Creamy Cassava Cake Topping
This layer is where the magic happens—that smooth, golden custard that sets up perfectly. Those egg yolks are key for richness, so don’t try to substitute them out!
- 1 (13.5 oz) can full-fat coconut milk
- 1/2 cup granulated sugar
- 2 large egg yolks
- 1/4 cup all-purpose flour or cornstarch (Cornstarch makes it slightly smoother, flour gives it a tiny bit more body. It’s your choice!)
- Optional Add-ins: 1 cup macapuno strings or 1 cup shredded cheese (You can mix these right into the base if you want them submerged, or add them on top of the base before the custard goes on.)
If you’re looking for other great foundational recipes to master, check out my thoughts on healthy breakfast ideas that can set your day up right!
Simple Filipino Cassava Cake Tutorial: Step-by-Step Instructions
Okay, this is where the action happens! While the ingredient list might look long, the process for making this authentic cassava cake is beautifully straightforward. We are baking this in two stages, which is crucial for getting that base set before we introduce the creamy custard. Don’t rush the cooling period at the end; that’s the secret handshake for achieving the perfect chewy cassava dessert texture later on.
First things first: get your oven humming at 350°F (175°C). I use a 9×13 inch pan every time. Make sure you grease it well and line it with parchment paper. I always leave an overhang on two sides—it makes lifting this rich dessert out later so much easier. If you want to see some of my favorite shortcuts for getting dinner on the table fast, check out my guide on quick, easy weeknight dinners!
Preparing the Base and Initial Bake
Into your biggest bowl, you’re going to dump everything for the base: the grated cassava, the first can of coconut milk (remember, full-fat!), the condensed milk, sugar, melted butter, eggs, vanilla, flour, and salt. Give that a good mix. You want everything incorporated, but like most good home baking, don’t go crazy whipping it. If you’re adding creamy macapuno strings or that savory shredded cheese, gently fold them in now until they look evenly distributed throughout the batter.
Pour that batter into your prepared pan. It bakes for about 45 to 55 minutes. You’re looking for the edges to start looking set and maybe just a touch golden brown. It shouldn’t look wet in the middle, but it won’t be totally firm yet!
Making the Custard Topping and Final Bake
While that base is baking away, we make the star of the show: the topping. In a saucepan, whisk the remaining coconut milk, sugar, egg yolks, and your flour or cornstarch. This needs heat, but never a frantic boil! You must stir constantly over medium heat until it thickens up to the consistency of a thin pudding. If you stop stirring even for a second, it scorches, and nobody wants scorched custard!
Once the base is done, carefully pour that beautiful, smooth custard right over the top. Smooth it out evenly with a spatula. Back into the oven it goes for another 15 to 20 minutes. We want the whole thing, especially that custard top, to look beautifully golden brown and fully set.
Tips for the Perfect Chewy Cassava Dessert Texture
Getting that ideal texture in your cassava cake—that glorious combination of moistness under a set custard—relies on a few small but mighty tricks. This isn’t just guesswork; it comes from mastering the medium. If you’re grating fresh cassava, chop it coarsely; that little bit of extra texture prevents the base from turning into paste.
The timing of that first bake is critical for achieving a chewy cassava dessert. You want the edges set, but that middle should still look slightly soft when you pull it out for the custard. If you overbake the base, the topping won’t sink in properly, and the bottom will dry out instead of becoming wonderfully chewy.
And please, hear me on this next part: you absolutely must let it cool completely. I know it’s tough when it smells this good, but patience is required! Cooling allows the starches to settle and truly sets up that signature chewiness. You can read more about how important patience is for retaining moisture in my guide on moist sourdough banana bread, because the principle is the same here!
For the very best results, try to get your ingredients incorporated quickly. You can see a slightly different approach to a similar treat over at Recipe ni Juan, but sticking to the gentle mixing method here ensures you don’t develop too much gluten, keeping that base tender.
Ingredient Notes and Cassava Cake Variations
Sometimes we just don’t have the exact can of coconut milk Grandma called for, or maybe you’re simply feeling adventurous! That’s totally fine. Knowing how to swap ingredients in a classic cassava cake is what separates a decent baker from a confident one. We can absolutely discuss variations for sweetness and texture. For example, if you want a richer, deeper flavor in your base, you can substitute about a quarter cup of that granulated sugar with packed brown sugar. It adds a lovely molasses note that plays so well with the coconut.
Don’t forget to check out my recipe for brown butter sugar cookies if you want to see how swapping out standard ingredients completely changes the game for the better! But let’s get specific about these popular twists.
Making a Cheesy Cassava Cake
Oh, the cheesy version! This is such a wonderful sweet-and-salty combination, popular in so many Filipino households. If you want to make a truly cheesy cassava cake, I highly recommend using a mild cheddar cheese. Sharp cheddar can sometimes overpower the subtle sweetness of the milk and cassava.
You have two main options for incorporating it. Option one: fold in about a cup of shredded cheese right into the base batter before the first bake. This makes it melt throughout the base, giving you little pockets of salty gooiness. Option two, which I love for presentation, is to reserve half a cup of cheese and sprinkle it right over the surface of the custard topping during the last 10 minutes of baking. It forms this fantastic golden crust!
Gluten-Free Cassava Dessert Option
Here’s the beautiful part about this dessert: cassava, by nature, is already gluten-free! It’s a root vegetable, so the root ingredient itself is safe. However, you have to watch the flour we added for structure.
In the base recipe, I listed 1/4 cup of all-purpose flour as optional. If you want a purely gluten-free cassava dessert, you can skip that flour entirely, but you need to compensate slightly. Instead, use cornstarch for structure in the *topping*, and for the base, just know the texture will be slightly looser before the bake. It will still set up beautifully in the oven, just maybe don’t plan on slicing it super-thin right away!
Storage and Reheating Instructions for Cassava Cake
Don’t panic if you have leftovers of your incredible cassava cake, though I doubt you’ll have much! Because of that rich coconut milk and creamy custard, this dessert needs proper storage. You must keep it refrigerated, covered tightly, for up to four days. When you’re ready to enjoy it again, I find it tastes best served cool, straight from the fridge, or allowed to sit on the counter for just 30 minutes to come back to room temperature.
If you absolutely must warm it up—maybe you prefer a slightly gooier custard—place a slice in the microwave for just 10 to 15 seconds. Don’t overheat it, or the custard topping will get oily! Think of it more as bringing it back from chilly to just barely warm. You can review some ways I keep my favorite pasta bakes moist here: easy creamy one-pot pesto pasta, because warm, creamy leftovers are always the goal!
Frequently Asked Questions About Authentic Cassava Bibingka
Whenever I share this Filipino Cassava Cake Recipe, people always ask the same few things! It makes total sense; you want to ensure you get that perfect texture and authenticity on your first try. I’ve gathered a few of the most common questions I receive about achieving this wonderfully creamy cassava cake.
For more great tips on making sure your bakes out perfectly every time, you can check out my thoughts on my best million-dollar pasta bake recipe—the principles of layering and careful cooking definitely apply here!
Can I use pre-shredded cassava for this cassava cake recipe?
This is the big one! Look, if you are absolutely in a bind, you certainly *can* use pre-shredded cassava, but I have to warn you: the results will be different. Pre-shredded cassava, no matter how much they say it’s ‘moist,’ tends to be drier because it’s either sitting on the shelf or has been flash-frozen and thawed more than once. The real magic of that signature chew comes from the moisture released during the grating of fresh roots.
If you do use pre-shredded, just make sure you gently squeeze out any excess water before mixing it into your base. If you don’t, you’ll end up with a batter that’s too wet and might not set up properly for that beautiful, chewy cassava dessert.
How do I prevent the custard topping from cracking?
Ah, the dreaded crack! It happens when the topping cooks much faster or hotter than the base underneath, causing it to seize up and break. The number one defense against cracking is to follow the two-stage baking process exactly as written. Bake the base first so it provides a warm but stable foundation.
When it comes to the final 15 minutes with the custard on top, watch it closely. You want it set and golden, not bubbling violently. But honestly, the biggest secret is the cooling. Let the whole cassava cake cool down on the counter slowly. Rapid temperature changes are what stress the custard layer. If you rush it into the fridge when it’s piping hot, you risk cracking there too. For more on getting perfect finishes, check out those quick tips over at Sustainable Projects!
Serving Suggestions for Your Cassava Cake
Now that you have mastered this incredible cassava cake, the final, wonderful step is deciding how to serve this classic Filipino treat! Since it’s so rich with coconut milk and that creamy custard topping, you don’t need much else to dress it up. Honestly, a simple slice on its own is perfection.
That said, if you’re serving this after a big meal, I love pairing it with something to cut through the richness. A strong, piping hot cup of black coffee is my absolute favorite—it balances the sweetness perfectly. Or, if you prefer tea, a simple, lightly brewed green tea works wonders.
For a brighter contrast, grab some fresh, slightly tart tropical fruit. Think slices of mango or even a side of small, slightly sour pineapples if you’re feeling adventurous. It just lifts the whole experience. I always save my best food pairings for when I’m making fun recipes, like my honey harissa chicken bowls. Enjoy every single, chewy bite!
Share Your Simple Filipino Treats Experience
Whew! We made it through the entire, glorious process of creating this cassava cake together. You’ve got the recipe down for what I truly believe is one of the most comforting and rich desserts out there. Now, here’s the part where we all connect. I pour all my testing and passion into these recipes, but the final stamp of approval comes from you!
Did you find this Easy Cassava Cake Tutorial made things simpler than you thought? Did you go for the macapuno strings, or stick with the cheesy version? I desperately want to hear about your results!
Please take a moment and leave a rating for the recipe below—even five stars is a huge encouragement. And if you managed to snap a photo of your finished, golden-topped cake, tag me on social media! Seeing your beautiful versions of these simple Filipino treats popping up makes all the kitchen experiments worthwhile.
If you have any questions that popped up while you were baking—maybe about the custard consistency or why your base looked extra brown—drop them in the comments too. I monitor them closely and love helping troubleshoot so you get that perfect texture next time. If you’re ready to reach out directly with big questions, you can always contact me here, but let’s try the comments first!
We’re all learning together in the kitchen, and I promise to look at every comment. Thanks for spending this time with me creating something so authentically delicious. For more quick inspiration, check out the speedy baking ideas shared over at Inspire Spire!
PrintClassic Filipino Cassava Cake with Creamy Custard Topping
Make this authentic Filipino Cassava Cake, also known as Cassava Bibingka. This recipe delivers a moist, chewy dessert with a rich, creamy custard topping, perfect for beginners.
- Prep Time: 20 min
- Cook Time: 75 min
- Total Time: 95 min
- Yield: 12 servings 1x
- Category: Dessert
- Method: Baking
- Cuisine: Filipino
- Diet: Vegetarian
Ingredients
- 4 cups grated cassava (fresh or frozen/thawed)
- 1 (13.5 oz) can full-fat coconut milk
- 1 (14 oz) can sweetened condensed milk
- 1/2 cup granulated sugar
- 1/4 cup melted butter or margarine
- 2 large eggs
- 1 teaspoon vanilla extract
- 1/4 cup all-purpose flour (optional, for structure)
- Pinch of salt
- For the Custard Topping:
- 1 (13.5 oz) can full-fat coconut milk
- 1/2 cup granulated sugar
- 2 large egg yolks
- 1/4 cup all-purpose flour or cornstarch
- Optional Add-ins: 1 cup macapuno strings or 1 cup shredded cheese
Instructions
- Preheat your oven to 350°F (175°C). Grease and line a 9×13 inch baking pan with parchment paper.
- In a large bowl, combine the grated cassava, 1 can of coconut milk, condensed milk, 1/2 cup sugar, melted butter, eggs, vanilla extract, flour (if using), and salt. Mix well until everything is fully incorporated.
- If using macapuno or cheese, gently fold it into the cassava mixture now.
- Pour the base mixture evenly into the prepared baking pan.
- Bake the base layer for 45 to 55 minutes, or until the edges are set and lightly golden.
- While the base bakes, prepare the custard topping. In a saucepan, whisk together the second can of coconut milk, 1/2 cup sugar, egg yolks, and flour or cornstarch.
- Cook the topping mixture over medium heat, stirring constantly, until it thickens to a pudding consistency. Do not let it boil rapidly. Remove from heat.
- Carefully pour the thickened custard topping evenly over the partially baked cassava base.
- Return the pan to the oven and bake for another 15 to 20 minutes, or until the topping is set and the top is golden brown.
- Remove from the oven and let the cassava cake cool completely in the pan before slicing. Cooling helps achieve the best chewy texture.
Notes
- For a richer flavor, substitute evaporated milk for some of the coconut milk in the base mixture.
- If you prefer a cheesy cassava cake, use mild cheddar cheese for the topping or mix-in.
- This dessert tastes best when served slightly warm or at room temperature.
Nutrition
- Serving Size: 1 slice
- Calories: 350
- Sugar: 35
- Sodium: 150
- Fat: 18
- Saturated Fat: 15
- Unsaturated Fat: 3
- Trans Fat: 0
- Carbohydrates: 45
- Fiber: 3
- Protein: 5
- Cholesterol: 55