
Don’t you just hate that moment when you’re sipping your homemade iced coffee, knowing it’s good, but wishing it had that unbelievably rich, cloud-like topping from your favorite coffee shop? I’ve been there myself, standing in my kitchen after a long day, wanting that exact luxurious experience without running out to buy a $6 drink.
Well, I’m Julian, and bridging that gap between professional results and home accessibility is exactly what we do here at Julia Meal. Forget needing specialized, expensive gadgets! I’m going to show you how to master the perfect **cold foam**—that sweet, airy crown you pour over your favorite cold brew. This definitive guide walks you through three surprisingly easy methods to make incredible **sweet cream cold foam at home**, proving you already have what it takes to craft coffee-shop magic right now. It takes just minutes, and trust me, once you nail this texture, you’ll be topping everything from your morning brew to your afternoon pick-me-up, maybe even trying out something wild like my icy coffee smoothie!
- Why This Perfect Homemade Vanilla Sweet Cream Cold Foam is a Game Changer
- Ingredients for Your Sweet Cream Cold Foam at Home
- The Three Methods for How to Make Cold Foam
- Expert Tips for the Best Cold Foam Recipe Consistency
- Making Non-Dairy Cold Foam Options
- Serving Suggestions: What to Top with Your Cold Foam
- Storage and Reheating Instructions for Leftover Cold Foam
- Frequently Asked Questions About Making Cold Foam
- Your Next Coffee Creation Awaits
Why This Perfect Homemade Vanilla Sweet Cream Cold Foam is a Game Changer
Seriously, once you see how fast this comes together, you’ll never go back to just plain iced coffee again. We focus on technique here so you get that coffee shop vibe without the price tag. This **DIY cold foam recipe** is all about efficiency and flavor!
- It takes about two minutes—yes, two minutes—from start to finish.
- You save a ton of money skipping those daily coffee runs.
- The homemade texture is often thicker and creamier than what the drive-thru hands you!
- It’s instantly customizable for your sweet tooth.
Ingredients for Your Sweet Cream Cold Foam at Home
The success of any great topping relies entirely on using the right components. For this **sweet cream cold foam at home**, everything needs to be as cold as possible—I mean ice-cold! Cold fats emulsify and whip up much better than room-temperature ones, which is critical if you want that lasting, creamy texture.
This batch focuses on a classic Vanilla Sweet Cream, yielding about two excellent drinks. If you’re making a big pitcher of cold brew for the week, just double or triple this recipe!
Here is the exact lineup we use:
- 1/2 cup cold heavy whipping cream (This is non-negotiable for real foam structure!)
- 2 tablespoons cold whole milk (Using something with decent fat content matters here, but we cover substitutes later.)
- 1 tablespoon vanilla syrup (If you use extract, you’ll need to compensate with extra sweetener, like my homemade syrups are famous for).
- 1 teaspoon granulated sugar (Optional, but I find this tiny bit extra sugar really helps stabilize the foam so it doesn’t collapse instantly.)
Using good quality cream makes a huge difference. I’ve found that when the cream is fresh and cold, the resulting foam is so much richer. It’s the backbone of what makes this recipe better than just whipping up a dollop of generic whipped cream for your coffee.
The Three Methods for How to Make Cold Foam
This is where the real fun starts! I’ve tested this recipe dozens of times, and the beautiful thing about **cold foam** is that you don’t need that fancy, cylindrical machine they use behind the counter. I want everyone to be able to make this. Whether you have the perfect immersion blender, a standard kitchen blender, or literally just a jar with a lid, we have a technique ready for you. Consistency is key, so no matter which method you pick, remember the goal: soft, airy peaks, not stiff whipped cream!
We move from the quickest professional hack to the most accessible home method. Every technique gets you that amazing, thick layer for your coffee drink, just like those amazing buttercreams I love—but cold!
Method 1: The Electric Milk Frother for Quick Cold Foam
If you have one of those little battery-operated milk whisks, you’ve got the fastest route. This is my personal go-to for a single serving because it’s lightning fast.
Just toss all your cold ingredients into a tall, narrow glass—this keeps the whisk submerged and prevents too much splatter. Stick the whisk in and run it on high speed. You’re only looking for about 30 to 60 seconds. Stop immediately when you see the mixture thicken up and hold a soft peak when you lift the whisk. If you keep going, you’ll accidentally make butter, and we definitely don’t want that!
Method 2: Achieving Cold Foam Without Frother Using a Blender or Immersion Blender
This method is fantastic if you have an immersion blender, or even a standard countertop blender. It creates a massive volume of foam really quickly, so be prepared!
If you’re using the immersion blender, make sure you use a very tall, narrow container—the same one you used for the frother works great. Keep the head of the blender submerged as you pulse it. You’ll need about 30 seconds. If you use a standard blender, you absolutely must add the liquid first before the cream. Pulse it gently at first—seriously, cover that lid with a kitchen towel because it likes to spray—and stop as soon as it looks thick and pillowy. Don’t let it run too long! This is the best way to get that rich texture **cold foam without frother**.
Method 3: The Jar Shake Technique for Creamy Coffee Foam Recipe
Okay, maybe you’re moving, maybe you just don’t want to wash a blender. This classic method is pure elbow grease, but it works shockingly well for a **creamy coffee foam recipe**.
Take your ingredients and pour them into a jar—any jar—but here’s the vital step: **seal the lid tightly**. I mean, double-check that seal. Now, you shake! You need to be vigorous, mimicking the action of the whisk, for a full minute or even two minutes. Your arm might get tired, but you’ll see the mixture go from liquid swirl to thick, gorgeous foam. This simple **sweet cream cold foam tutorial** proves you only need muscles and a lid to get that coffee shop magic.
Expert Tips for the Best Cold Foam Recipe Consistency
You’ve whipped it up, but how do you know if you hit that perfect sweet spot? Achieving that ideal, long-lasting float on your iced drink is all about the tiny details. I spent weeks tweaking this so that your final product isn’t just foamy, but truly luxurious. This isn’t just about volume; it’s about stability.
My biggest secret, which I mentioned before, is temperature. You absolutely must use ingredients that are straight from the fridge. If your heavy cream is lukewarm, you’re going to end up with a loose, disappointing texture way faster than you’d like. I even chill my mixing jars if I’m making a big batch!
When it comes to substitutions, we need to talk about the **best milk for cold foam**. While heavy cream is necessary for the richness, the secondary milk plays a role. Whole milk works best because the fat content helps build body. If you use anything lower fat, like skim, the foam tends to deflate almost immediately. It just doesn’t have the structure to hold up against the cold liquid below it.
Here’s how I test for the perfect consistency, no matter which of the three methods you chose for your **best cold foam recipe**:
- The Float Test: Immediately after whipping, gently spoon a small amount onto the surface of a glass of ice water (or watered-down coffee). If the foam sits proudly on top for several seconds before slowly melting down, you nailed it. If it sinks instantly, you need 15 more seconds of whipping or shaking.
- The Soft Peak Check: You want soft peaks—meaning when you pull your whisk or stick out of the mixture, the little mountain it forms gently curls over on itself. If it stands straight up like a stiff mountain, you’ve gone too far and are entering whipped cream territory.
- The Taste Test: It should feel velvety and smooth on your tongue, not grainy or watery. If you like a little savory depth to cut the sweet, a tiny pinch of salt goes a long way here—don’t run a mile, just a pinch helps everything shine!
If you ever want to experiment with adding spices or something richer, like a homemade honey reduction, make sure you work those richer ingredients in *before* you start whipping, or just fold them in very carefully right at the end!
Making Non-Dairy Cold Foam Options
I totally get it; not everyone cooks with dairy these days, and that’s great! The challenge with making **non-dairy cold foam options** is that you’re trying to replicate the structure of butterfat, which dairy cream provides so easily. You can absolutely still get that gorgeous, thick **cold foam topping ideas** layer, but you have to be a little pickier about your substitutes.
If you want the structure of the **best cold foam recipe**, you need to look for options that have a high-fat percentage—anything labeled ‘barista blend’ is usually your friend here. For a straightforward substitution in this recipe, try using a very cold, high-fat oat milk or swapping the standard milk/cream for full-fat canned coconut cream, making sure you only scoop the thick top layer.
I always find that when I’m using a non-dairy base, the coconut cream works best, especially if you add that optional teaspoon of sugar; it really helps lock in the air. If you’re making **flavored cold foam recipes**, these dairy-free bases take on syrups really beautifully. Just remember to keep that coconut cream or oat milk *icy cold* before you throw it in the jar or blender. We don’t want runny toppers!
If you’re looking for healthy ways to start your day, maybe you can use this topping on some of my go-to healthy breakfast bowls!
Serving Suggestions: What to Top with Your Cold Foam
Now that you’ve mastered the whipping process—whether you used your trusty jar or a fancy frother—the only question left is, what are we putting this glorious **cold foam** on? Don’t limit yourself to just plain iced coffee! That thick, beautiful layer is an upgrade for almost any cold drink you can dream up. Think of this as the ultimate homemade upgrade for your morning ritual.
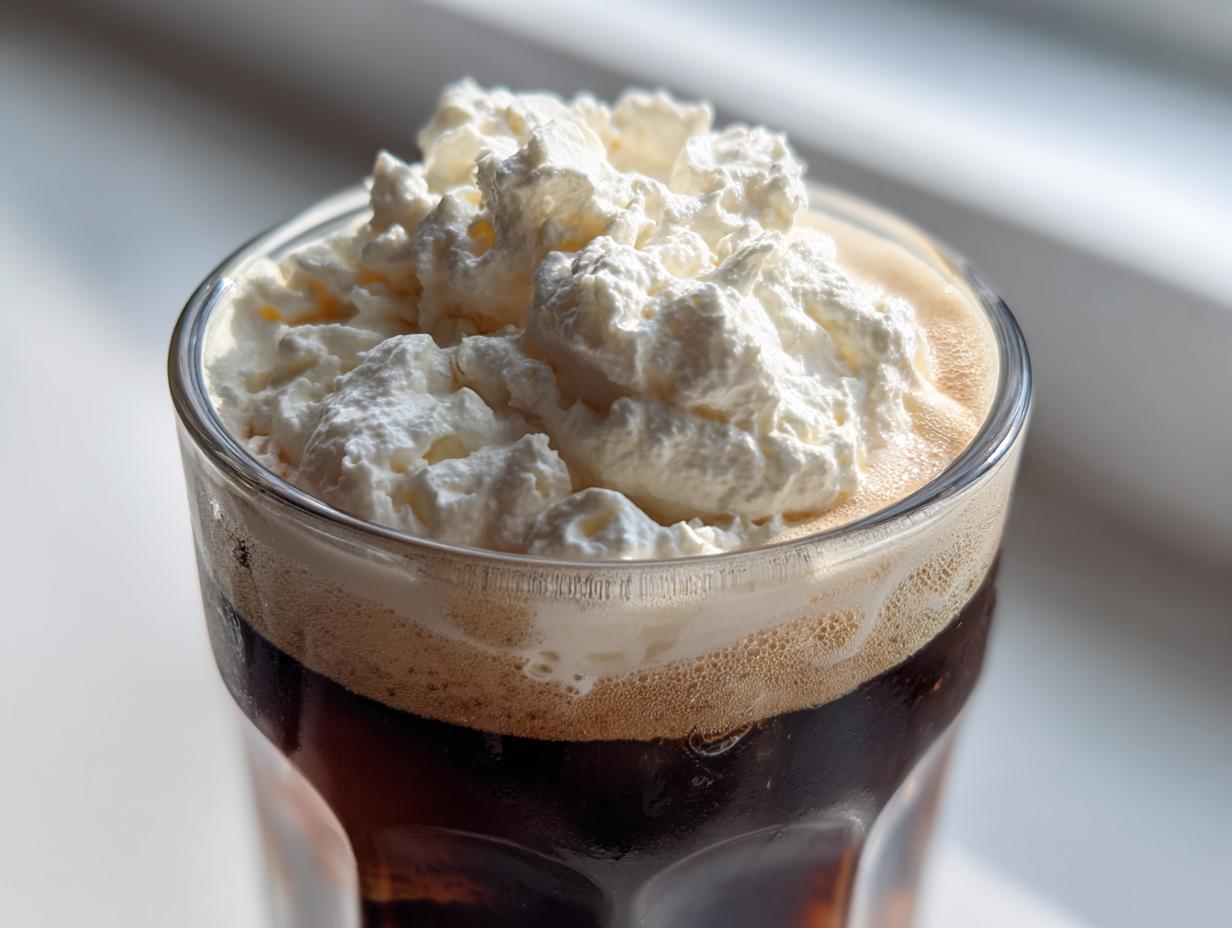
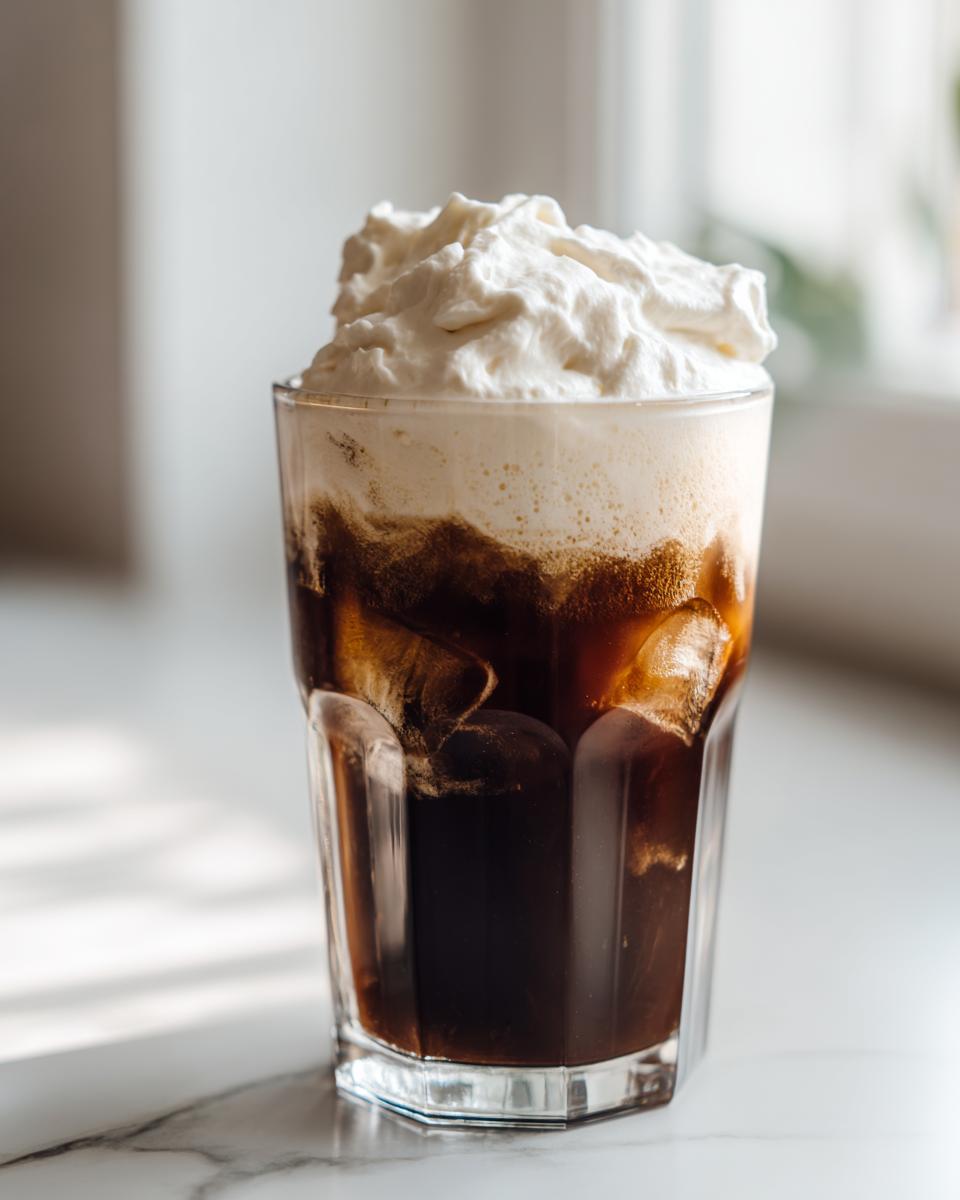
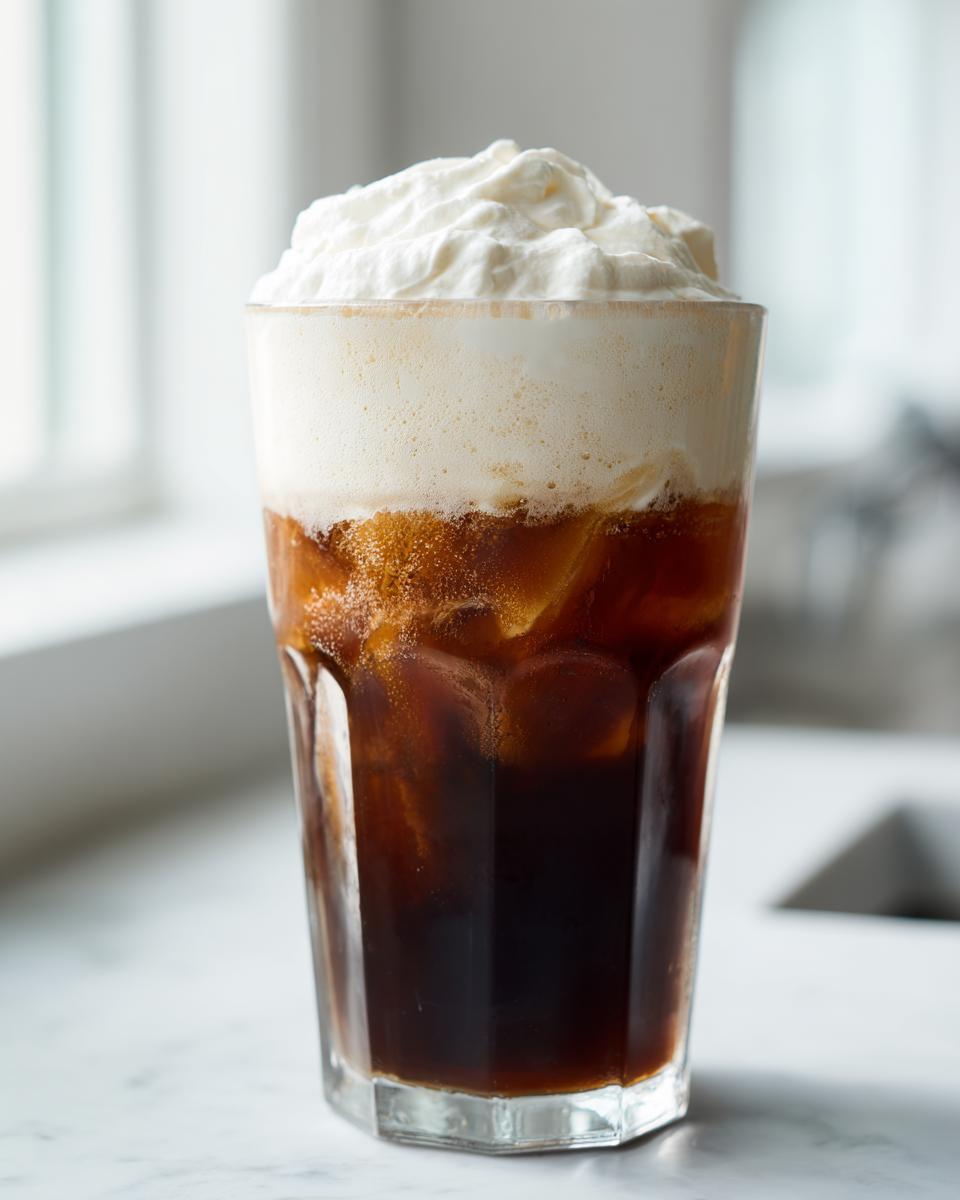
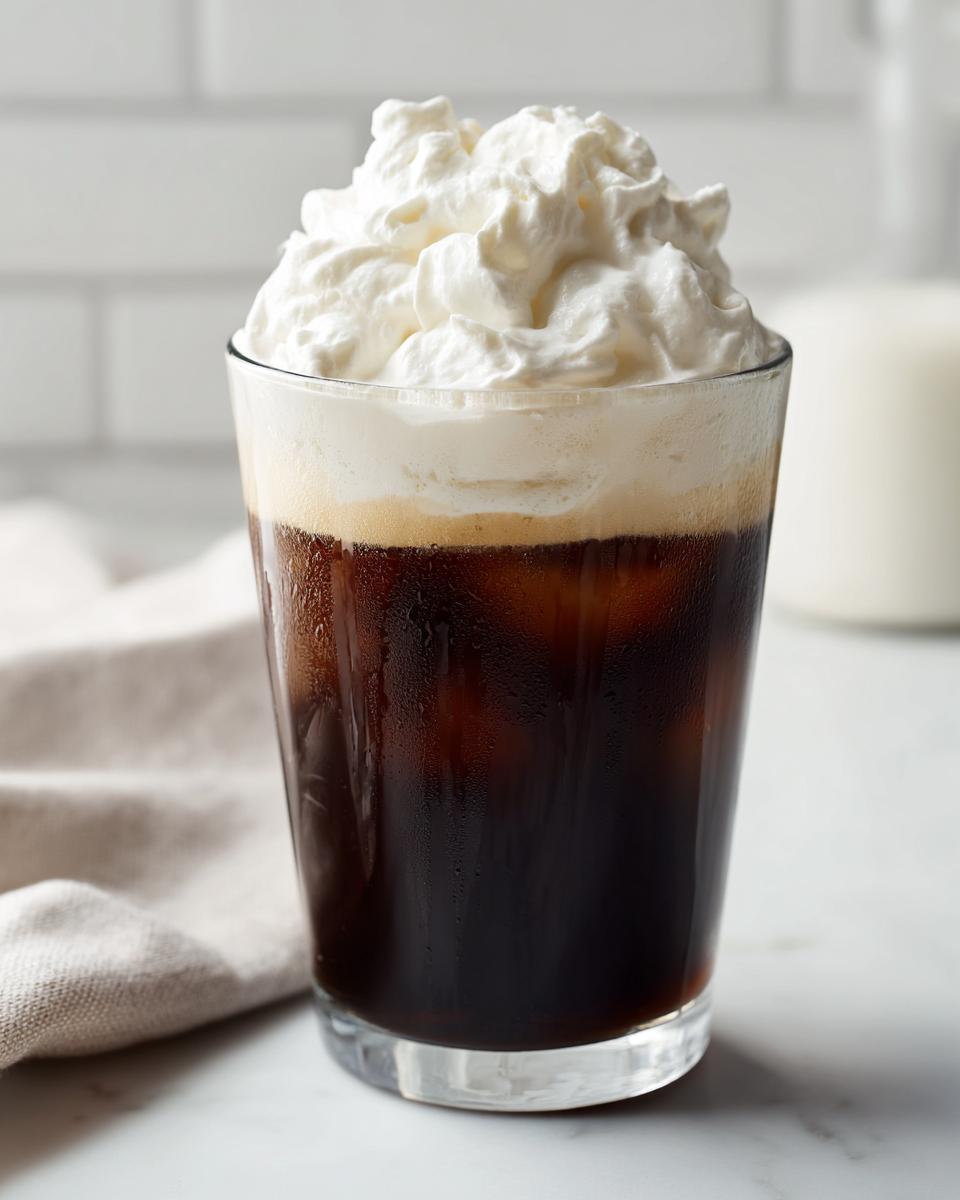
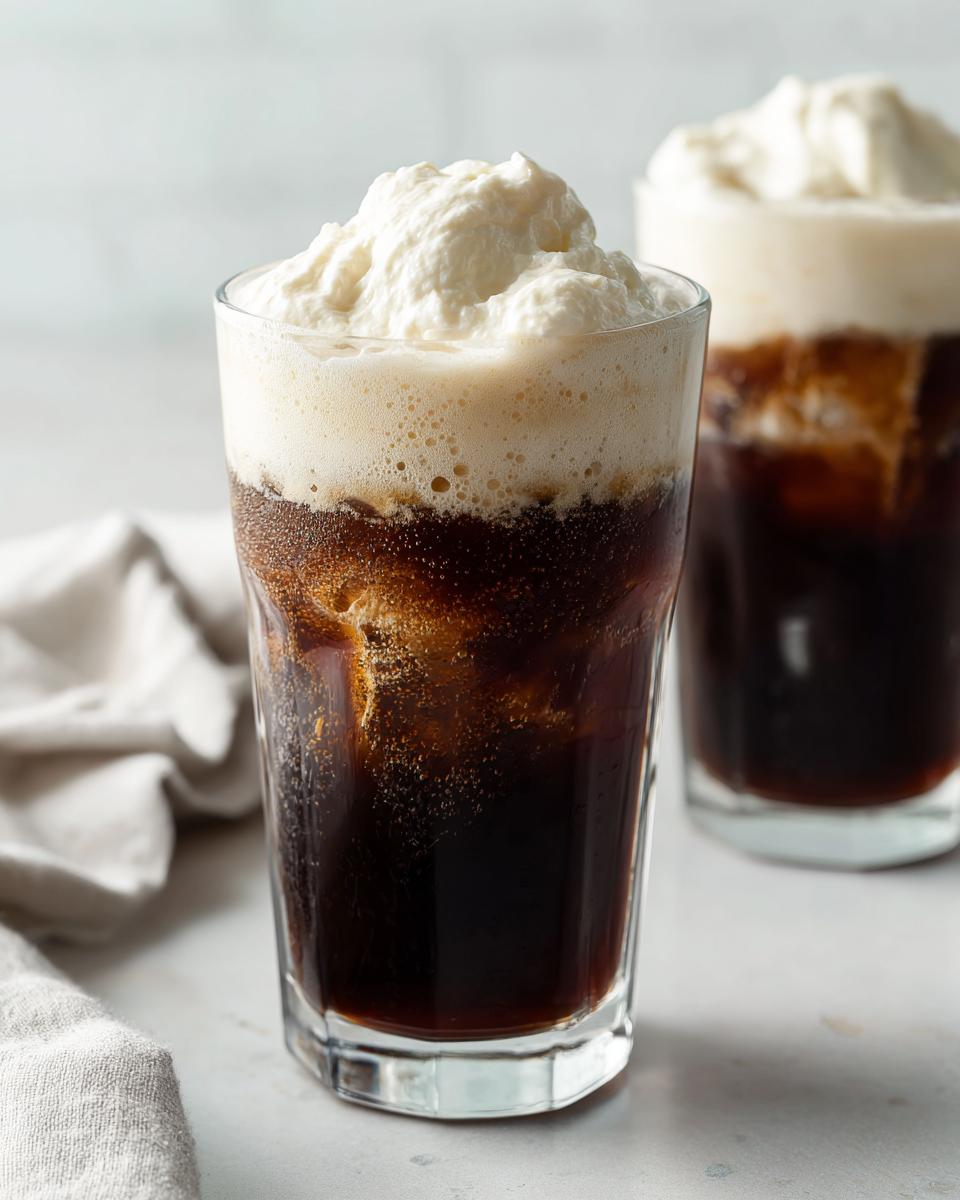
Of course, the classic killer combo is pouring this **vanilla cold foam guide** result over a strong, cold brew. Brew your cold brew, add a little ice, and then gently spoon that thick foam right on top. It creates those gorgeous, distinct layers that look Instagram-ready. You can try this out with my standard cold brew base next time you’re making something rich for dinner!
But let’s get creative! This **homemade iced coffee topping** is fantastic on so many other things:
- Iced Black Tea: Try it on strong-brewed, chilled Earl Grey or English Breakfast tea for a surprisingly sophisticated caffeine boost.
- Iced Matcha: A sweet vanilla foam on top of slightly earthy matcha is heavenly.
- Iced Espresso Drinks: This makes an incredible **iced latte foam recipe**. Just mix a shot or two of espresso with cold milk and ice, then top it with your foam.
For the best visual effect, which is half the fun, always layer your drink carefully. Put the ice in first, then the cold liquid base (coffee or tea), and finally, spoon that thick **cold foam** gently over the top center. It should sit up proud for a few glorious minutes before you take that first sip. It’s just the best!
Storage and Reheating Instructions for Leftover Cold Foam
Listen, I’m going to be perfectly honest with you, because that’s how we do things here. This beautiful, airy topping—the result of our hard work using the **vanilla cold foam guide**—is definitely at its absolute peak within five minutes of whipping it up. It’s full of tiny, delicate air bubbles, and those bubbles really enjoy floating free!
If you happen to make too much, or maybe you’re a slow sipper, you can definitely store it. Pop whatever is left into a small, airtight container. Pop it straight into the fridge. I wouldn’t recommend keeping it for more than 24 hours, honestly. If you try to keep it longer than that, the structure starts to break down, and it can get a little watery on the bottom.
Now, the critical part: when you pull it out the next day, it won’t look as glorious as it did right after whipping. Don’t panic! You haven’t ruined it. Scoop the portion you need into a clean jar, put the lid on tight, and give it a really vigorous shake or a 5-second blast with your immersion blender. That quick agitation will rally those air bubbles back into shape, and you’ll be good to go. It’s always better to use the leftovers quickly, because nothing beats a freshly whipped topping!
If you’re interested in storing other creamy desserts, I have a super simple chocolate mousse recipe that keeps really well in the fridge!
Frequently Asked Questions About Making Cold Foam
Because everyone’s coffee game is slightly different, I always get a few questions about troubleshooting this recipe. Don’t worry if your first batch didn’t come out exactly like the coffee shop; that’s just part of the learning process, and we are here to help you get that perfect float!
Can I make flavored cold foam recipes easily?
Absolutely! This vanilla base is just the starting point. For **flavored cold foam recipes**, the best way is to incorporate the flavor *with* the vanilla syrup before you start whipping. If you want a seasonal hit, try folding in about a quarter teaspoon of pumpkin pie spice or a half teaspoon of high-quality matcha powder right in with your liquids. If you’re using something thick like chocolate sauce, add just a tiny bit, maybe half a teaspoon, because too much extra liquid or heavy solid can actually weigh down the foam and keep it from whipping properly. Start light and taste as you go!
What is the difference between this and whipped cream for coffee?
This is such a common question! They are cousins, but they aren’t twins. Traditional whipped cream uses heavy cream whipped until it forms stiff peaks—it’s thick, heavy, and should hold its shape on a plate. This **cold foam** is designed to be much lighter, airier, and less dense. We stop whipping right around the soft peak stage and we add milk specifically to dilute that structure.
Think of it this way: If you put stiff whipped cream on cold brew, it sits on top like a mountain and melts slowly into a thick swirl. If you put this **whipped coffee topping** on, it’s airy enough to float momentarily before slowly melding into the drink, making the whole beverage creamy rather than just topping it. That lightness is what makes it perfect for those layered cold drinks.
If you’re prepping easy meals for the week, make sure you check out my tips for meal prepping lunches—sometimes a good coffee is the kick I need to get through organizing Tupperware!
Your Next Coffee Creation Awaits
Okay, the measuring cup is back in the drawer, your jar is clean (or maybe it’s still sitting there waiting for a rinse!), and you have a perfectly crafted layer of sweet, airy deliciousness ready to go. Don’t let this magic sit around! You need to get this creamy goodness into a glass immediately.
I pour my heart, soul, and years of kitchen experimentation into every single recipe here, and seeing you enjoy the results is the best part of my day. So, if you tried out the jar shake method or pulled out the immersion blender, I truly want to know how it went!
Take a photo of your perfectly layered iced coffee masterpiece and tag us! Tell me if you used oat milk or dairy, or if you decided to sprinkle some cinnamon on top. If this recipe saved you a trip to the coffee line this week, please do me a huge favor: head over to the rating section and give it five stars. It helps other home cooks find these simple tricks!
And if you’re curious about the philosophy behind why we cook the way we do—bringing restaurant precision down to your countertop—you can always read more about my journey over on the About Page. Now go enjoy that perfect foamy coffee!
PrintPerfect Homemade Vanilla Sweet Cream Cold Foam: 3 Easy Methods
Learn how to make thick, creamy vanilla sweet cream cold foam at home using three different methods, even without a specialized milk frother. This topping works perfectly on iced coffee and cold brew.
- Prep Time: 3 min
- Cook Time: 0 min
- Total Time: 3 min
- Yield: About 1 cup 1x
- Category: Beverage Topping
- Method: Mixing/Frothing
- Cuisine: American
- Diet: Vegetarian
Ingredients
- 1/2 cup heavy whipping cream
- 1/4 cup 2% milk or whole milk (or non-dairy alternative for variation)
- 2 tablespoons powdered sugar (or to taste)
- 1 teaspoon vanilla extract
Instructions
- Gather your ingredients: heavy cream, milk, powdered sugar, and vanilla extract.
- Choose your method: immersion blender, handheld milk frother, or a jar with a tight-fitting lid.
- If using an immersion blender or handheld frother: Combine all ingredients in a tall, narrow container. Blend or froth on high speed until the mixture thickens significantly and holds soft peaks. This usually takes 30 to 60 seconds.
- If using the jar method: Pour all ingredients into the jar, seal the lid tightly, and shake vigorously for 1 to 2 minutes until the mixture is thick and airy.
- Test the consistency; if it is too thin, add a small amount more powdered sugar and re-whip briefly.
- Spoon the finished cold foam over your favorite chilled beverage, such as iced coffee or cold brew.
Notes
- For the best texture, use cold ingredients.
- Whole milk creates a richer foam than skim milk.
- For a non-dairy cold foam option, substitute the dairy milk with oat milk or soy milk; heavy cream is necessary for structure.
- Adjust the amount of powdered sugar to control sweetness.
Nutrition
- Serving Size: 1/4 cup
- Calories: 180
- Sugar: 10
- Sodium: 25
- Fat: 16
- Saturated Fat: 10
- Unsaturated Fat: 6
- Trans Fat: 0
- Carbohydrates: 10
- Fiber: 0
- Protein: 2
- Cholesterol: 60