
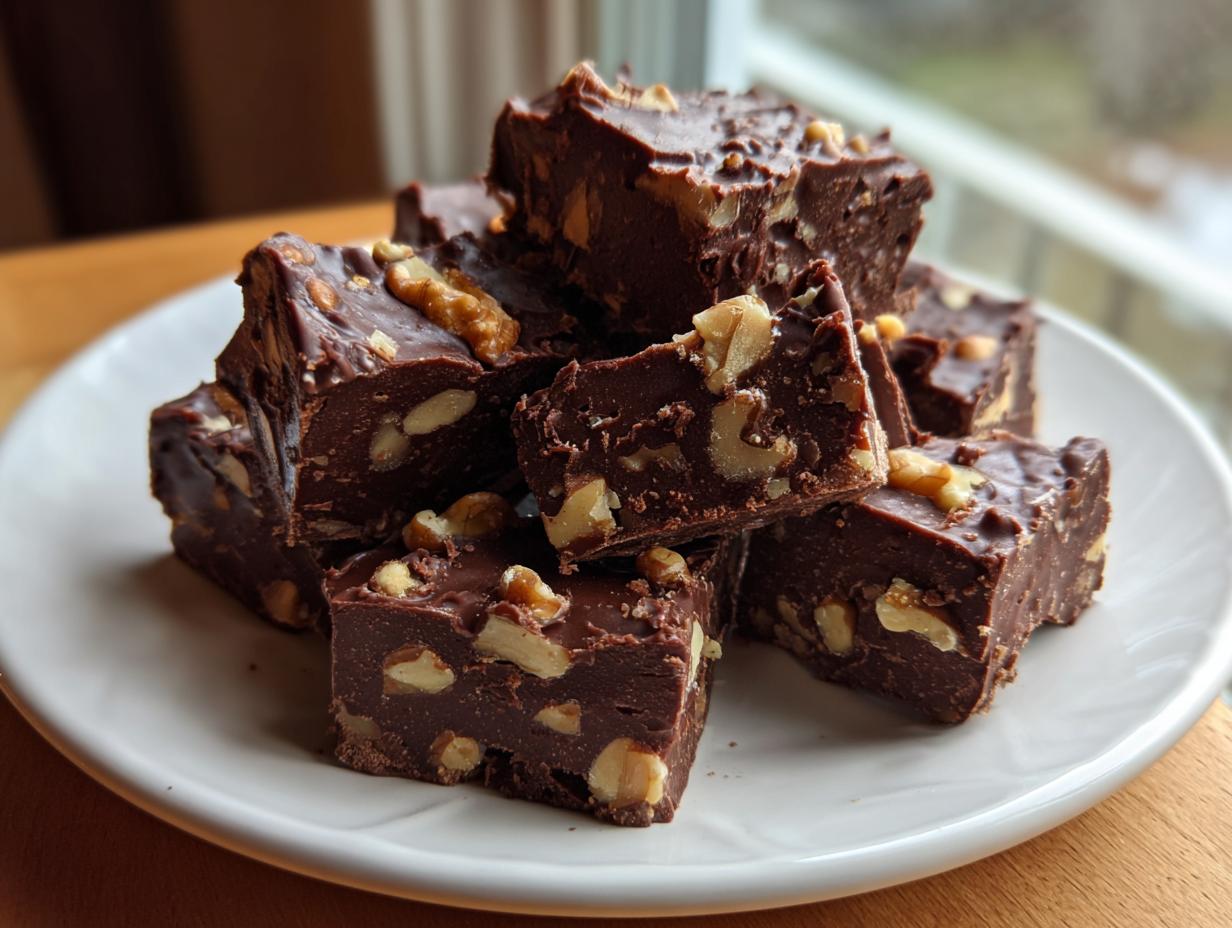
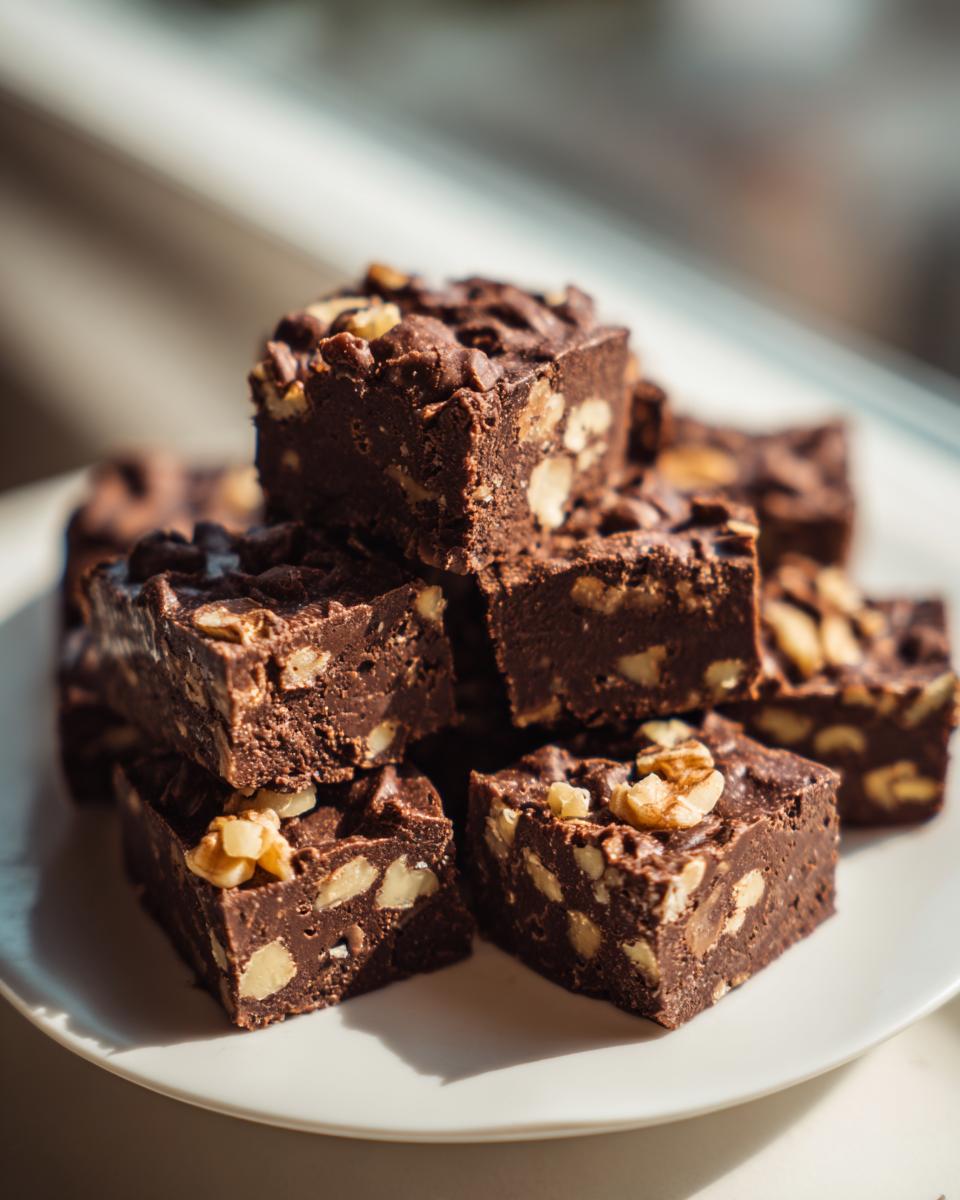
There are some flavors that just wrap you up like your favorite worn-out sweater on a cold night, right? That deep, cozy nostalgia hits hardest when you think about classic American sweets, especially the kind that defined holiday tables growing up. Honestly, when that craving strikes for something truly comforting, nothing beats fudge. I’m talking about the Old fashioned nutty fudge—the kind that melts slowly in your mouth.
This recipe delivers exactly that rich and ultra-moist texture you hope for in a homemade treat. My goal, living out the philosophy you can read more about in our story here, is to bring back that honest taste of traditional confectionery. Forget the grainy, overly sweet stuff; this walnut fudge recipe is pure, creamy perfection. I just know you’re going to feel that connection to sweet childhood memories the second you stir in those toasted nuts.
- Why This Old Fashioned Nutty Fudge Tastes Like Childhood
- Gathering Ingredients for Your Old Fashioned Nutty Fudge
- Expert Steps to Make Ultra-Moist Old Fashioned Nutty Fudge
- Tips for Success When Making Old Fashioned Nutty Fudge
- Variations on Your Old Fashioned Nutty Fudge
- Storing Your Ultra-Moist Old Fashioned Nutty Fudge
- Frequently Asked Questions About This Walnut Fudge Recipe
- Nutritional Estimates for Your Chocolate Walnut Dessert
- Share Your Nostalgic Old Fashioned Nutty Fudge Creations
Why This Old Fashioned Nutty Fudge Tastes Like Childhood
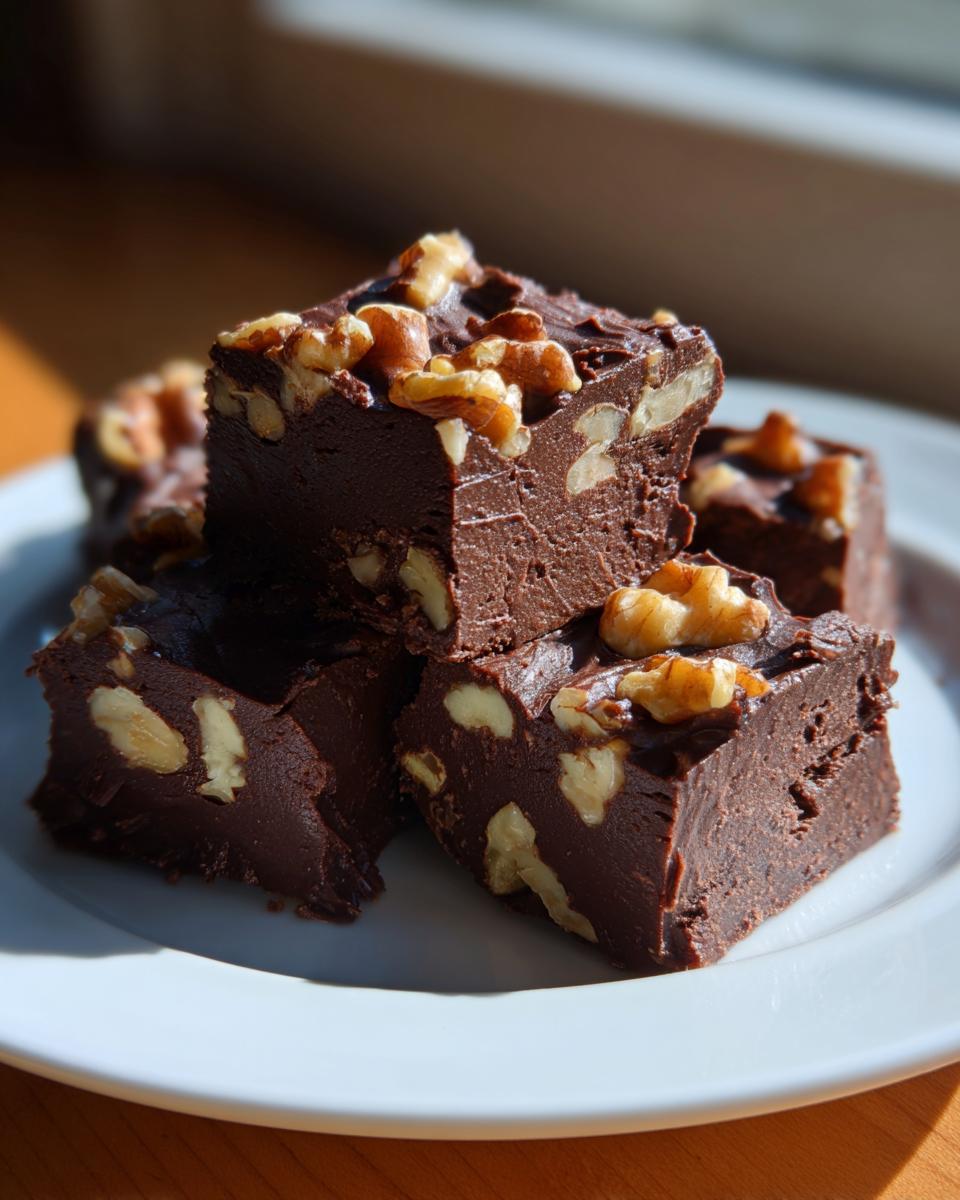
This isn’t just candy; it’s a time machine in a square piece, I promise. The magic of this traditional holiday fudge is all about that texture—it has to be ultra-moist and deeply chocolatey. That’s what brings back those specific holiday feelings, you know?
It takes me straight back to crowded kitchens where everyone was trying to sneak a taste before dinner. Following these creamy fudge tips gives you that perfect melt-in-your-mouth experience every single time.
- It captures that authentic, dense texture we love.
- The fresh crunch of the walnuts cuts through the richness beautifully.
- It’s the taste of genuine American confectionery heritage.
If you’re looking for more simple, joyful desserts, check out my favorites right here!
Gathering Ingredients for Your Old Fashioned Nutty Fudge
Okay, here’s where we get serious about guaranteeing that ultra-moist result. Making truly creamy fudge tips starts with having exactly the right players on your countertop. Don’t skimp here; the quality really shines through in something this simple!
We need just five core items to bring this classic version to life. Make sure those walnuts are ready for their close-up!
Essential Components for Creamy Fudge Tips
- One standard (14 ounce) can of sweetened condensed milk—this is the backbone of the texture!
- One 12 ounce package of semi-sweet chocolate chips—your favorite brand works fine.
- One tablespoon of real butter for that essential richness.
- One teaspoon of pure vanilla extract for depth.
- One full cup of precisely chopped California walnuts. Remember, chopping them yourself right before mixing makes a huge difference in flavor.
Expert Steps to Make Ultra-Moist Old Fashioned Nutty Fudge
Now we get to the fun part—turning those beautiful ingredients into a stunning chocolate walnut dessert! Honestly, the total active time on this walnut fudge recipe is super quick, maybe only 15 minutes of cooking time, but the process requires your full attention for those few minutes. We want rich, ultra-moist fudge, not granulated sugar cement! Learning this process really makes you feel like you’ve mastered easy homemade candy making.
Preparing the Pan and Melting the Base
First things first, let’s get the landing pad ready. Grab that 8×8 inch pan and line it completely with parchment paper. Seriously, paper overhang on two sides is your best friend here—it becomes the handles to lift this beautiful block of fudge out later! Once lined, move to the stove. Combine your sweetened condensed milk, chocolate chips, and that tablespoon of butter in your heavy-bottomed saucepan. Keep the heat set right at medium-low. We’re just warming, not searing!
Achieving the Perfect Smooth Texture for Old Fashioned Nutty Fudge
This is where the creamy fudge tips really come into play. You must stir constantly! I mean it—don’t walk away to answer the phone. You’re stirring gently but continuously until that butter is gone and the chocolate is totally melted. The mixture will look glossy and smooth. The absolute crucial point here? Do not let it boil! If you see big bubbles forming, immediately pull the pan off the heat. Boiling causes graininess, and we are aiming for decadence here.
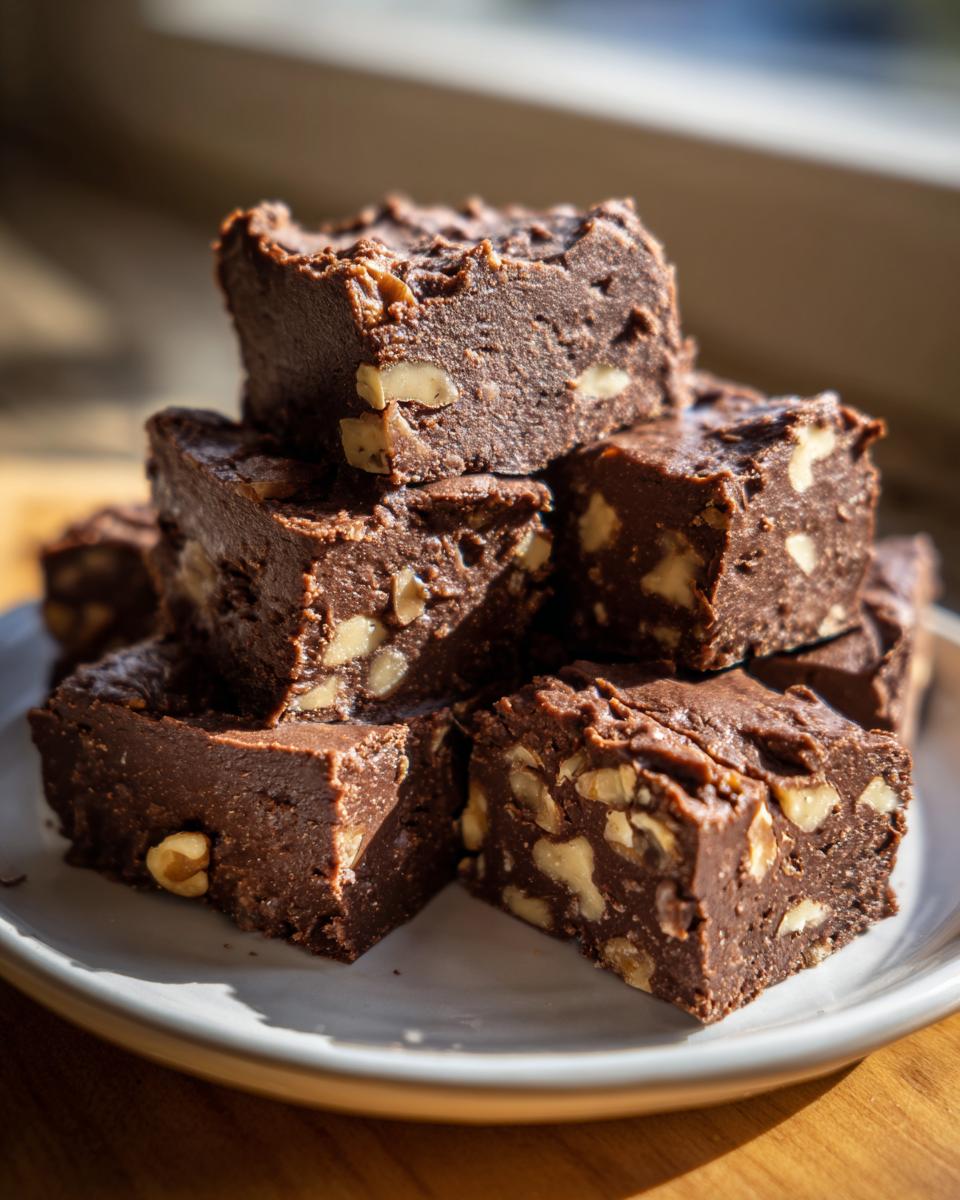
Folding in Flavor and Setting the Old Fashioned Nutty Fudge
Once you’ve taken it off the heat—and only then—stir in your vanilla extract. Then, gently fold in those roughly chopped California walnuts. Pour that thick, glorious mixture into your prepared pan and spread it around evenly. See how easy that was? Now comes the hard part: patience. You absolutely need to let this cool completely at room temperature for at least 4 hours. If you can’t wait, chilling it works (about 2 hours), but room temperature always gives the best final texture for this treat. If you want more tips on making other simple confections, take a look at my easy homemade candy guide!
Tips for Success When Making Old Fashioned Nutty Fudge
Okay, mastering this chocolate walnut dessert isn’t just about following the steps; it’s about respecting the ingredients and the low heat. Since this is an old fashioned nutty fudge recipe, the payoff is huge if you just pay attention during those crucial 15 minutes of cooking. Trust me, these little details are what separate good fudge from the *best* fudge.
Ingredient Quality for the Best Old Fashioned Nutty Fudge
You absolutely must use fresh California walnuts. If the bag has been open a year, those nuts will taste stale, and it ruins the beautiful textural contrast. Also, don’t grab the cheapest chocolate chips; use quality semi-sweet ones. Since there are so few ingredients, each one needs to pull its weight to deliver that ultra-moist experience.
Controlling Heat for Creamy Fudge Tips
I keep coming back to this: avoid boiling at all costs! That’s the number one rule for achieving those creamy fudge tips. If you let that sugar boil, it crystallizes, and boom—you have a grainy chocolate slab instead of a smooth dream. Keep the heat low, stir slowly, and when in doubt, pull it off the burner a little early. You can always put it back on if it hasn’t fully melted, but you can’t un-boil it!
For more simple sweets that hit that comfort mark, you have to check out my three-ingredient mousse sometime soon!
Variations on Your Old Fashioned Nutty Fudge
While this particular old fashioned nutty fudge is perfect just the way it is, sometimes I like to give it a little modern nod. We aren’t overhauling Grandma’s traditional method, goodness no, but a small tweak can be fun, especially if you’re making batches for gifting.
If you want a little savory balance to cut through all that sweetness, try sprinkling a tiny pinch of flaky sea salt right on top of the fudge just after you pour it into the pan. Wow, that elevates it! Or maybe you’re using an older batch of pecans instead of walnuts? Go for it! Pecan fudge is wonderful. If you want to see another fantastic variation on the fudge theme, you should definitely check out my peanut butter fudge recipe for comparison!
Storing Your Ultra-Moist Old Fashioned Nutty Fudge
I always find myself making extra of this fudge because it’s such ideal easy homemade candy for neighbor gifts or teacher thank yous! The good news is that because we used that sweetened condensed milk base, this keeps beautifully, which means you don’t have to stress about everyone eating it right away.
For the best texture—that ultra-moist, just-set chewiness—I actually prefer storing it at room temperature. Just wrap those cut squares snugly in plastic wrap or put them in an airtight container. It keeps wonderfully on the counter for about a week, maybe even ten days if your kitchen isn’t too warm. It retains that perfect texture that way.
Now, if you need it to last longer, say, heading into the holidays, you can absolutely pop it in the refrigerator. Storing it cold will keep it good for up to three weeks, but just remember this: chocolate gets a little harder when cold! So, if you chill it, remember to take it out about 30 minutes before serving so it softens up perfectly. You want that smooth melt, not a jaw workout!
If you’re looking for other simple recipes that hold up well for gifting, I highly recommend my toffee pretzels recipe too!
Frequently Asked Questions About This Walnut Fudge Recipe
I get so many messages asking if they can switch things up, and honestly, that’s part of the fun of making traditional holiday fudge at home! I’ve gathered the most common questions I get about making sure this old fashioned nutty fudge comes out perfectly creamy every time.
Can I make this Old Fashioned Nutty Fudge without California walnuts?
While I highly, highly recommend the California walnuts for that specific, slightly sweeter crunch that just makes this recipe sing, you certainly can substitute! If you need to swap, pecans are a fantastic, close second for texture. Just make sure whatever nut you use—be it pecan or almond—you toast them lightly beforehand. It really deepens the flavor profile, which you want in a great chocolate walnut dessert.
What makes this fudge so ultra-moist compared to other recipes?
That beautiful, ultra-moist texture comes down to two things we stressed earlier: the condensed milk and controlling that simmer. The sweetened condensed milk already has milk solids and sugar, giving us a foundation that’s much creamier than using granulated sugar and evaporation methods. Secondly, we are avoiding a boil at all costs! Keeping the heat low ensures a smooth melt, which locks in moisture and keeps the final product from getting that sandy, dry texture you sometimes find in lesser fudge.
How long does this easy homemade candy last?
This is where this fudge truly shines as an easy homemade candy—it keeps fantastically well! Sealed up tightly, it should stay perfectly fresh at room temperature for about a week. If you need it to last longer, definitely wrap it well and pop it in the fridge; it will hang out happily in there for two to three weeks. Just let it sit on the counter for a little bit before you serve it so it softens up a touch!
If you’re looking for some quick dinner ideas to balance out all that fudge eating, I have some great go-to spots for weeknight dinners!
Nutritional Estimates for Your Chocolate Walnut Dessert
Now, I know we aren’t making this chocolate walnut dessert for the health benefits—we are making it for the pure joy of tasting a perfect slice of heaven! But, because I always preach honesty in the kitchen, I want to share the ballpark figures for one of those lovely, small squares. This helps if you’re counting things out or just curious about what’s in this deeply satisfying treat.
Keep in mind, every batch of old fashioned nutty fudge will be slightly different depending on the exact brand of chocolate chips you use. These numbers are based on standard, widely available ingredients when cut into 36 small squares.
- Serving Size: 1 square
- Calories: Around 150
- Sugar: About 18g (That’s where the comfort comes from!)
- Fat: Roughly 8g
- Protein: 3g
This is rich, wonderful stuff, meant for savoring slowly. Don’t worry if your numbers look a little different; the real measure of this recipe is the smile it puts on your face!
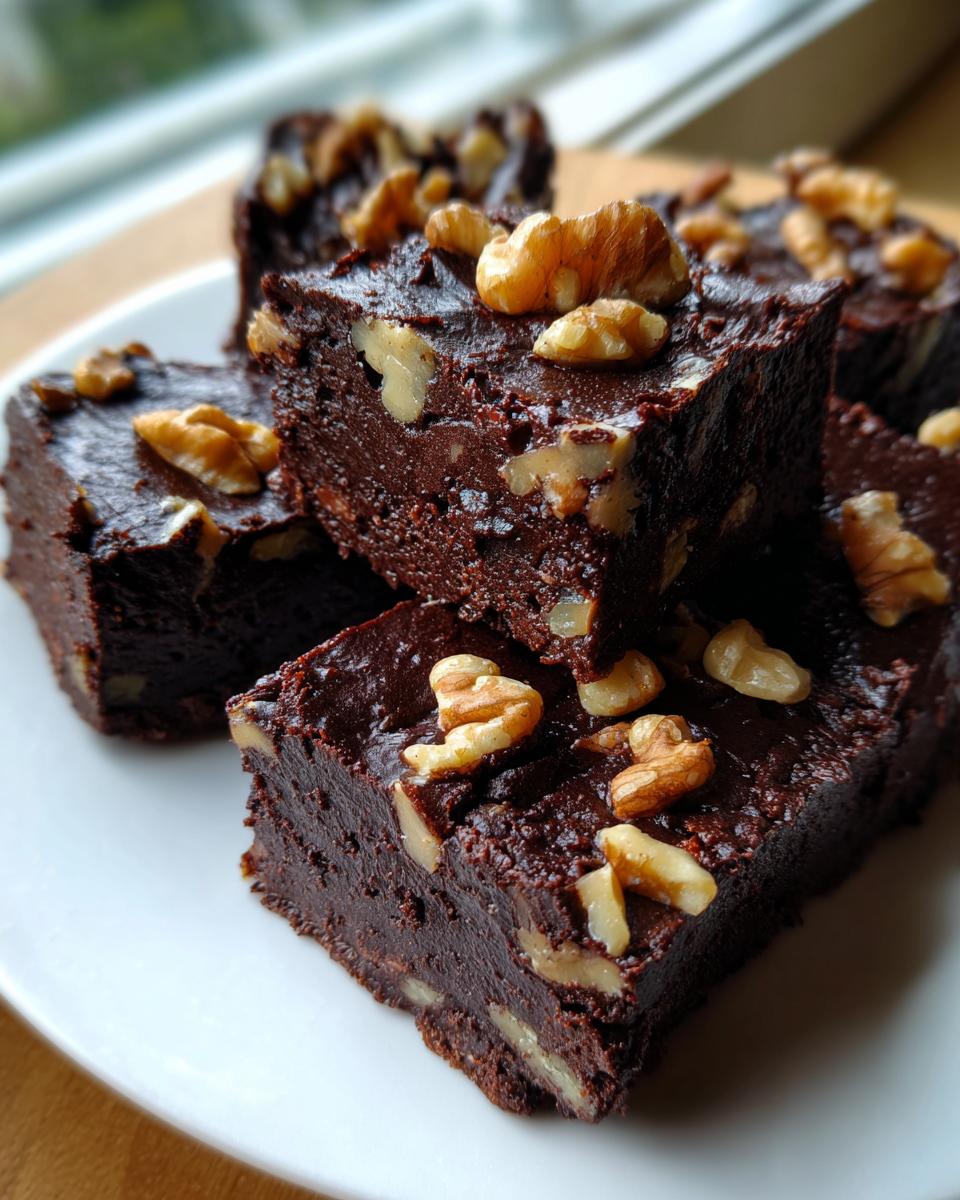
Share Your Nostalgic Old Fashioned Nutty Fudge Creations
That’s it, my friend! You’ve now made a batch of truly exceptional old fashioned nutty fudge. Seriously, take a minute, cut those squares, and just breathe in that rich chocolate and walnut aroma. Doesn’t it just smell like the best holiday memories you had?
I genuinely hope this recipe brought that wave of comfort and nostalgia I talked about at the start. I’m always so thrilled when a classic recipe like this finds its way into your kitchen and becomes part of *your* story.
So, what did you think? Did it nail that ultra-moist texture you were hoping for? Please, don’t be shy! Come back, leave a rating below so others can see how easy and delicious this traditional holiday fudge is. And if you have a favorite fudge memory—maybe trying it for the first time as a kid—tell me all about it in the comments! I read every single one.
If you took pictures of your finished easy homemade candy, I would absolutely love to see them! You can always reach out or send pictures our way via the contact page. Happy sharing, and please enjoy every single bite!
PrintOld Fashioned Nutty Fudge
Make rich and ultra-moist chocolate walnut fudge using this traditional recipe for a taste of nostalgic comfort.
- Prep Time: 10 min
- Cook Time: 15 min
- Total Time: 4 hours 25 min
- Yield: 36 small squares 1x
- Category: Dessert
- Method: Stovetop
- Cuisine: American
- Diet: Vegetarian
Ingredients
- 1 (14 ounce) can sweetened condensed milk
- 1 (12 ounce) package semi-sweet chocolate chips
- 1 tablespoon butter
- 1 teaspoon vanilla extract
- 1 cup California walnuts, roughly chopped
Instructions
- Line an 8×8 inch pan with parchment paper, leaving an overhang for easy removal.
- Combine the sweetened condensed milk, chocolate chips, and butter in a heavy-bottomed saucepan over medium-low heat.
- Stir constantly until the chocolate and butter are completely melted and the mixture is smooth. Do not let it boil.
- Remove the pan from the heat. Stir in the vanilla extract.
- Fold in the chopped California walnuts.
- Pour the fudge mixture into the prepared pan and spread evenly.
- Let the fudge cool completely at room temperature for at least 4 hours, or chill in the refrigerator for 2 hours until firm.
- Use the parchment overhang to lift the fudge from the pan. Cut into small squares.
Notes
- For the creamiest fudge, stir slowly and avoid overheating the mixture.
- Chop your walnuts just before adding them for the best flavor.
- This recipe makes excellent homemade candy for holiday gifting.
Nutrition
- Serving Size: 1 square
- Calories: 150
- Sugar: 18g
- Sodium: 30mg
- Fat: 8g
- Saturated Fat: 4g
- Unsaturated Fat: 4g
- Trans Fat: 0g
- Carbohydrates: 19g
- Fiber: 1g
- Protein: 3g
- Cholesterol: 10mg