

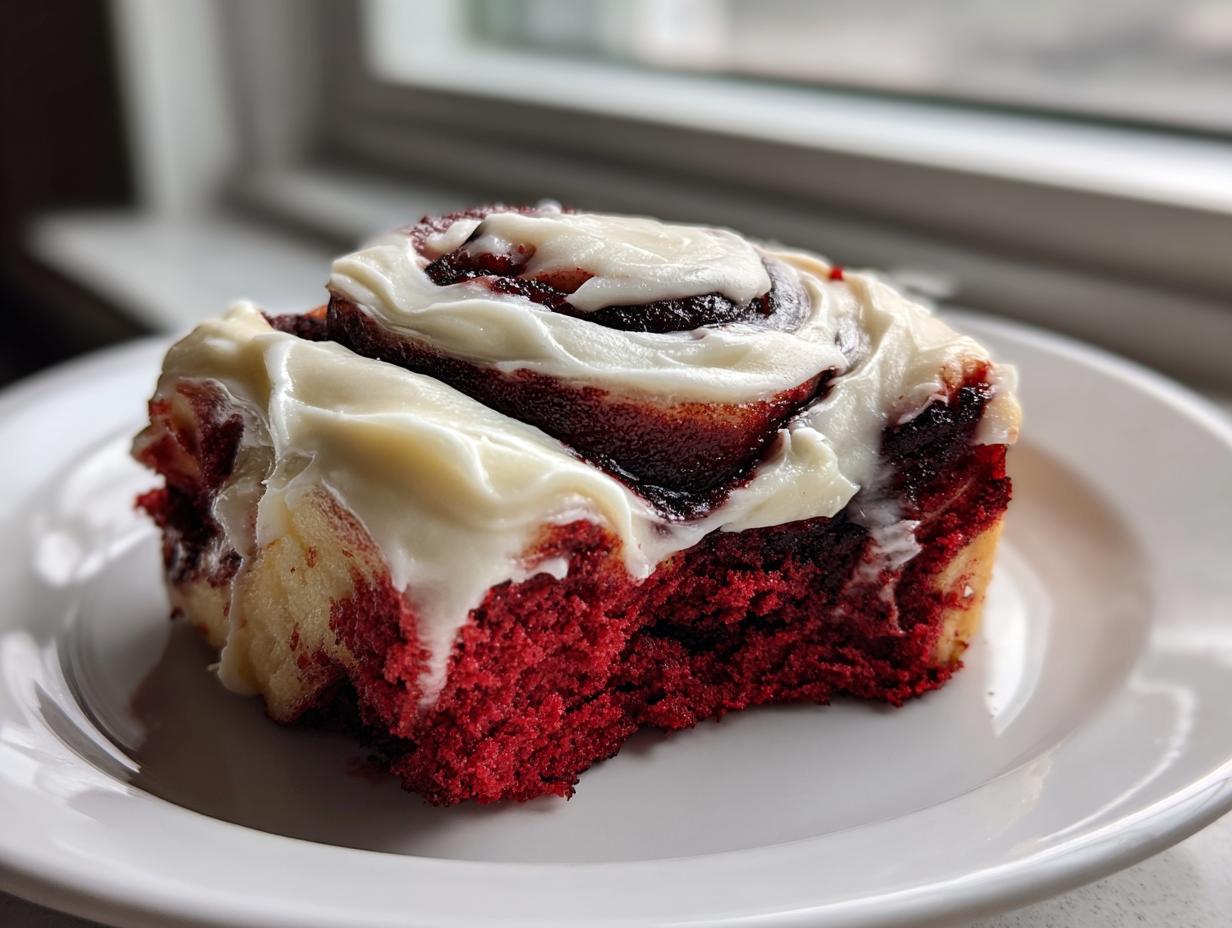
Forget everything you think you know about breakfast pastries because these aren’t your grandma’s plain rolls—unless your grandma was secretly a highly trained pastry chef! When I decided to tackle the glorious marriage of chocolate cake and cinnamon swirl, I knew we had to hit that deep red, indulgent sweet spot. I am so excited to share my ultimate recipe for red velvet cinnamon rolls. As you’ll see in my notes on making great sweet rolls, I often refer back to my favorite techniques, and I think you’ll find this recipe just as satisfying as my guide for the cinnamon roll cake recipe. These are unapologetically soft, unbelievably gooey, and crafted completely from scratch to deliver that coveted Bakery Quality Cinnamon Rolls experience right in your own kitchen. Everything, from the rich cocoa dough to the perfectly tangy cream cheese frosting, is handled with the same care I learned watching my family cook.
- Why You Will Love These Soft, Gooey red velvet cinnamon rolls
- Ingredients for Your From Scratch red velvet cinnamon rolls
- How to Make the Best red velvet cinnamon rolls
- Expert Tips for Perfect red velvet cinnamon rolls Every Time
- Storage and Reheating for Your red velvet cinnamon rolls
- Serving Suggestions for Your Indulgent Brunch Ideas
- Frequently Asked Questions About red velvet cinnamon rolls
- Nutritional Estimates for Cream Cheese Frosted Pastries
- Share Your Showstopper Breakfast Creation
Why You Will Love These Soft, Gooey red velvet cinnamon rolls
Look, anyone can make a basic cinnamon roll, but we’re aiming for something memorable here, right? These red velvet cinnamon rolls aren’t just a treat; they’re an event! I developed this recipe because I wanted that show-stopping visual combined with a texture that makes you close your eyes on the first bite. If you are looking for truly Indulgent Brunch Ideas, stop right here. Save this pin, trust me.
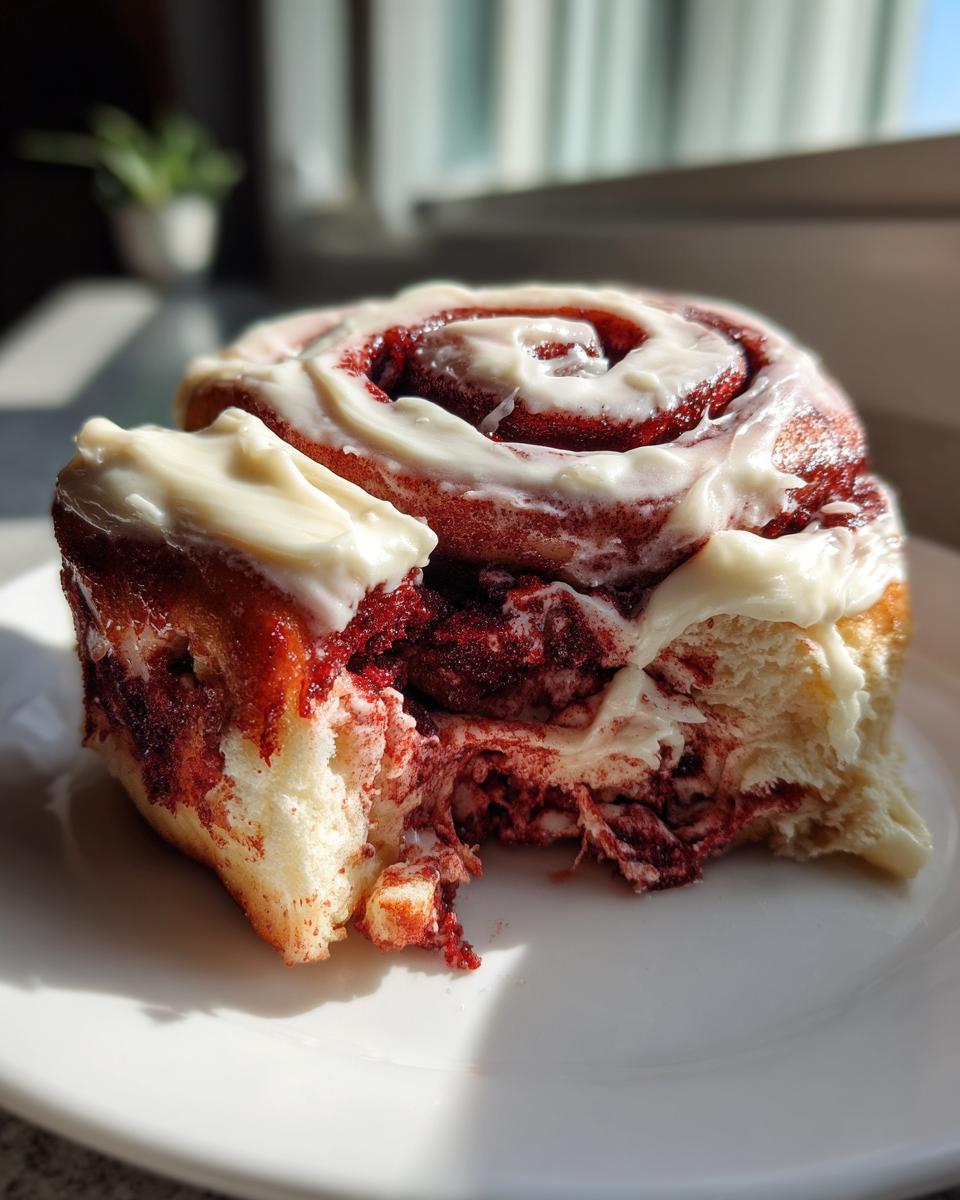
- Bakery Quality Cinnamon Rolls Texture at Home: My favorite part about using this from-scratch dough is the result—it’s unbelievably soft and pillowy. You get that perfect, slightly chewy edge and a super moist center every single time. We are talking about achieving that dreamy Bakery Quality Cinnamon Rolls feel without needing any special equipment.
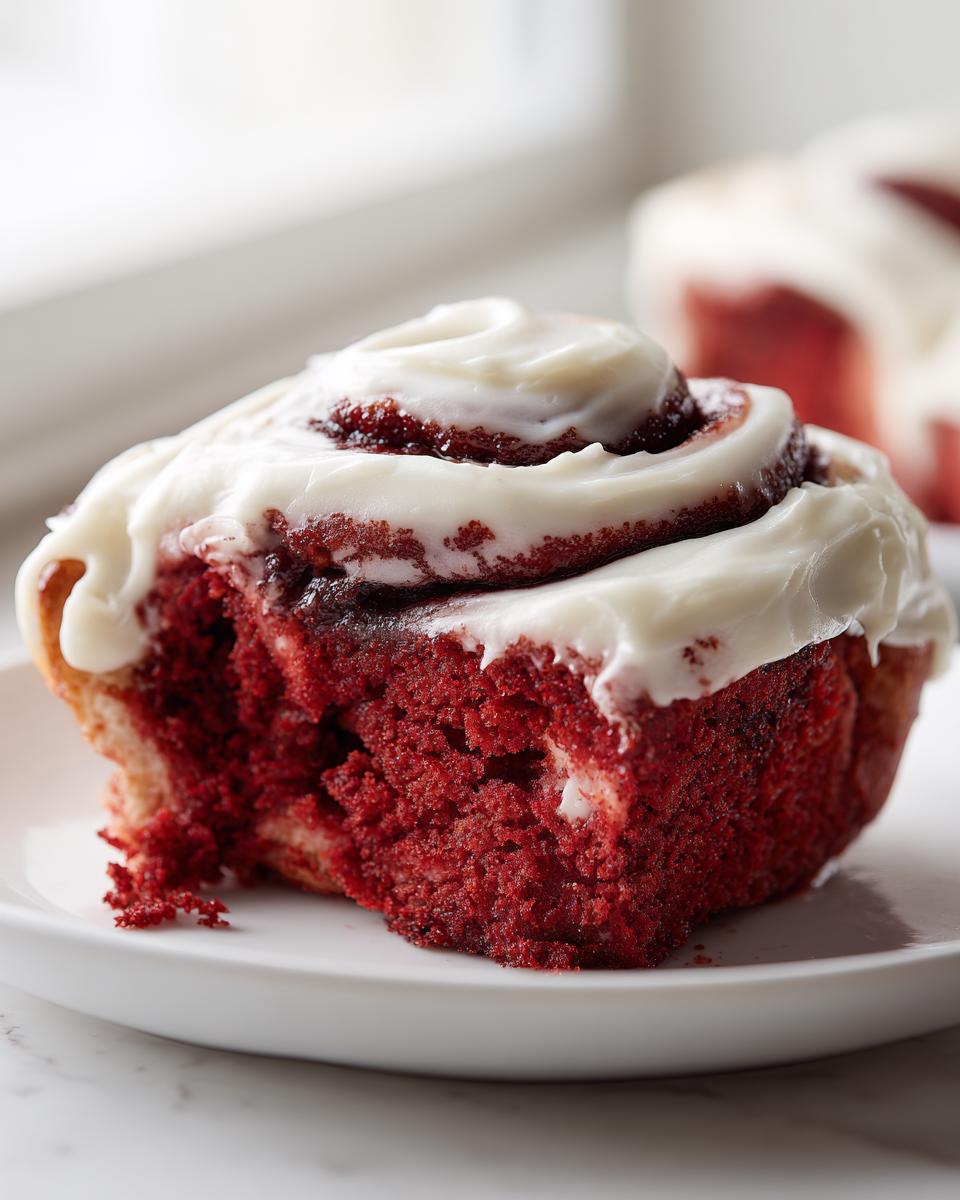
- Vibrant Red Dessert Rolls Visual Appeal: These are just stunning! That deep crimson hue makes them an instant star on any table. They are perfect for holiday baking, and yes, absolutely ideal for your Valentine Day Baking Ideas board. They look complex, but we keep the process simple!
- Perfectly Tangy Icing Recipes Balance: Let’s be honest, red velvet should always come with a rich cream cheese topping. The tanginess of the frosting is crucial; it cuts right through the sweetness of the filling and the dough, keeping every bite perfectly balanced. It’s proof that the best things come from excellent Tangy Icing Recipes.
- They make incredible Holiday Morning Treats! The smell alone fills the whole house with comfort and anticipation. Forget the stress; these are built to be shared and savored during slow weekend mornings.
When you’re done baking, you’ll have the best comfort food baking centerpiece imaginable.
Bakery Quality Cinnamon Rolls Texture at Home
For that cloud-like chewiness, the secret is in the dough’s gentle kneading and the quality of your rise time. We aren’t rushing these sweet rolls; we are letting the yeast do the hard work so you get a fluffy interior that pulls apart beautifully. Forget dense, heavy rolls—these are light enough for a weekend breakfast but rich enough to feel decadent.
Vibrant Red Dessert Rolls Visual Appeal
That color is exactly why people stop scrolling when they see these! I insist on using gel food coloring because liquid drops just dilute the batter too much. You want that deep, rich red that lets the cocoa flavor shine without looking dull or brownish. It’s what transforms them into true Vibrant Red Dessert Rolls.
Perfectly Tangy Icing Recipes Balance
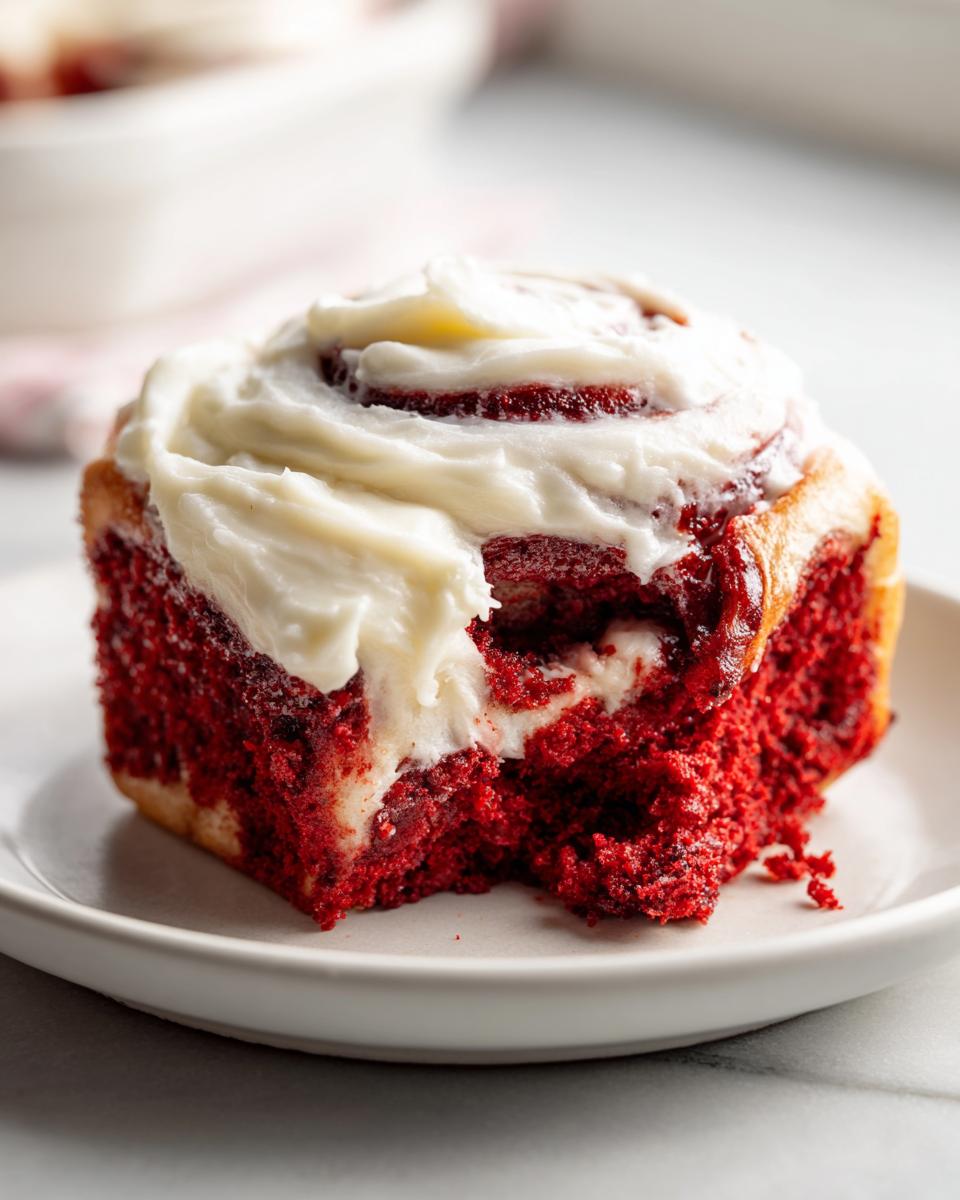
The frosting isn’t just decoration; it’s the necessary counterpoint. If you just use powdered sugar, it can get overwhelmingly sweet, especially with the brown sugar in the filling. The slightly sharp, tangy notes from the cream cheese in my recipe mean you can eat the whole roll and still go back for one more! It’s all about that beautiful contrast.
Ingredients for Your From Scratch red velvet cinnamon rolls
Okay, this is where we lay the foundation for those incredible red velvet cinnamon rolls. Since we are going completely from scratch—because, honestly, that’s the only way to get them truly soft and gooey—we need clean measurements. Precision matters when the dough is coming together, especially with yeast! I broke everything down into three parts. If you’ve ever struggled with making a perfect classic frosting, check out my guide on making easy cream cheese frosting; the principles here are the same.
For the Dough
This is the part that needs cozy, warm ingredients. Make sure your milk isn’t too hot, or you’ll kill the yeast, and seriously, bring that egg to room temperature!
- 1 cup warm milk (must be about 110°F—use a thermometer, folks!)
- 2 1/4 teaspoons active dry yeast
- 1/2 cup granulated sugar
- 1 large egg, room temperature (this is non-negotiable for structure!)
- 1/4 cup unsalted butter, melted
- 1 teaspoon vanilla extract
- 1 teaspoon white vinegar
- 2 1/2 to 3 cups all-purpose flour, plus more for dusting
- 1 teaspoon salt
- 2 tablespoons unsweetened cocoa powder
- 1 tablespoon red food coloring (I highly recommend using gel coloring if you have it for that intense hue!)
For the Cinnamon Filling
This gets smeared on before rolling, creating those beautiful, spicy swirls. Make sure your butter is truly soft so you can whip this up easily while the dough rises.
- 1/2 cup unsalted butter, softened (should yield easily to pressure)
- 3/4 cup packed light brown sugar (packing it ensures you get the right amount of molasses flavor)
- 2 teaspoons ground cinnamon
For the Tangy Cream Cheese Frosting
This frosting is thick, rich, and just the right amount of tangy to balance all that sweetness. Remember, we sift the powdered sugar to avoid those annoying white lumps!
- 1/2 cup cream cheese, softened
- 1/2 cup unsalted butter, softened
- 3 cups powdered sugar, sifted
- 1 teaspoon vanilla extract
- 1-2 tablespoons milk or heavy cream (use this sparingly to control the final consistency)
How to Make the Best red velvet cinnamon rolls
Alright, this is the showstopper part! Making red velvet cinnamon rolls from scratch takes a little time—we’re talking about a couple of hours total—but every minute spent waiting for the dough to rise is worth it for that ultimate soft, gooey result. Remember, great baking isn’t fast, it’s patient, and I wouldn’t share anything I hadn’t tested until it was absolutely spot-on for a showstopper breakfast. If you’ve ever explored my guide on sourdough discard cinnamon rolls, you know I appreciate patience in the process!
Activating Yeast and Mixing the Dough
We always start with the yeast; it’s the engine of our dough! In a big bowl, combine your warm milk and the yeast. Don’t rush this: let it sit there for a good five minutes until it looks foamy and happy. That means your yeast is alive and ready to work. Once you see those bubbles, stir in the granulated sugar, the room temperature egg, the melted butter, vanilla, and that crucial teaspoon of vinegar.
Achieving Consistent Vibrant Red Color
Next, we bring in the dry ingredients—flour, salt, and cocoa powder—whisked together in a separate bowl. Now, for the drama! Gradually add the dry mix to the wet mixture. Once it’s a shaggy dough, pour in all that red food coloring. Mix it until you see uniform color, but don’t mix for too long yet. Speaking of color, an important little trick I picked up is that adding a small bit of acid, like that white vinegar we used earlier, actually helps deepen the red pigment when it interacts with the cocoa. Trust me on this one; it really punches up that gorgeous hue!
Kneading and First Rise for Soft Fluffy Breakfast Bakes
Time to get your hands dirty! Turn the dough out onto a lightly floured surface. We need to knead this for about 5 to 7 minutes until it’s smooth and elastic. If it’s sticking like crazy, add the last bit of flour, but be shy with it! We want this dough elastic, not tough. Pop it into an oiled bowl, cover it up loosely, and put it somewhere warm. It needs about 1 to 1.5 hours to double in size. This long, slow, warm rise is what guarantees those Soft Fluffy Breakfast Bakes texture we crave.
Assembling the Cinnamon Swirl Dessert
While the dough is getting puffy, quickly whip up the filling ingredients—softened butter, brown sugar, and cinnamon—until it’s a smooth, spreadable paste. Once your dough has doubled, gently punch it down. Roll it out on your counter into a big rectangle, roughly 12 by 18 inches. Spread that yummy filling evenly over the surface, but leave about an inch bare on one of the long sides—that’s your seal! Then, start rolling tightly from the other long edge, making one perfect log. Pinch that seam closed really well, and then slice it into 12 equal rolls. This creates the wonderful Cinnamon Swirl Dessert effect.
Second Rise and Baking the red velvet cinnamon rolls
Grease up your 9×13 pan and arrange those 12 beautiful rolls snugly inside. Cover them lightly again—maybe with plastic wrap—and let them have a second nap. This rise takes about 30 to 45 minutes until they look puffy. While they are doing that second rise, preheat your oven to 375°F (190°C). Pop them in to bake for 20 to 25 minutes. Keep an eye on them; you want them golden brown on top but not dried out! Pro Tip: If you want the easiest morning ever, you can place the dough in the pan, cover it, and stick it in the fridge overnight. If you’re incorporating techniques like the tangzhong method for next-level fluff next time, be sure to follow those instructions carefully for the initial mixing!
Finishing with Tangy Cream Cheese Frosting
This is the grand finale! While the rolls are cooling just slightly—warm is perfect, but not scorching hot—cream the softened cream cheese and butter together until seriously smooth. Now, slowly stream in the sifted powdered sugar and the vanilla extract. If the frosting seems too stiff, add milk or cream just one tablespoon at a time until it’s thick but wonderfully spreadable. Don’t mess around—slather that generous layer of gorgeous, creamy frosting right over those warm, decadent red velvet cinnamon rolls. You deserve this!
Expert Tips for Perfect red velvet cinnamon rolls Every Time
We’ve made the dough, we’ve swirled the filling, and they are baking beautifully, but Julian has a few final secrets to ensure you get that amazing result that tastes like you spent all day at a professional bakery. Remember, building complex flavor and texture comes from paying attention to the little details. You can check out my thoughts on adding rich flavor to cookies here, like in my carrot cake cookies, because baking is all about consistent small steps!
Maximizing Softness: Ingredient Temperature Matters
The first thing people sometimes mess up without realizing it is ingredient temperature. If your butter for the filling or your cream cheese for the frosting is straight from the fridge, you’ll end up with lumps, not smooth gorgeousness! Everything—the butter, the cream cheese, and especially that one egg for the dough—needs to be at room temperature. This ensures that when they mix, they emulsify properly. That means the fats smoothly combine with the liquids, creating micro-pockets of air. Those air pockets are what stop your **red velvet cinnamon rolls** from turning into dense little hockey pucks. We want soft, fluffy, happy dough!
Achieving the Ideal Gooey Cinnamon Roll Recipe Texture
This is perhaps the most important tip for anyone chasing that perfect, decadent, pull-apart texture you see plastered all over the internet! It’s tempting to bake until the toothpick comes out bone dry, but for the best **Gooey Cinnamon Roll Recipe** experience, you need to pull them out a minute or two early. I mean, it has to be safe, of course, but if the knife just has a few moist crumbs clinging to it—not wet batter—you’re good. The residual heat after they come out of the oven will finish the cooking in the center, guaranteeing that melt-in-your-mouth gooeyness that everyone searches for. Don’t dry them out on me!
Color Depth for Stunning red velvet cinnamon rolls
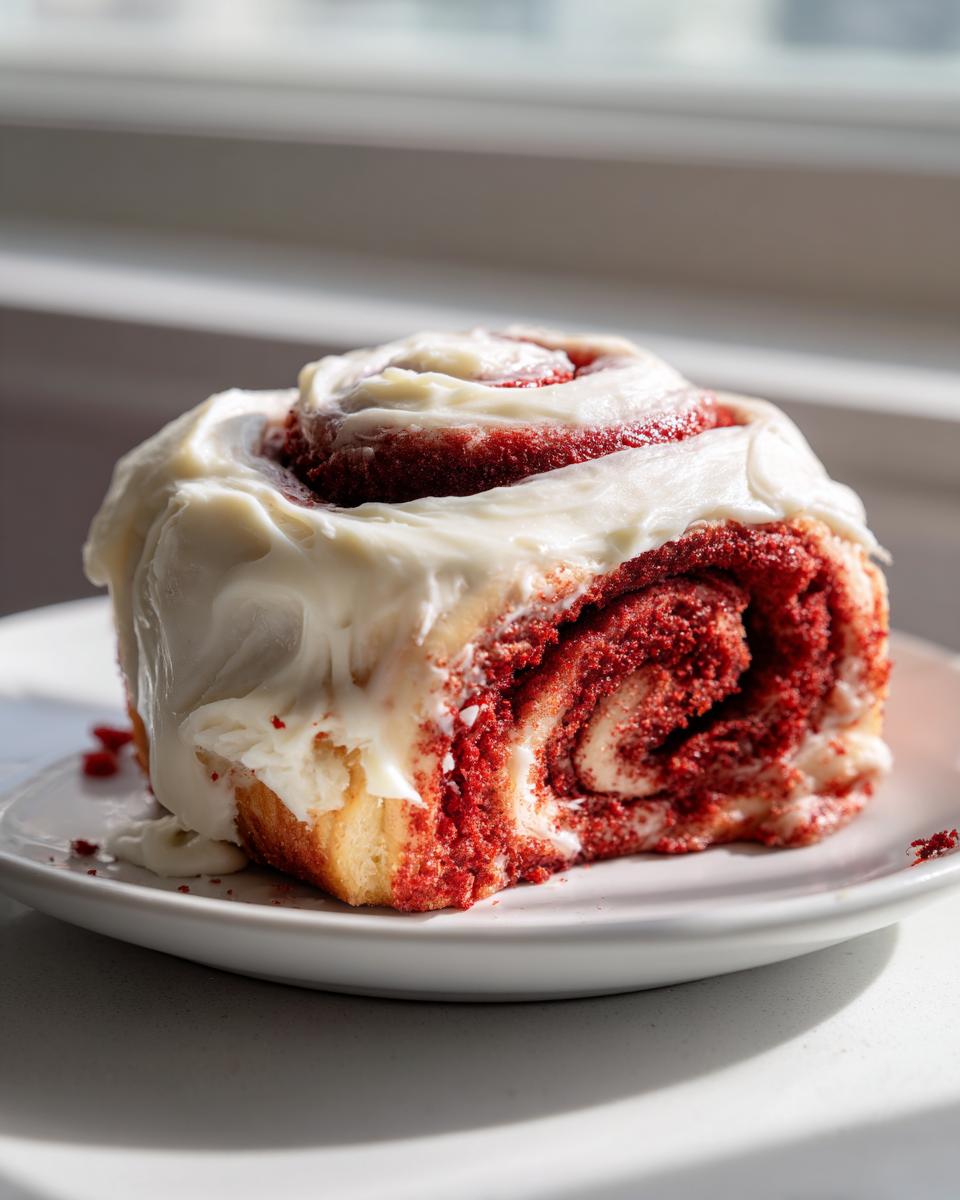
We talked about color briefly during the mixing, but I want to put extra emphasis here because this is what makes these Vibrant Red Dessert Rolls truly special. If you have the choice between liquid red food coloring and gel paste, please, use the gel. Gel coloring is super concentrated, so you need far less of it, which means you don’t accidentally water down your dough. Plus, the pigment in the gels tends to be much stronger, giving you that deep, luxurious red that screams “special occasion treat” without tasting artificial. A little bit extra ensures your rolls look as amazing as they smell!
Storage and Reheating for Your red velvet cinnamon rolls
Now, I know what you’re thinking: how are these incredible red velvet cinnamon rolls going to survive long enough to need storing? Ha! I’ve been there, trying to save one little piece for a morning snack, and I have the best method for keeping these Homemade Sweet Rolls looking and tasting like they just came out of the oven.
If you have any leftovers after your big brunch—and that’s a big ‘if’—you need to handle them quickly. Once they are completely cool, store them tightly covered in an airtight container at room temperature. They hold up really well for about two full days. If you need them to last longer, say, up to four days, tuck them into the fridge, but don’t forget this next part!
The secret to reviving that pure, gooey magic in the morning is moisture and warmth. Never just microwave them! That dries them out instantly. If they’ve been refrigerated, let them sit on the counter for about 20 minutes first. Then, pop one (or the whole pan, loosely tented with foil) into a low 300°F oven for about 8 to 10 minutes. That gentle heat softens the dough and melts the frosting just enough, bringing back that fresh-from-the-oven tenderness. Or, if you’re in a rush, a quick 15-20 seconds in the microwave will do the trick for a single roll, but I truly stand by the oven method for restoring that incredible texture. You can also check out my tips for keeping homemade breadsticks soft if you ever need help resurrecting day-old baked goods!
Serving Suggestions for Your Indulgent Brunch Ideas
These red velvet cinnamon rolls are so rich and flavorful, they truly demand a spot center stage on any brunch table. Think of them as the decadent anchor to an otherwise lovely morning spread. Pairing them correctly is how you turn a nice breakfast into a legendary dining experience. You certainly don’t want to overpower that glorious cocoa and cinnamon swirl, so balance is absolutely key here!
For that perfect balance, you need a few things to cut through the sweetness. First, coffee—always coffee! A strong pour-over or a simple dark roast is wonderful. If you’re looking for something lighter on the table, maybe try a bright, fresh fruit element. These rolls look incredible next to a platter of sliced kiwi, berries, or even a simple, homemade fruit compote. Speaking of fruit, if you’re feeling ambitious, whip up my strawberry pancakes recipe and serve a small stack alongside one roll per person—it’s a feast!
Now, if you’re building out a full Indulgent Brunch Ideas spread, sometimes you need a little savory contrast. Don’t feel like you have to stick entirely to sweets! A small side of crispy bacon or some quick, fluffy scrambled eggs creates a perfect savory counterpoint to the tangy frosting. Or, if you want to stick within the pastry theme but add a different profile, try making my coffee cake cookies as a slightly less rich option for folks who want a second helping later.
Honestly, though? These Cream Cheese Frosted Pastries are so satisfying, they can stand alone. Just make sure you have plenty of napkins for all that gooey frosting!
Frequently Asked Questions About red velvet cinnamon rolls
I get so many questions whenever I post these vibrant rolls online, and that’s totally understandable. When you’re putting in the effort for a showstopper like this, you want to make sure every step is perfect. Here are the things folks ask me most often about turning out the best batch of red velvet cinnamon rolls!
Can I use cake mix instead of making the From Scratch Pastry Dough?
Oh, the cake mix hack! I totally get the appeal, especially when you need a quick fix. You absolutely *can* use a red velvet cake mix for a shortcut, but if you’re chasing that perfect, airy, tender texture that defines a truly great sweet roll, you really need this From Scratch Pastry Dough. The scratch dough, especially because it has yeast and requires a good rise, develops gluten in a way that cake mix—which relies on chemical leaveners—just can’t replicate. Cake mix rolls often end up denser and maybe a little springy rather than truly soft and pillowy. For the best Homemade Sweet Rolls experience, stick with the yeast dough!
My **red velvet cinnamon rolls** are not red enough. What went wrong?
Don’t panic if your rolls look more pink than crimson! This usually comes down to two things. First, the type of food coloring you used. Liquid coloring spreads thinner and needs much more volume, which can mess up your dough liquids. Always try to use a concentrated gel paste—it gives you that deep color with just a tablespoon or so. Second, remember that little trick with the vinegar? The acid helps the cocoa powder express its color better. If you skipped the vinegar, you might lose some of that vibrant richness. If you’re baking them again, make sure you use the vinegar and go for gel color!
How do I ensure these are **Gooey Cinnamon Roll Recipe** winners?
Ah, the gooey factor! This is where many home bakers slip up. The secret to achieving that moist, almost under-baked center that makes these Gooey Cinnamon Roll Recipe winners isn’t just the filling—it’s timing the bake perfectly. You need that second rise to be full and puffy; this traps maximum air in the dough before it hits the oven. Then, when you bake, pull them out right when the knife comes out with moist crumbs, not wet batter. Seriously, trust the process and pull them out 1 or 2 minutes before you think you should. That residual heat will finish the job beautifully, leaving you with rolls that are soft and melty, not dry and cakey. A little extra frosting spread over them while they are warm helps seal in that moisture too!
If you have any other questions about technique or ingredients, like how to keep your soup easy and creamy, feel free to check out my guide on easy 30-minute creamy chicken tortilla soup for another example of when precise additions make all the difference!
Nutritional Estimates for Cream Cheese Frosted Pastries
Now, I want to be super upfront about this next part. When you’re diving into something as truly indulgent as these homemade red velvet cinnamon rolls, the numbers aren’t the main event, right? We bake for comfort and celebration! However, because I treat this blog with the precision you’d expect in a professional kitchen, I want to give you an idea of what’s in that rich, glorious bite. These estimates are based on dividing the total recipe yields evenly by the 12 rolls we get. Understand that using different brands of butter or slightly varying your sugar amounts means these numbers are always just a guide, not gospel.
But boy, are they worth it! Here is what you can generally expect from one serving of these decadent Cream Cheese Frosted Pastries:
- Serving Size: 1 roll
- Calories: 480
- Sugar: 45g (That’s the good stuff!)
- Fat: 25g
- Saturated Fat: 15g
- Carbohydrates: 58g
- Protein: 7g
- Sodium: 350mg
I always say, bake these on a Saturday morning, enjoy them guilt-free, and then maybe try balancing out your diet with some lighter fare next week, like maybe my easy 30-minute creamy chicken tortilla soup! But for today? Just enjoy the glorious fact that you made something this beautiful and delicious entirely by hand.
Share Your Showstopper Breakfast Creation
Now that you’ve poured your heart and soul (and maybe a little extra food coloring) into these glorious red velvet cinnamon rolls, I need to see them! Seriously, my favorite part of sharing these recipes, which combine my professional background with my love for home cooking, is seeing how they turn out in your kitchens across the country.
When you pull that pan out of the oven, and those warm, gooey spirals are dripping with tangy frosting, I want you to snap a picture! Tag me on social media and let me show off your amazing work. There’s nothing better than seeing a classic American bake like this transformed into something so festive and beautiful.
If you made these for a special weekend brunch or maybe a surprise Valentine’s treat, please come back here and leave a rating. Did they live up to the gooey promise? Did the vanilla shine through? Your feedback genuinely helps me know which techniques are working best for you all. I’m always tweaking things, just like I do for my easy cheesy pizza pasta bake recipe, and your input is vital for ensuring these recipes stay top-tier.
Go ahead, grab that fork, pull apart a warm roll, and let me know what you think! Happy baking, friends!
PrintSoft, Gooey, From-Scratch Red Velvet Cinnamon Rolls with Tangy Cream Cheese Frosting

You deserve soft, gooey, bakery-style red velvet cinnamon rolls made from scratch. This recipe delivers vibrant red, fluffy rolls swirled with cinnamon and topped with a rich, tangy cream cheese frosting, perfect for an indulgent brunch.
- Prep Time: 45 min
- Cook Time: 25 min
- Total Time: 145 min
- Yield: 12 servings 1x
- Category: Breakfast
- Method: Baking
- Cuisine: American
- Diet: Vegetarian
Ingredients
- 1 cup warm milk (about 110°F)
- 2 1/4 teaspoons active dry yeast
- 1/2 cup granulated sugar
- 1 large egg, room temperature
- 1/4 cup unsalted butter, melted
- 1 teaspoon vanilla extract
- 1 teaspoon white vinegar
- 2 1/2 to 3 cups all-purpose flour, plus more for dusting
- 1 teaspoon salt
- 2 tablespoons unsweetened cocoa powder
- 1 tablespoon red food coloring (gel preferred)
- 1/2 cup unsalted butter, softened (for filling)
- 3/4 cup packed light brown sugar (for filling)
- 2 teaspoons ground cinnamon (for filling)
- 1/2 cup cream cheese, softened (for frosting)
- 1/2 cup unsalted butter, softened (for frosting)
- 3 cups powdered sugar, sifted (for frosting)
- 1 teaspoon vanilla extract (for frosting)
- 1–2 tablespoons milk or heavy cream (for frosting consistency)
Instructions
- Activate the yeast: In a large bowl, combine the warm milk and yeast. Let stand for 5 minutes until foamy.
- Add the granulated sugar, egg, melted butter, vanilla extract, and vinegar to the yeast mixture. Stir to combine.
- In a separate bowl, whisk together 2 1/2 cups of flour, salt, and cocoa powder.
- Gradually add the dry ingredients to the wet ingredients, mixing until a shaggy dough forms. Add the red food coloring and mix until the color is uniform.
- Knead the dough: Turn the dough out onto a lightly floured surface. Knead for 5 to 7 minutes, adding the remaining flour only as needed until the dough is smooth and elastic.
- First rise: Place the dough in a lightly oiled bowl, turning to coat. Cover the bowl and let it rise in a warm place for 1 to 1.5 hours, or until doubled in size.
- Prepare the filling: While the dough rises, beat the softened butter, brown sugar, and cinnamon together until smooth and spreadable.
- Roll out the dough: Gently punch down the risen dough. On a lightly floured surface, roll the dough into a large rectangle, about 12×18 inches.
- Spread the filling: Evenly spread the cinnamon-butter filling over the entire surface of the dough, leaving a small border on one long edge.
- Roll and cut: Starting from the long edge opposite the border, tightly roll the dough into a log. Pinch the seam closed. Cut the log into 12 equal rolls.
- Second rise: Arrange the rolls in a greased 9×13 inch baking dish. Cover loosely and let them rise again for 30 to 45 minutes until puffy.
- Bake: Preheat your oven to 375°F (190°C). Bake for 20 to 25 minutes, or until the rolls are golden brown and cooked through.
- Make the frosting: While the rolls cool slightly, beat the softened cream cheese and butter until smooth. Gradually add the powdered sugar and vanilla extract. Add milk or cream one tablespoon at a time until you reach a thick, spreadable consistency.
- Frost and serve: Spread the cream cheese frosting generously over the warm rolls. Serve immediately for the best gooey texture.
Notes
- For extra fluffy rolls, use the tangzhong method when preparing the dough, incorporating a small cooked flour paste into the initial wet ingredients.
- If you want a deeper red color without using excessive food coloring, consider adding a teaspoon of white vinegar to the dough mixture; the acid helps activate the color of the cocoa powder.
- You can prepare the dough the night before, place it in the pan, cover it, and refrigerate for an overnight rise. Remove it from the fridge about an hour before baking.
Nutrition
- Serving Size: 1 roll
- Calories: 480
- Sugar: 45g
- Sodium: 350mg
- Fat: 25g
- Saturated Fat: 15g
- Unsaturated Fat: 10g
- Trans Fat: 0.5g
- Carbohydrates: 58g
- Fiber: 2g
- Protein: 7g
- Cholesterol: 55mg